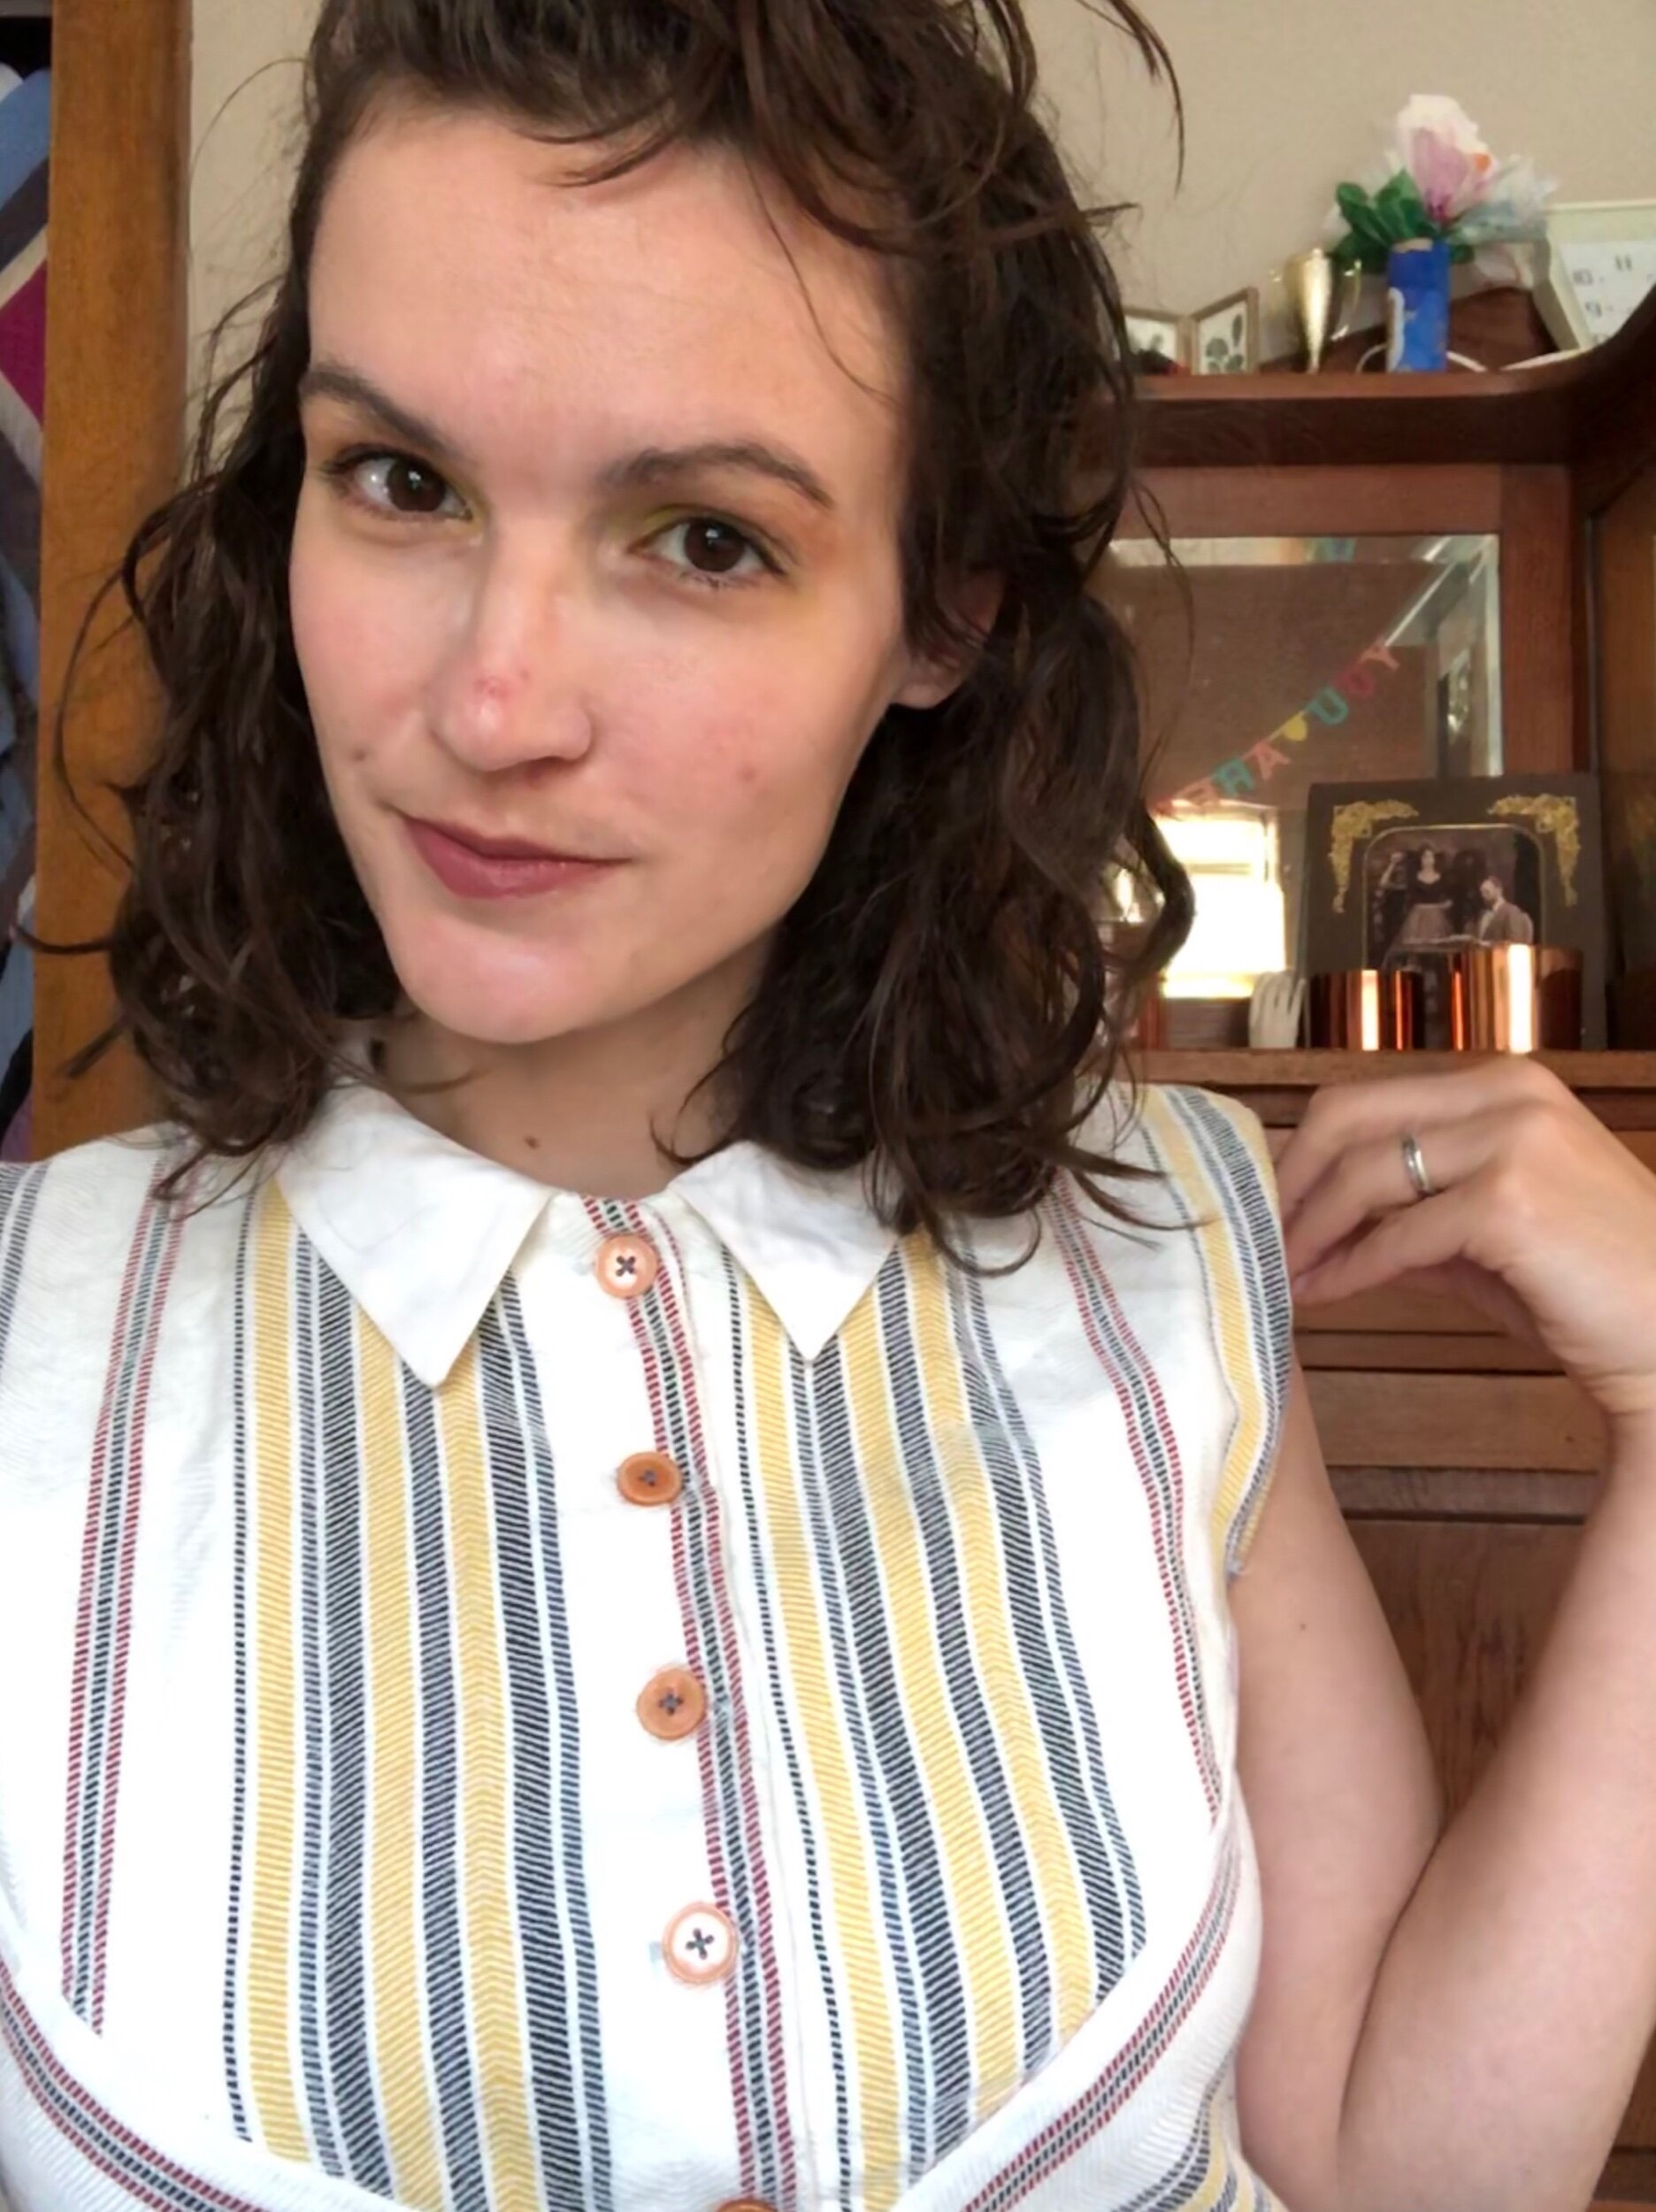
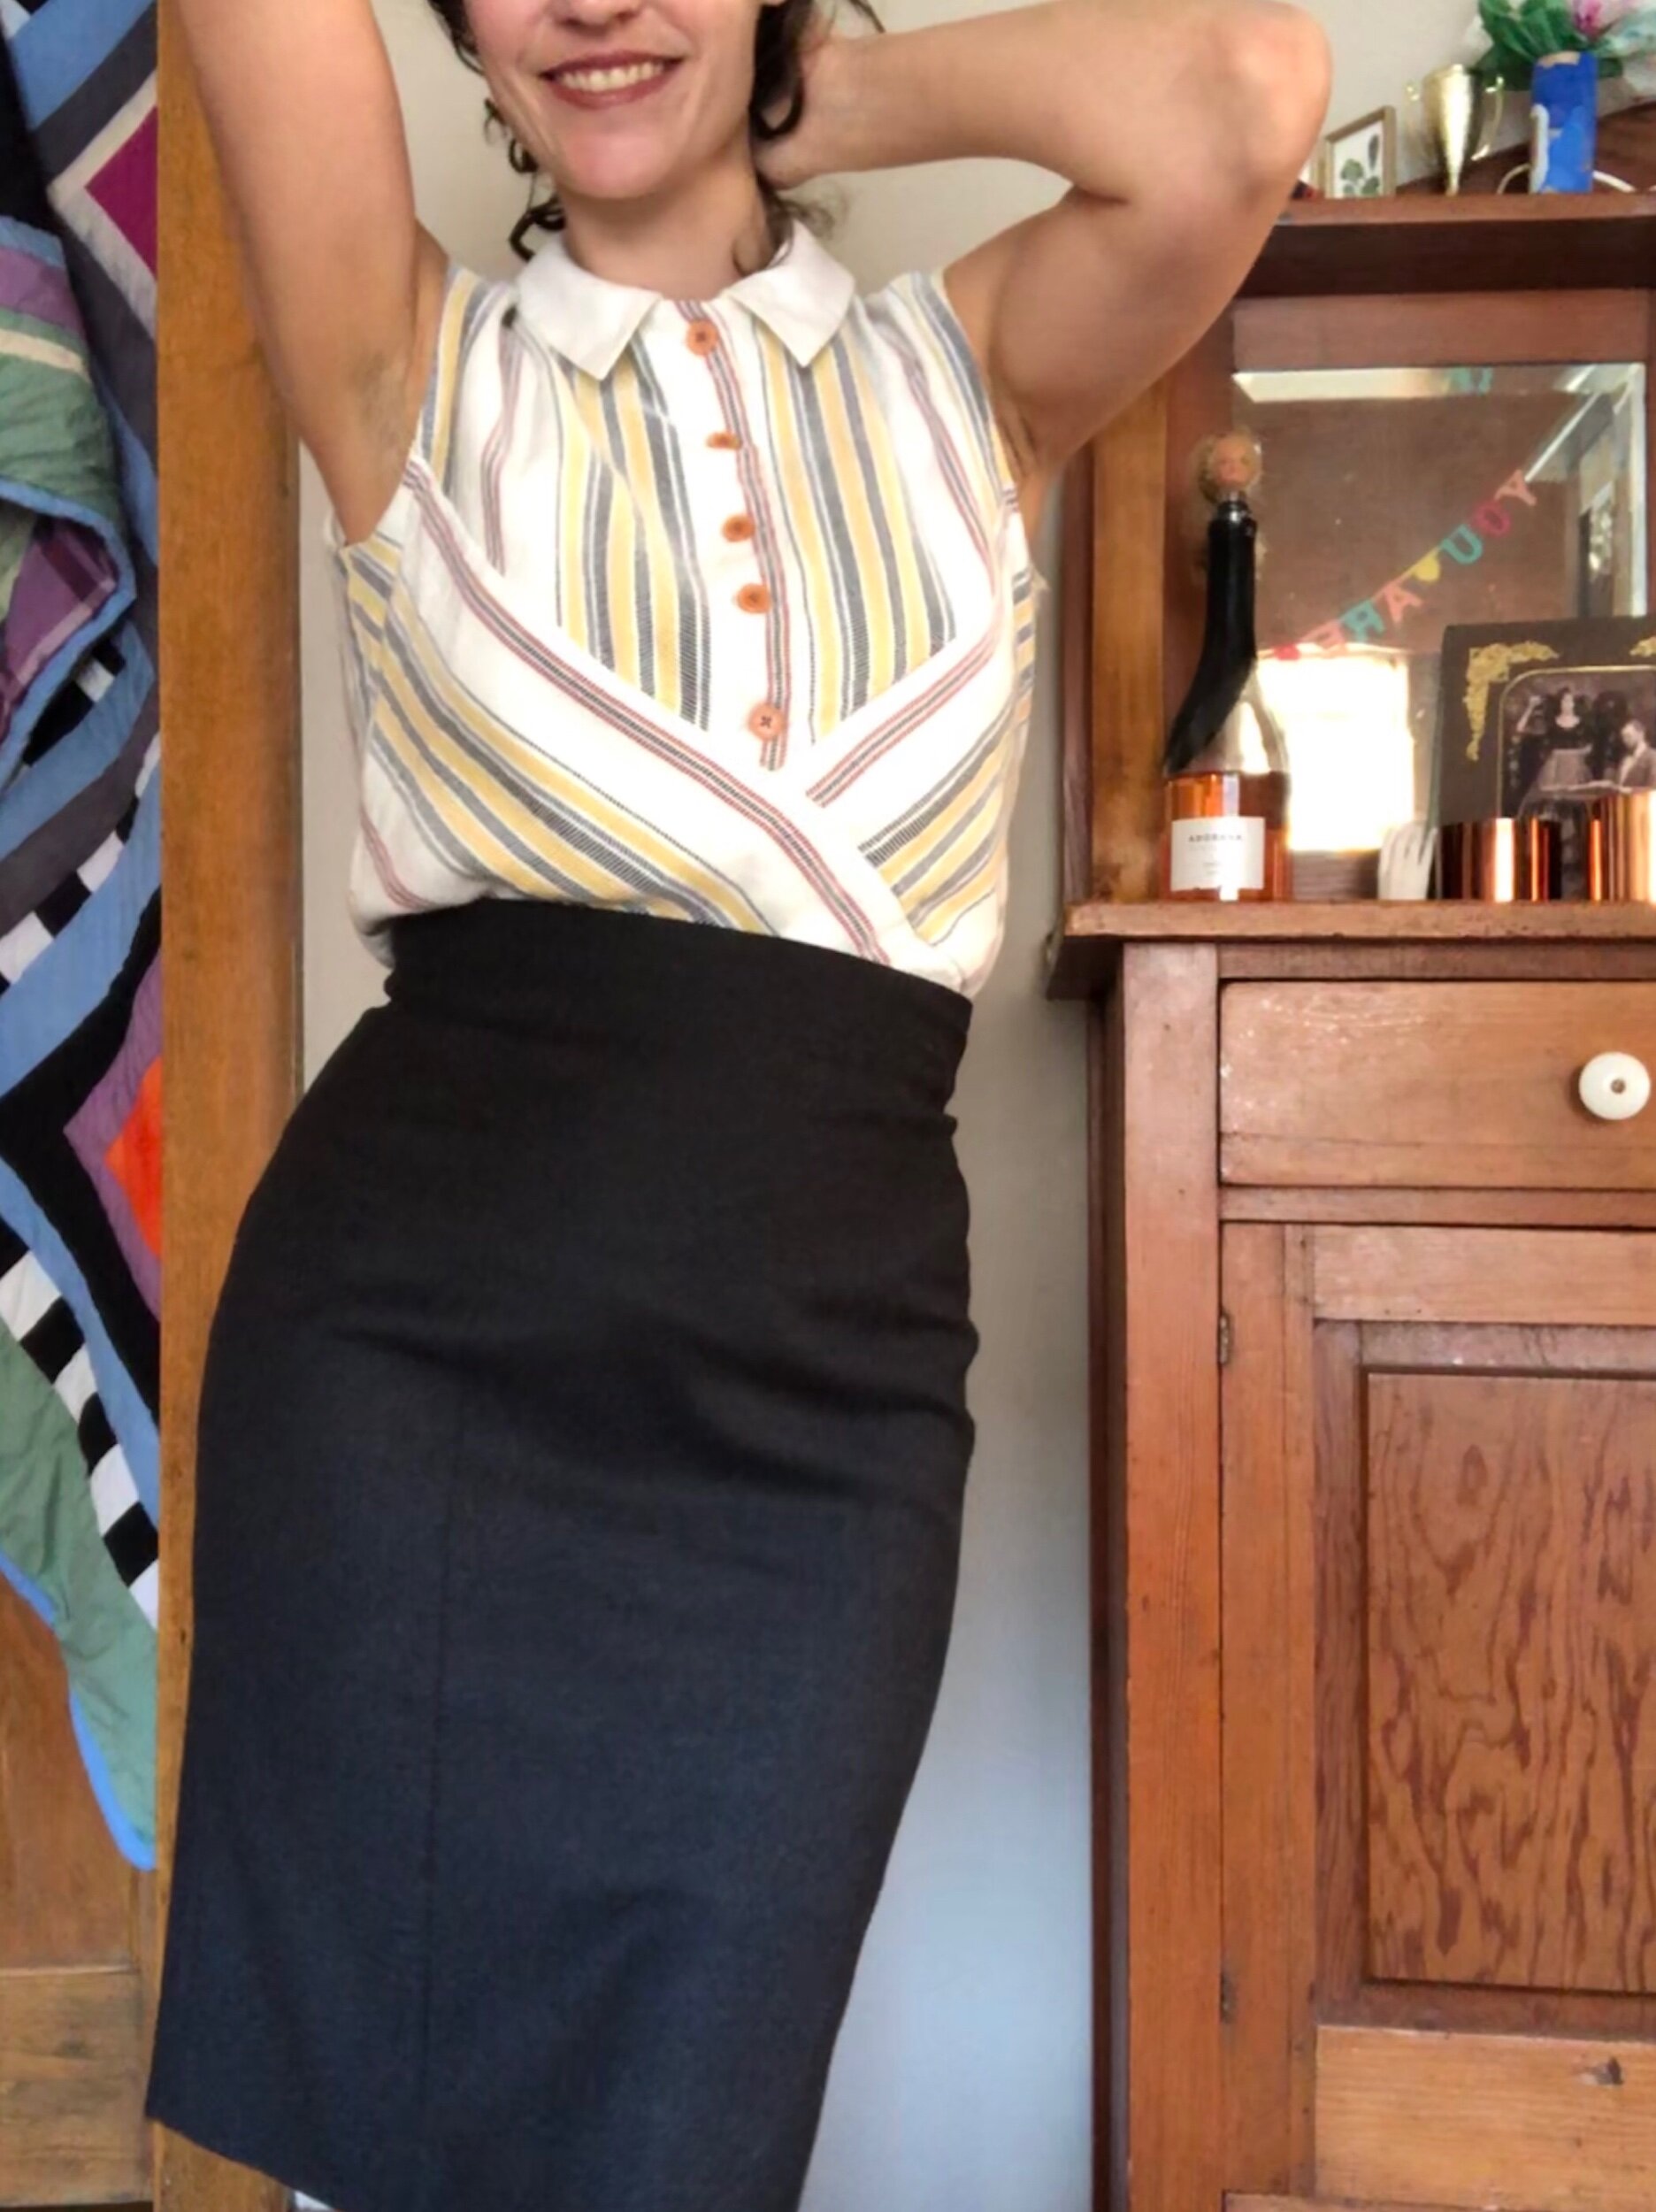
1950s Collared Rayon Top
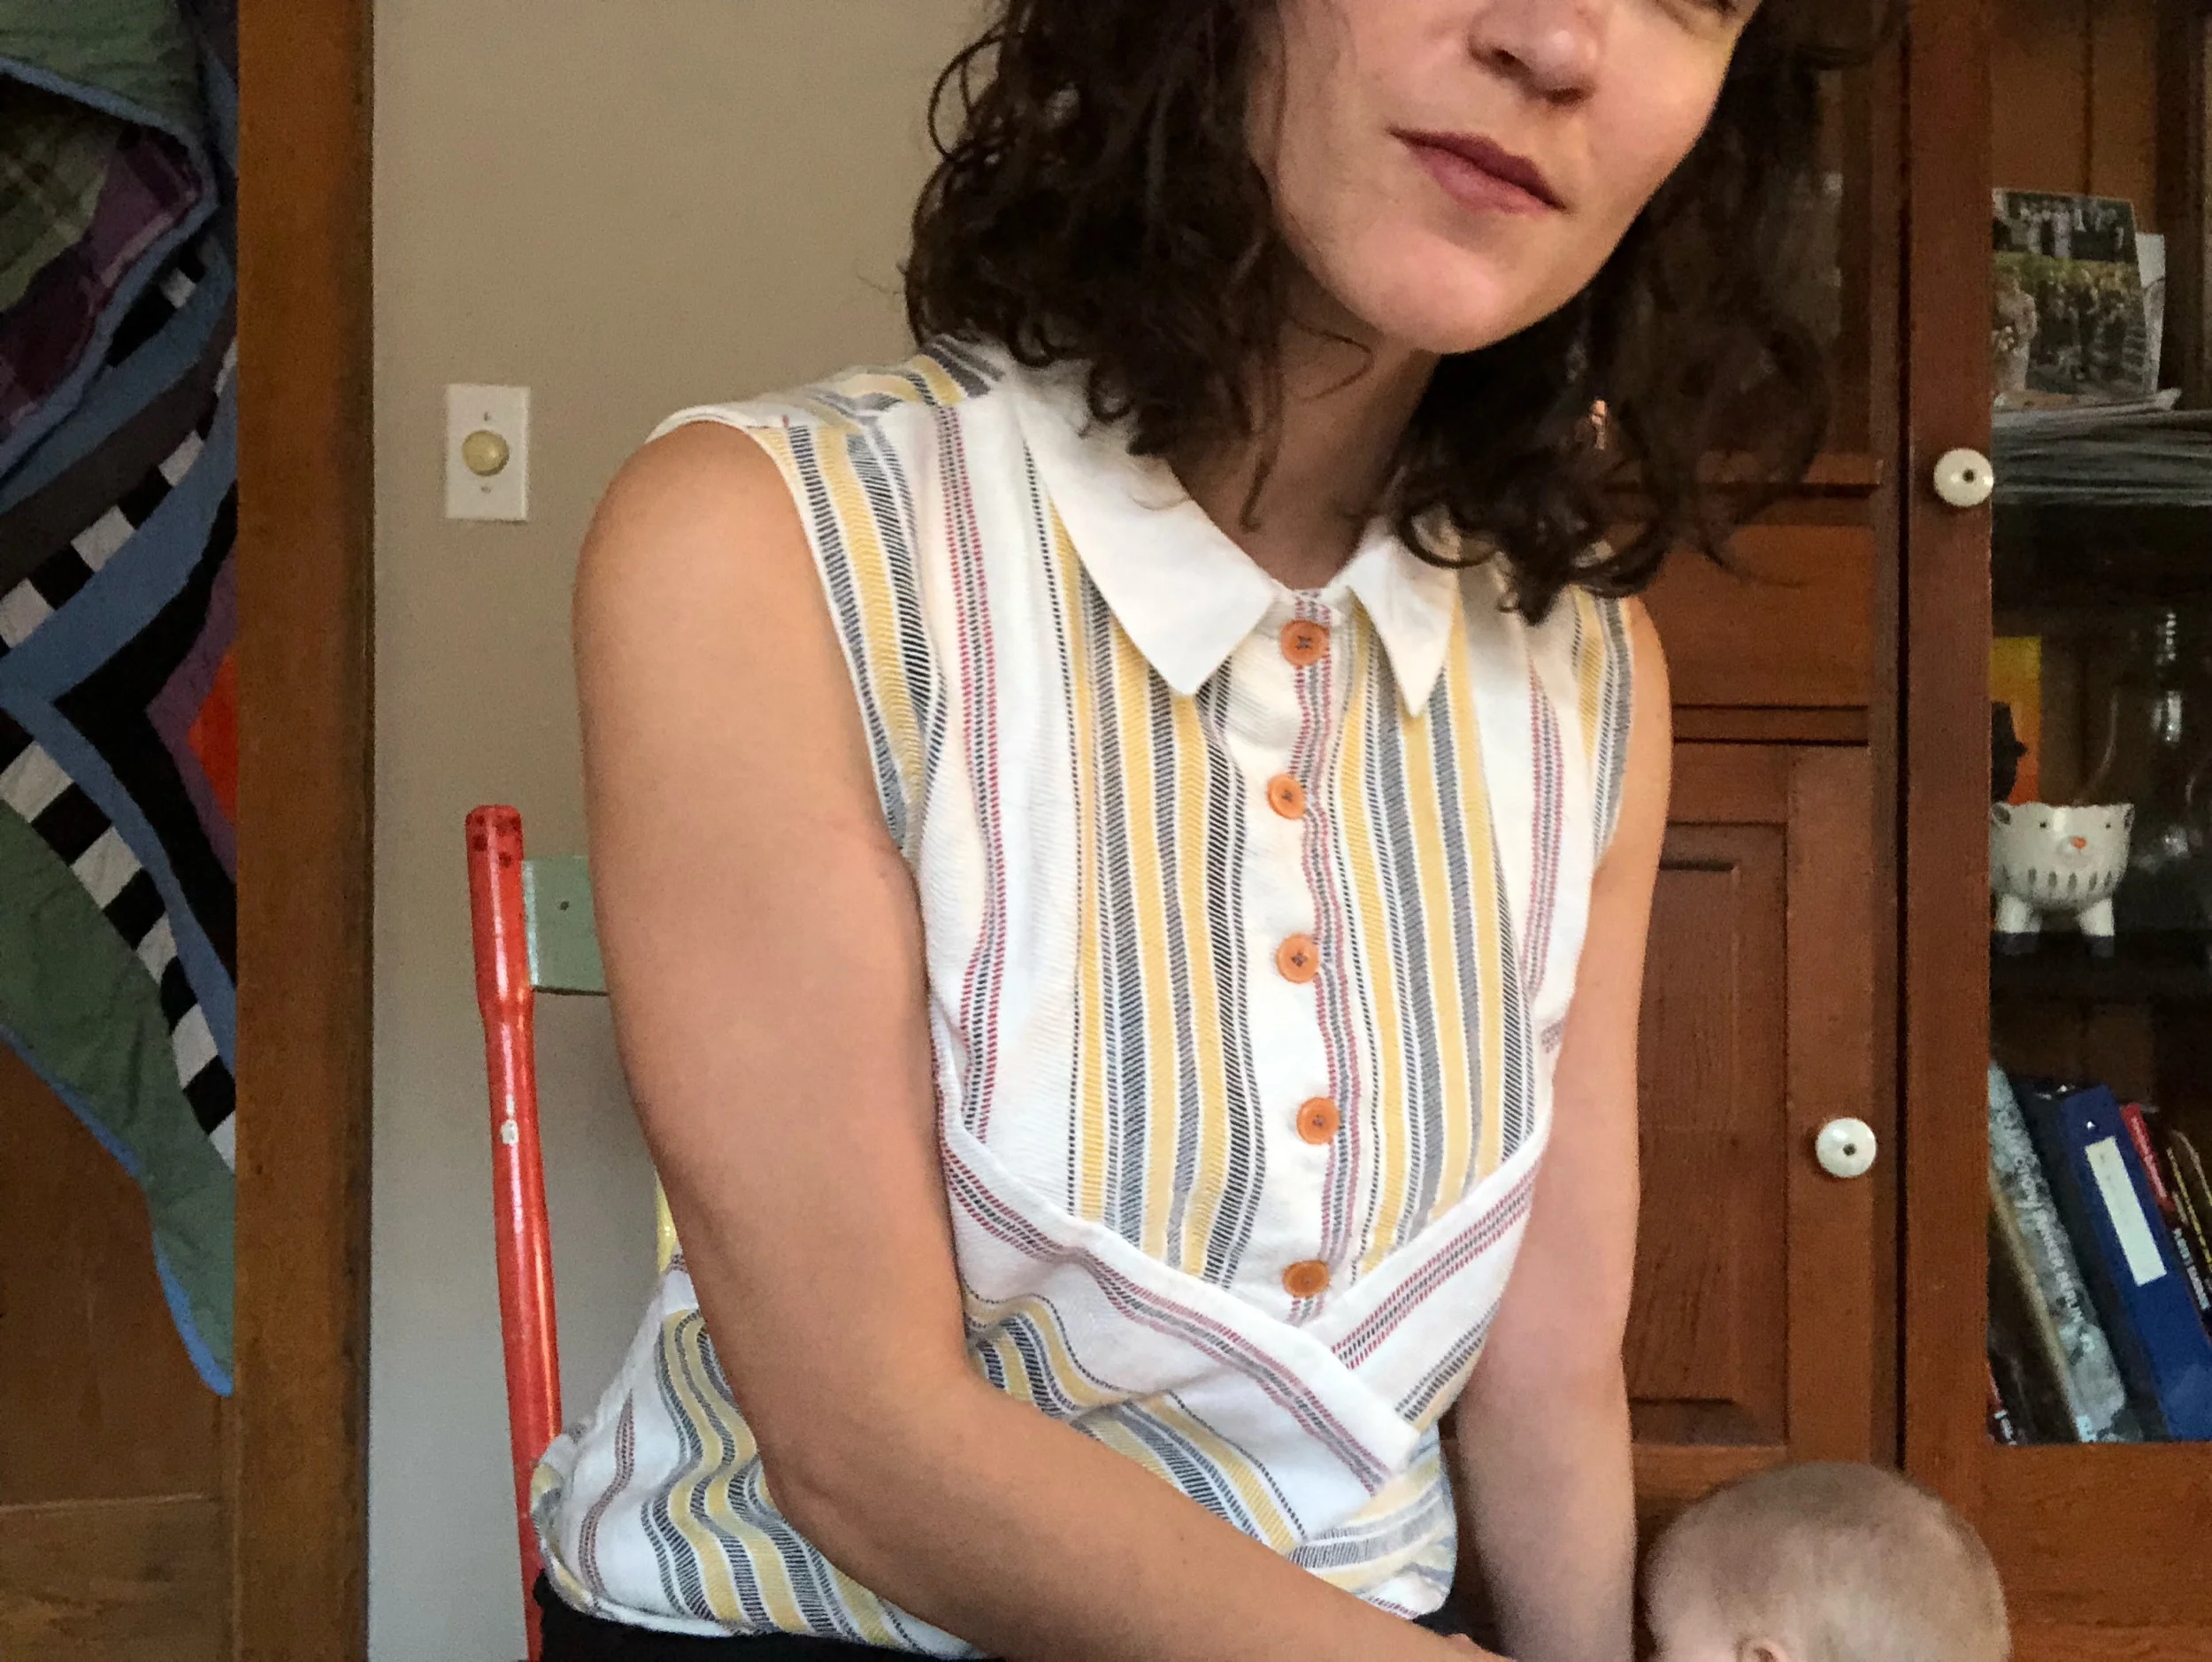
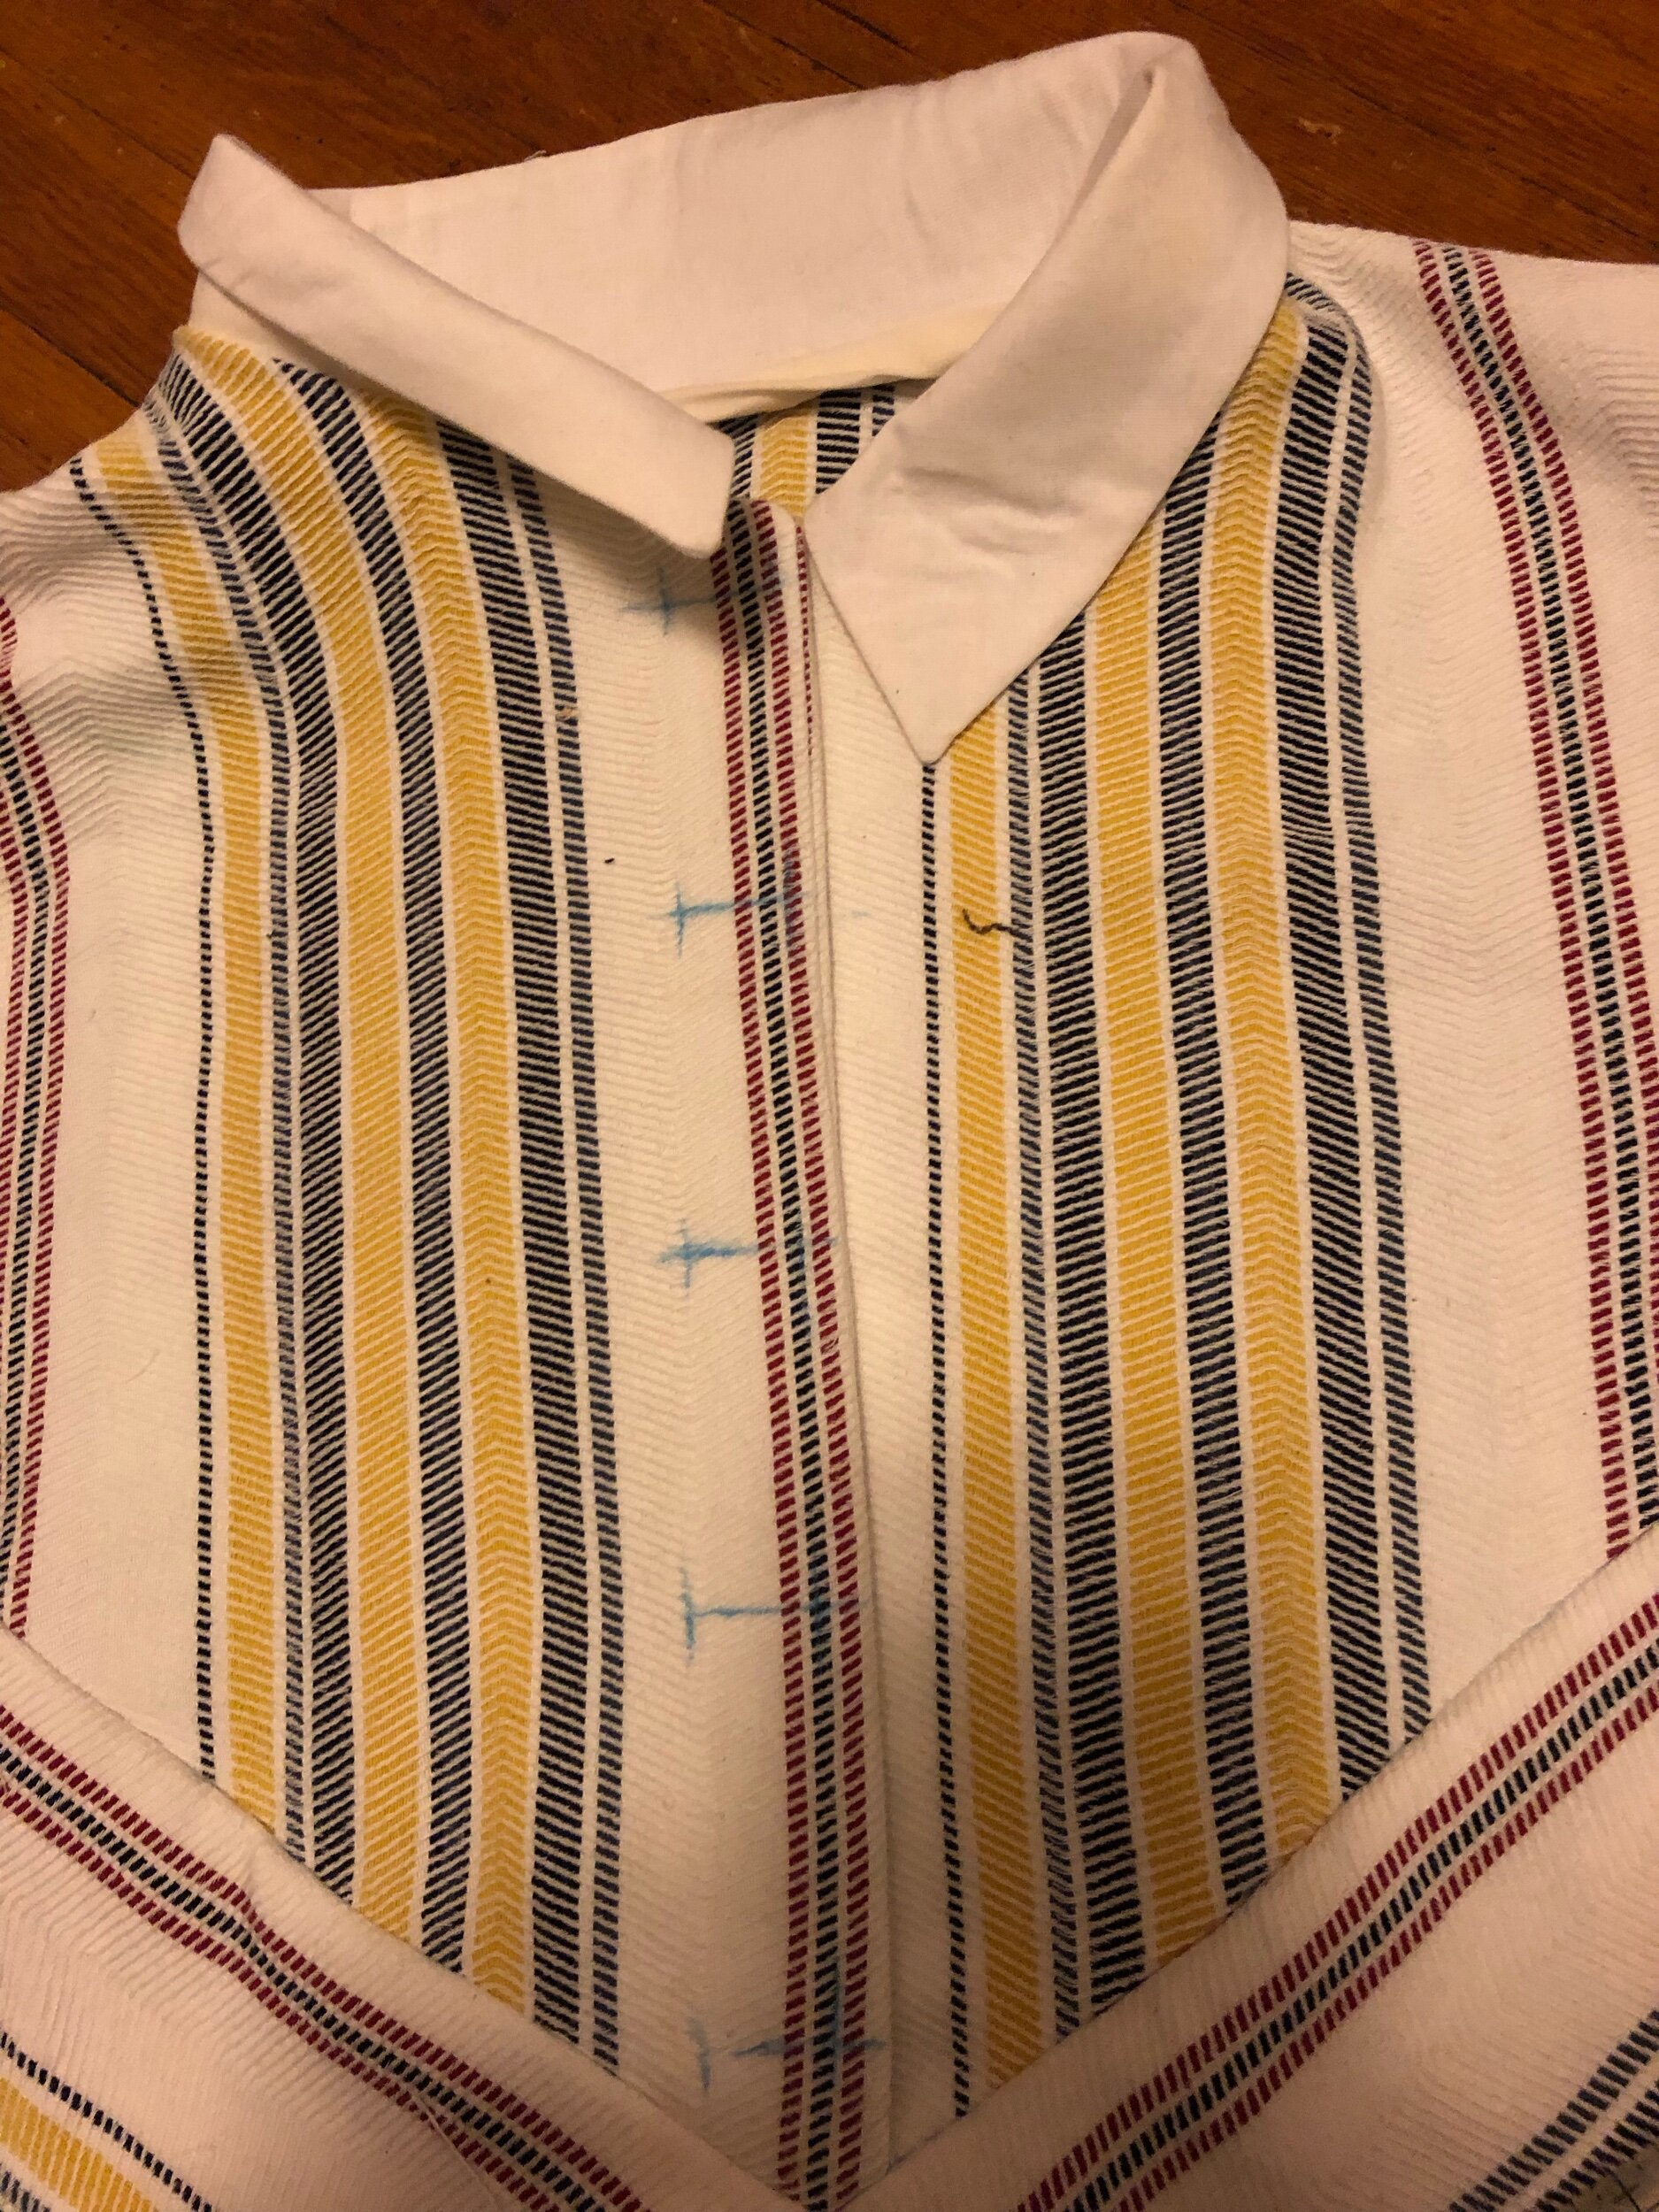
OK so the biggest news here is the rayon fabric (suiting!). It’s from Matchpoint (surprise!). As of this writing, there is a yard left in stock and you should buy it. I would but… I have a bit too much in my sewing room right now. (Tryna keep my consumption on the sustainable end of the spectrum ish.) I really would love to have more of this rayon though. This is glorious fabric. It’s soft, as you would expect of rayon. But it’s thick, weighty, and textured in a way you don’t expect of a rayon. It frays to all heaven because of the unusual weave. It’s preppy and, again, just glorious.
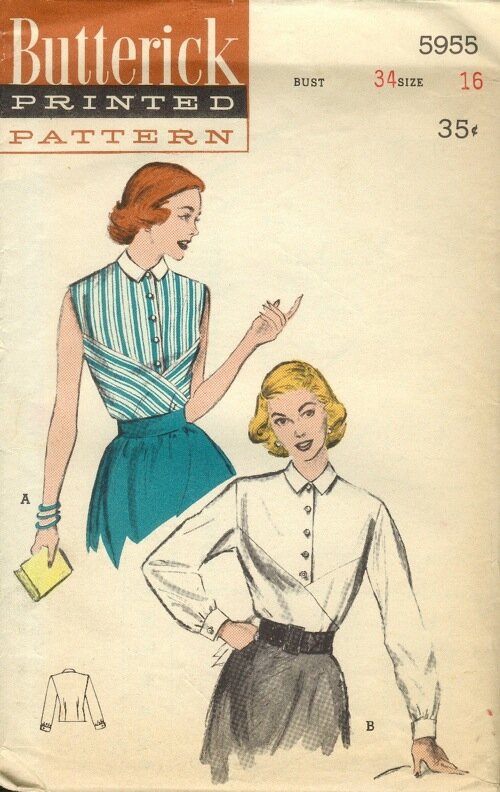
Butterick 5955 cover art
That the fabric takes top billing is also something of a surprise, because when I bought this massive lot of vintage patterns from a lovely woman named Anita (they belonged to her mother who had passed, and Anita was not a seamstress), this pattern (Butterick 5955) was the one that jumped out to me as a must-sew. I like the other view with sleeves, but the lines of the sleeveless version really spoke to me. So much so that I mimicked the art and went for stripes!
Anita’s mum was the type of lady you love to get patterns from. You get some insight into their process and love them for it. This pattern had the original pieces, taped in places, and evidently used. The pouch also had her modified pieces on tracing paper - size and fit adjustments, plus she’d converted the back to mirror the front’s crossing triangles. I didn’t use them, but what a treat.
For my own journey into personalizing this pattern, I started with tracing and grading. Up, this time, from the 32-inch bust in the package to my 36 inch bust. I have to say grading up feels easier than down, or at least it feels easier to control the pieces. I glued the new spread out pieces to a larger pieces of tracing paper to preserve the change. I kind of like to see what edits I’ve made.
Incidentally, almost as soon as I started walking the adjusted pieces, everything seemed off. And so I walked the original pieces, and everything was off. So I don’t know if there was supposed to be some easing occurring around the front triangle cross pieces, but i tried to balance everything out so that there wouldn’t be any fiddling with matching match points that were wayyy off. So off the hop, I ended up editing this pattern a lot.
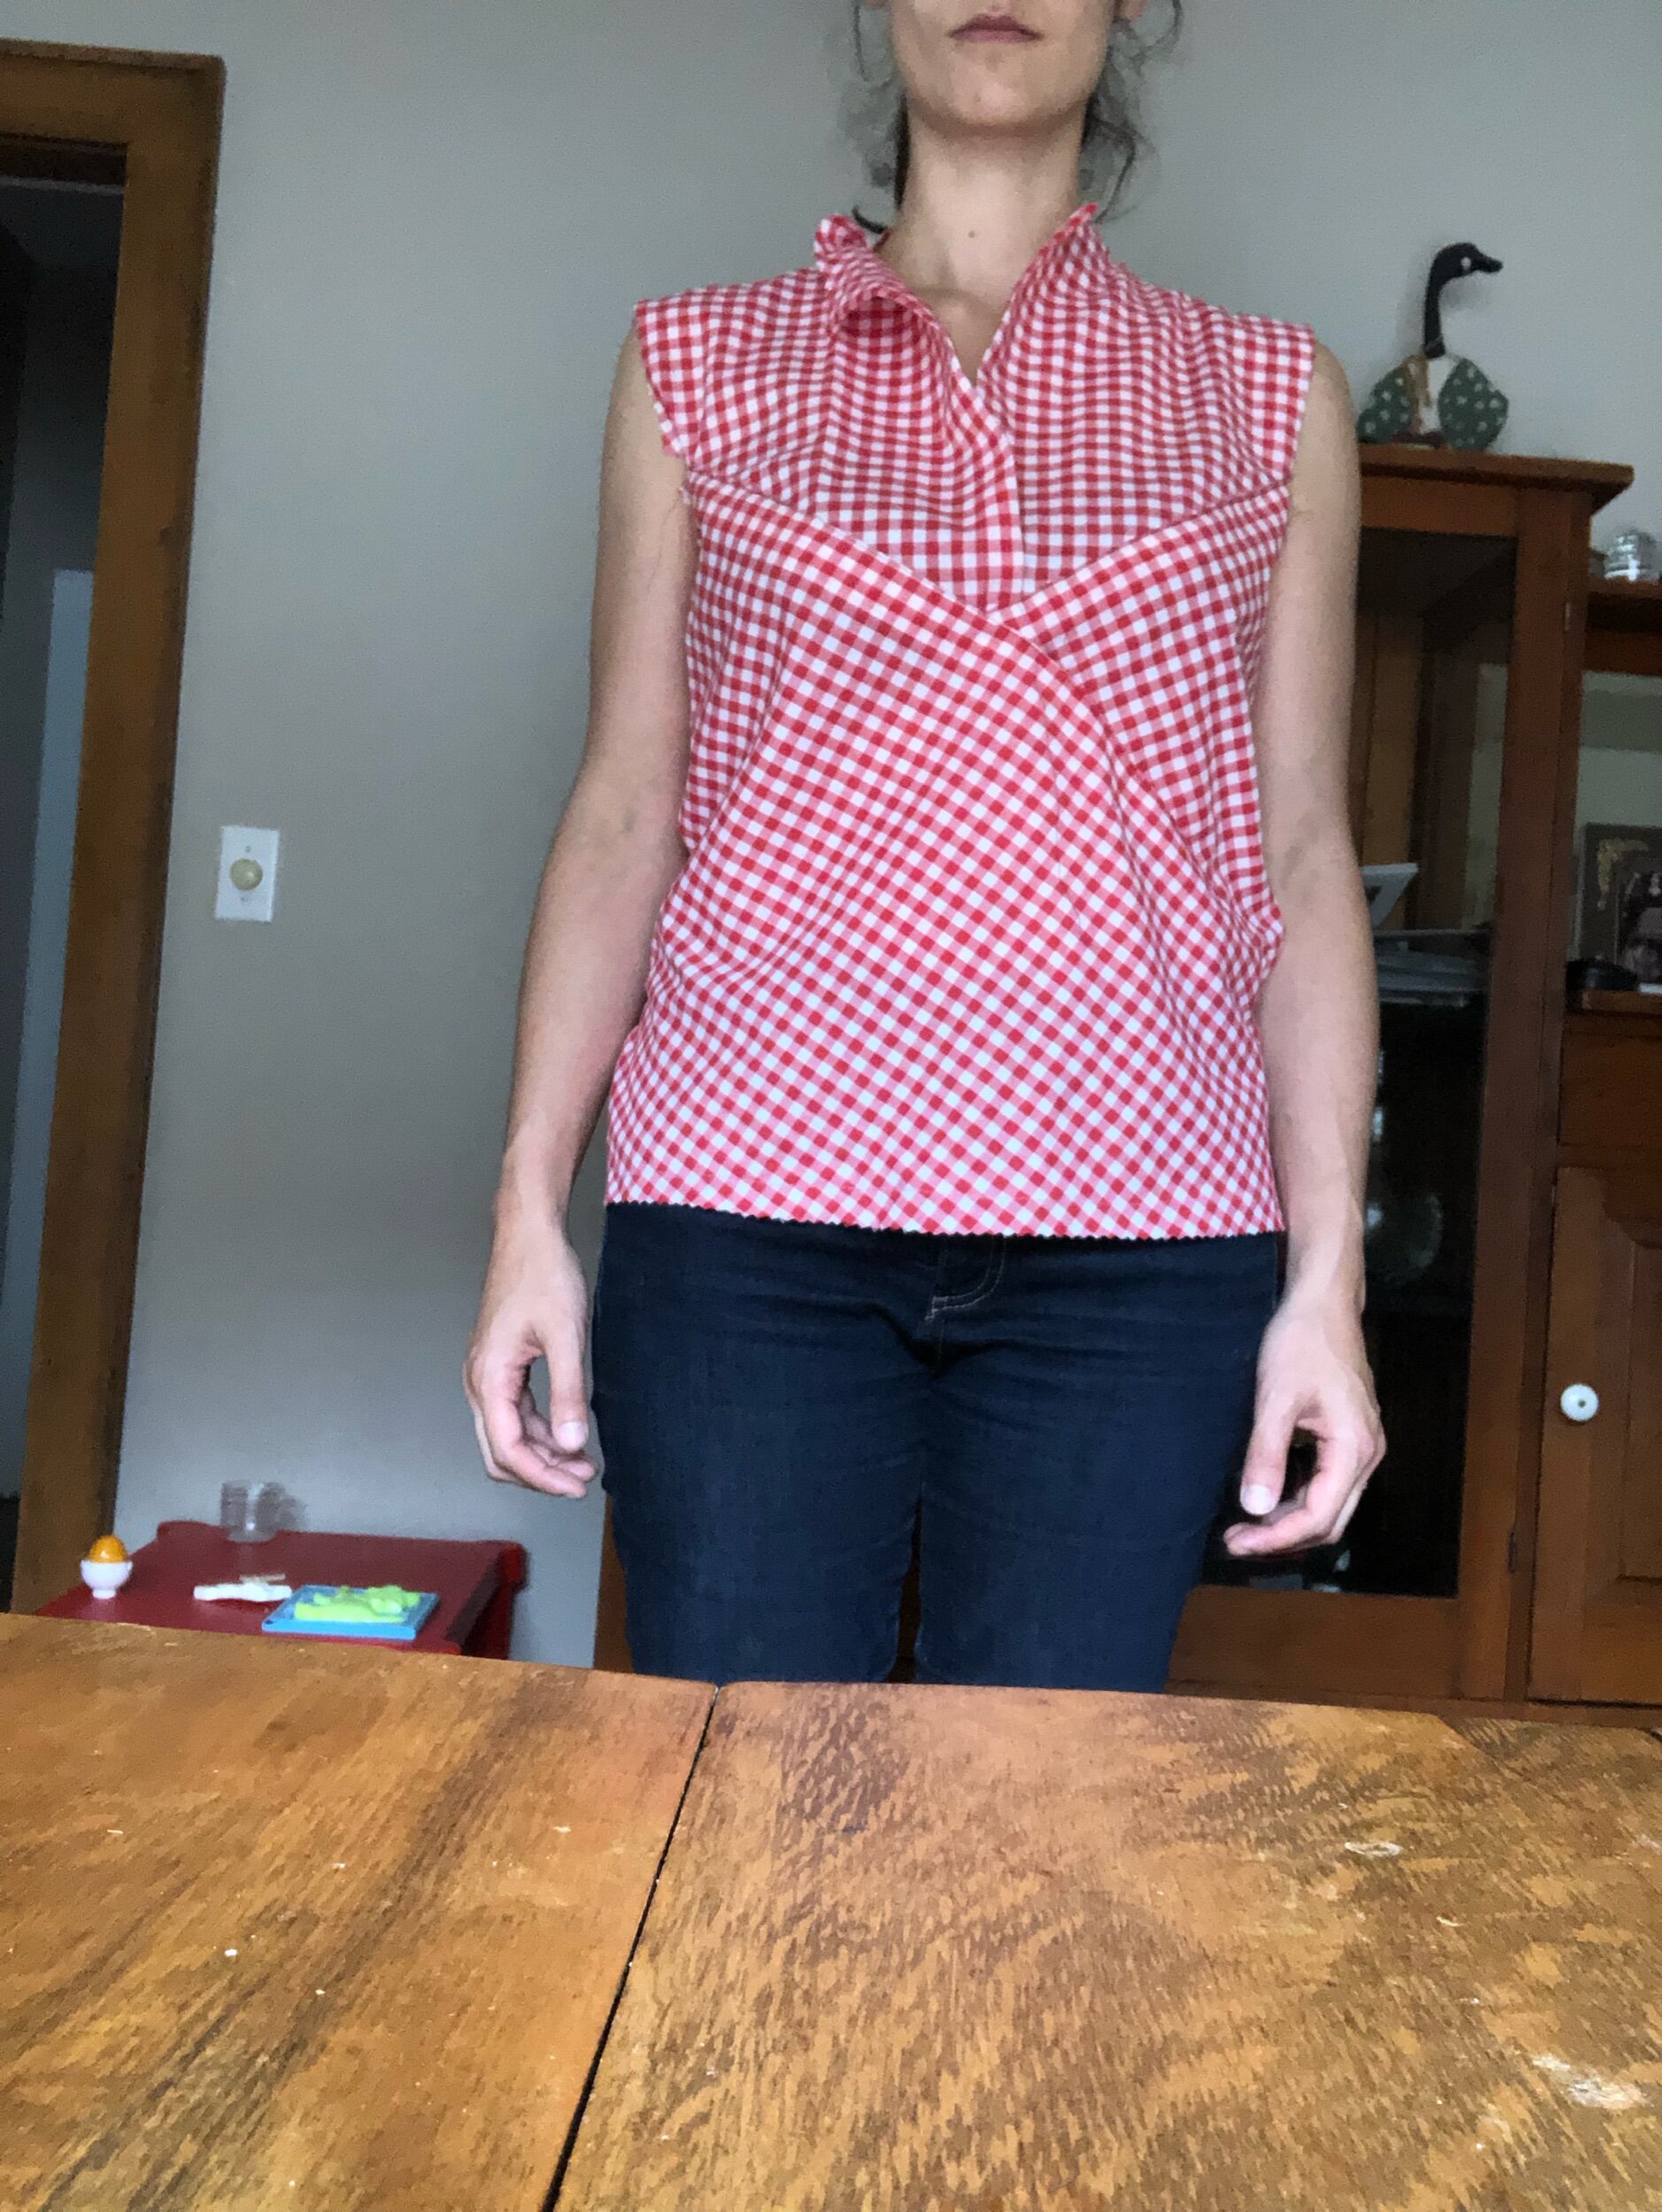
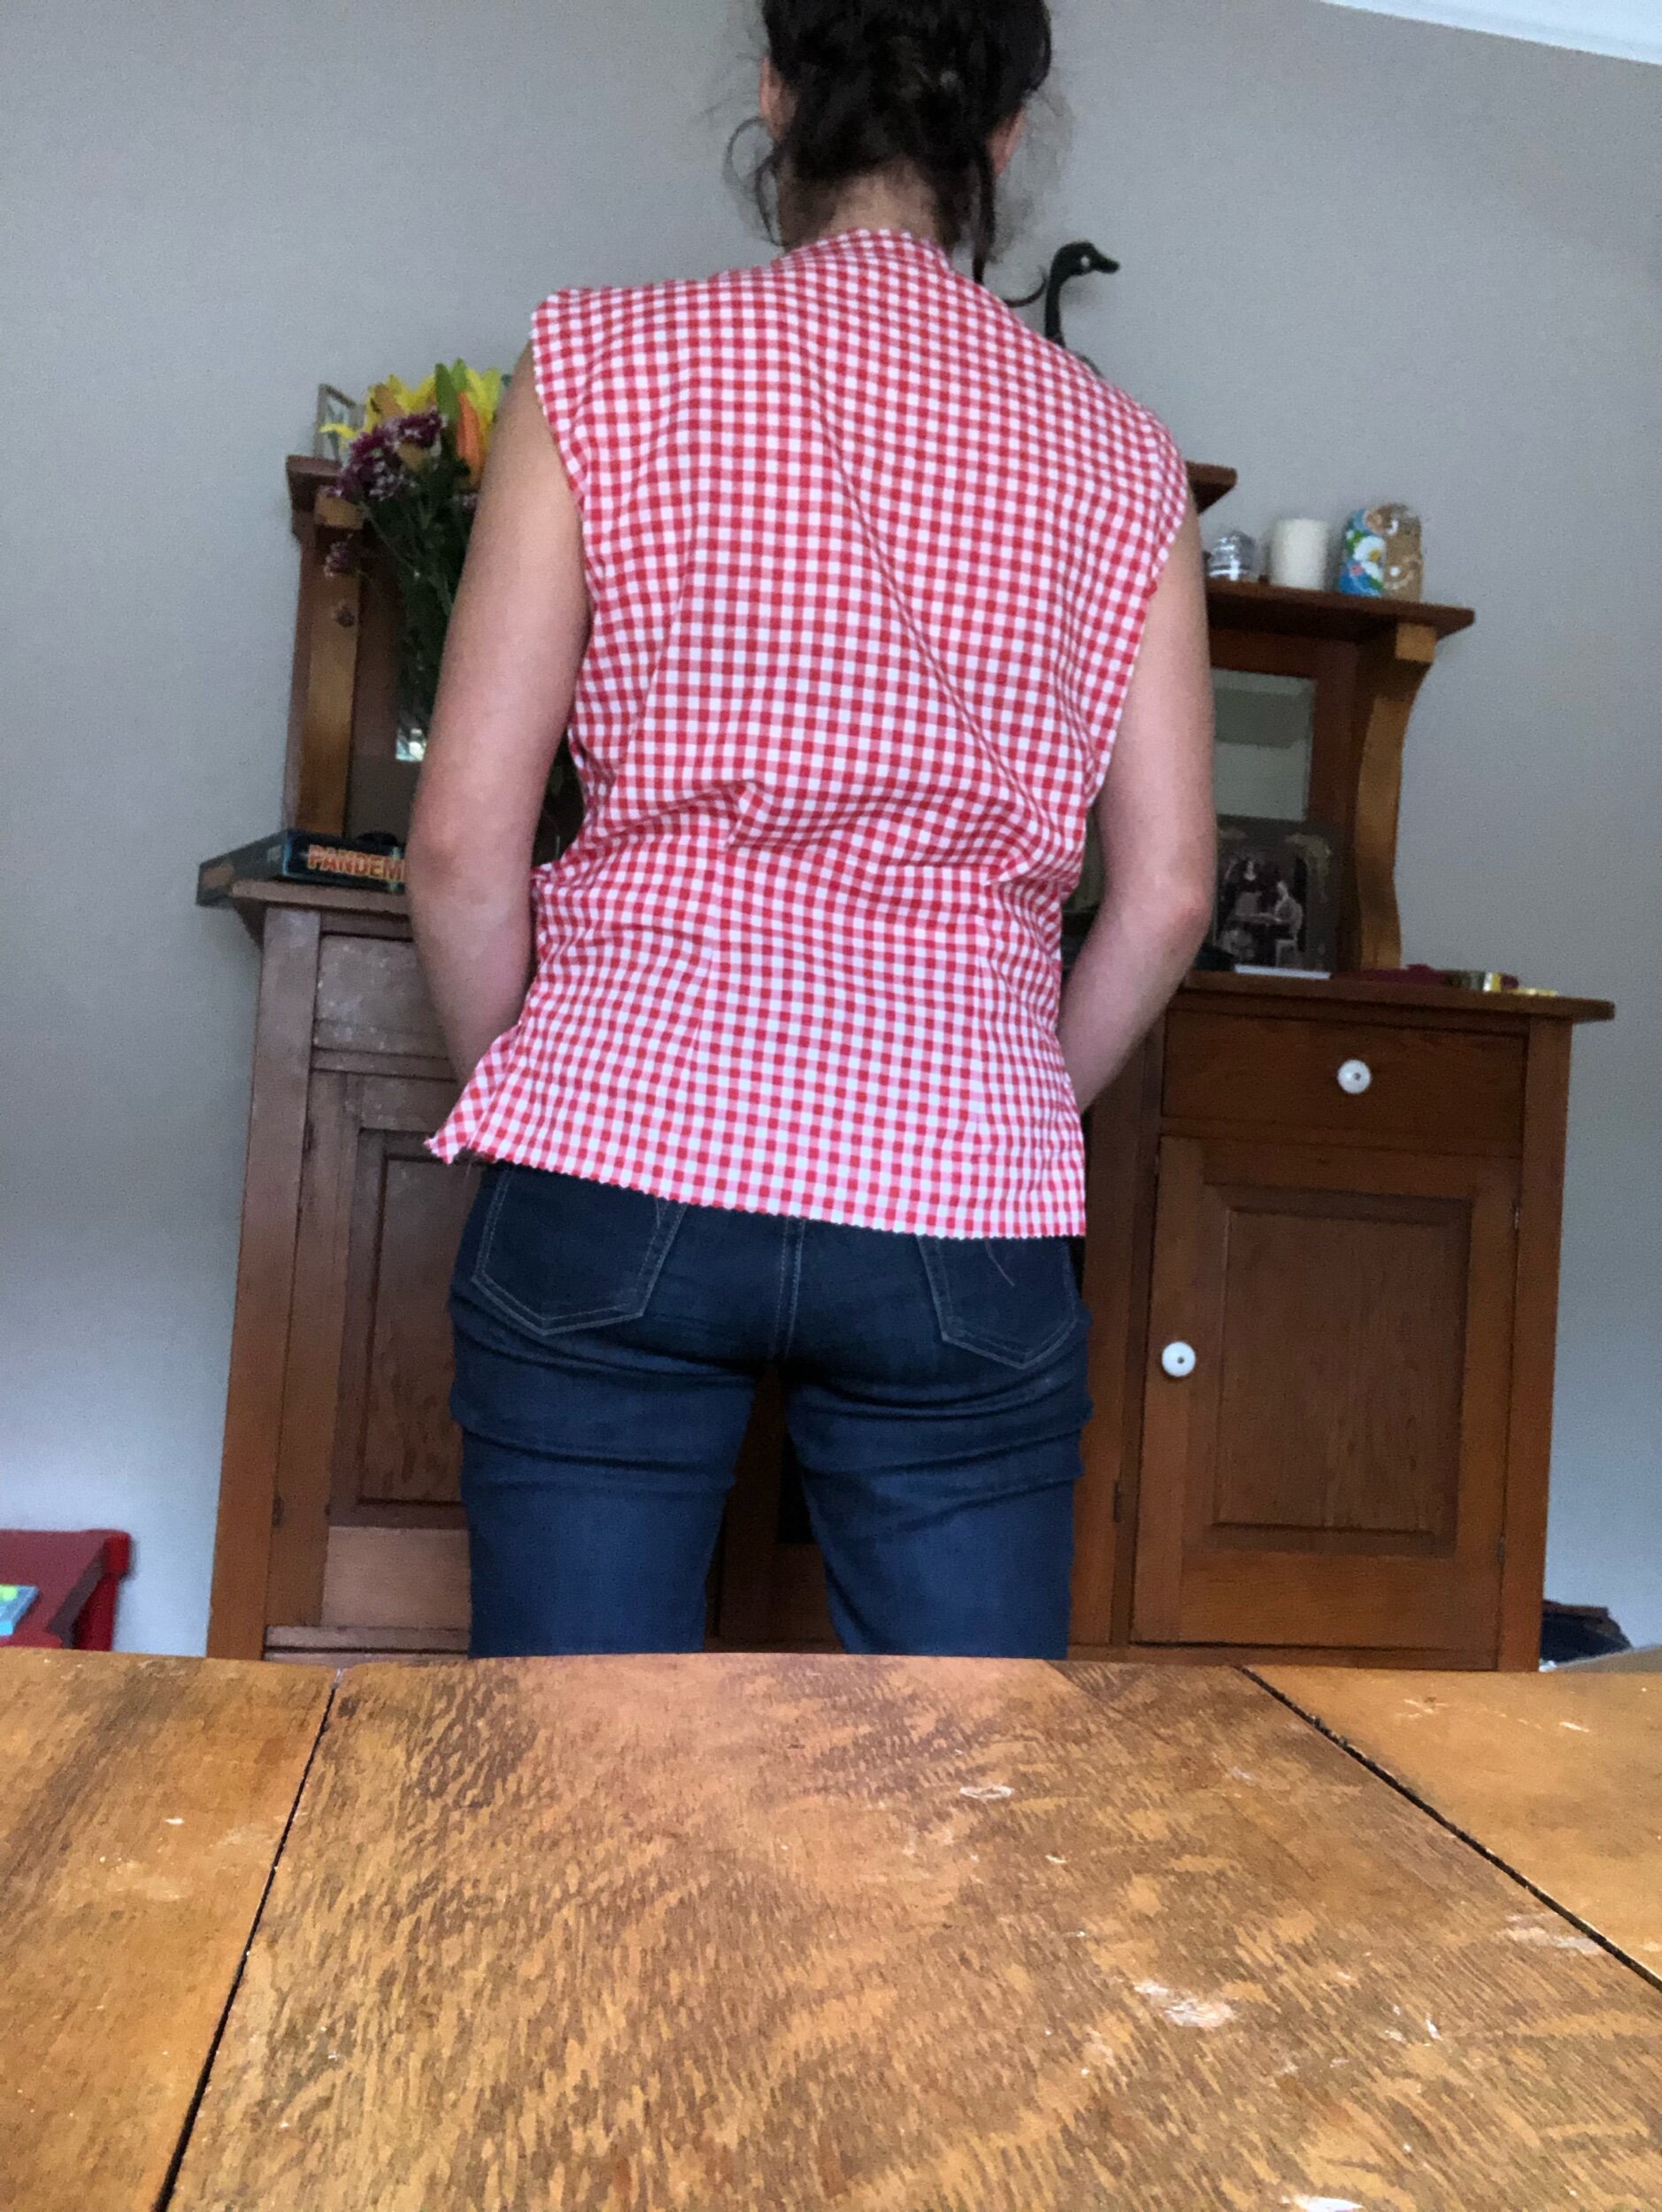
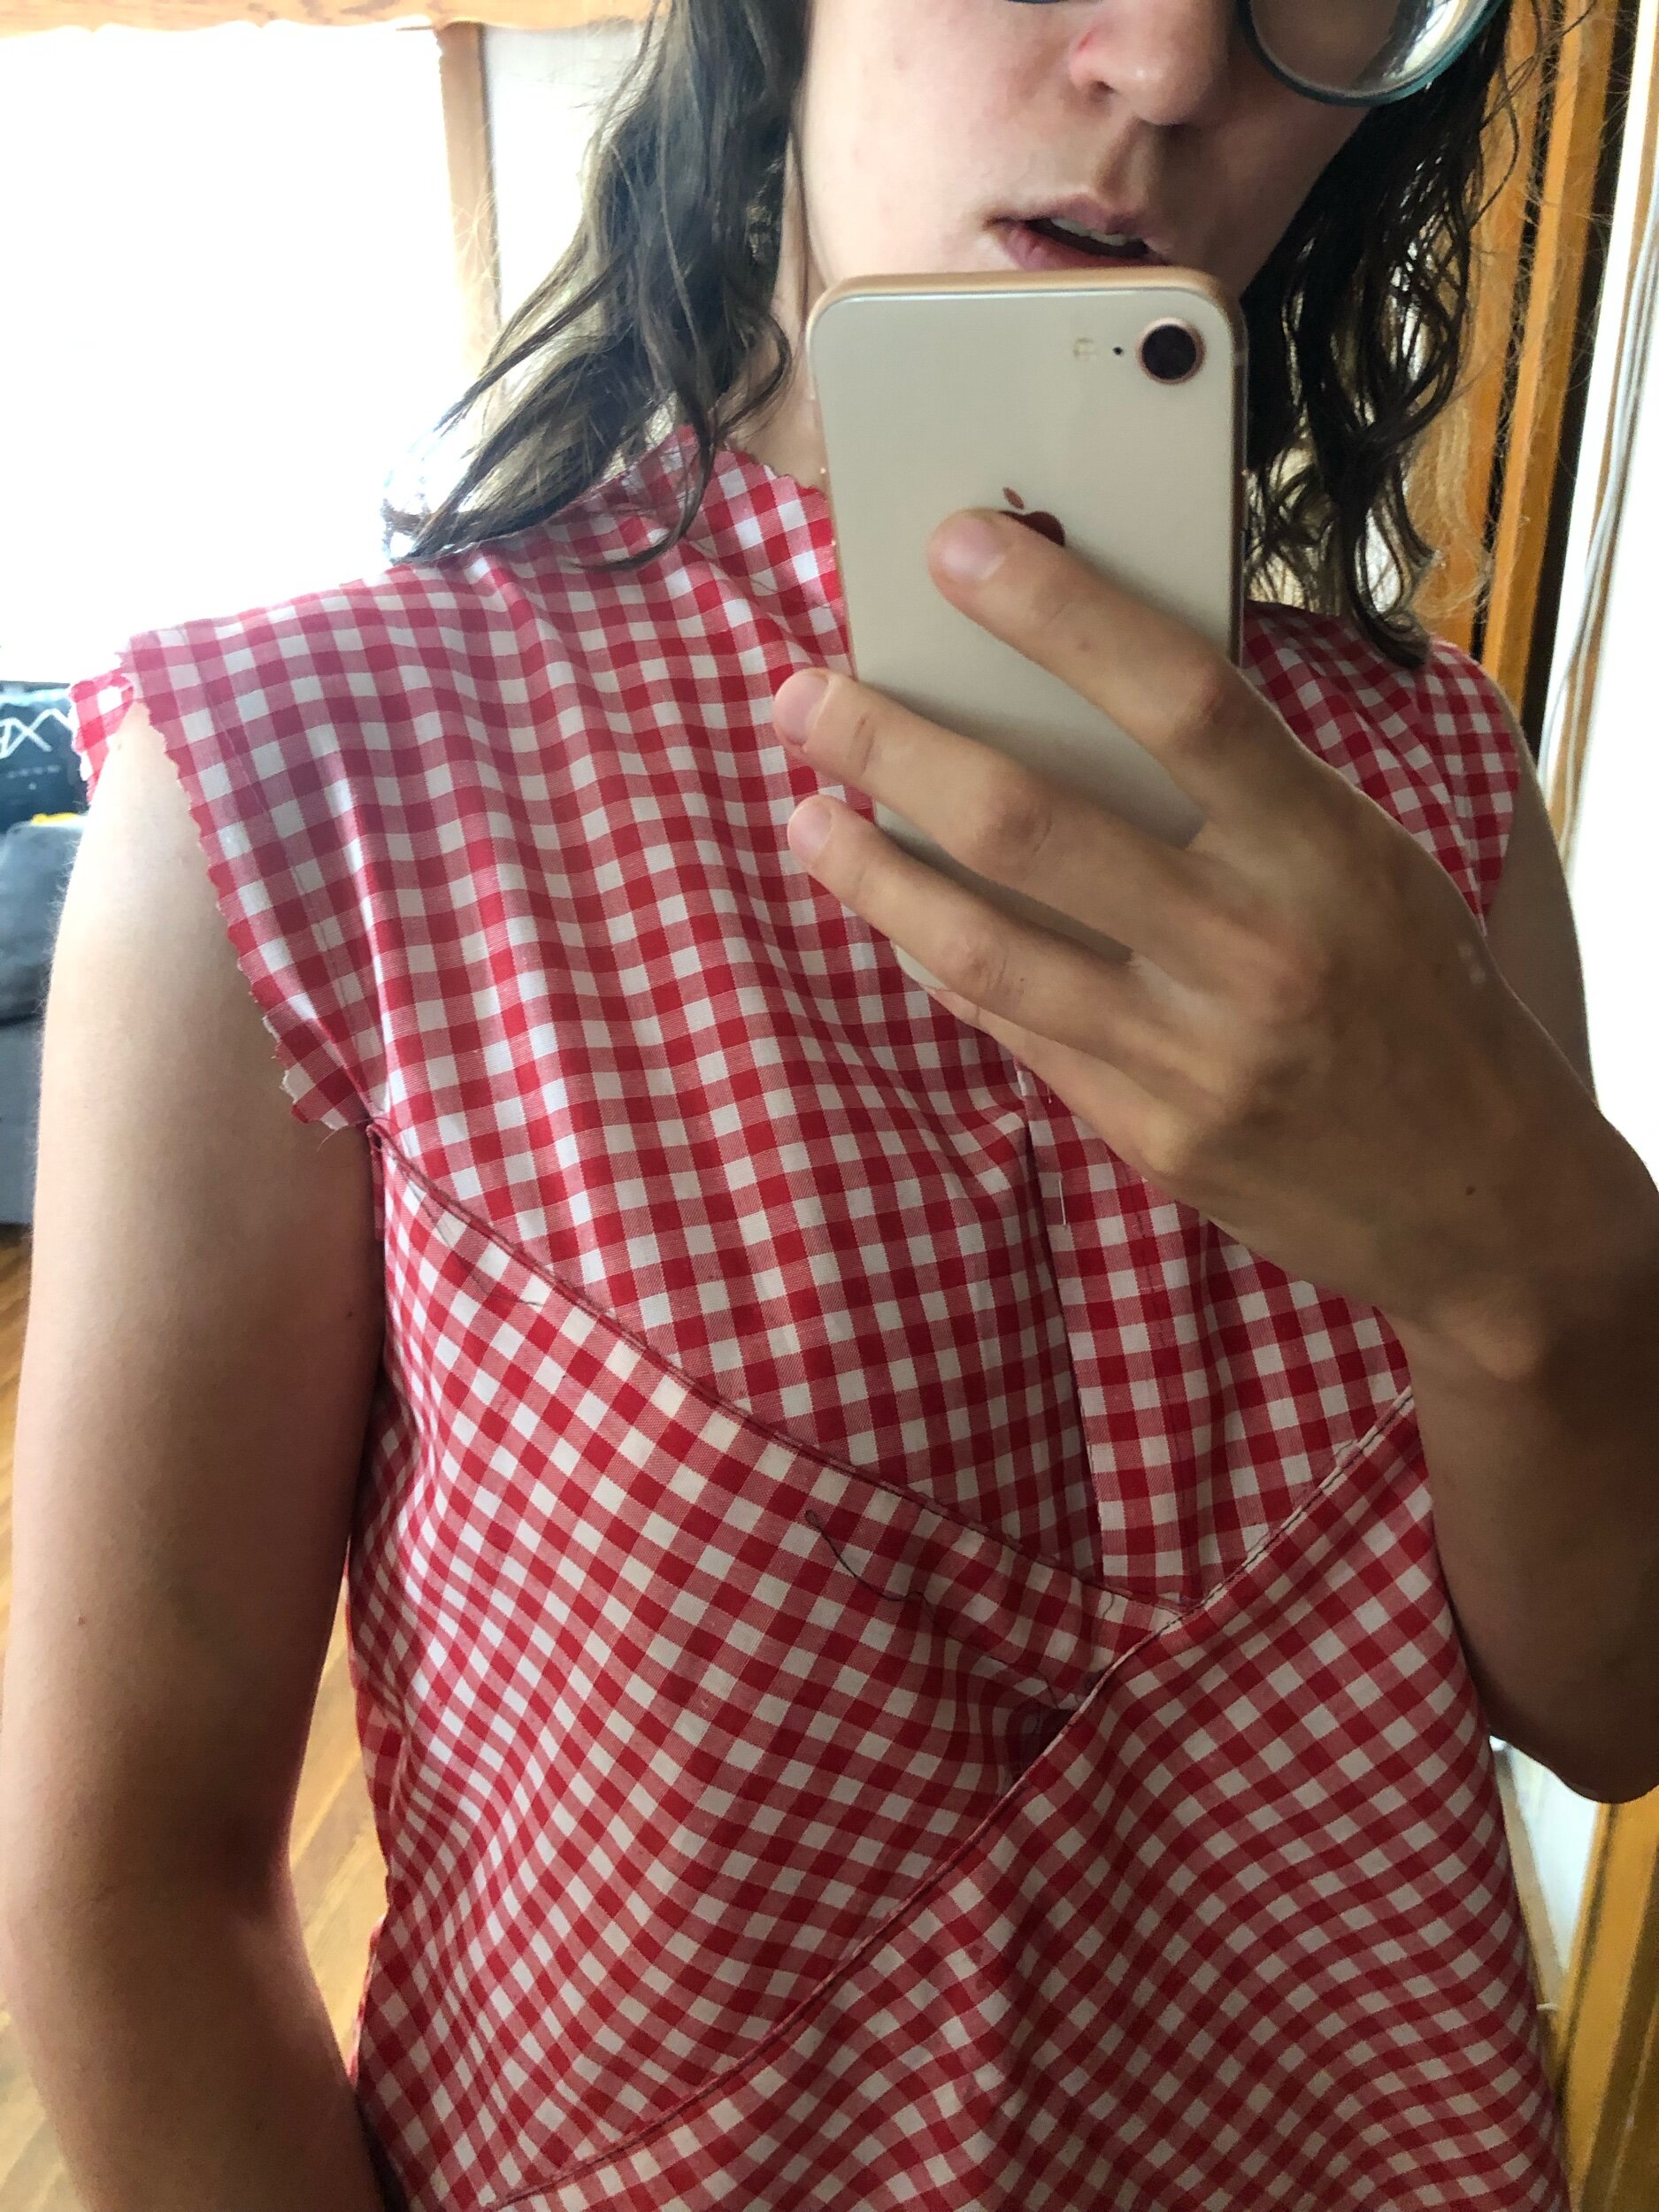
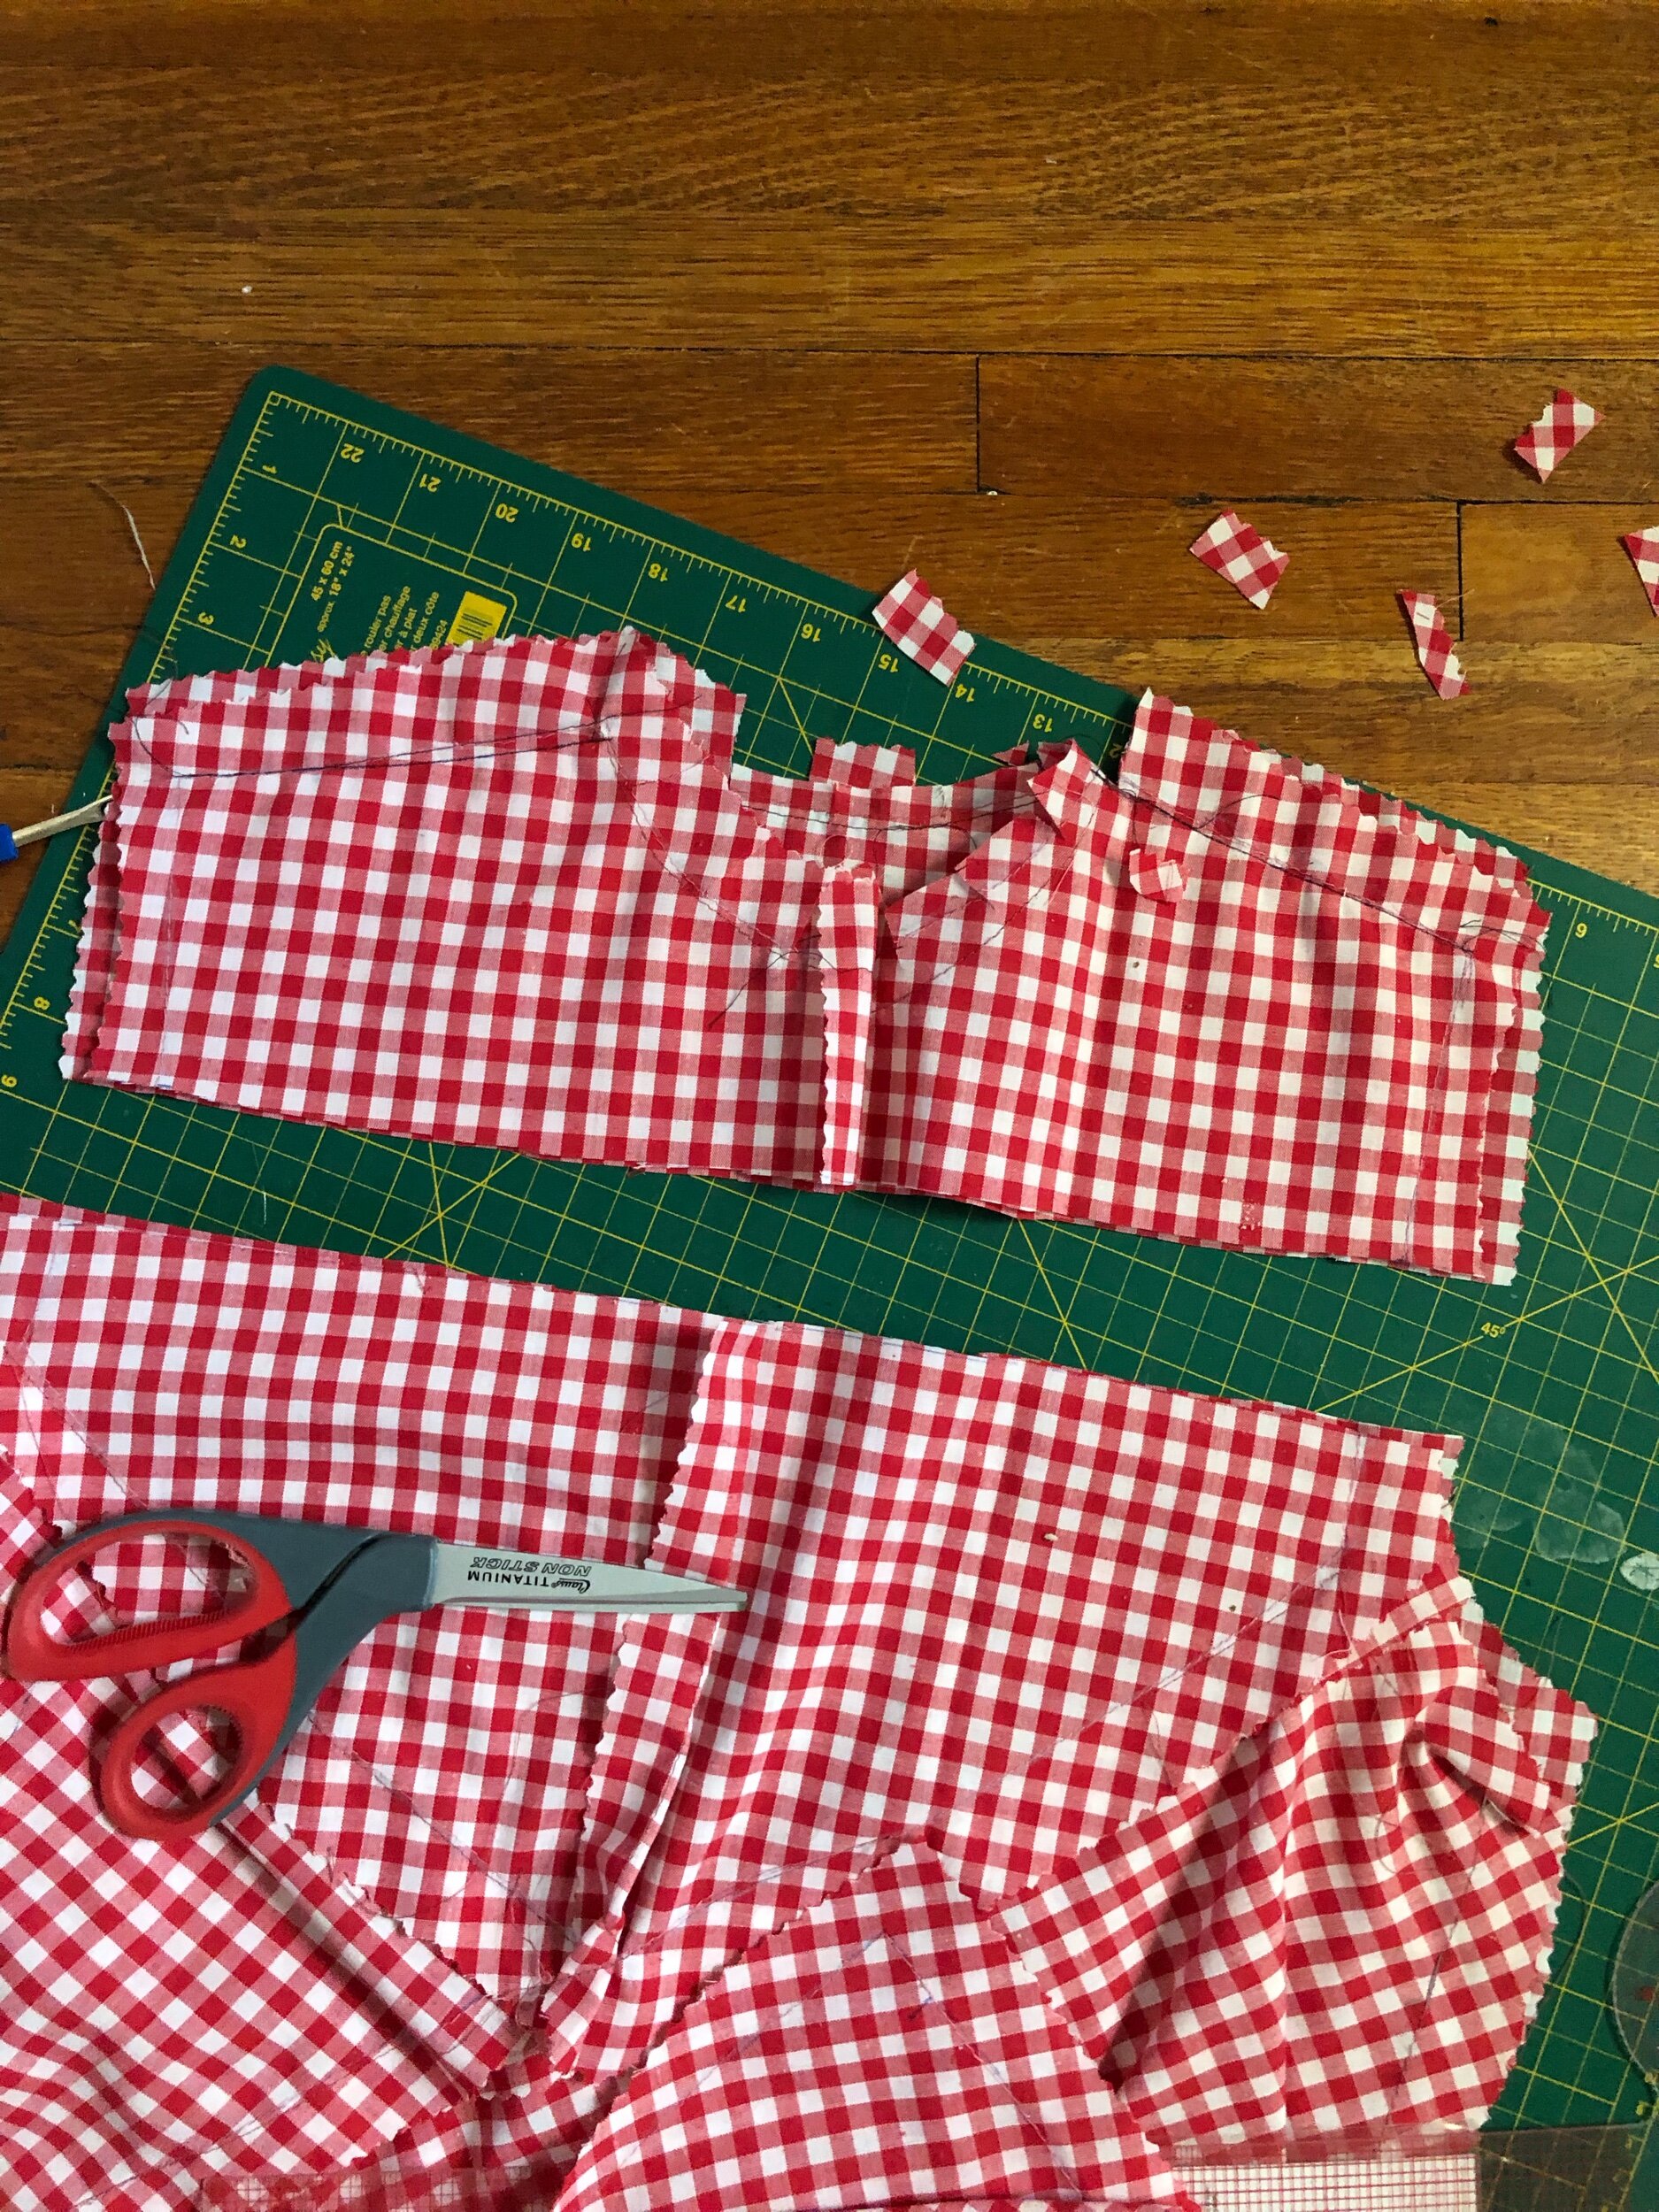
I decided to try out the pattern without seam allowances added; that is, I tried my hand at eyeballing the seam allowance and tracing the stitching line. I didn’t quite feel like thread basting the stitch line, so I marked with chalk or pen depending on the moment then used the machine’s basting stitch. This was for the practice garment, which I cut out of a cute kind of stiff red gingham I’d found at the Village Green thrift, with the thought that it fit well enough I could make a “wearable muslin” and if not no harm done.
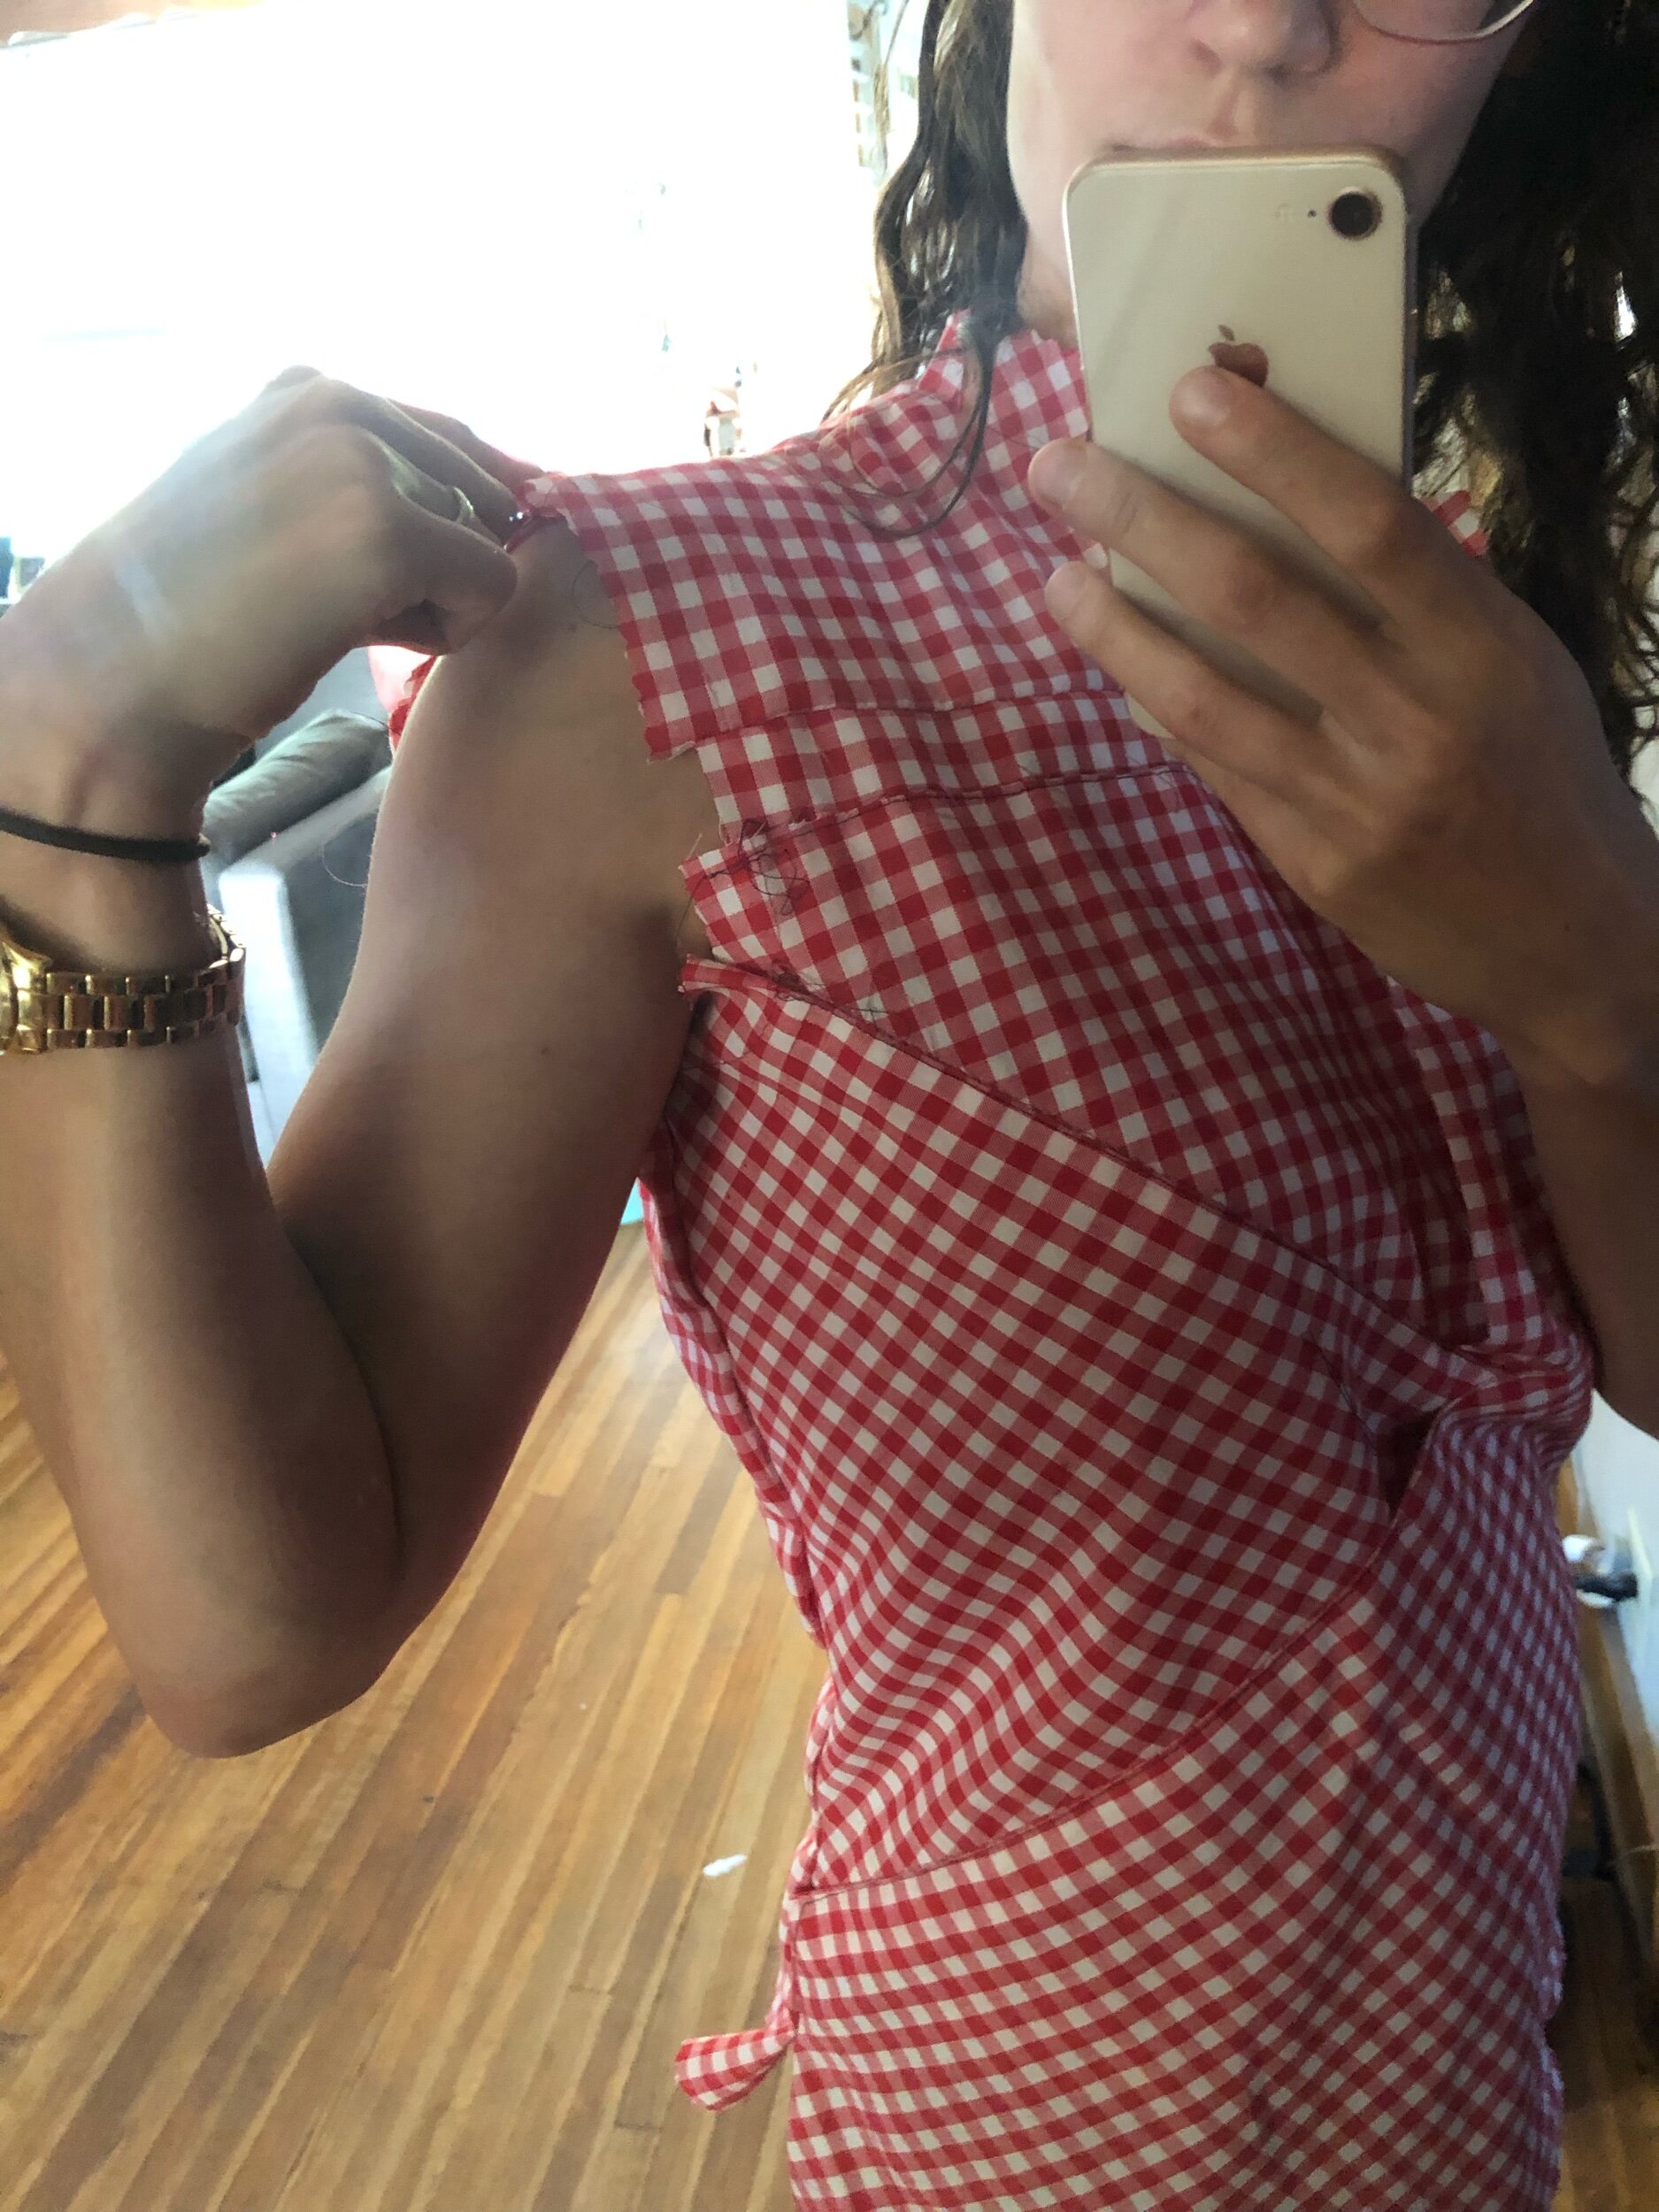
The first and most important takeaway from this project was that I have a considerably lower bust than a 1950s lady would have. I prefer a comfortable bra that’ll let my boobs sag a bit. The armpits were extremely tight too, so I just added an inch of fabric in the bust (and commensurately in the back) rather than fiddle with each issue separately. This kind of worked a charm as now the bust seam passed over the bust, but I then really needed to fix the shoulders (vertical lines from shoulders to bust point) . And the neckline was incredibly tight. The chest adjustments I kind of expected, but my neck being this much beefier than the average 1950’s lady? noooo. surprise!
a look at some of that shirt texture, plus beefy baby legs
For the shoulders, I got a friend to pin me up and eventually it got the shirt smoothed out. For the neck, I just drew a desired neckline and went with it. Although even that took a couple go-rounds. I should really get a chain necklace to make it easier to see where a nice high neckline like this should live.
It’s very nice to be getting better at fitting! Let me tell you, I have been reading BOOKS about this topic (thank you Sask library system!), and I found the Singer fitting book I picked up from the WILD fabric hoarder house sale (more on that soon I’m certain) has been great for visualizing what’s going wrong and how to address it. I think I have to go back and get the rest of the Singer library?
That all done, I moved on to cutting from the rayon, which frays like mad. I didn’t try any nice/ fancy seam finishes here because of the raveling and the fabric’s thickness. I just zig-zagged fairly tightly. I was less careful about marking my stitch linings in the fashion fabric because one tends to be more careful one day and then who cares the next, and it was a the next day when I did this I guess. Anyway, on the back piece for example I only really traced the piece out properly on half the cut piece, and eyeballed it on the rest?! It worked out fine.
I could have done more fitting, certainly, but the improvements I got were pretty vast and I don’t want to over-do it.
Imagine that: after putting a muslin version together, the real deal was pretty easy. This shirt has some THICK seams going on, especially at center front, where the top front pieces, their facings (with iron-in interfacing sewed at the outer seams for a clean finish, rather than the period-appropriate interfacing technique), and the bottom triangles all meet. Between trimming and zig-zagging concientiously, it didn’t cause me much woe.
The shoulders are pretty thick too — I applied self selvedge to the shoulders to prevent any sort of stretching over time, which might have been overkill but the looseness of this fabric made me a bit nervous. Plus, it’s a cute selvedge.
I briefly got nervous about adjusting the collar to fit, but that turned out to be a pretty intuitive task - I just marked where I’d added width to the neckline and made commensurate changes. Walked it to double check things would sit nicely. I did a pretty shit job interfacing and the shirting I used for the collar is a little too transparent so you can see the seam allowances inside if you stare too closely.
bias before and after ironing-stretching
This was my first attempt at binding armholes with bias binding! I made my tape from some nondescript white stuff kicking around, and pulled out a Brooks Ann Camper tip: cutting it extra-wide, then pulling and ironing it out this should in theory avoid the expanding-contracting size of a non-pre-ironed bias as it gets pulled around different curves this started out at 2 inches, on the left, and ended up a bit over an inch
Also, this pattern has no back facing piece, and instead calls for you to apply a bias facing at the back. It therefore also has you just see the completed collar on. Leaving you to ensure seam allowances are properly covered by the bias. I didn’t like/ wasn’t making sense of how you would get a nicely flat and clean back facing with the instructions, so I improvised. I hand-sewed the facing down to catch all the fray-y back bits and it did that beautifully but got a touch twisted in the process. I’m gonna do some investigating before the next one. The armhole binding though - easy peasy! I was in a seize the day mood when I applied the tape, so I didn’t do a test run on the muslin. I only understitched one of the armholes, and instead just tacked the second armhole at the three armhole seams. I think honestly I just forgot about the understitching, but it was nice to experiment too.
The hem is also a straight up machine hem, because again, I was being speedy.
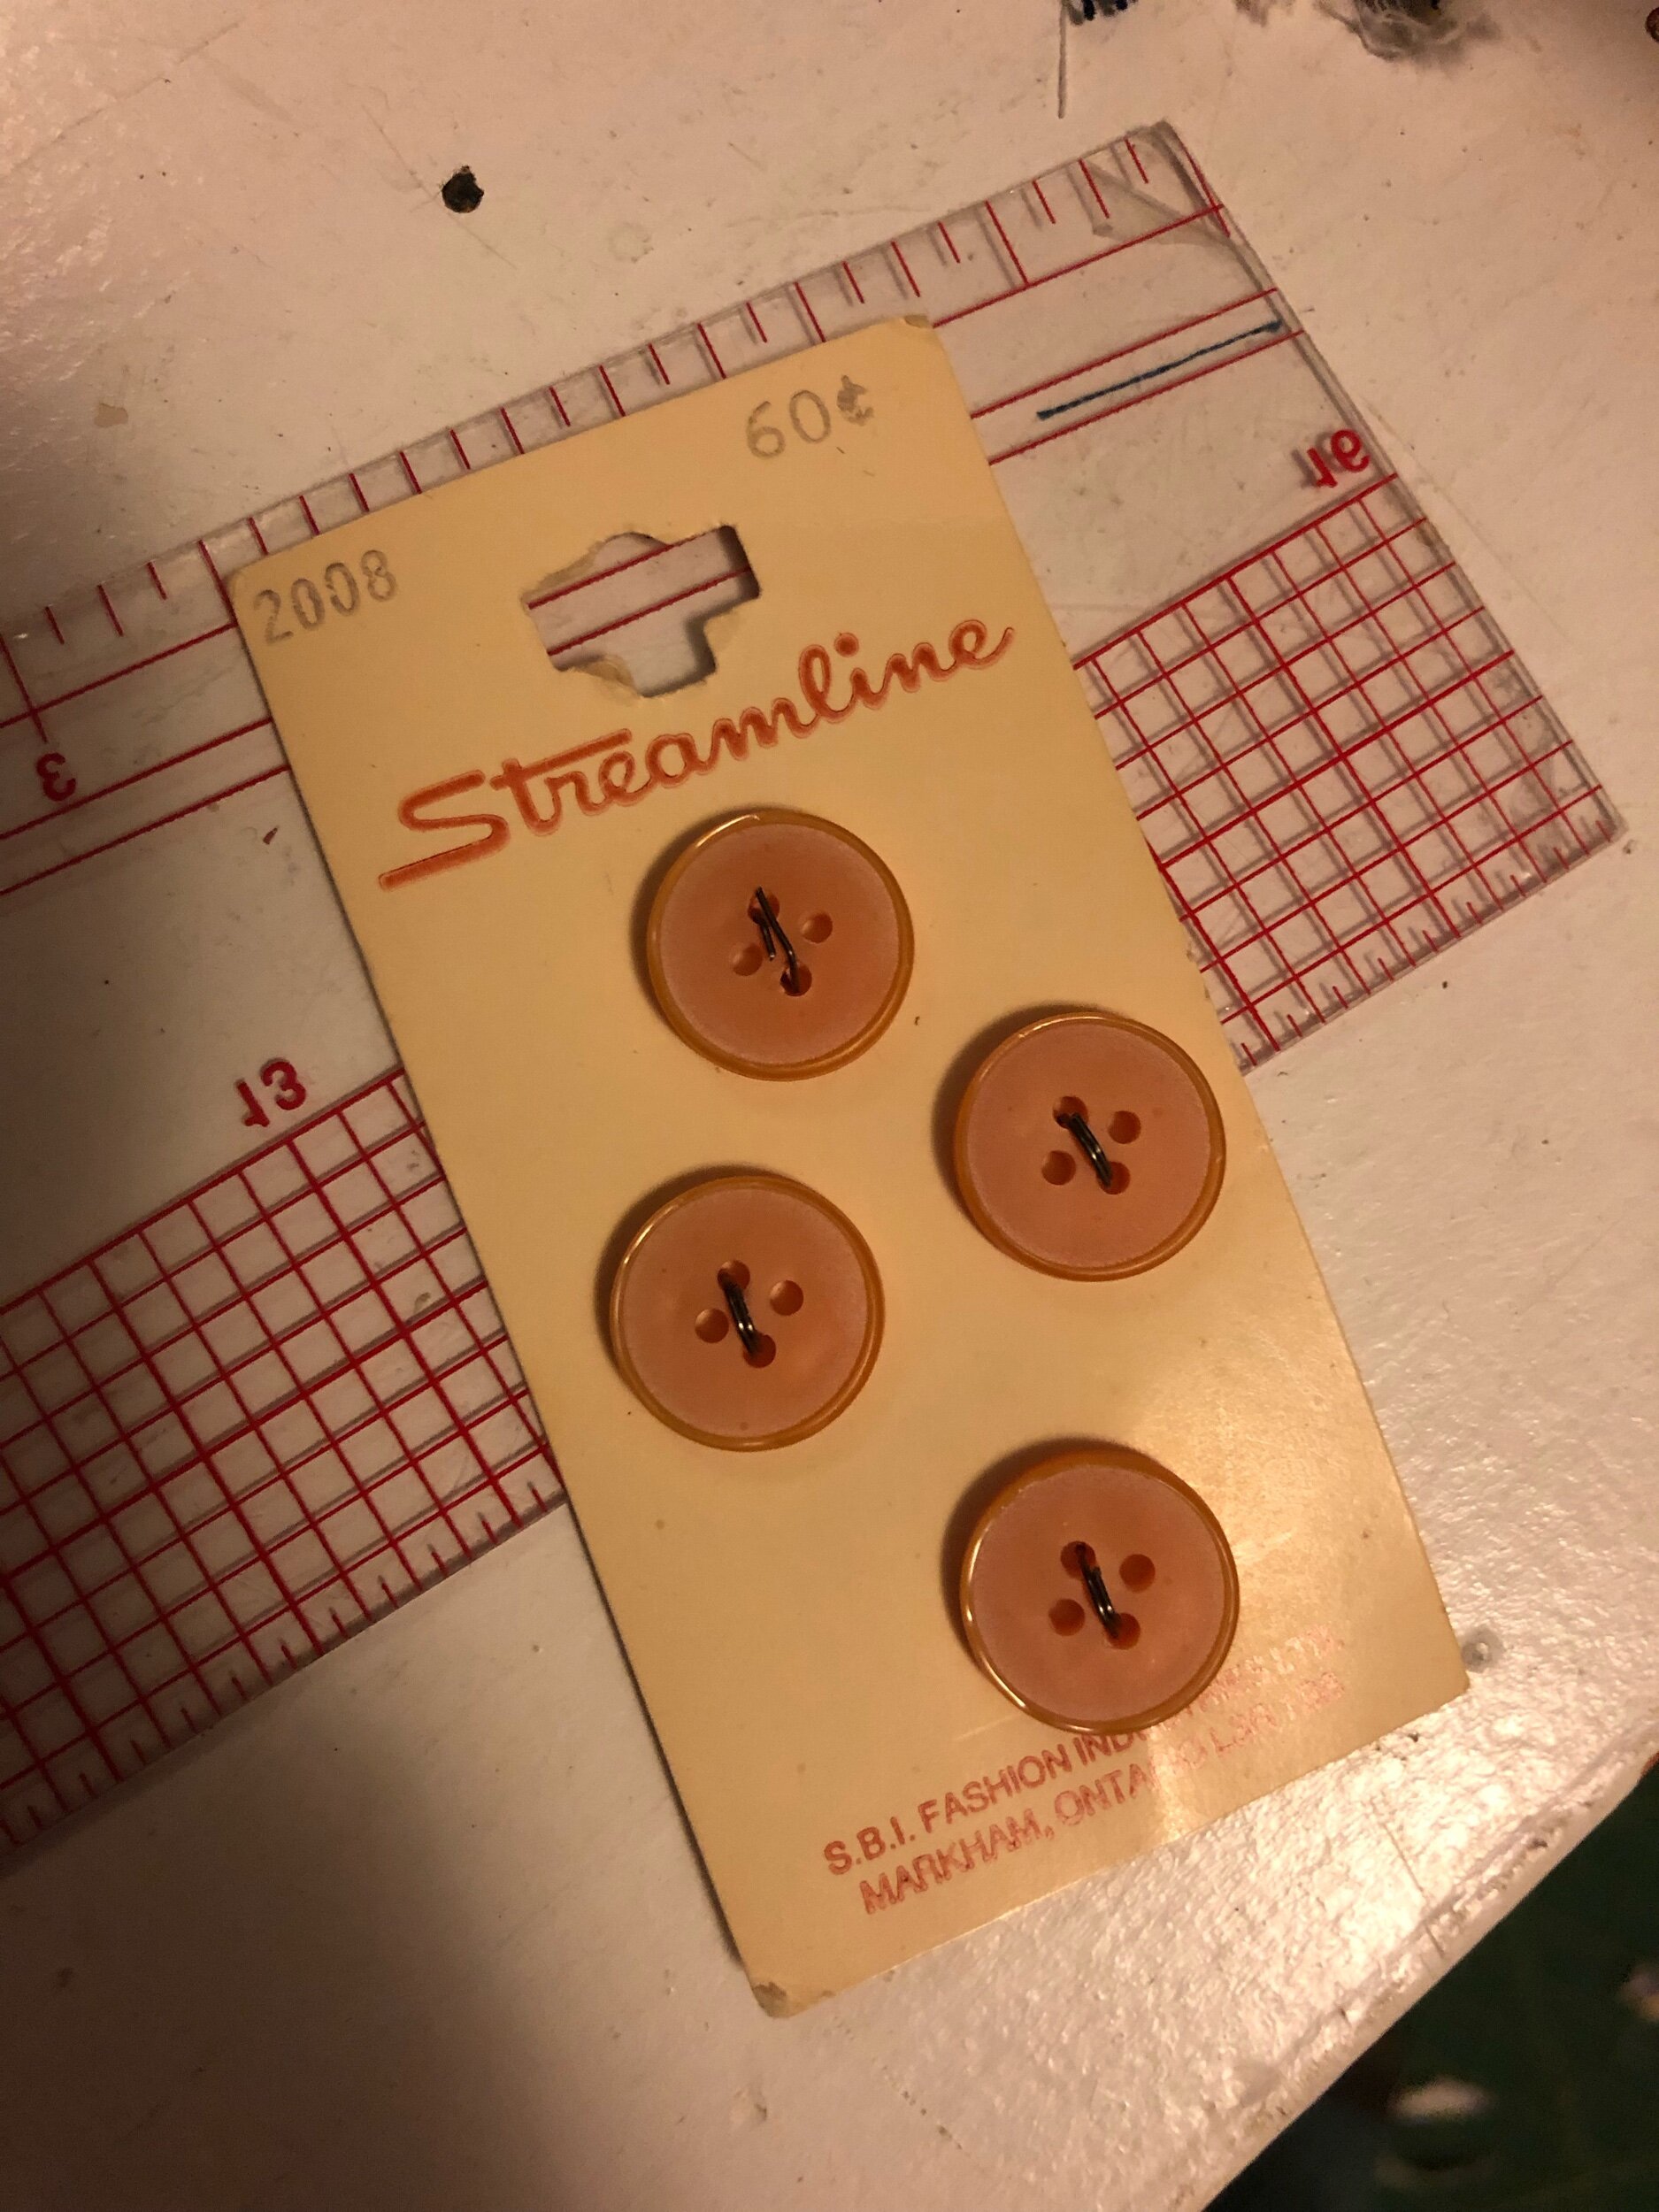
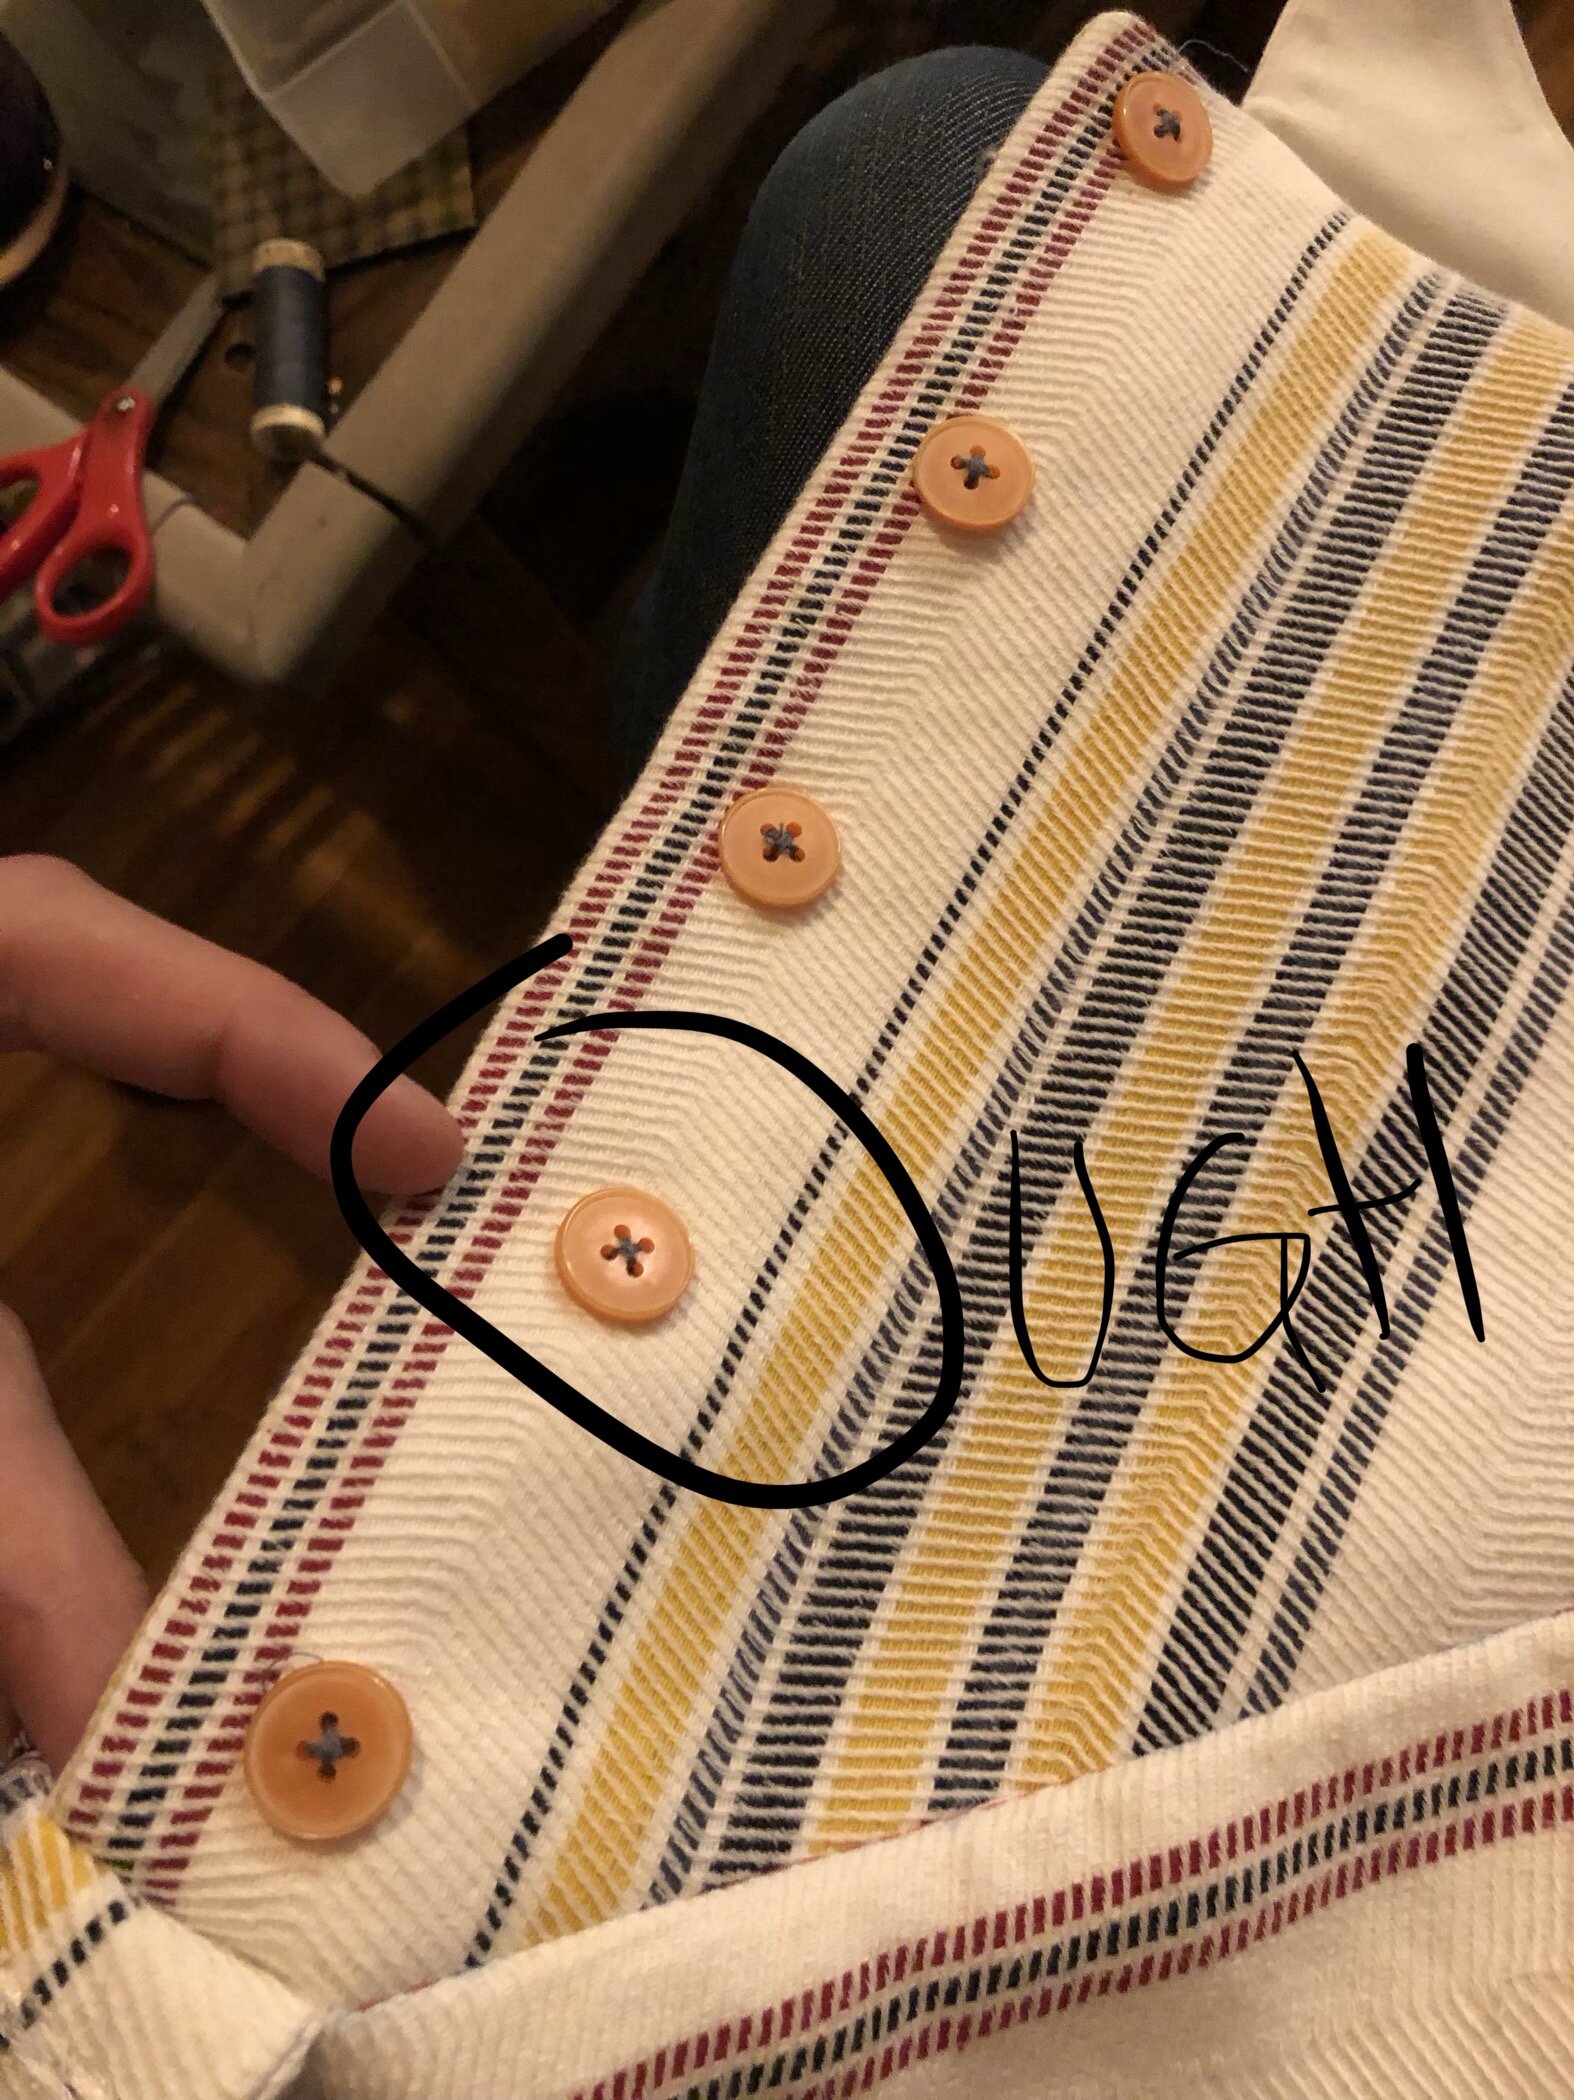
And then the buttons - a thrifted set, with contrasting blue stitching. Something is just off — a button is too high or low or a couple of them are, so I will eventually want to fix that. But I initially sewed one on SO off that I’ve already corrected so, well, who wants to keep resewing buttons forever?
I haven’t mentioned my secret hero of this design, which is the back dart tucks. I love the shape this gives the back, the perfection for tucking in. Airy and blousy without feeling bulky/ just ill fitting. I want this detail in so. Many. More. Patterns.
So I don’t think I’m done with 50s patterns by any means. I’ve got several to work with now for one, and the design details are up my alley. (Necklines! Buttonups! Not so much the wide skirts!) Hopefully I can get around some of the fitting kerfuffle by copying my edits, too, since presumably the Big pattern companies at the time had a more consistent block than the wonderful and diverse world of indie sewing patterns today.
Fabric Used: Deadstock chevron striped rayon from Matchpoint Fabrics
Pattern: Vintage Butterick 5955
Size Made: 32 graded to 36, bust and armhole lowered, shoulder point moved out, shoulder slope adjusted, lengthened body… I should really spell this out more clearly for future of-the-50s-era patterns, but… it’s all on the paper ^_^
Measurements: 34 high bust, 36 full bust, 30 waist
