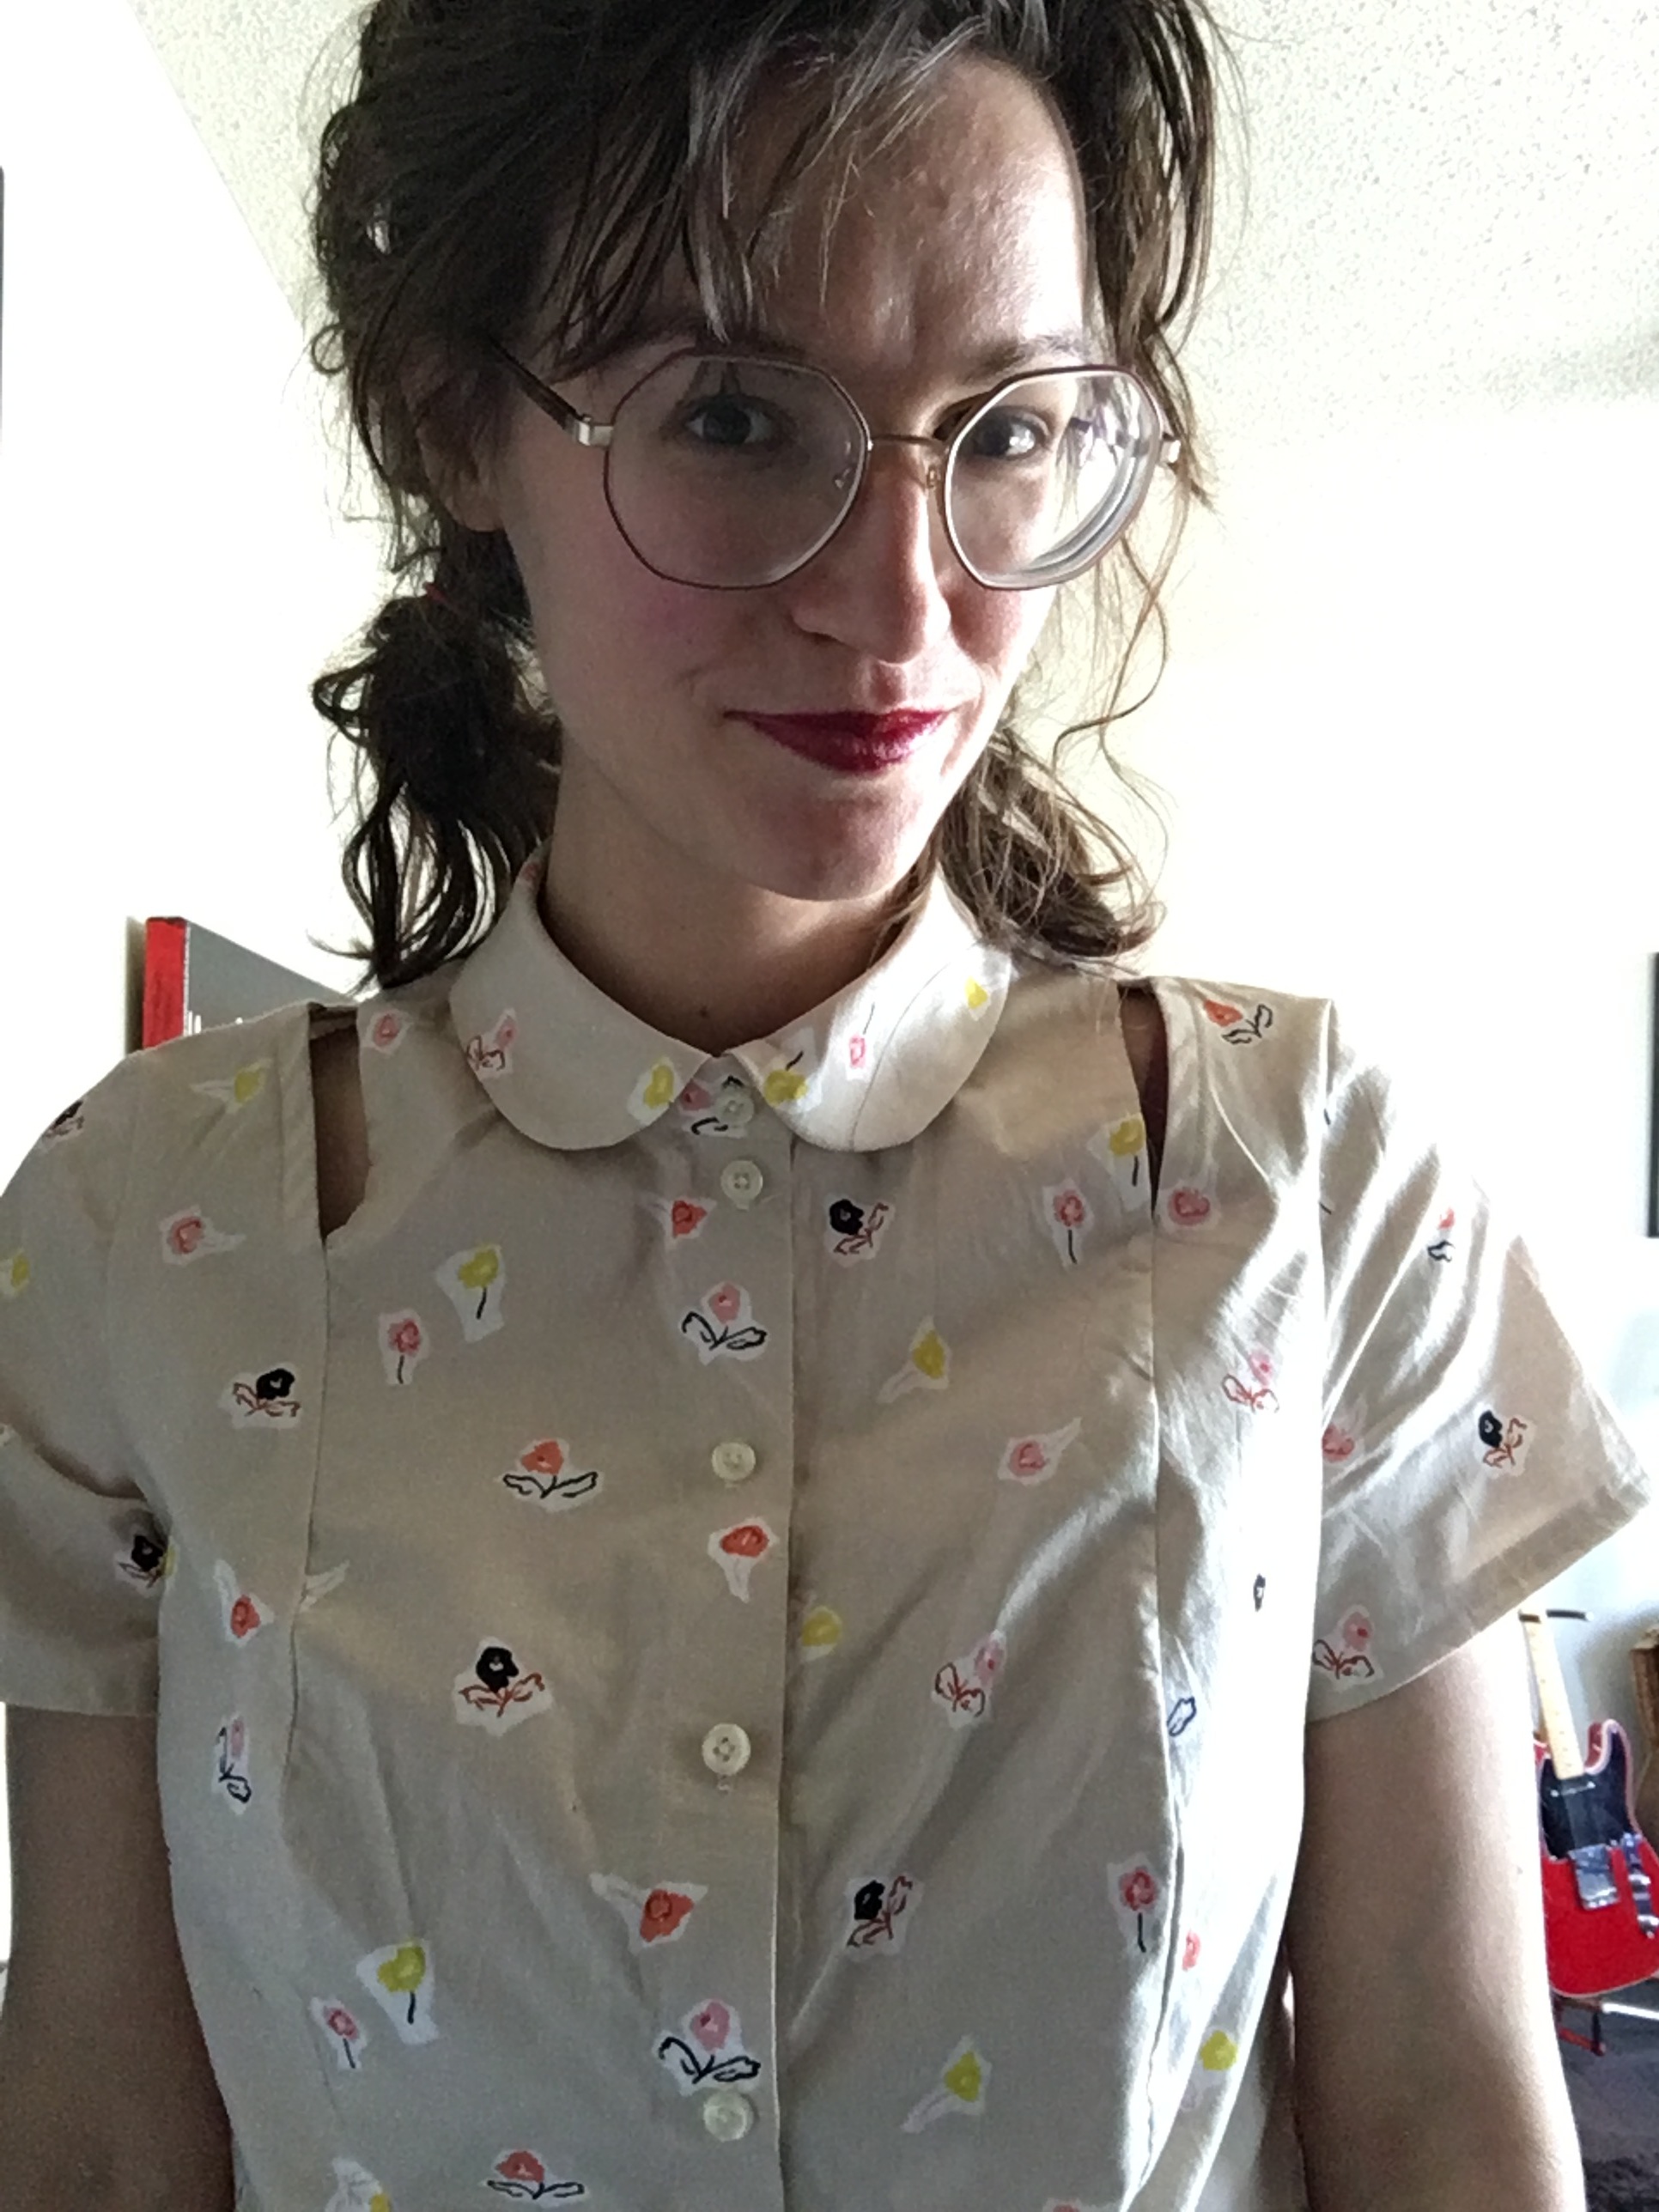
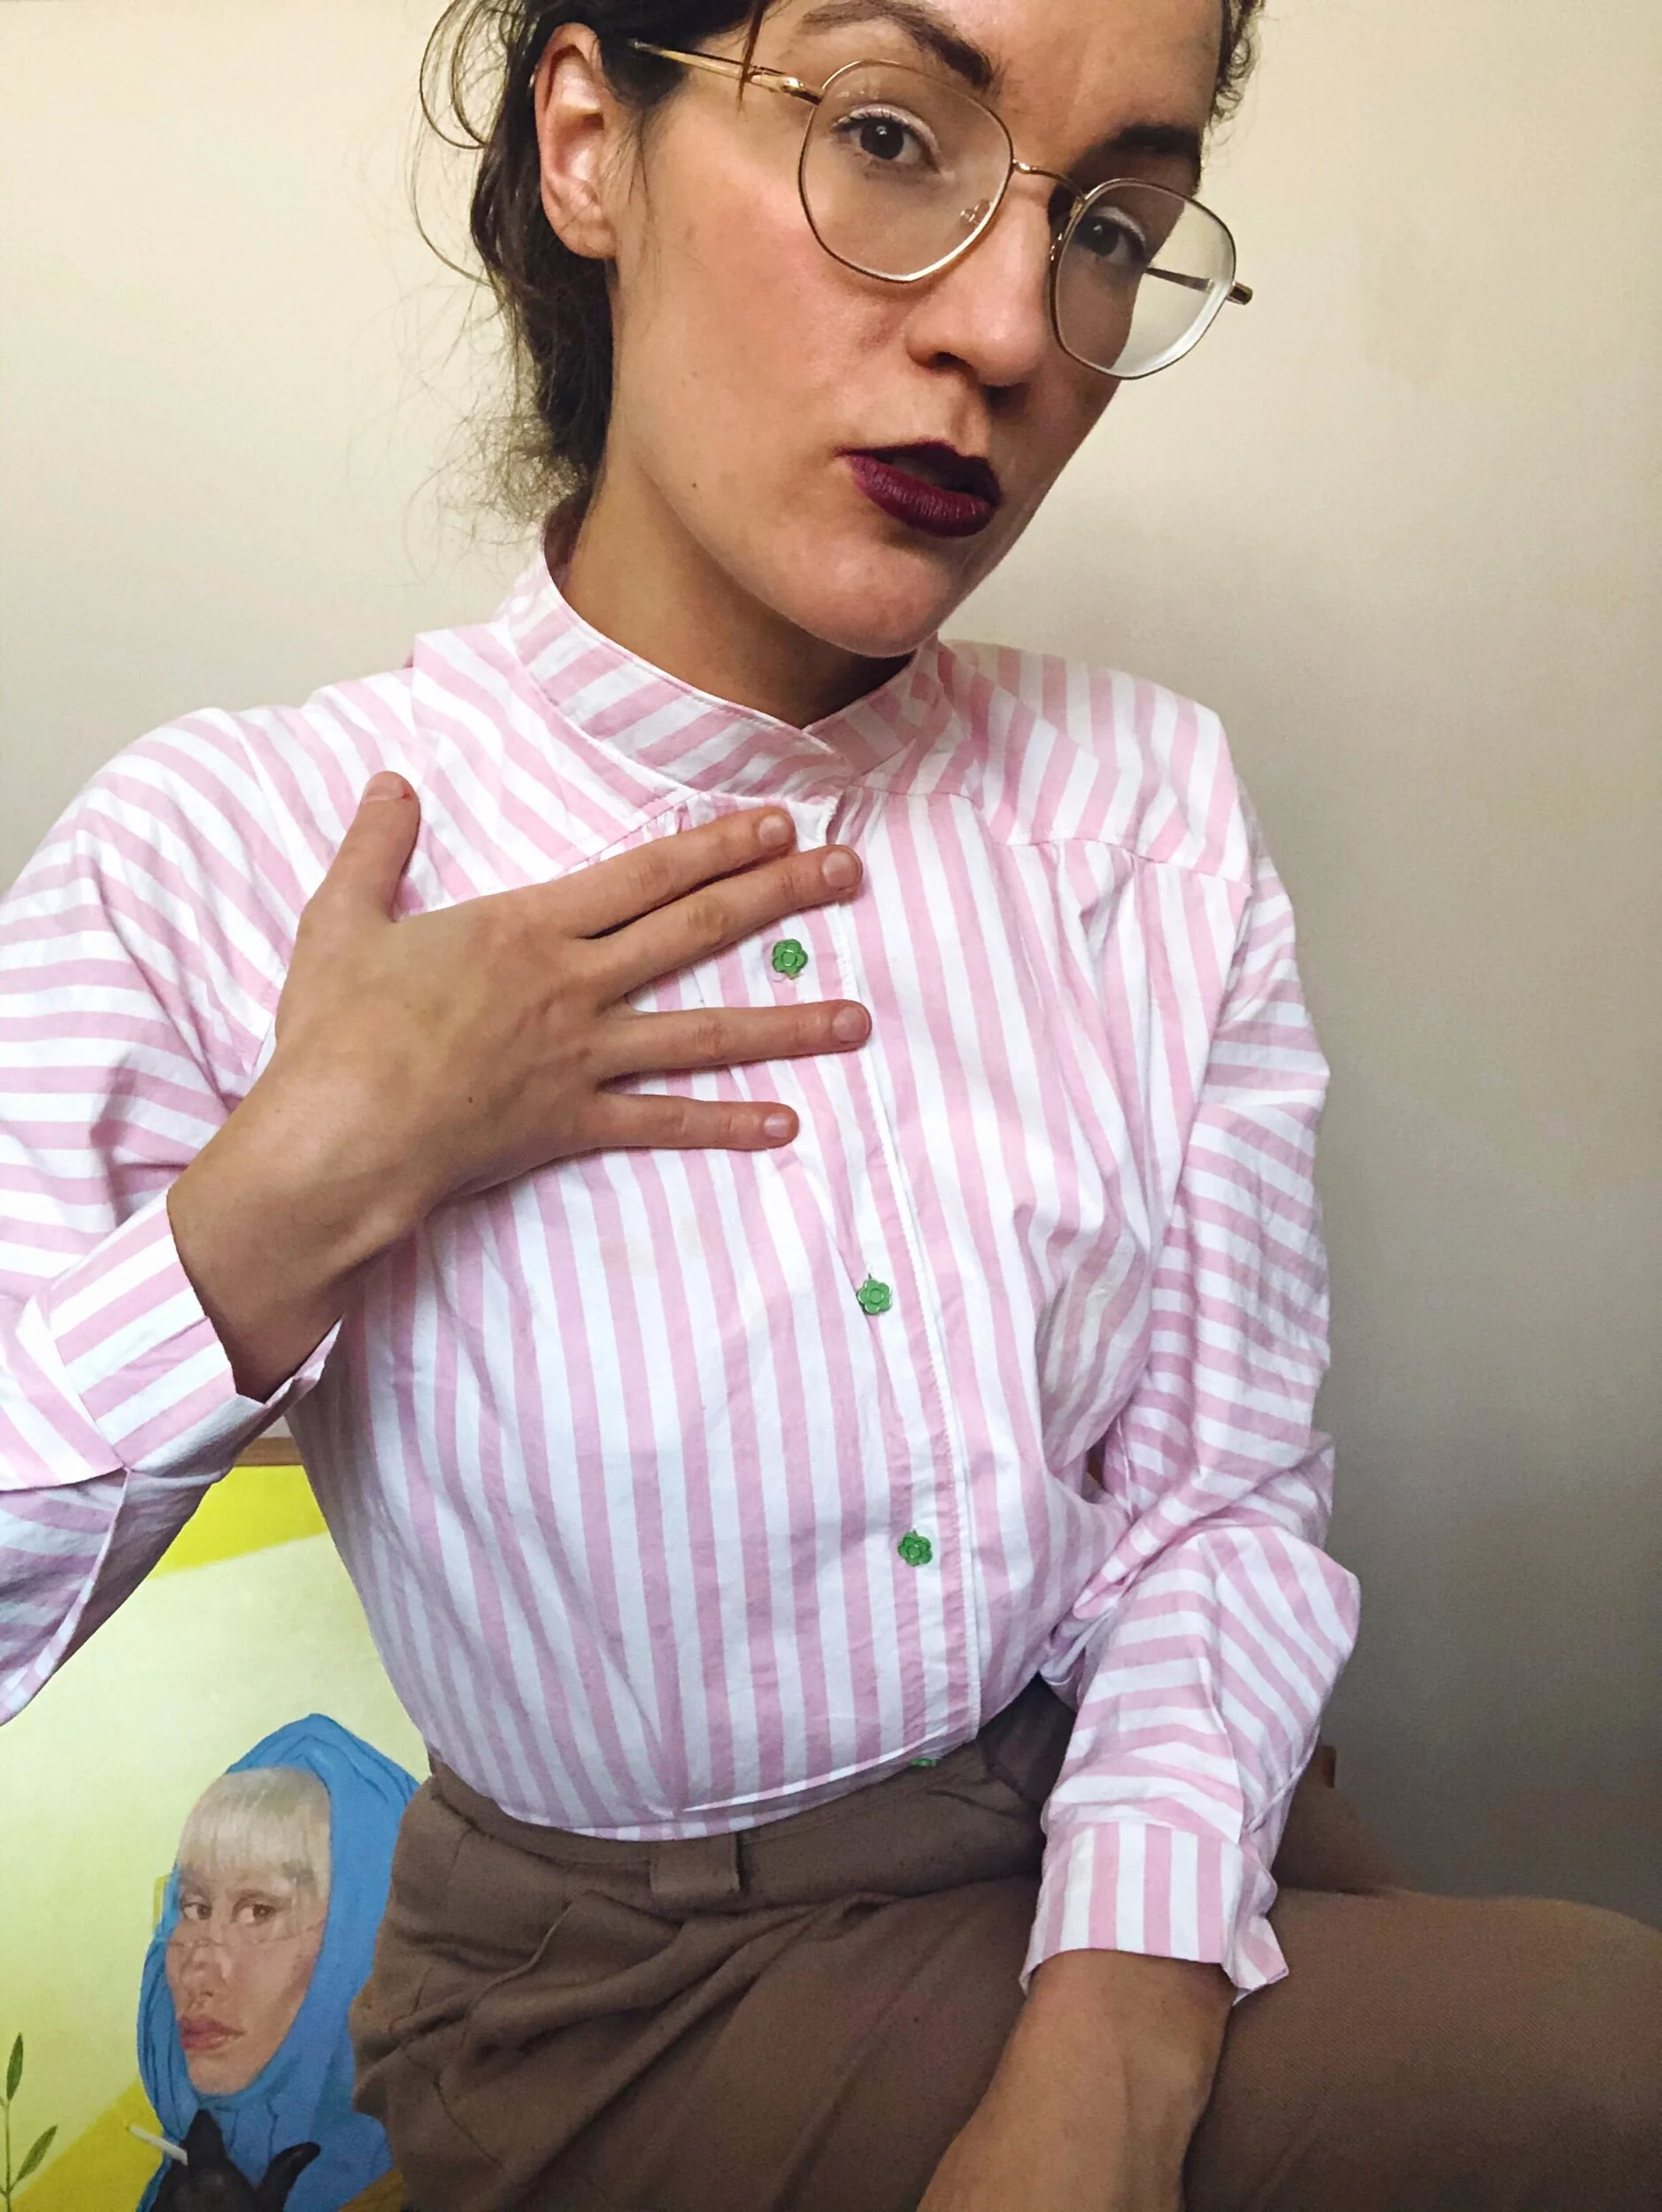
Saraste Blouse ❤️
Finally got to break into Breaking the Pattern, which Matthew got me for Christmas! Truly, had been looking forward to not being pregnant anymore to dig in.
I’m largely enamoured of the fitted patterns and I should probably wait a bit longer for my body to stabilize at whatever post-pregnancy size before really digging in… the Utu skirt is calling my name though. I figured Saraste would be a bit forgiving to size changes, and I love shirts, so it seemed like a great place to start! And I am excited to make more variations on this pattern - this one’s summery and lighthearted, but worrier and dressier versions are due too I think.
I ordered this cute cute cotton poplin print from Simplifi with this shirt in mind. It’s an organic cotton, and finding it on sale made it positively affordable (for an organic cotton). This shirt is hopefully something of a highly finished, highly wearable muslin, because I have hopes for fancier fabric variations. Or a plain white one…
Based on my high bust/ waist measurements, I chose a 40. I’m currently ~4 inches larger at full bust, so based on the size chart I did my first princess seam FBA, adding 2.25 inches to the bust using the By Hand London guide. Conveniently, we always have kid-art on the go to be recycled for such purposes.
I did a baste-fit of the shirt leaving off the sleeves and collar and pinched back out 1.25 inches, so effectively I did a 1 inch FBA. I wish I had tried on the sleeves, because I didn’t realize that the shoulders would end up a bit tight on me. I’m really pleased with the fit through the body so now I’m wondering if I shouldn’t have just gone a size up in the top half of the shirt. I don’t want to overdo my adjustments, so I might add 1/2 inch to each shoulder on my next make of this pattern. Pretty dang pleased with this semi fitted fit tho.
All but one seam in this are frenched, despite the 3/8 seam allowance making me antsy. If I make this in a drapier fabric, sewing a 1/8 seam could present an issue, but it was actually fine here. The one seam that isn’t frenched is on the side, and I couldn’t be bothered to unpick the first pass when I discovered I’d put right sides together.
Pretty proud of my lil shoulder splits - they worked out really cleanly!
I assembled the collar by attaching the outer stand to the body, then the assembled collar and inner stand. I skipped gluing the inner stand and just cheat-sewed it down from the inside to make sure it all got caught, not bothering about getting the outer stitching invisible. Since this realistically isn’t somewhere anyone else is looking, I’m much happier with the resulting firmly enclosed neckline seams than having the stitching properly in the ditch on the exterior.
The back yoke detail is from the selvedge, and I also have used the selvedge along the inner edge of the button placket.
Overall: this is some cuteness and I’m feeling real cutesie in it but IN A GOOD WAY.
Oh, and I’ve lost my automatic buttonhole foot so had to measure these, resulting in the best buttonholes I’ve ever done. Only hiccup is that the buttons I scavenged from another shirt in the “potential upcycle” pile were quite thick and I neglected to account for that so the holes are a lot tight.
Most recent measurements: High bust 34.5, full bust 38.5, waist 30, hips 38.5
Pattern: Saraste from Breaking the Pattern by Named
Size: 40, with 1 inch FBA
Fabric: Organic cotton poplin from Simplifi in a delightful print called Sidewalk Flowers from the To Market, To Market by Emily Isabella collection for Cloud9 Fabrics
If there is a next time: Add 1/2 inch to each shoulder’s width. Take into account the height of buttons when determining button holes! If doing a drapier fabric, add 1/4 inch to seam allowance, but it turns out French seaming a 3/8 seam allowance is pretty easy on cotton poplin! Liked the sewing the collar closed from the inside rather than the stitch in the ditch method.


