Batik Perkins Shirt
Update: I added some postpartum pictures at the end with the shirt trimmed to regular shirt length and finally properly hemmed.
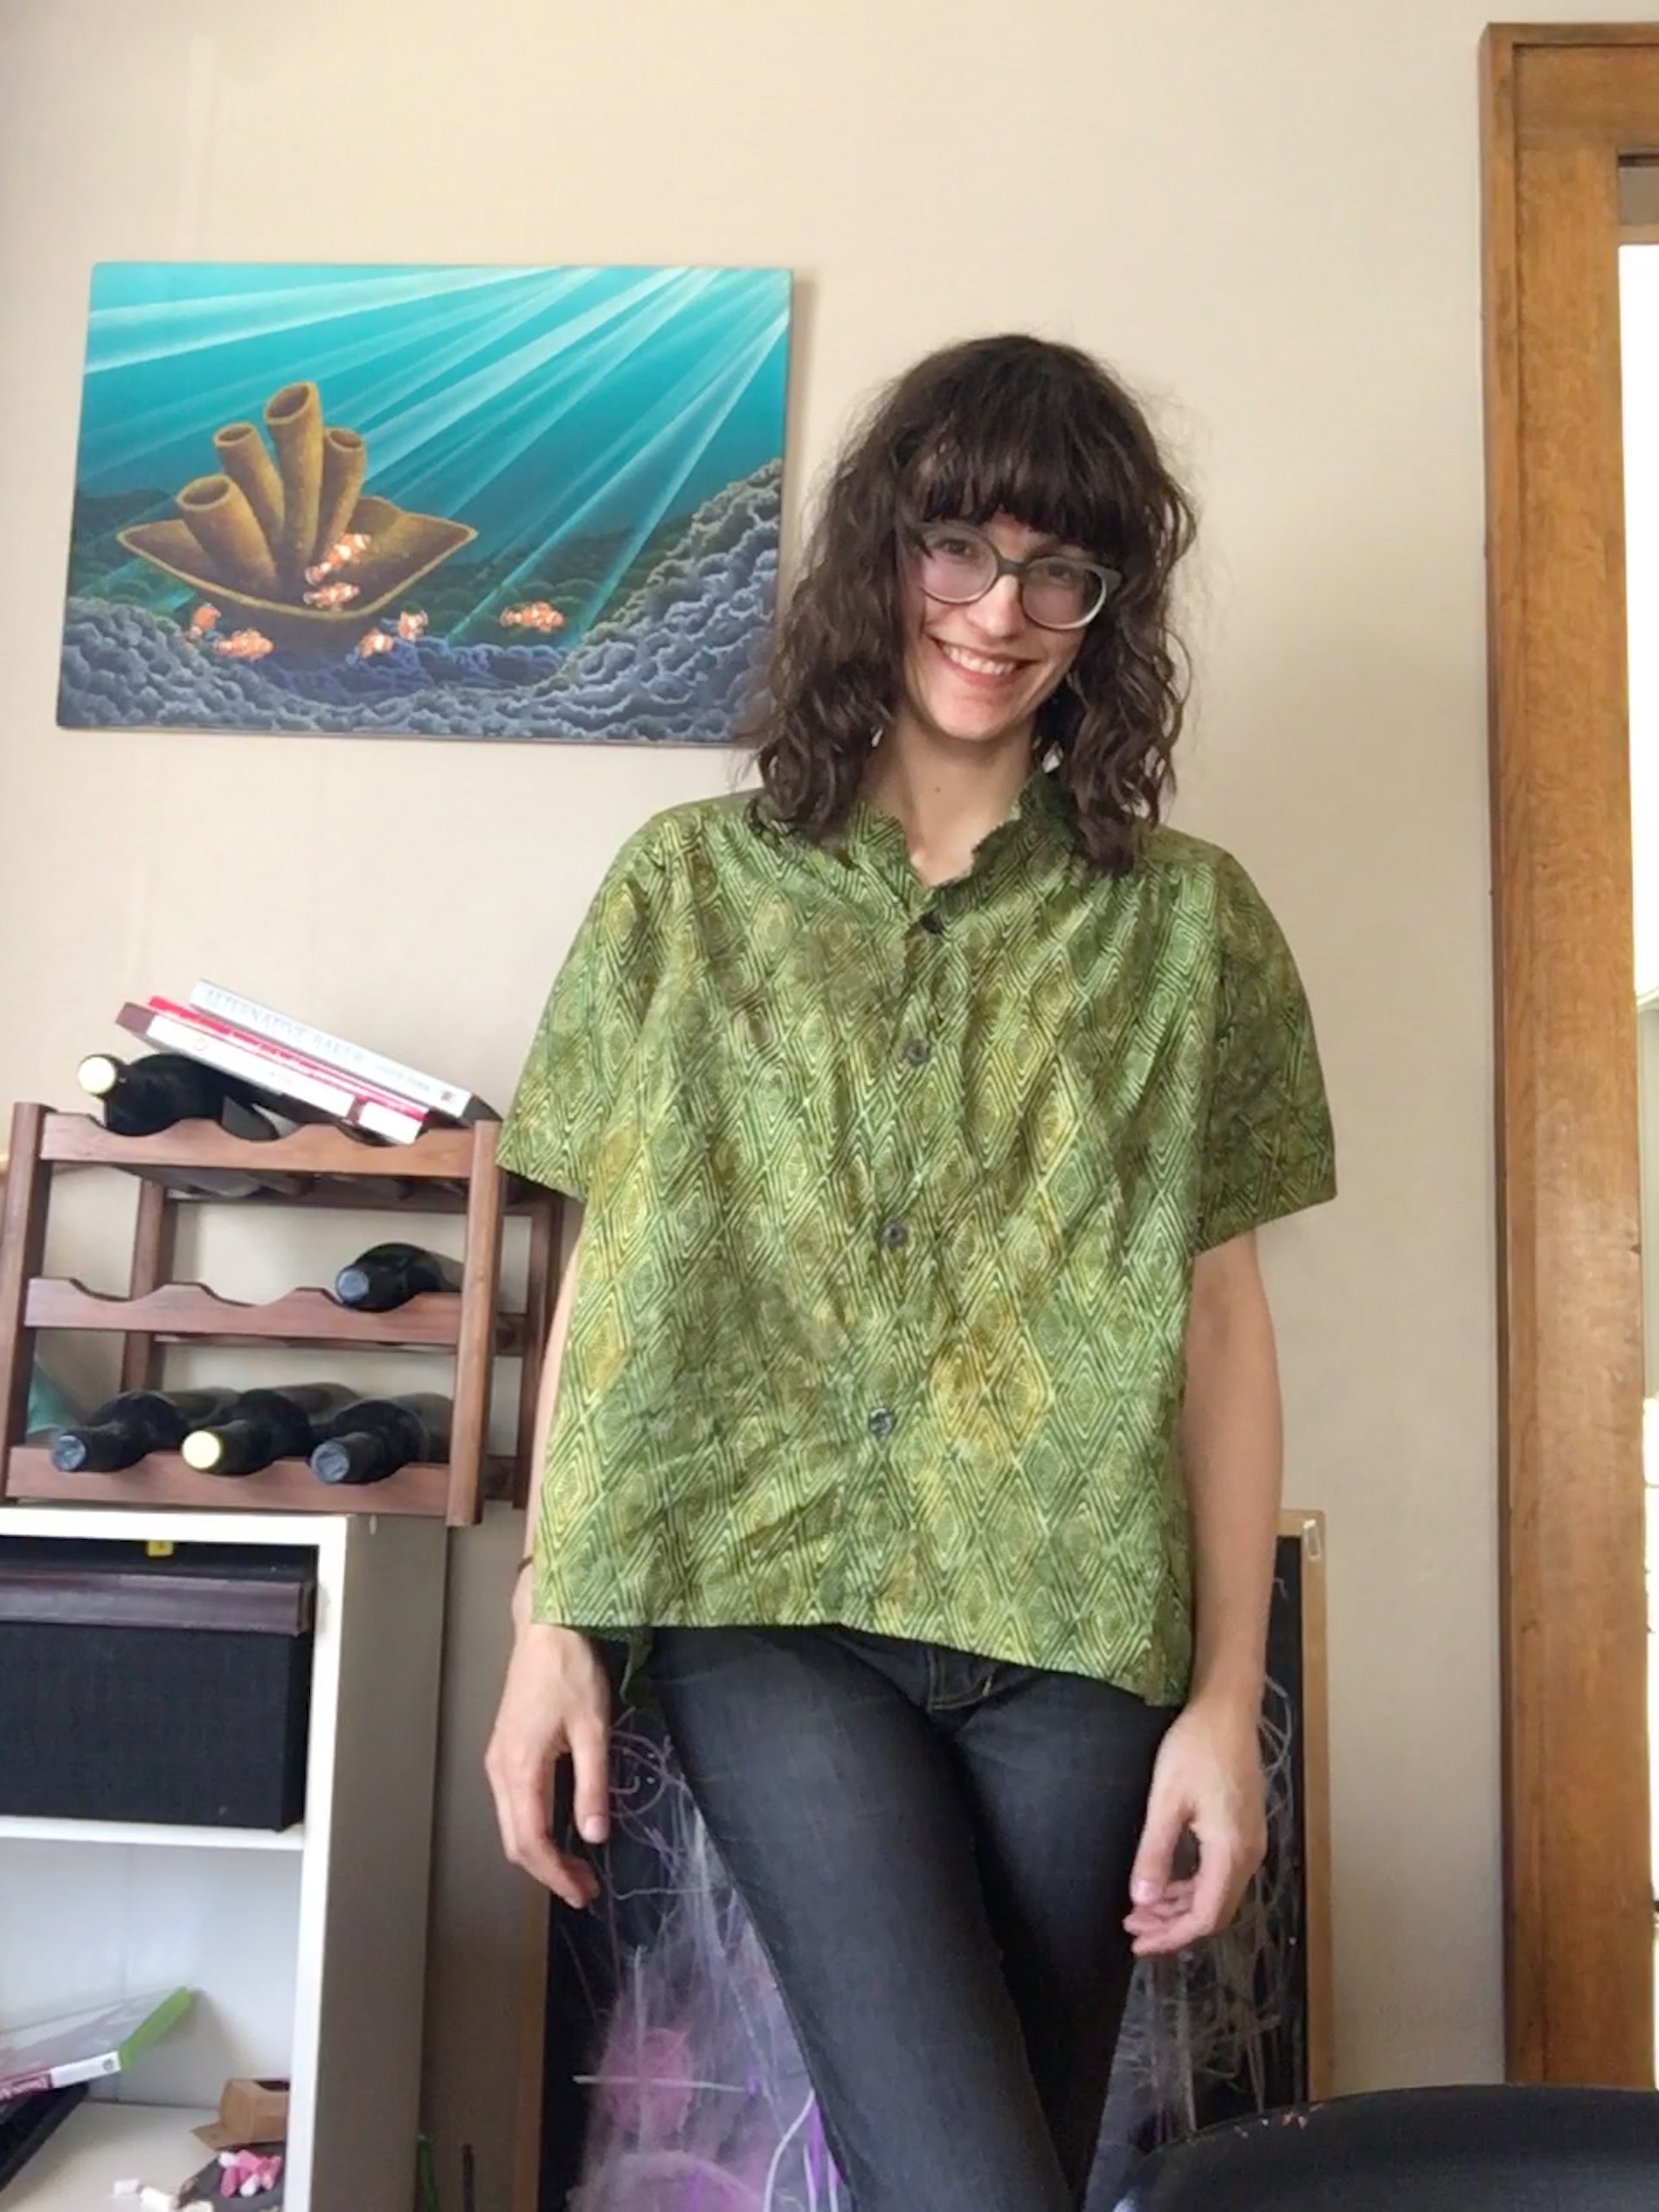
What a fun shirt to sew!

I got this fabric in a local Buy Sell Trade group on FB from a woman destashing some of her batik fabrics. There was another lovely green print in the stash, but I decided to stick with something that I had an immediate vision for. There were 3 metres of this fabric, so I should be able to squeeze something out of the leftovers…
The immediate vision: a flowy, gather-y, oversized shirt, à la 1950s maternity options, but more modern. The Ralph Pink Sahara shirt occured to me, but the gathers on the Ensemble Perkins edged it out. Plus there are lots of nice options built into the pattern for future projects.

My bust measurements (~96 cm) put me between two sizes (94 cm for 10, 99 cm for 12) for the Perkins shirt dress, and while Ensemble offers thorough tips for grading, I figured fitting my hip wasn’t a super-important goal for my current state. I went with the 12, because I’m 172 cm tall, and the height for the 12 is 169. Besides, it’s an oversized style.
I cut the tunic length, but I have every intention of altering this shirt post-pregnancy to a regular or a crop length. I love the tunic length on my big belly, but I am more of a high-waist jeans and shirt sort of girl in my non-pregnant life. I suspect that will also help with wrinkling, as one doesn’t sit directly on their shirts so much as their tunic-length clothes. We’ll see if I also grade down to my hip size then, because it’s (usually) solidly an 8….
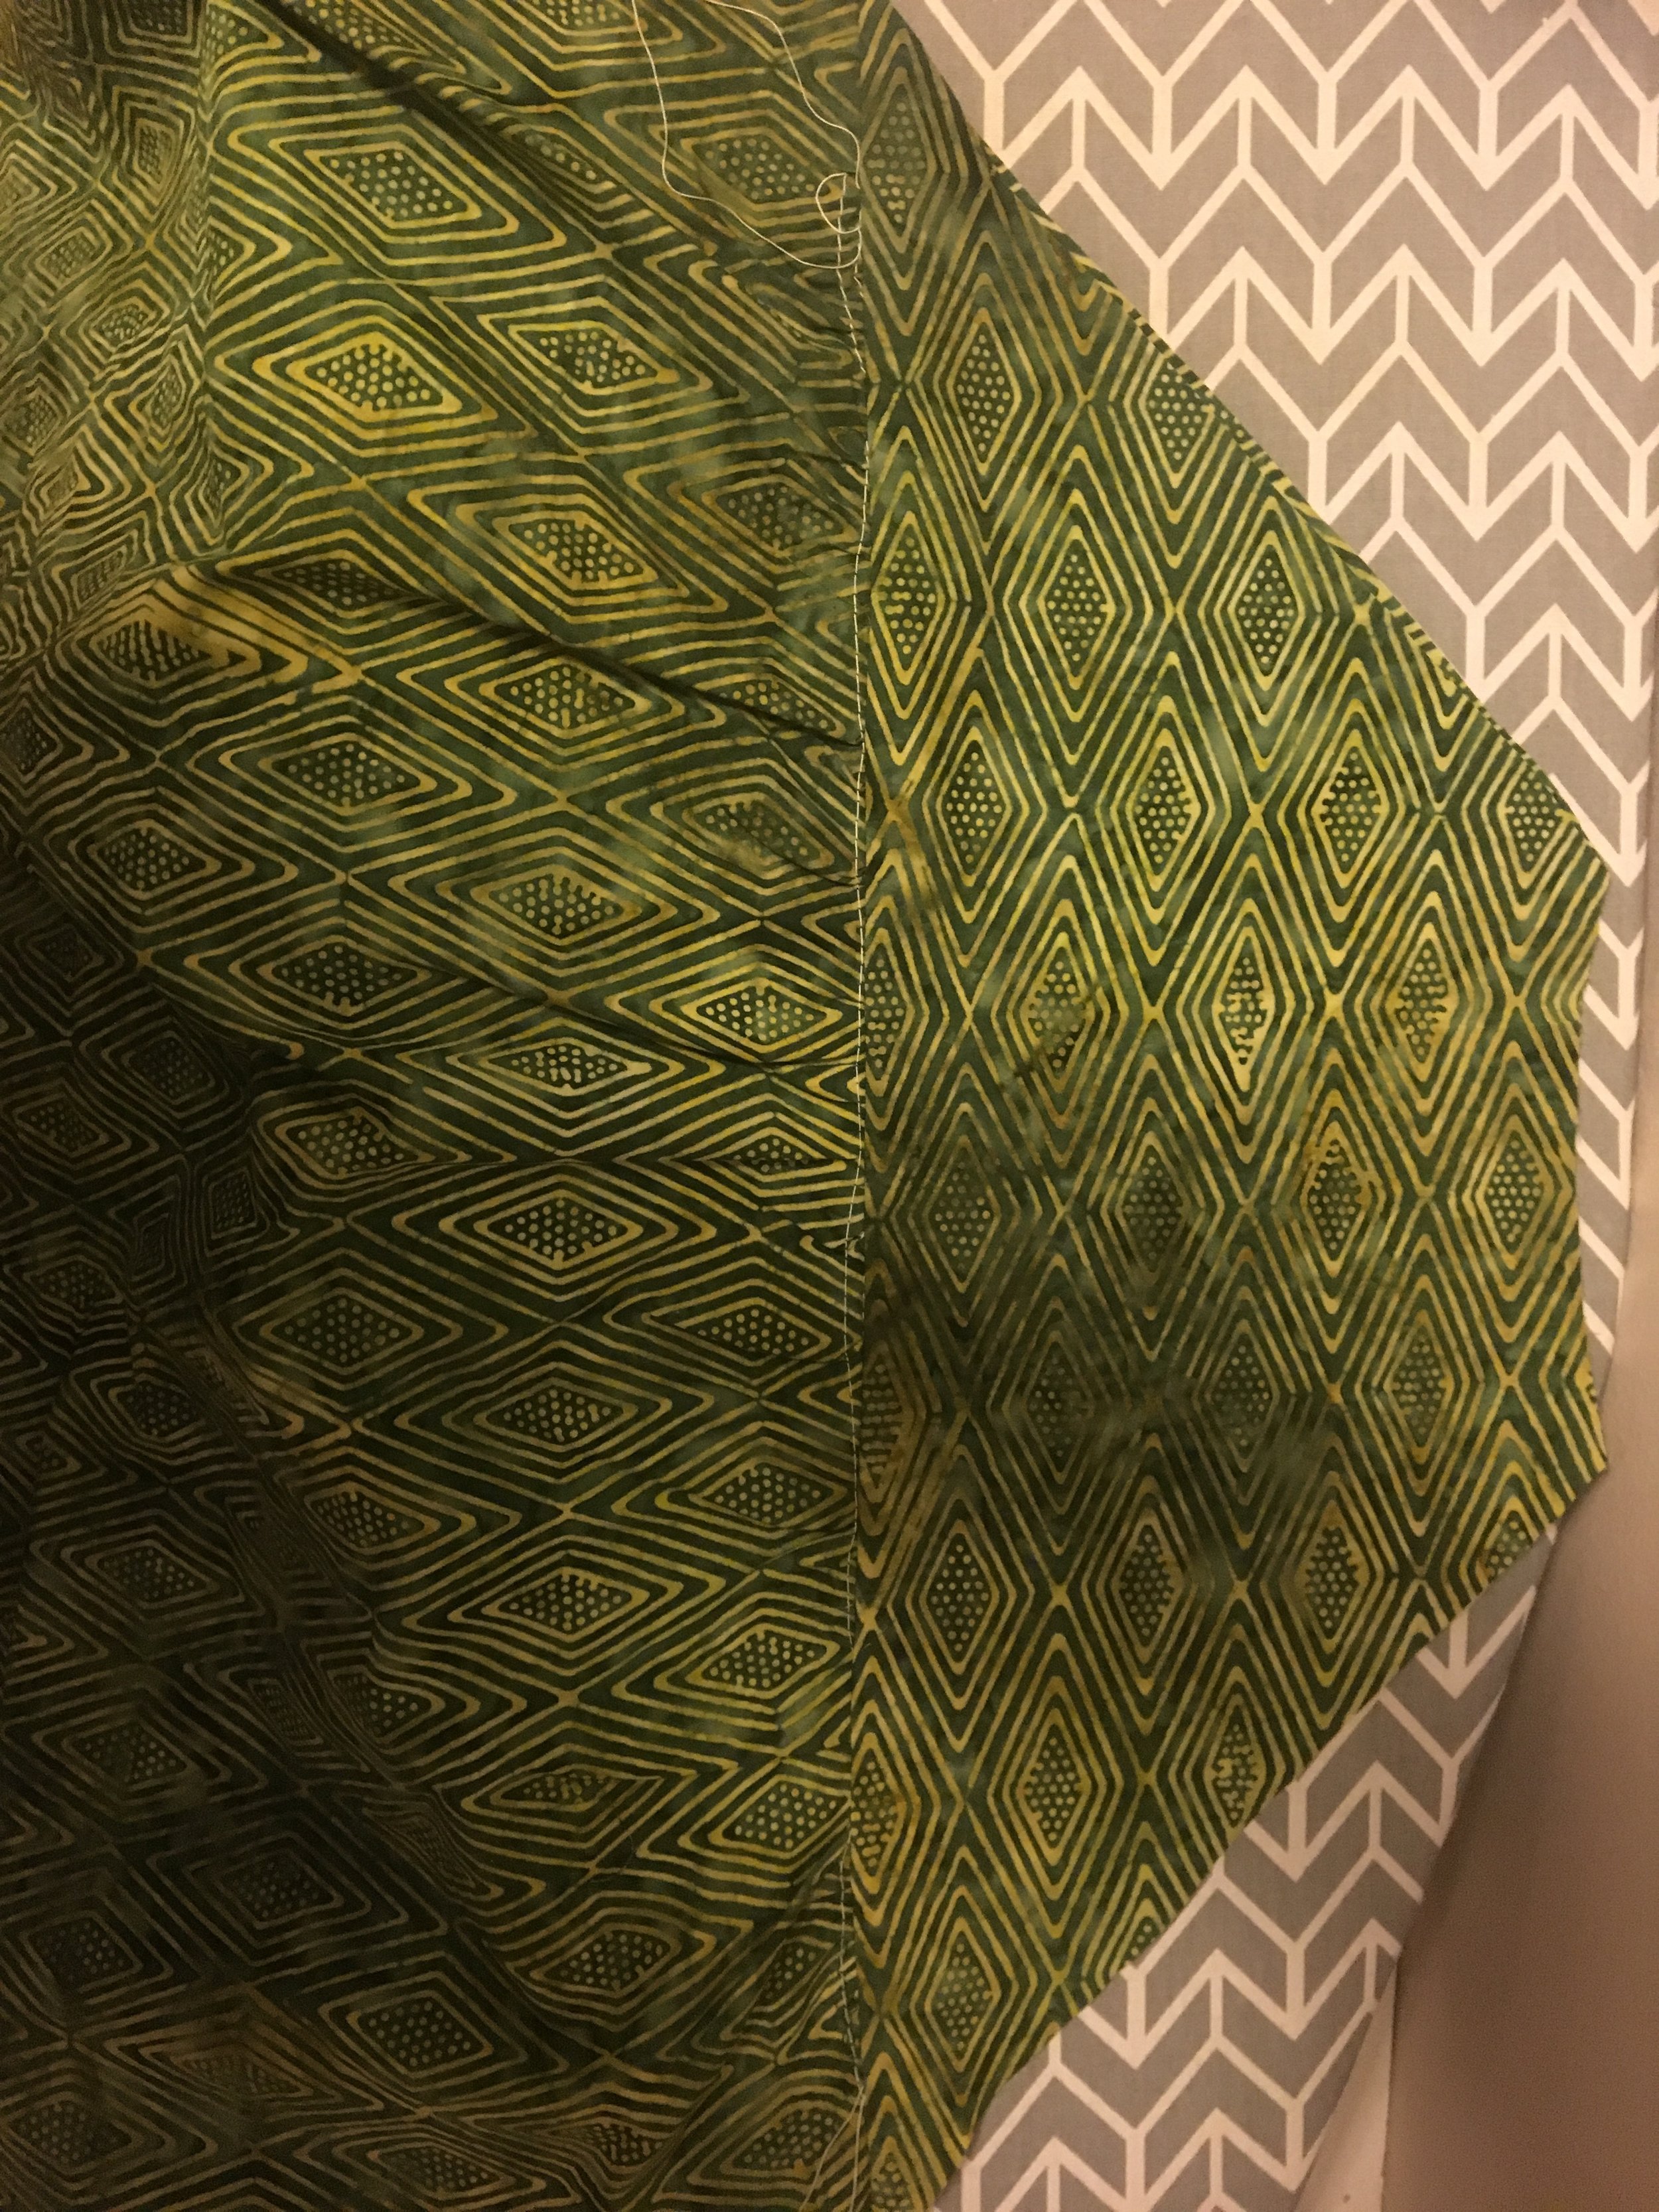
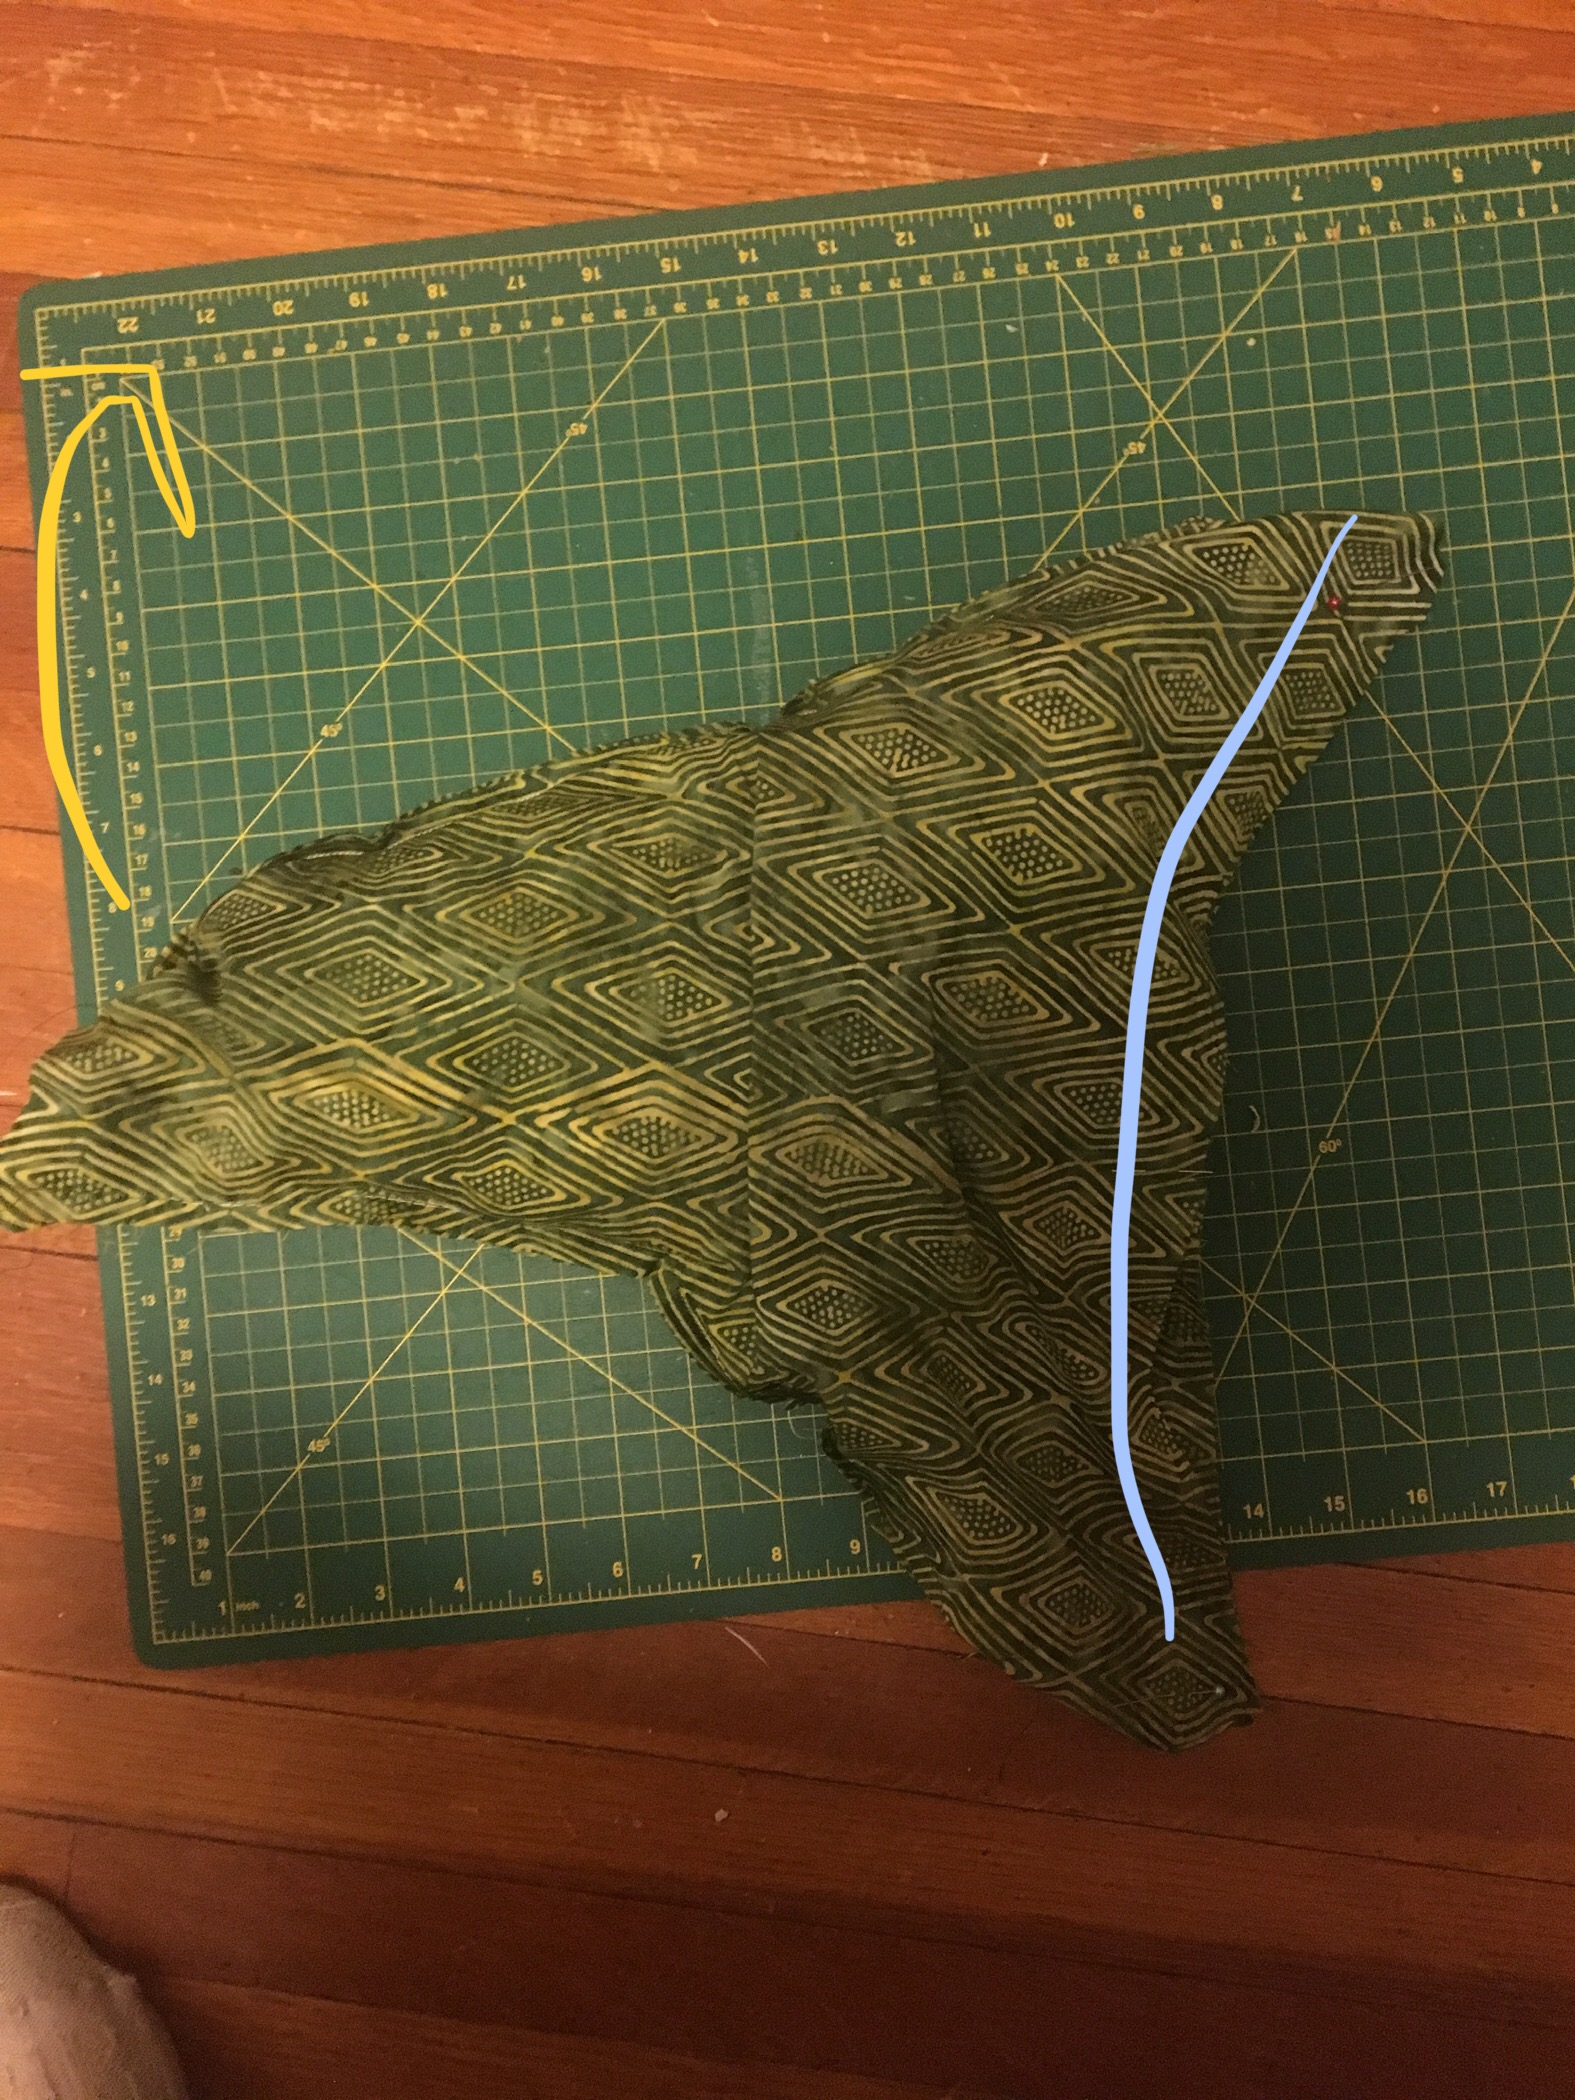
This is mostly cut on the cross-grain, as those diamonds actually run horizontally on the print. Except the outer yoke and inside collar, for visual interest.

The self-enclosed raglan sleeves on this shirt made it a real treat to put together. Since I’d gone for the gathered cut, you did that first, then sandwiched the front pieces in the front of the sleeves. The back yoke also sandwiched the gathered back, but instead of burrito-ing, you make a sleeve dumpling! That is, there are two raglan sleeve pieces for each sleeve, which enclose everything, and themselves are hemmed by attaching together, and then you pull it all out burrito style. I loved it.
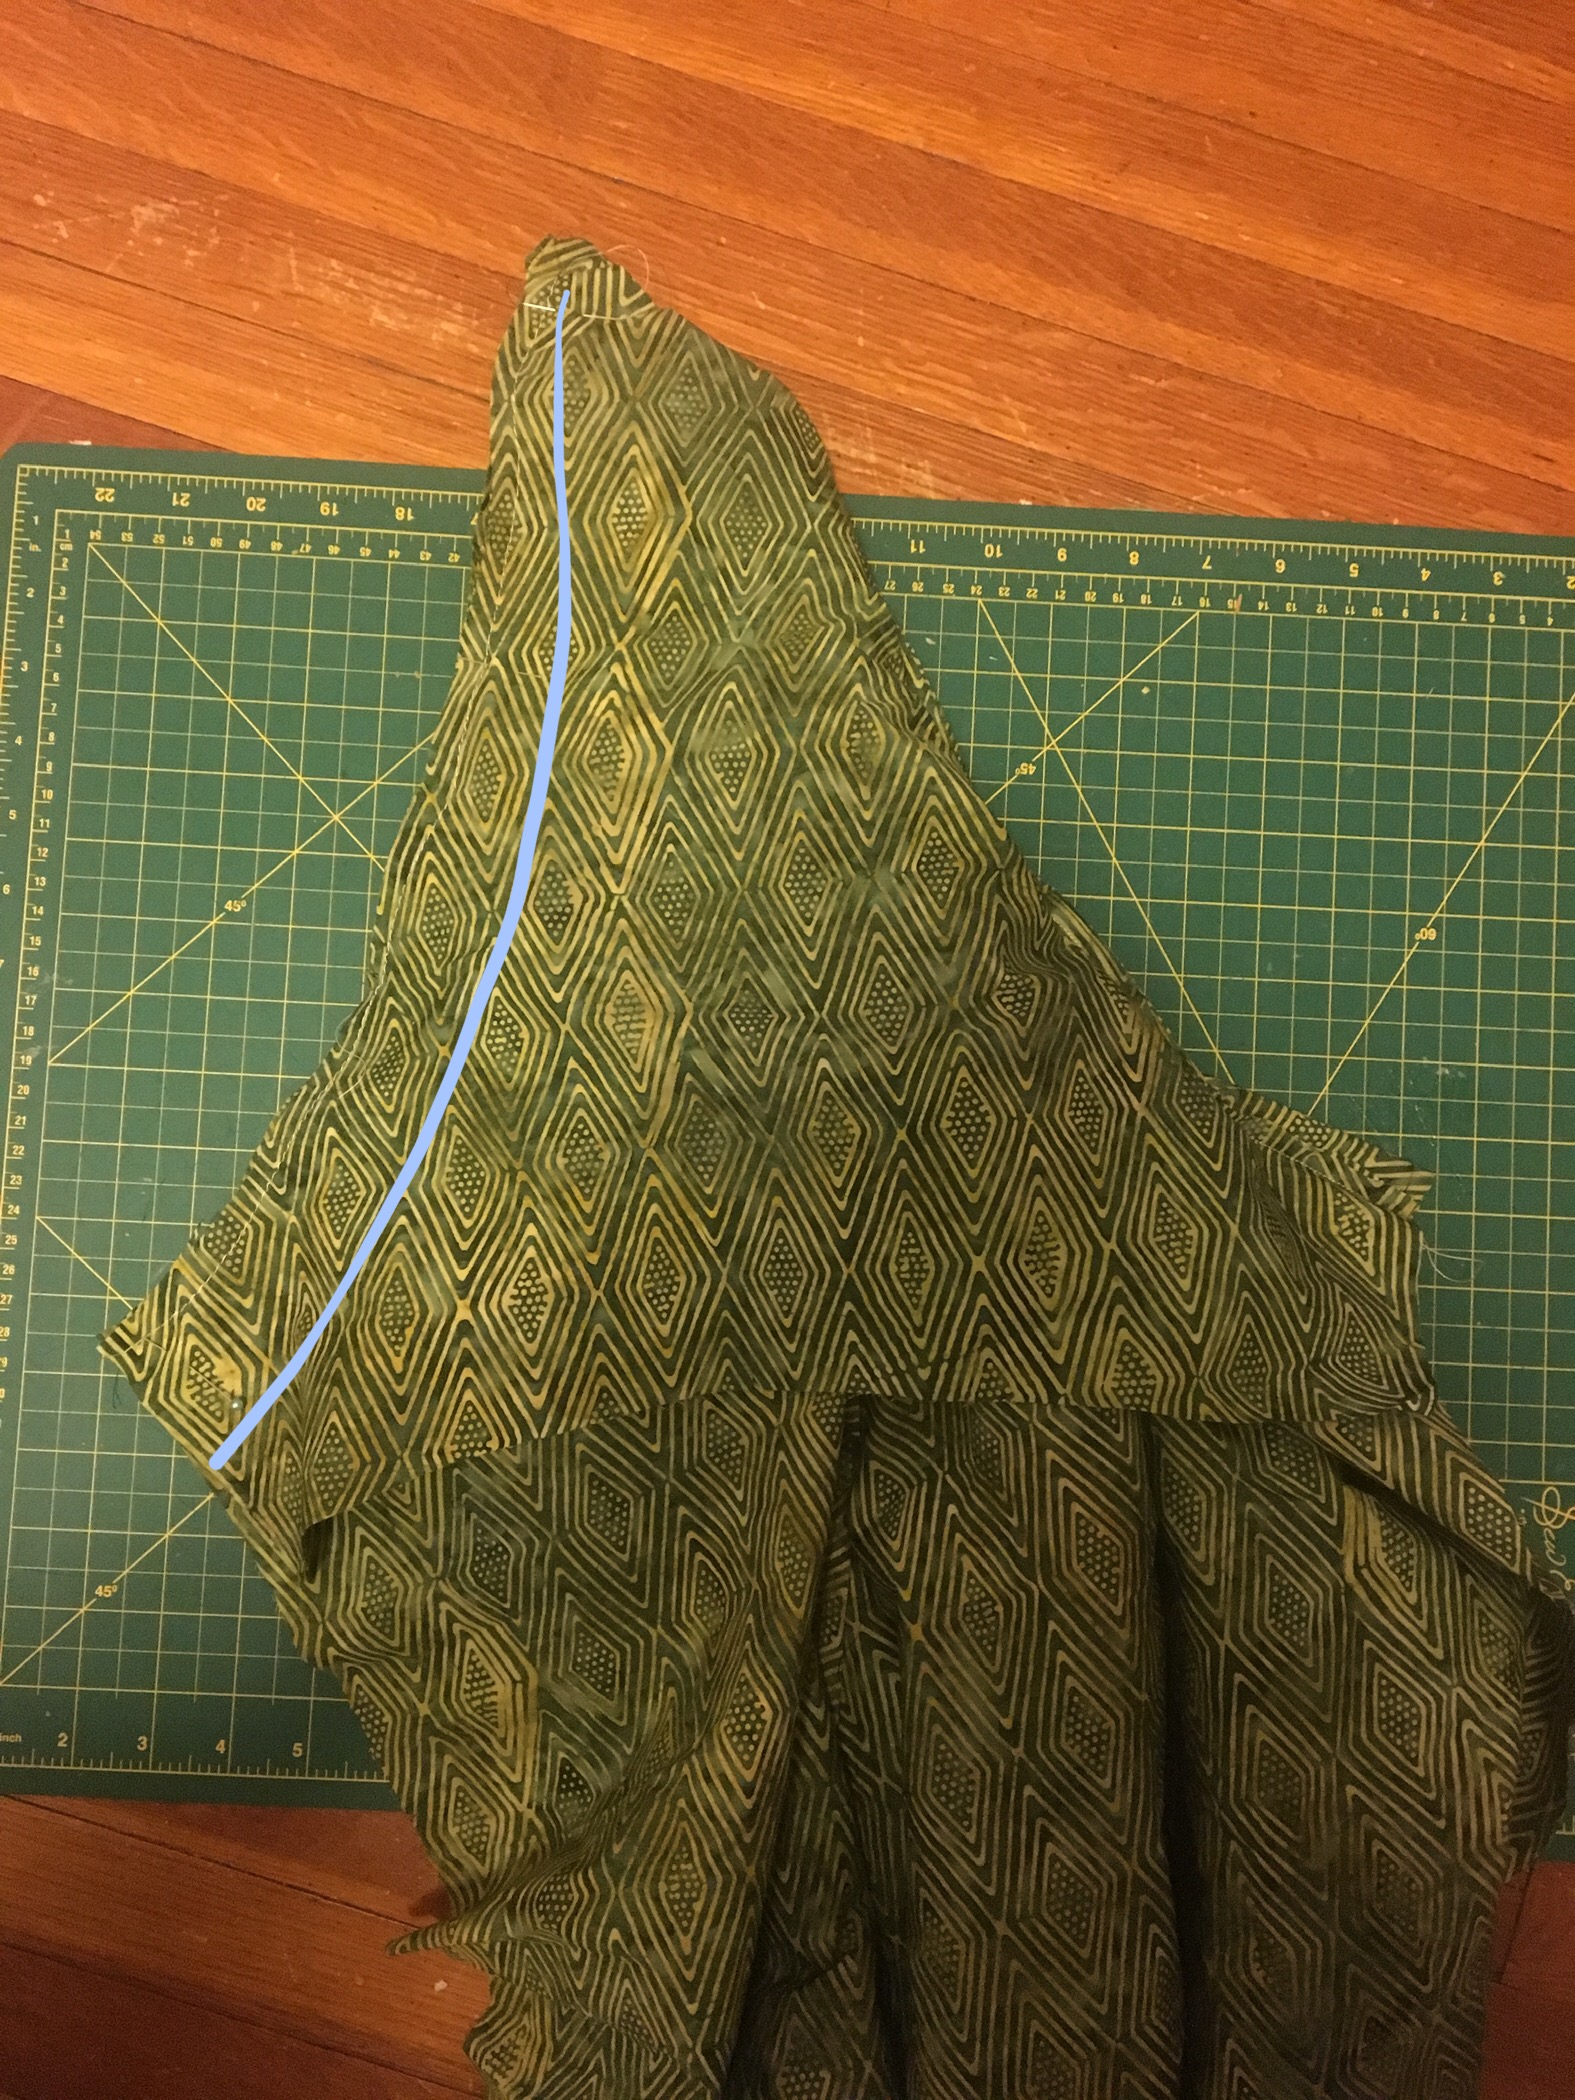
The only thing is I only remembered to staystitch one of the two front pieces, and neither of the raglan sleeves nor the top of the back yoke. I’d followed the pattern instructions and done the invisible placket first, which I’ve learned not to do, but don’t remember to not do.

You can guess why this was a problem? Oh yes, my collar, by the time I went to attach it, was obviously too small. (look at that!!) Rather than try to guess at re-cutting the collar, I used the collar to mark out where the plackets needed to end; figuring I needed to fold them a further 3/8 inch or 1 cm on each side. (I also staystitched at this point to prevent further distortion)
For the buttonhole placket, I unpicked the placket where I’d topstitched it to the shirt, then folded over an extra 1 cm. This left me with just enough room to place buttonholes on the interfaced bit before some of the uninterfaced shirt came into play, as long as the buttonholes were all vertical. I didn’t fancy unpicking the button placket, so I folded it over, and didn’t re-topstitch, because the buttons can hold it all together.

I attached my outer collar to the shirt first, then the inner, since in my limited experience that allows me to nail the centre front a little better. I pressed the seam allowance before adding the inner, and remembered to match the bottom of the folded-up edge to the outer seam allowance instead of matching the outer edges of the pieces — this meant that when I topstitched everything together, I actually mostly caught everything!
Oh! And at the yoke phase… I added a little tiny label to the shirt. This was hugely helpful with this print, since there really is no right or wrong side to the fabric, and while I’d intentionally cut the inner and outer yoke and inner and outer collar with the print running different directions… without that little label pointing me the right way, things could have gotten very confusing.

I had originally cut inseam pockets for the pattern, but opted to leave them off, as I think I’ll want to make this shorter once I don’t have a big belly to cover. I might also have to see about grading the side seam down to the 8 at the hips, since I really do have a lot of room as it stands, even with the belly.
I baste-fit the side seams before attaching them, and opted for a 5/8 seam allowance through the sleeves and side seam instead of the 3/8 called for, since again, lots of room. Plus, french seams are easier with 5/8, or at least I have more practice that way. So I’ve effectively taken out a fair amount of volume out of the size 12 between the sides and the front, stretching notwithstanding. I’m thinking next time I’ll try the 10 graded to the 8, and actually staystitch all the relevant parts.

The hem is unhemmed, just topstitched at 3/8 inch, as again, I think I’ll trim this, and I kind of liked the idea of a rougher hem on a shirt that is otherwise so self-contained. That, and I was direly eager to wear this out… so much so, that I threw it on with all of two buttons attached, pinned the next couple down, and went out for an evening of shows with (a variety of) buttons, thread, needle and scissors in tow. I attached button # 3 at dinner, #4 before show #1, and trimmed threads after show #2. I mangled the bottom button hole anyway, so I might not attach that button at all…
I gotta say, love this pattern/shirt!

Pattern: Perkins Shirt Dress
Size: 12 - I measure 96 cm for bust; am normally 98 cm in the hip (which would have put me at ); am currently a C-cup. Belly is 102 cm in these pictures @ 31 wks
I ended up sewing the side seams with a 5/8 seam allowance, and taking in the centre front 1 cm on each side.
Fabric: Batik essentially quilting cotton
If there is a next time: Try sewing a size 10 bust graded to 8 in the hips. Staystitch all the neckline pieces!! Sew plackets after collars to allow better fitting.