Halloween: Lady Jocelyn
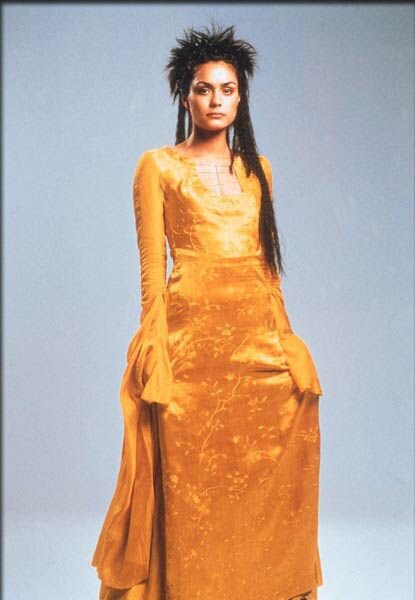
For actual years, I've wanted to be Lady Jocelyn from A Knight's Tale for Halloween. I mean, the dream would be the green ballroom Golden Years costume, but they're really all so extra and good. And now that I sew regularly, that dream could become a reality. Except not the ballroom dress, because Style 3790 entered my collection, a fitted gown with a hitch waist and long, glorious sleeves. A perfect stand in for the gold dress from most of the movie’s promotional materials.

Matchpoint was out of and not restocking the gold tencel twill I was thinking about for the dress, but because of the full length of the skirt and sleeves, I needed a bunch of yards, and Michelle kindly made my dreams a reality and special-ordered some for me.
In keeping with my efforts to test out nicer techniques, I muslined this pattern and used the practice dress as underlining. The muslin was made in super lightweight cotton shirting from Fabcycle, a fabric recycler in Vancouver (also with super-sweet customer service), that I wasn’t feeling for a shirt due to its transparency. It was nice and soft to the touch and draped well with the tencel, so it was perfect to give the skirt a bit more body and the bodice a bit more structure (especially useful since my bras tend to the light and unstructured variety).

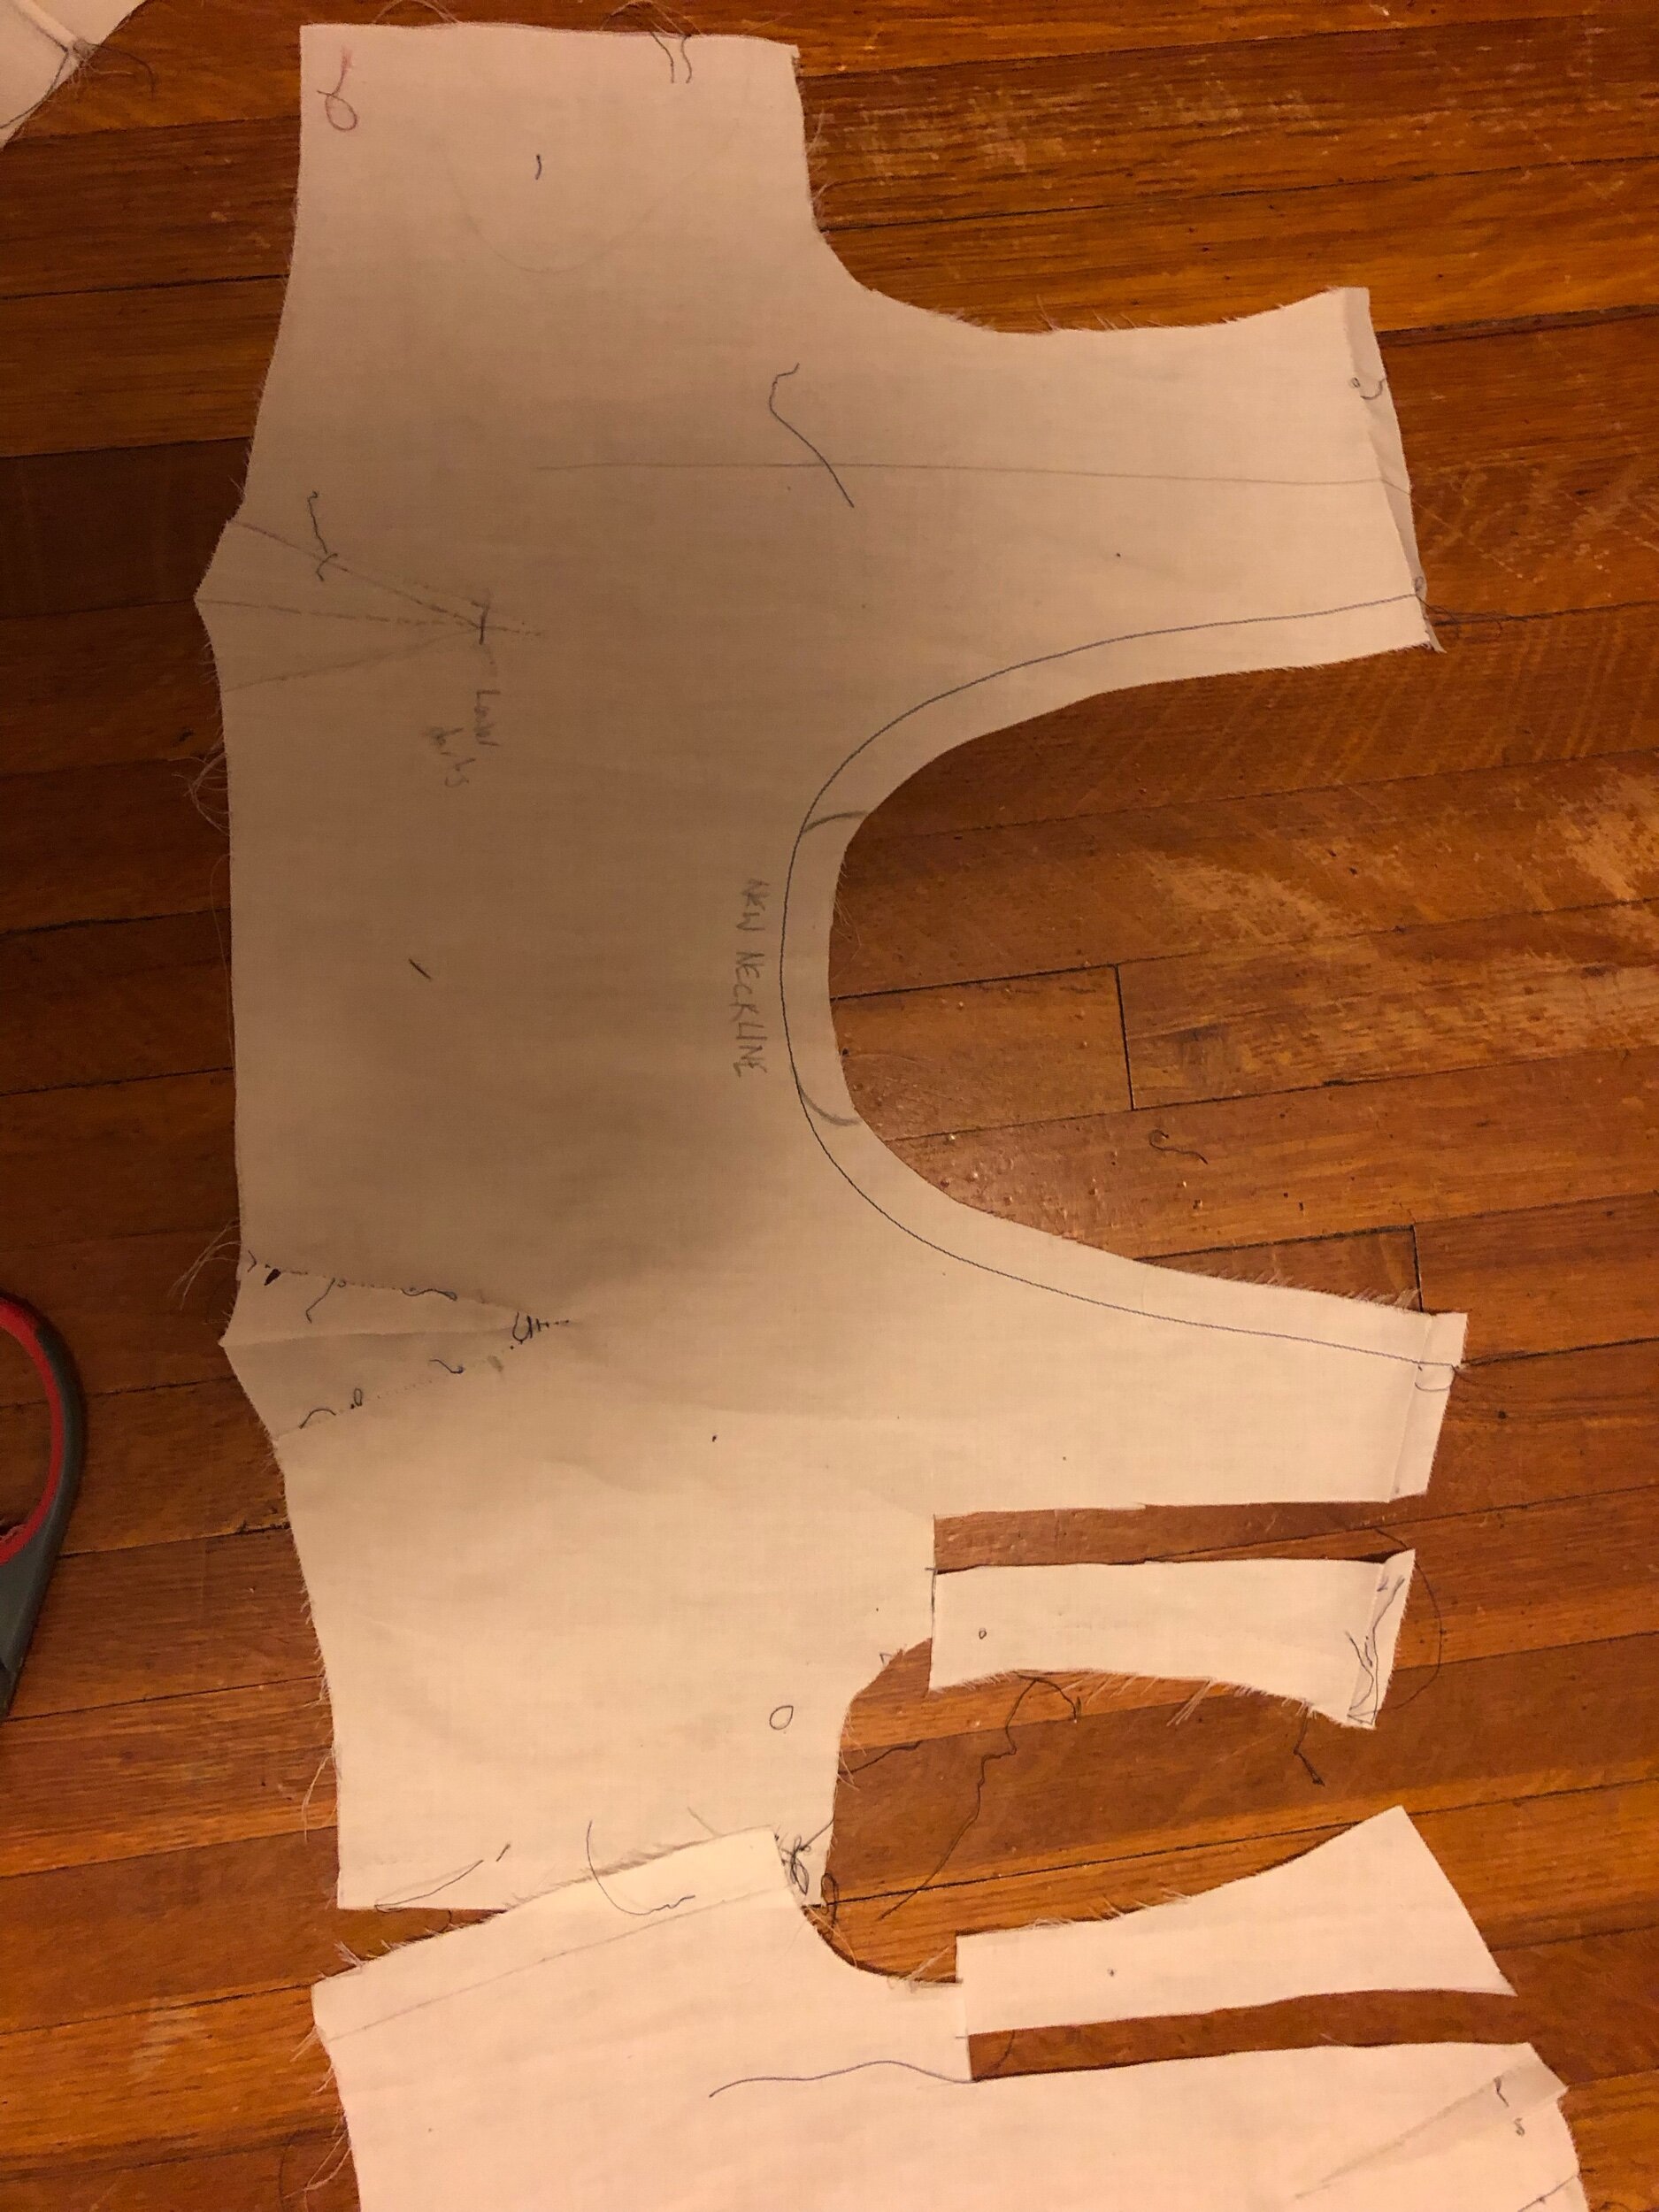
The pattern itself had been cut by the previous owner, but at a 36 bust, required no grading, so I could just use the pattern pieces! Woo hoo! I wish I’d traced it now, since the fit was glorious out of the envelope, with a couple of small changes required. I made all my changes directly in the muslin though, so I don’t have a useable copy for my own use. That said, really makes me want to use Style patterns from the 70s again.
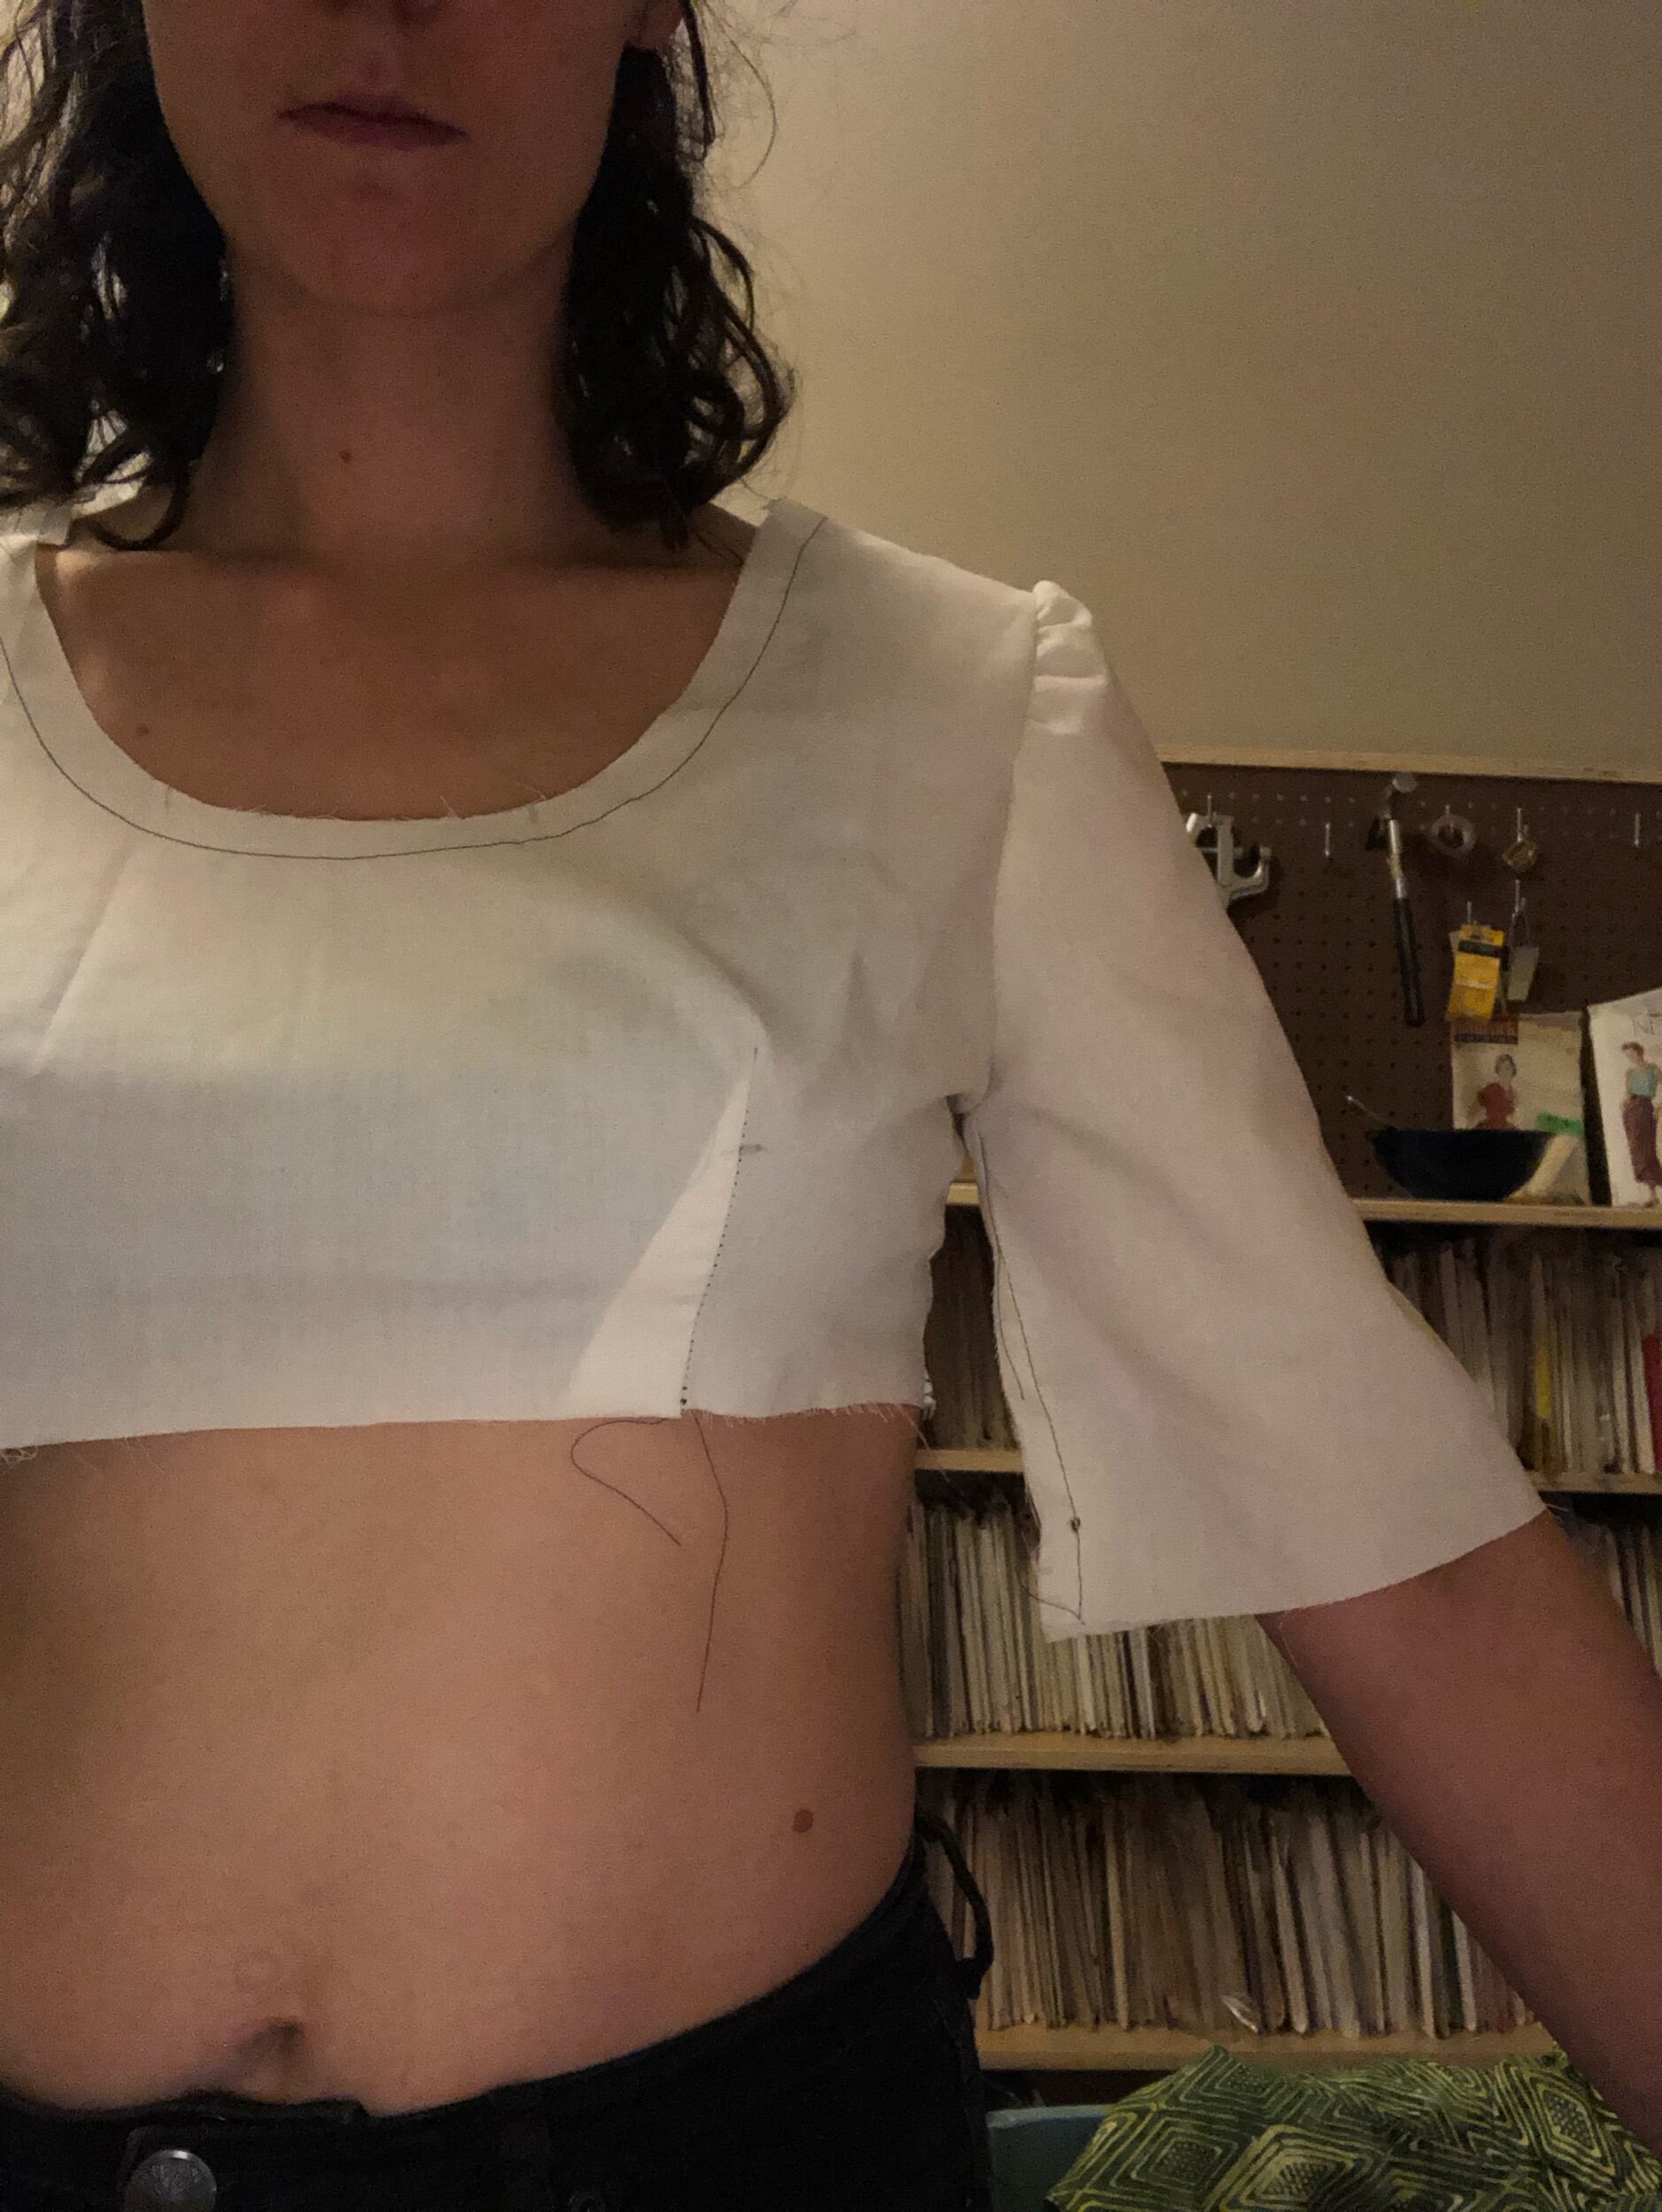
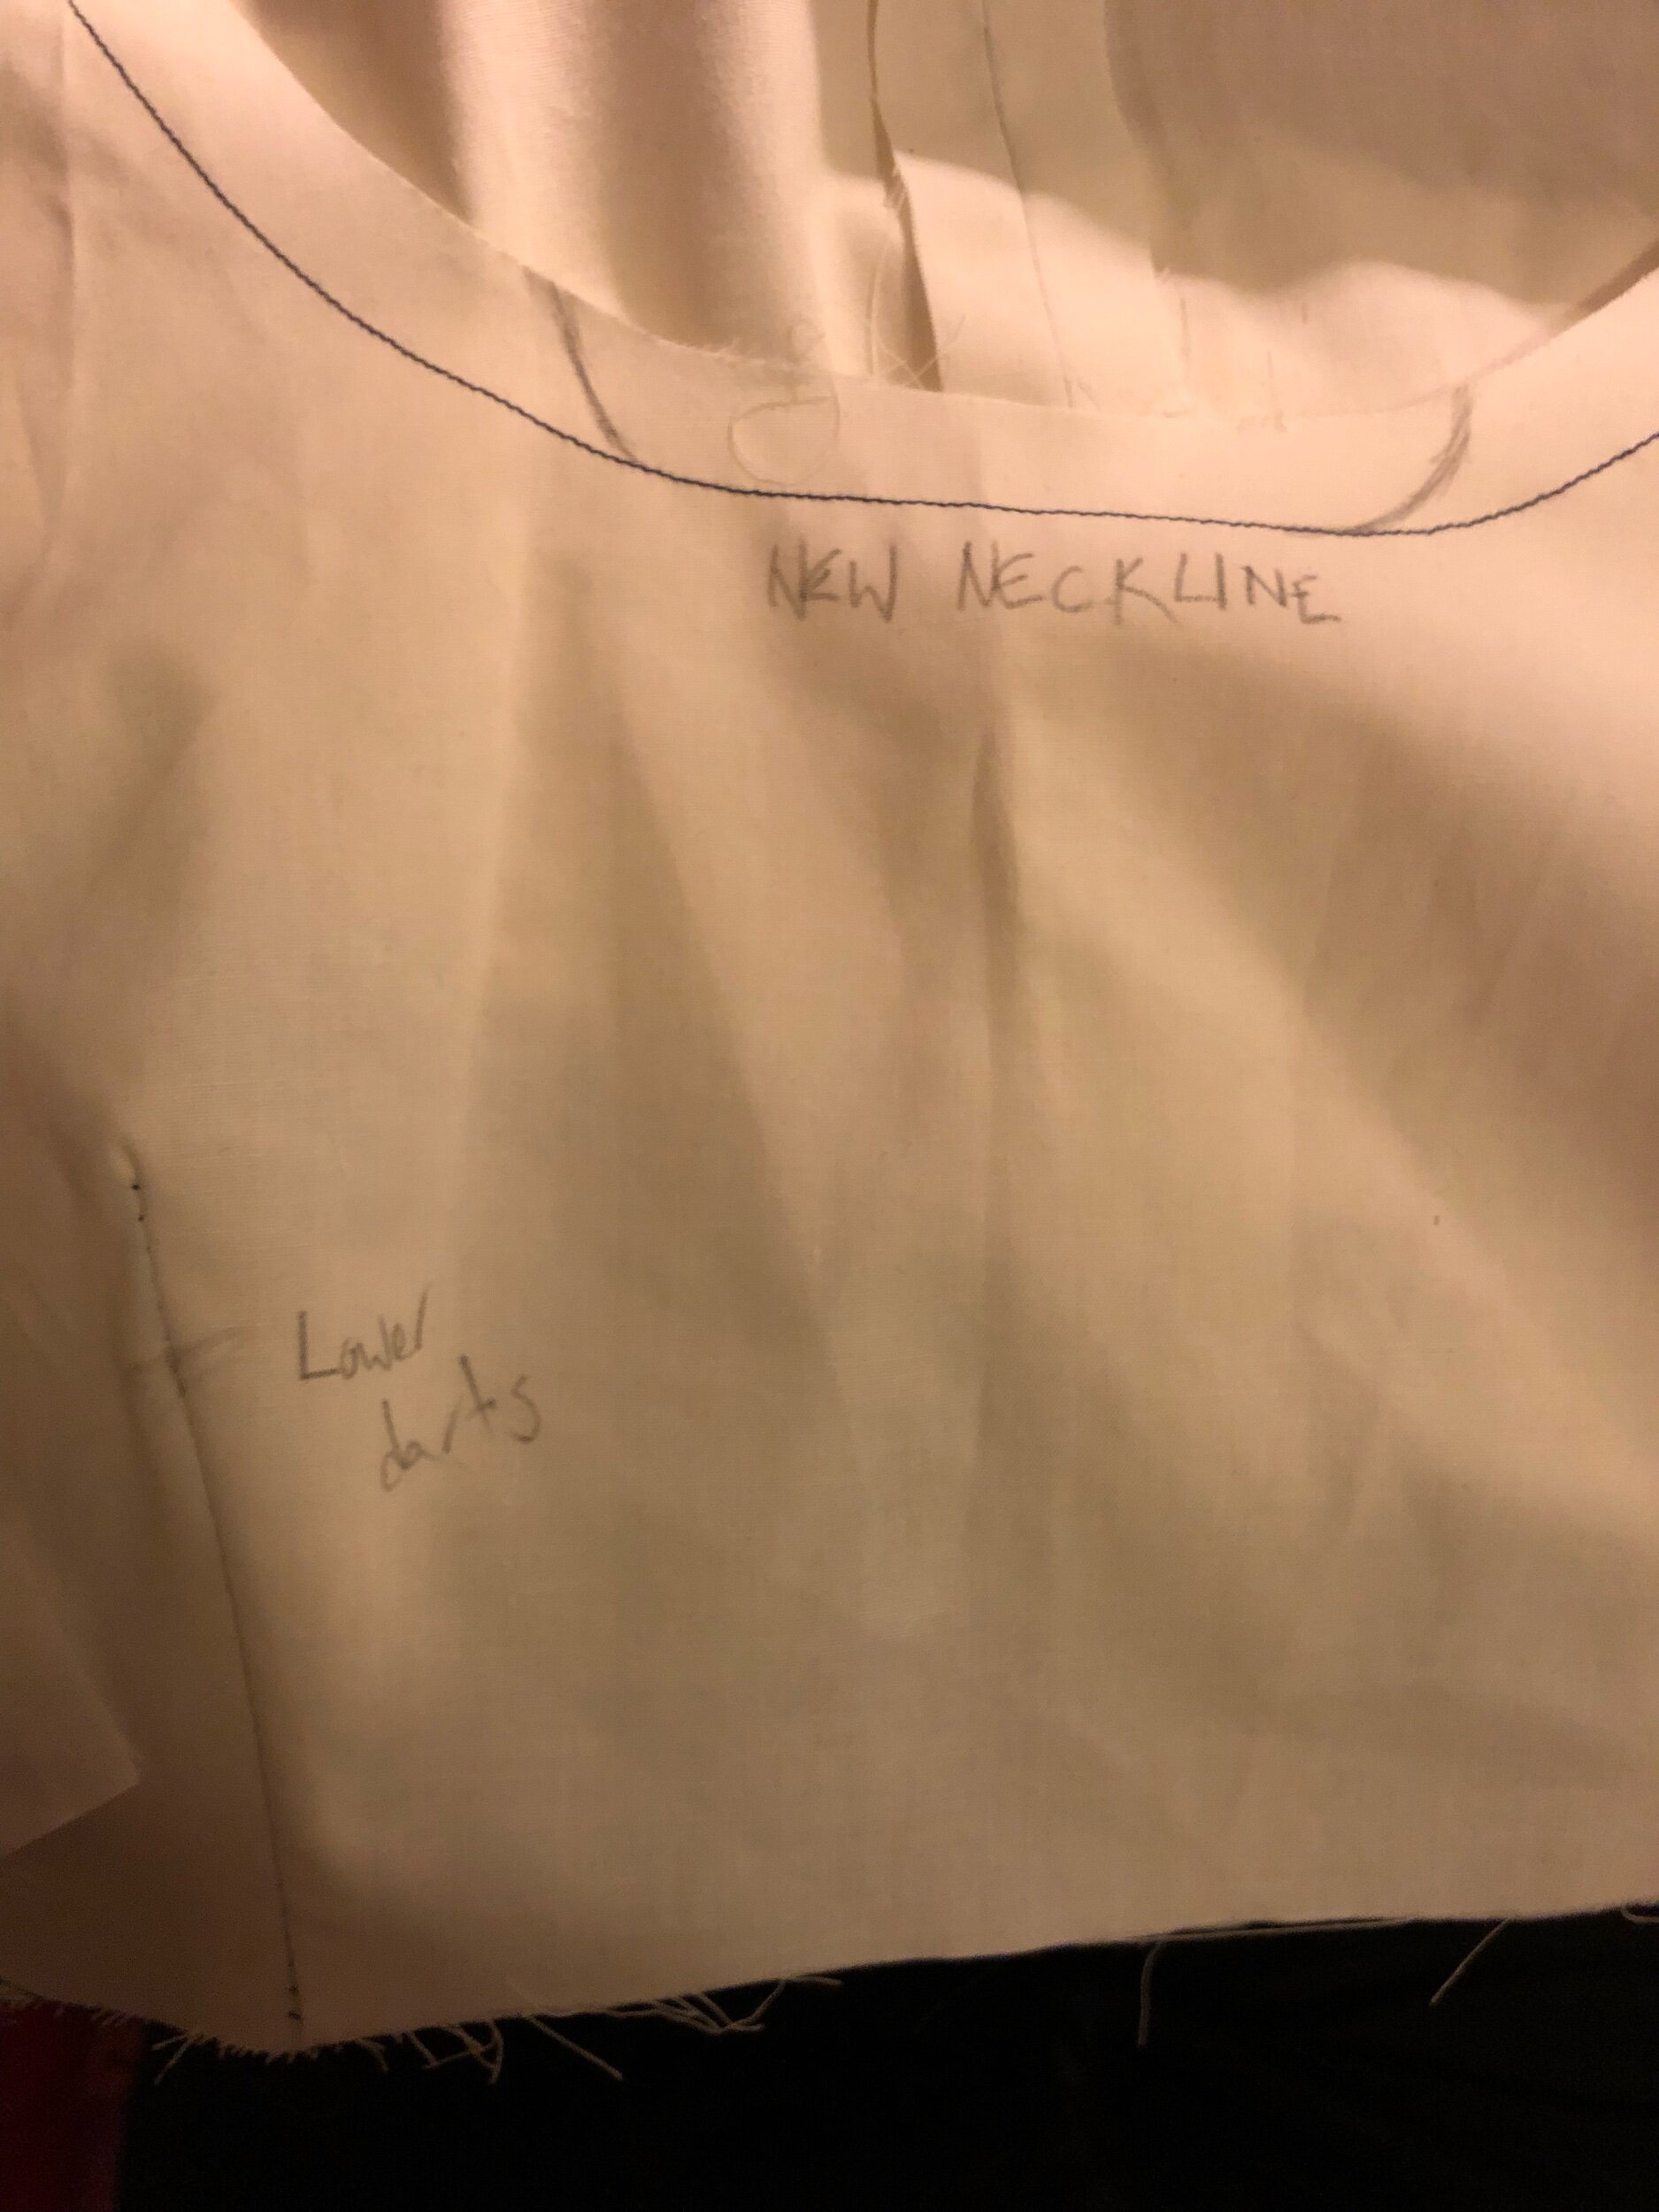
As I said, the fit was great from the start. The bodice front darts stopped right at my nipples, so I lowered those an inch. I probably shouldn’t have, but I moved the shoulder point out half an inch, and altered the neckline to match more what the movie dress has. I also just eyeballed lowering the sleeve armscye curve because BOYO do those shoulders have some gathers.
With a re-cut front bodice, the fit was sooo close. I realized that I probably just should have squared the shoulders, which I did. I’m finally realizing that what I thought were really broad shoulders always are probably just very square. Yahoo! The sleeve’s easing still needed to come way down, so I eyeballed an even more generous reduction in the armscye. (I didn’t muslin the drapey sleeve part). The arm also needed slimming to my eye, so did that.
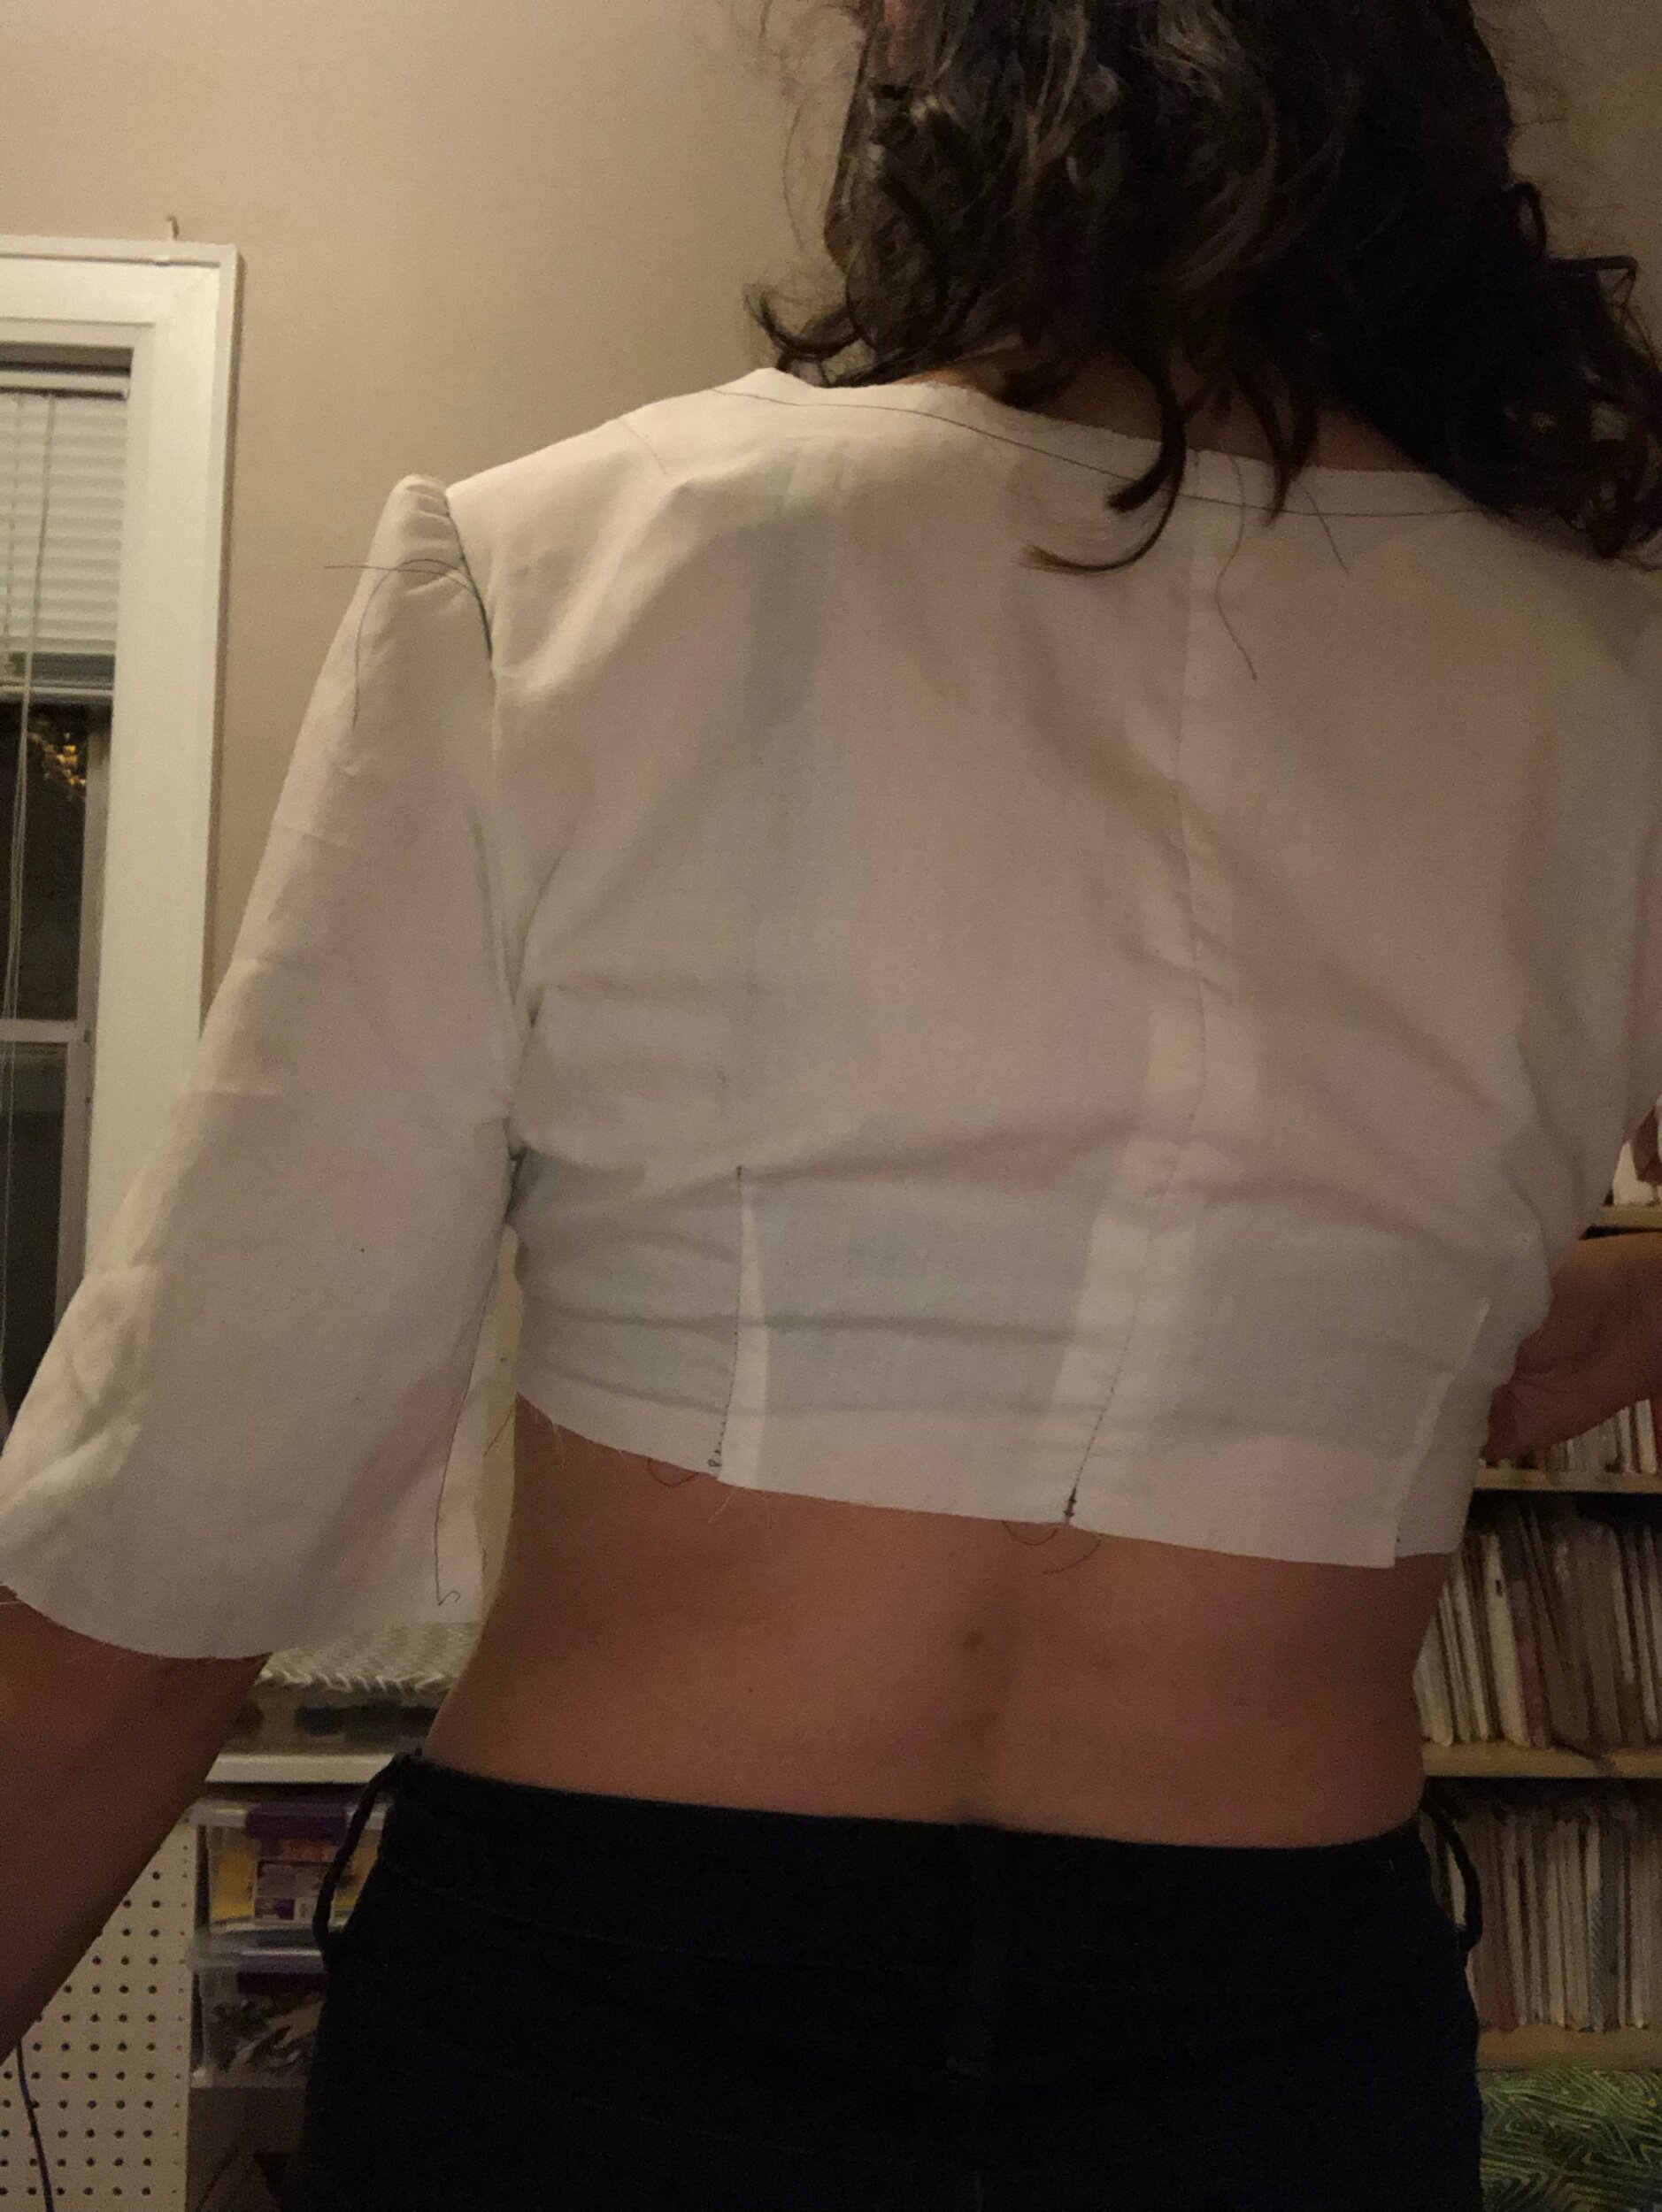
I basically needed no changes to the back bodice or skirt, except lengthening by at least 5 inches. To be safe, I cut 6 or more extra for the real pieces.
One fun thing in this whole fitting phase was just ripping out of the dress everytime I needed to change/try something new, since I wasn’t putting in a dang old zipper and after pinning up the side the first time I figured i could juuuuust fit in if I sewed up all the seams, but it wasn’t about to come off that way. Fitting can be fun in some dumb ways.
I was planning to properly hand-baste the dress pieces to their underlining pieces but was starting to feel short on time, so I glue basted with those pen-style washable Elmer’s glue. I’d read somewhere they were finer-tipped than the regular bottles you can find, but honestly didn’t notice a difference (as I also tried the regular glue bottle for the first piece…). The only problem I can see with this is that it is quite stiff within the seam allowance and can be scratchy until you wash it out, and obviously it wouldn’t work if the final product weren’t washable.
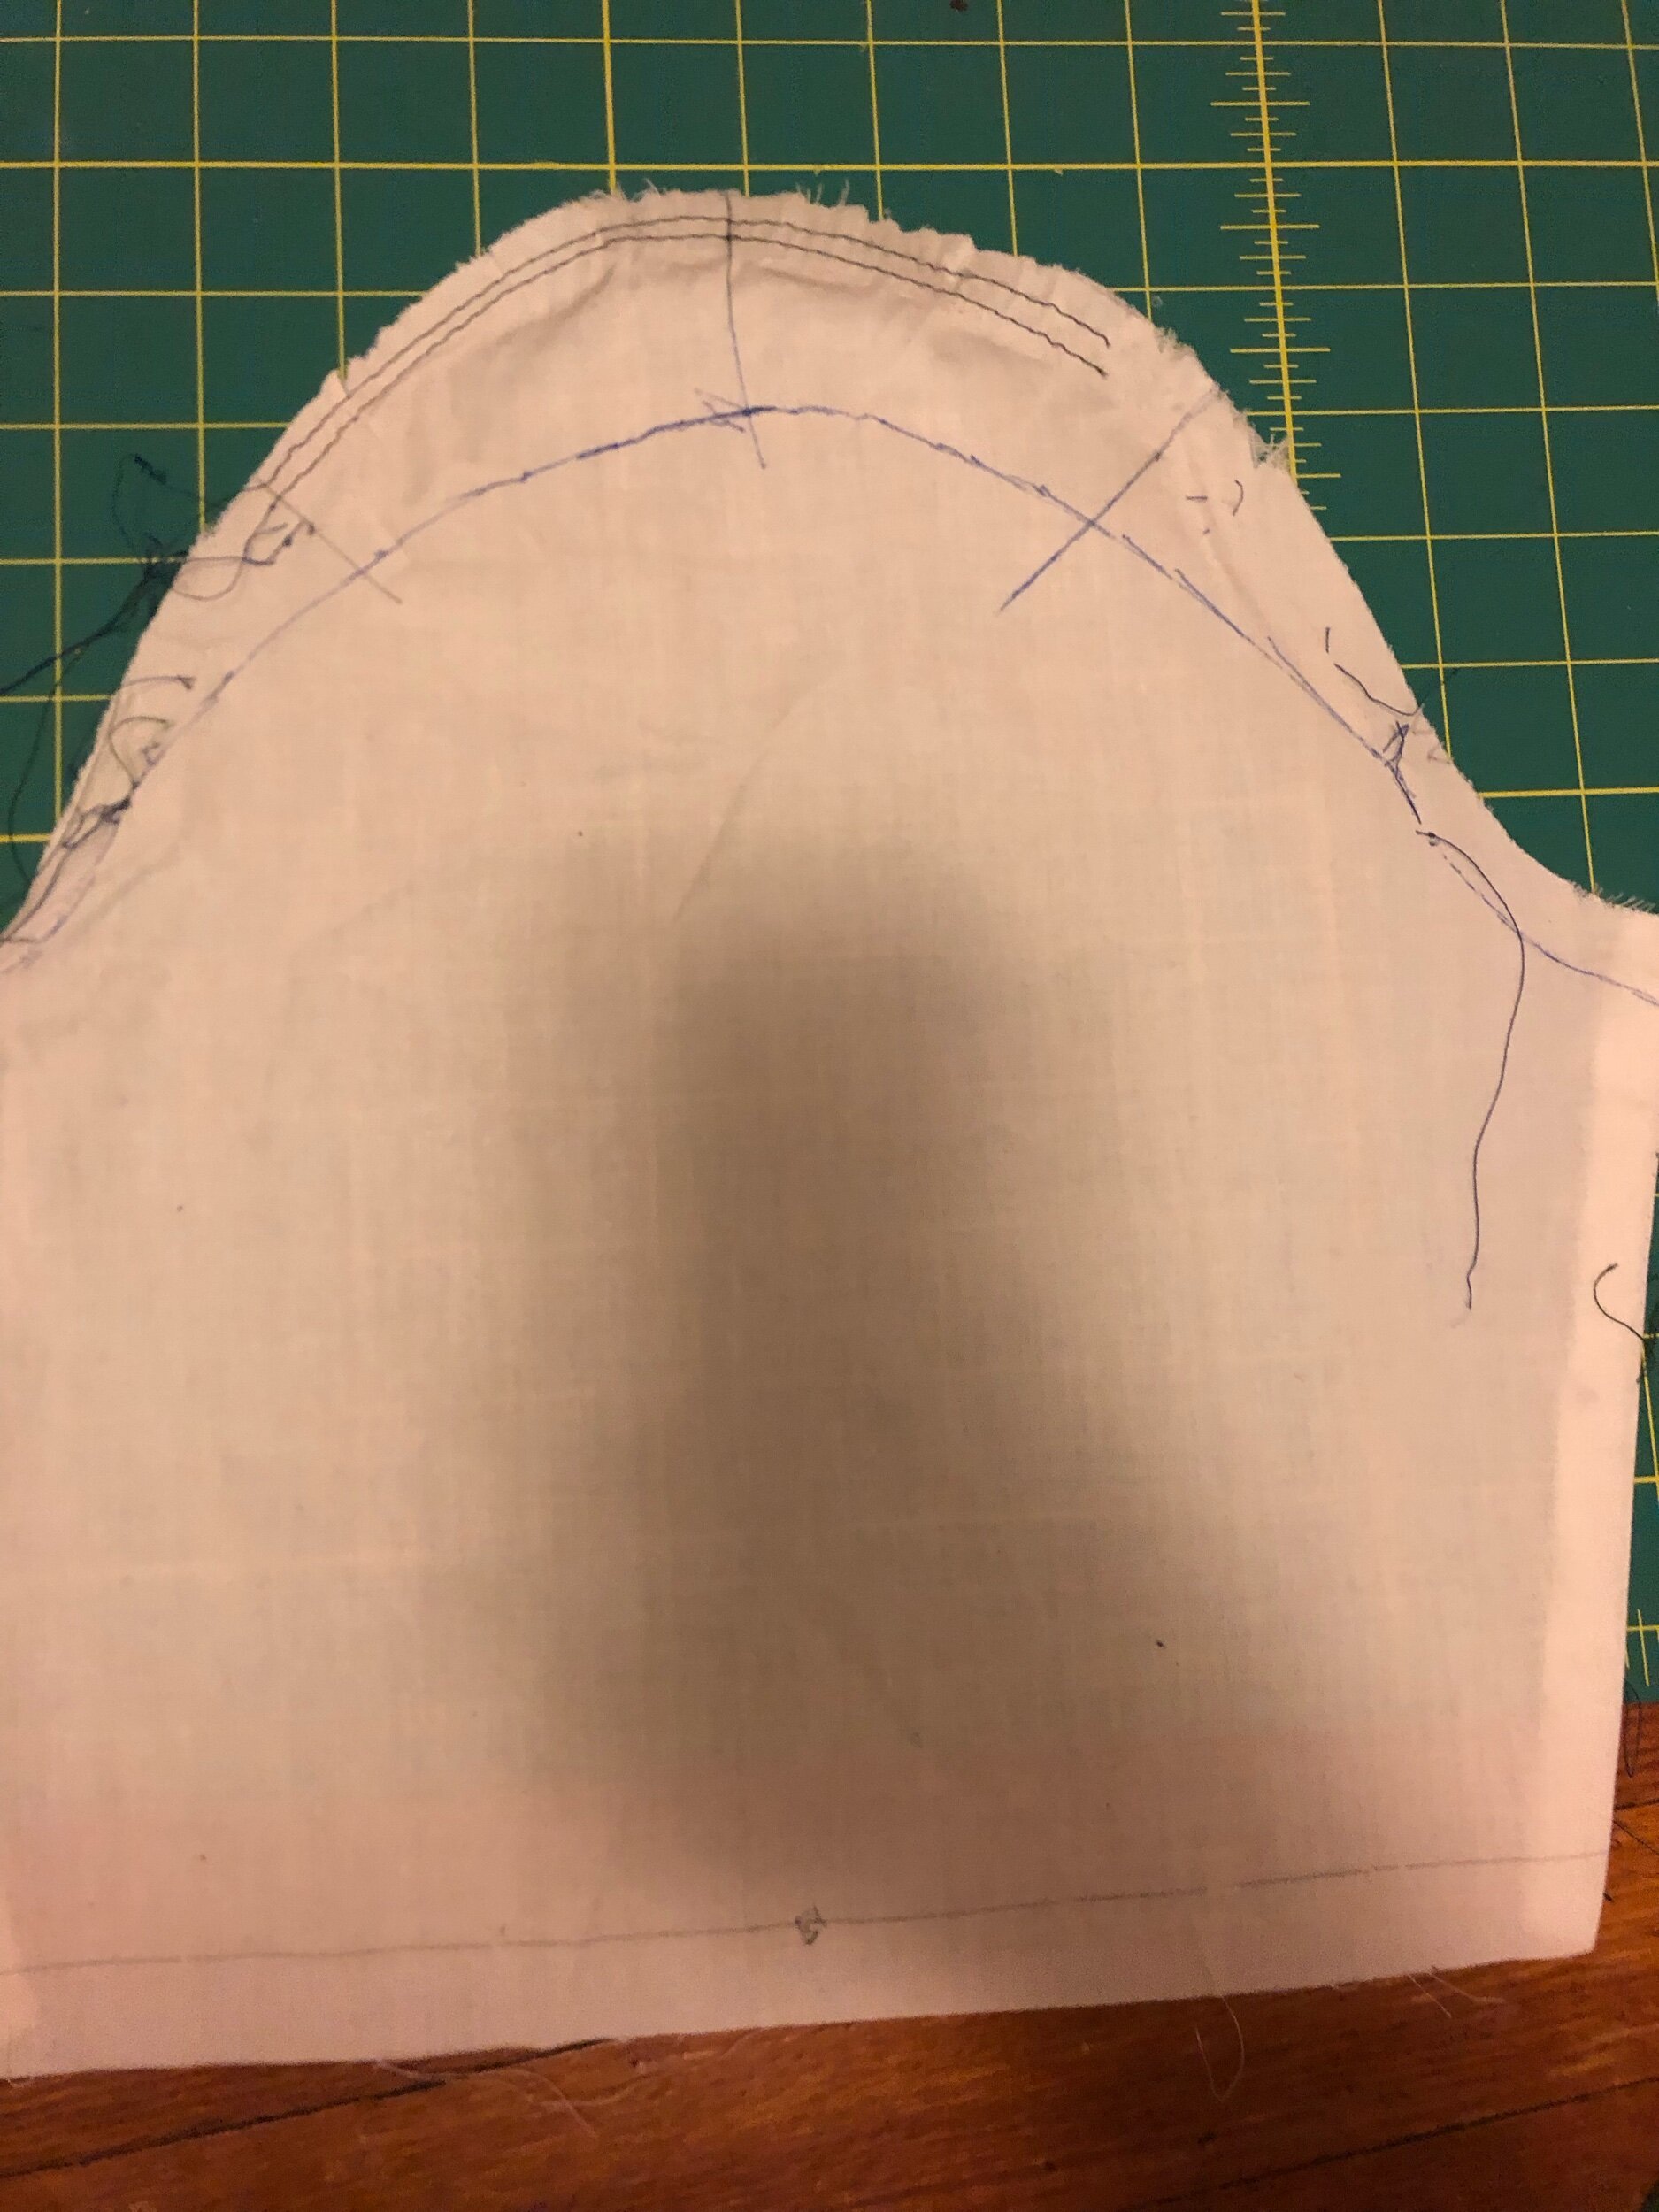
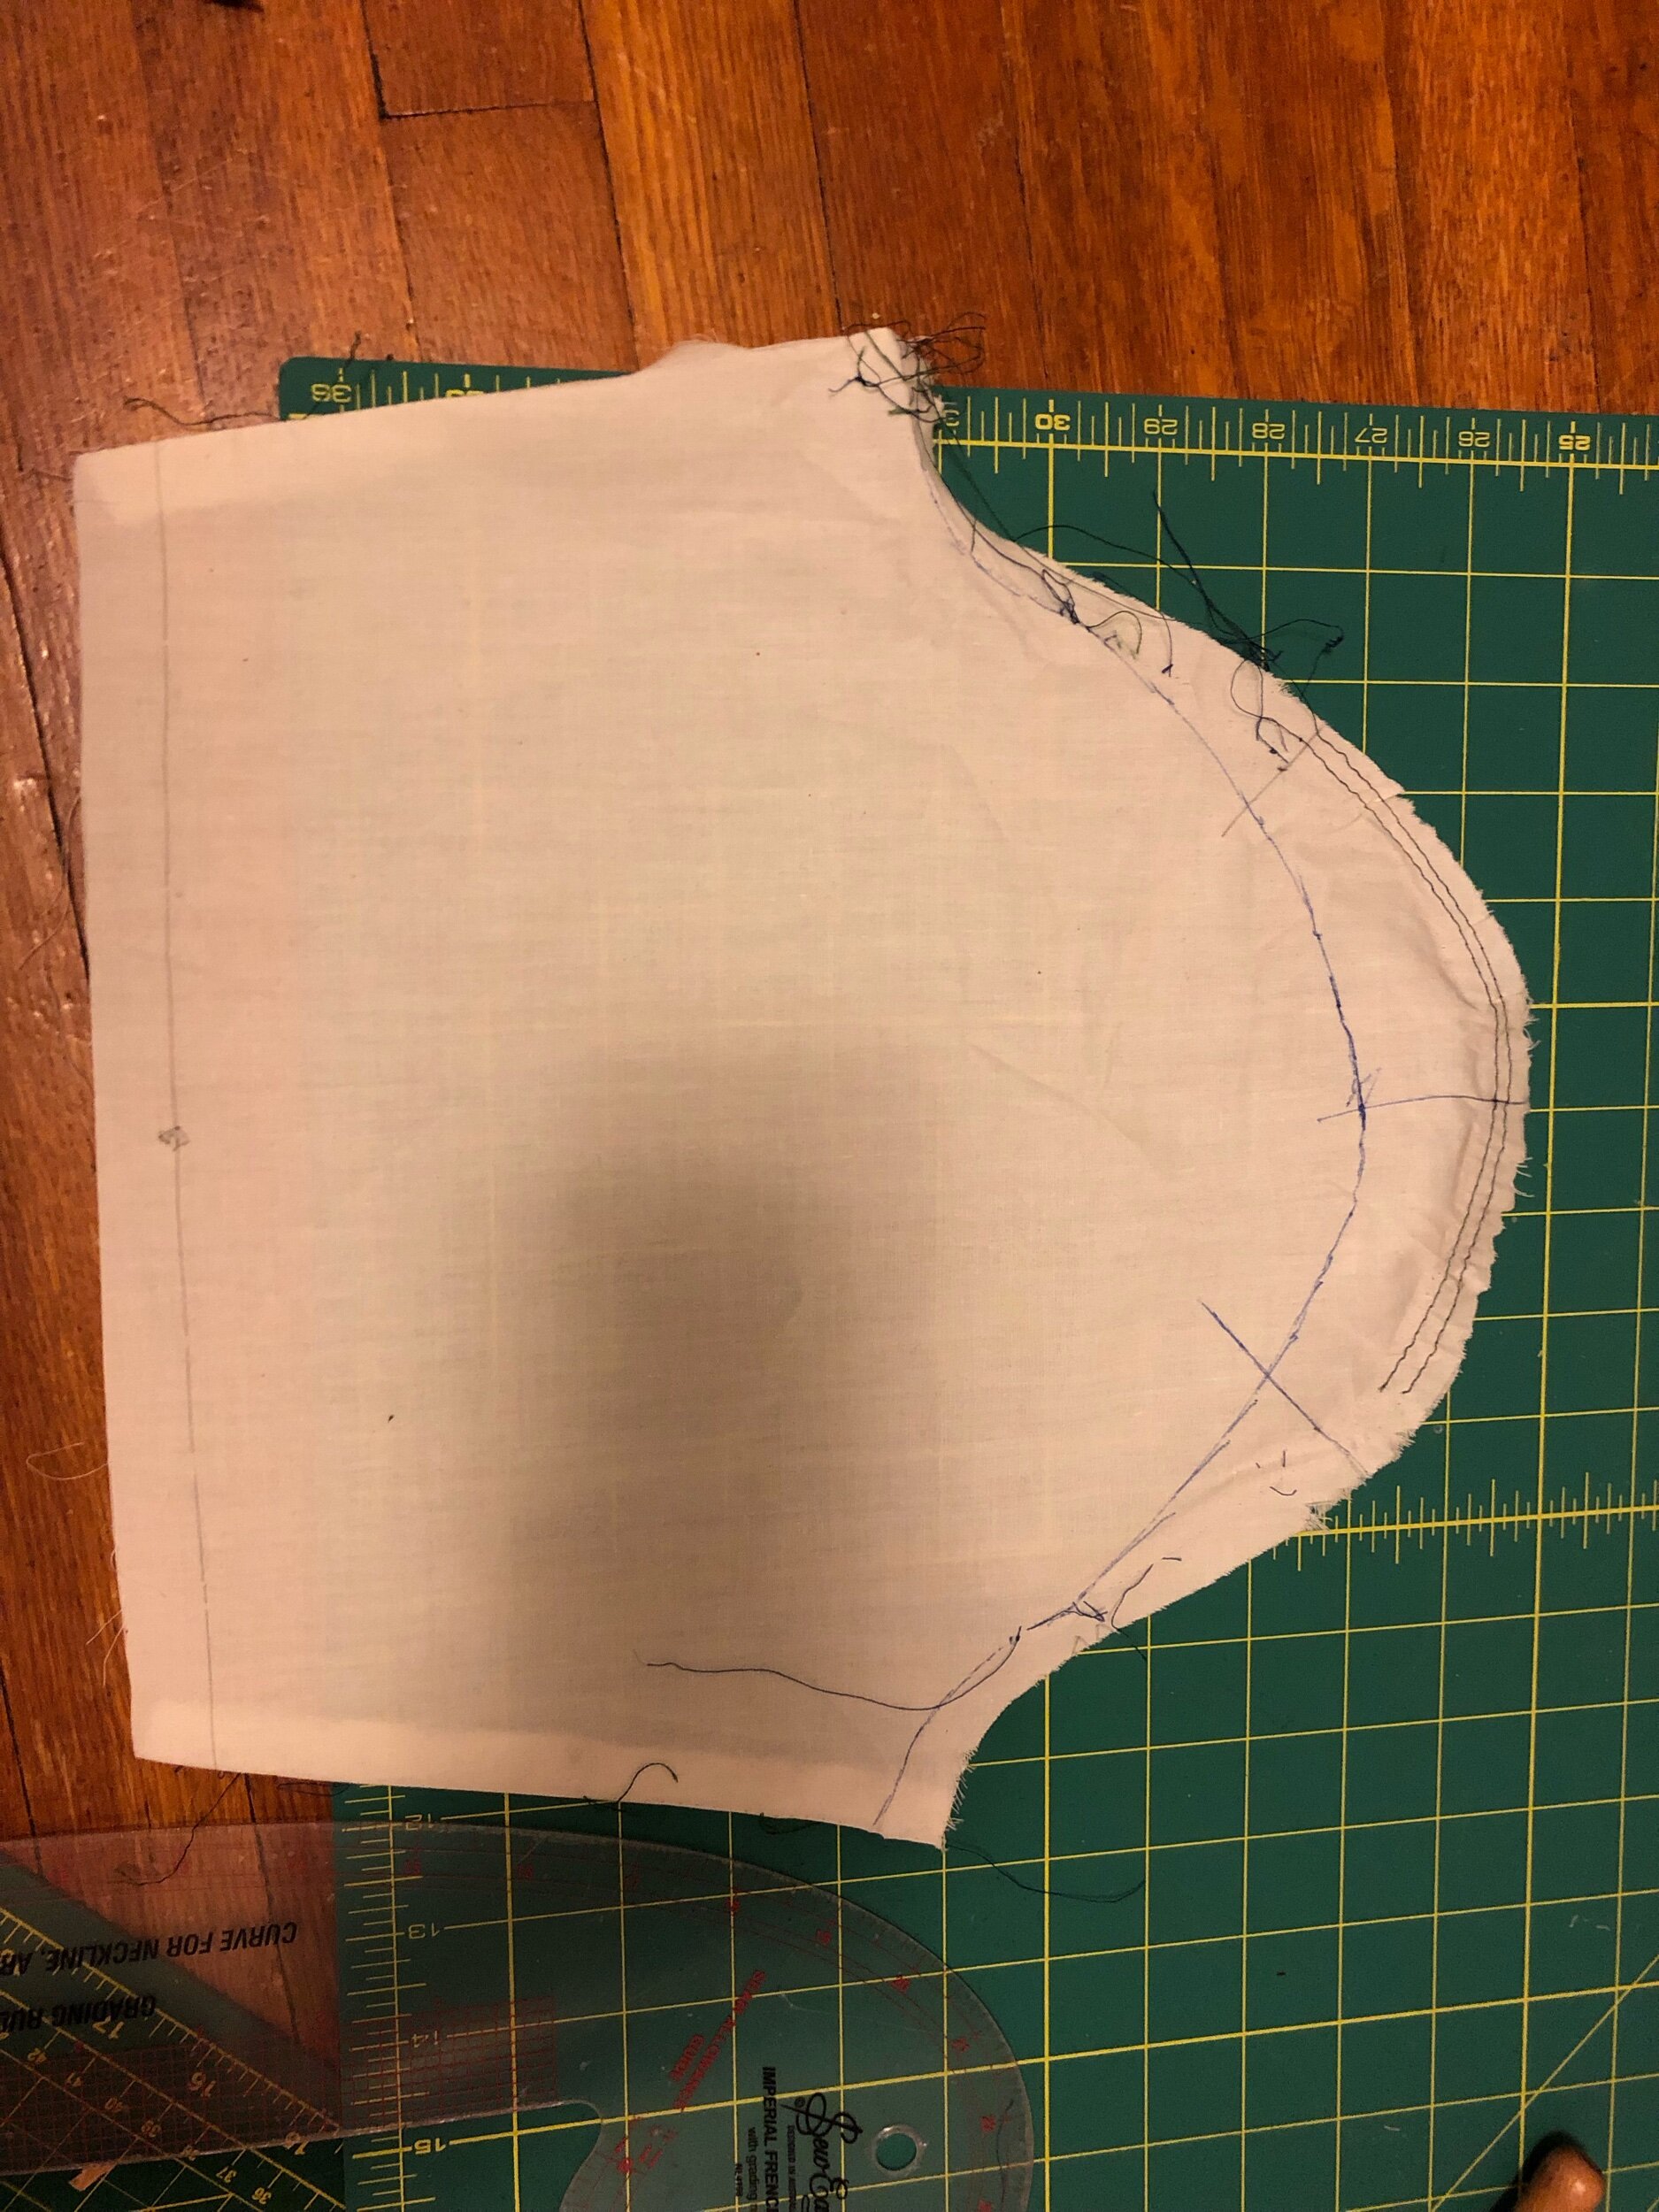
The flowing sleeve portion was easy enough to cut, but requires a circle cut within a long ellipse, so the circle seam and the bottom of the armhole are the same size, and I'd changed the armhole circumference. So I measured that flat (11cm), then found the necessary radius, cut a piece of paper out to that size, pinned it and traced it while I span it. This worked perfectly. I then lost this piece of paper and eyeballed much more of the circle for the second arm. Precision pays, kids. That second sleeve is a little janky, but I’m not killing myself over it as I have designs on making this into a much more work-appropriate dress out of this when it’s run its course as a costume, which could be another year yet.

I'm pretty pleased with how beautifully my darts match in both the front and back bodice. Can't say the same for the zip… But at least it went in without tears.

I've gotten myself an invisible zipper foot (which was a bit of a rigamarole due to the machine being Kenmore), which is most responsible for improvement in this process. But I also hand basted the zip into place, which I feel like is faster and easier than pinning? I'm no great fan of pinning, and I skip it all over the place, but it always seemed easier than hand basting. I'll still give pins the edge for places where you want the pinss far apart but…. Basting wins over 10,000 pins sort of areas. Of course, I did it wrong first, basting one zip edge to the wrong side, then fixed that, then did it right but despite my best efforts the waist seam was super visibly off. Like half an inch off. So I did it again and it's still off but ignorably so. Any tips to match that seam reliably across a zipper?

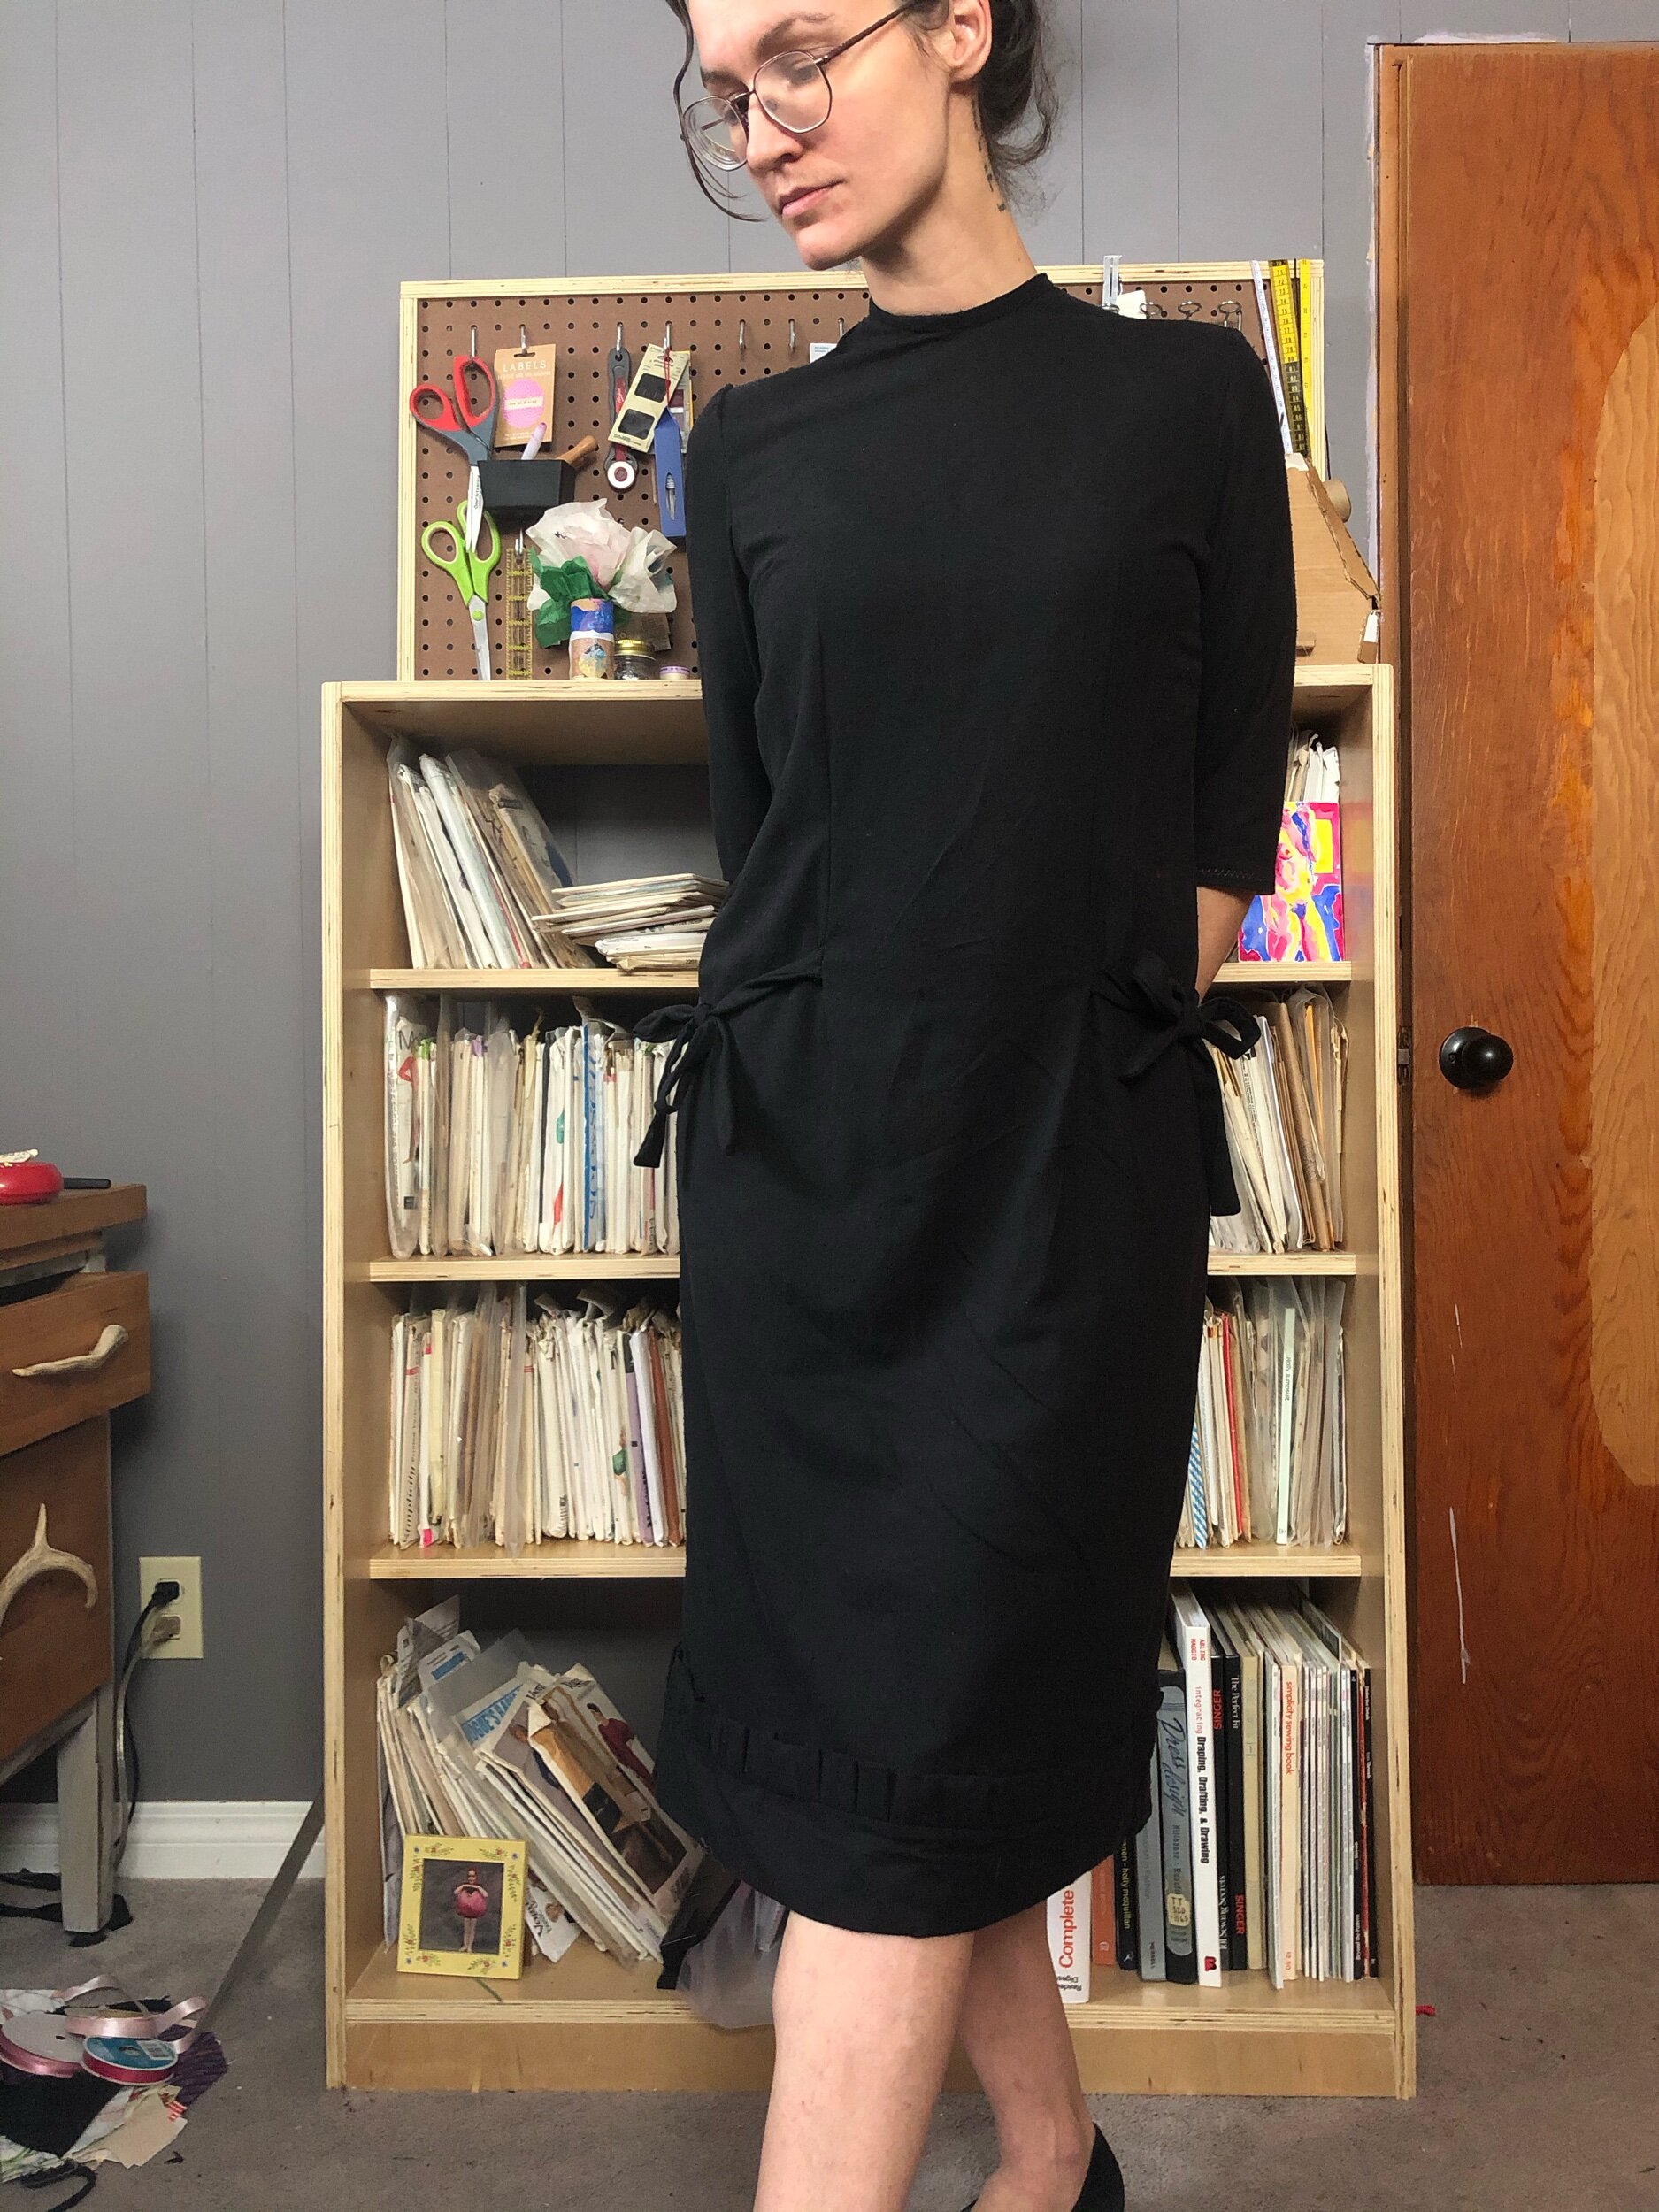
The sleeve hem and bottom hem are both machine-rolled. For the sleeves, this is for sure the right finish (although if I were planning for sleeve longevity I would go over the spots the machine didn’t get quite right by hand), but the bottom should really have a nice deep invisible hem. Again, I have plans for a more sensible day dress out of this in future, which will be much shorter.
The last bit to do was the neckline facing and neckline chains. The facing is simple, just traced from the existing neckline and extended down 3.5 inches. I don’t love a floppy facing, though. The nice thing about having an interlining is it is possible to tack down the facing to the bodice completely invisibly, and much more efficiently than would be possible were the fashion fabric the only layer. The neckline chains are made from a thrift store chain necklace that I separated and tacked in place; another area which will be removed when this is converted to a sensible dress. That said, they survived a trip through the wash on a gentle cycle, so they’re not completely delicately attached.
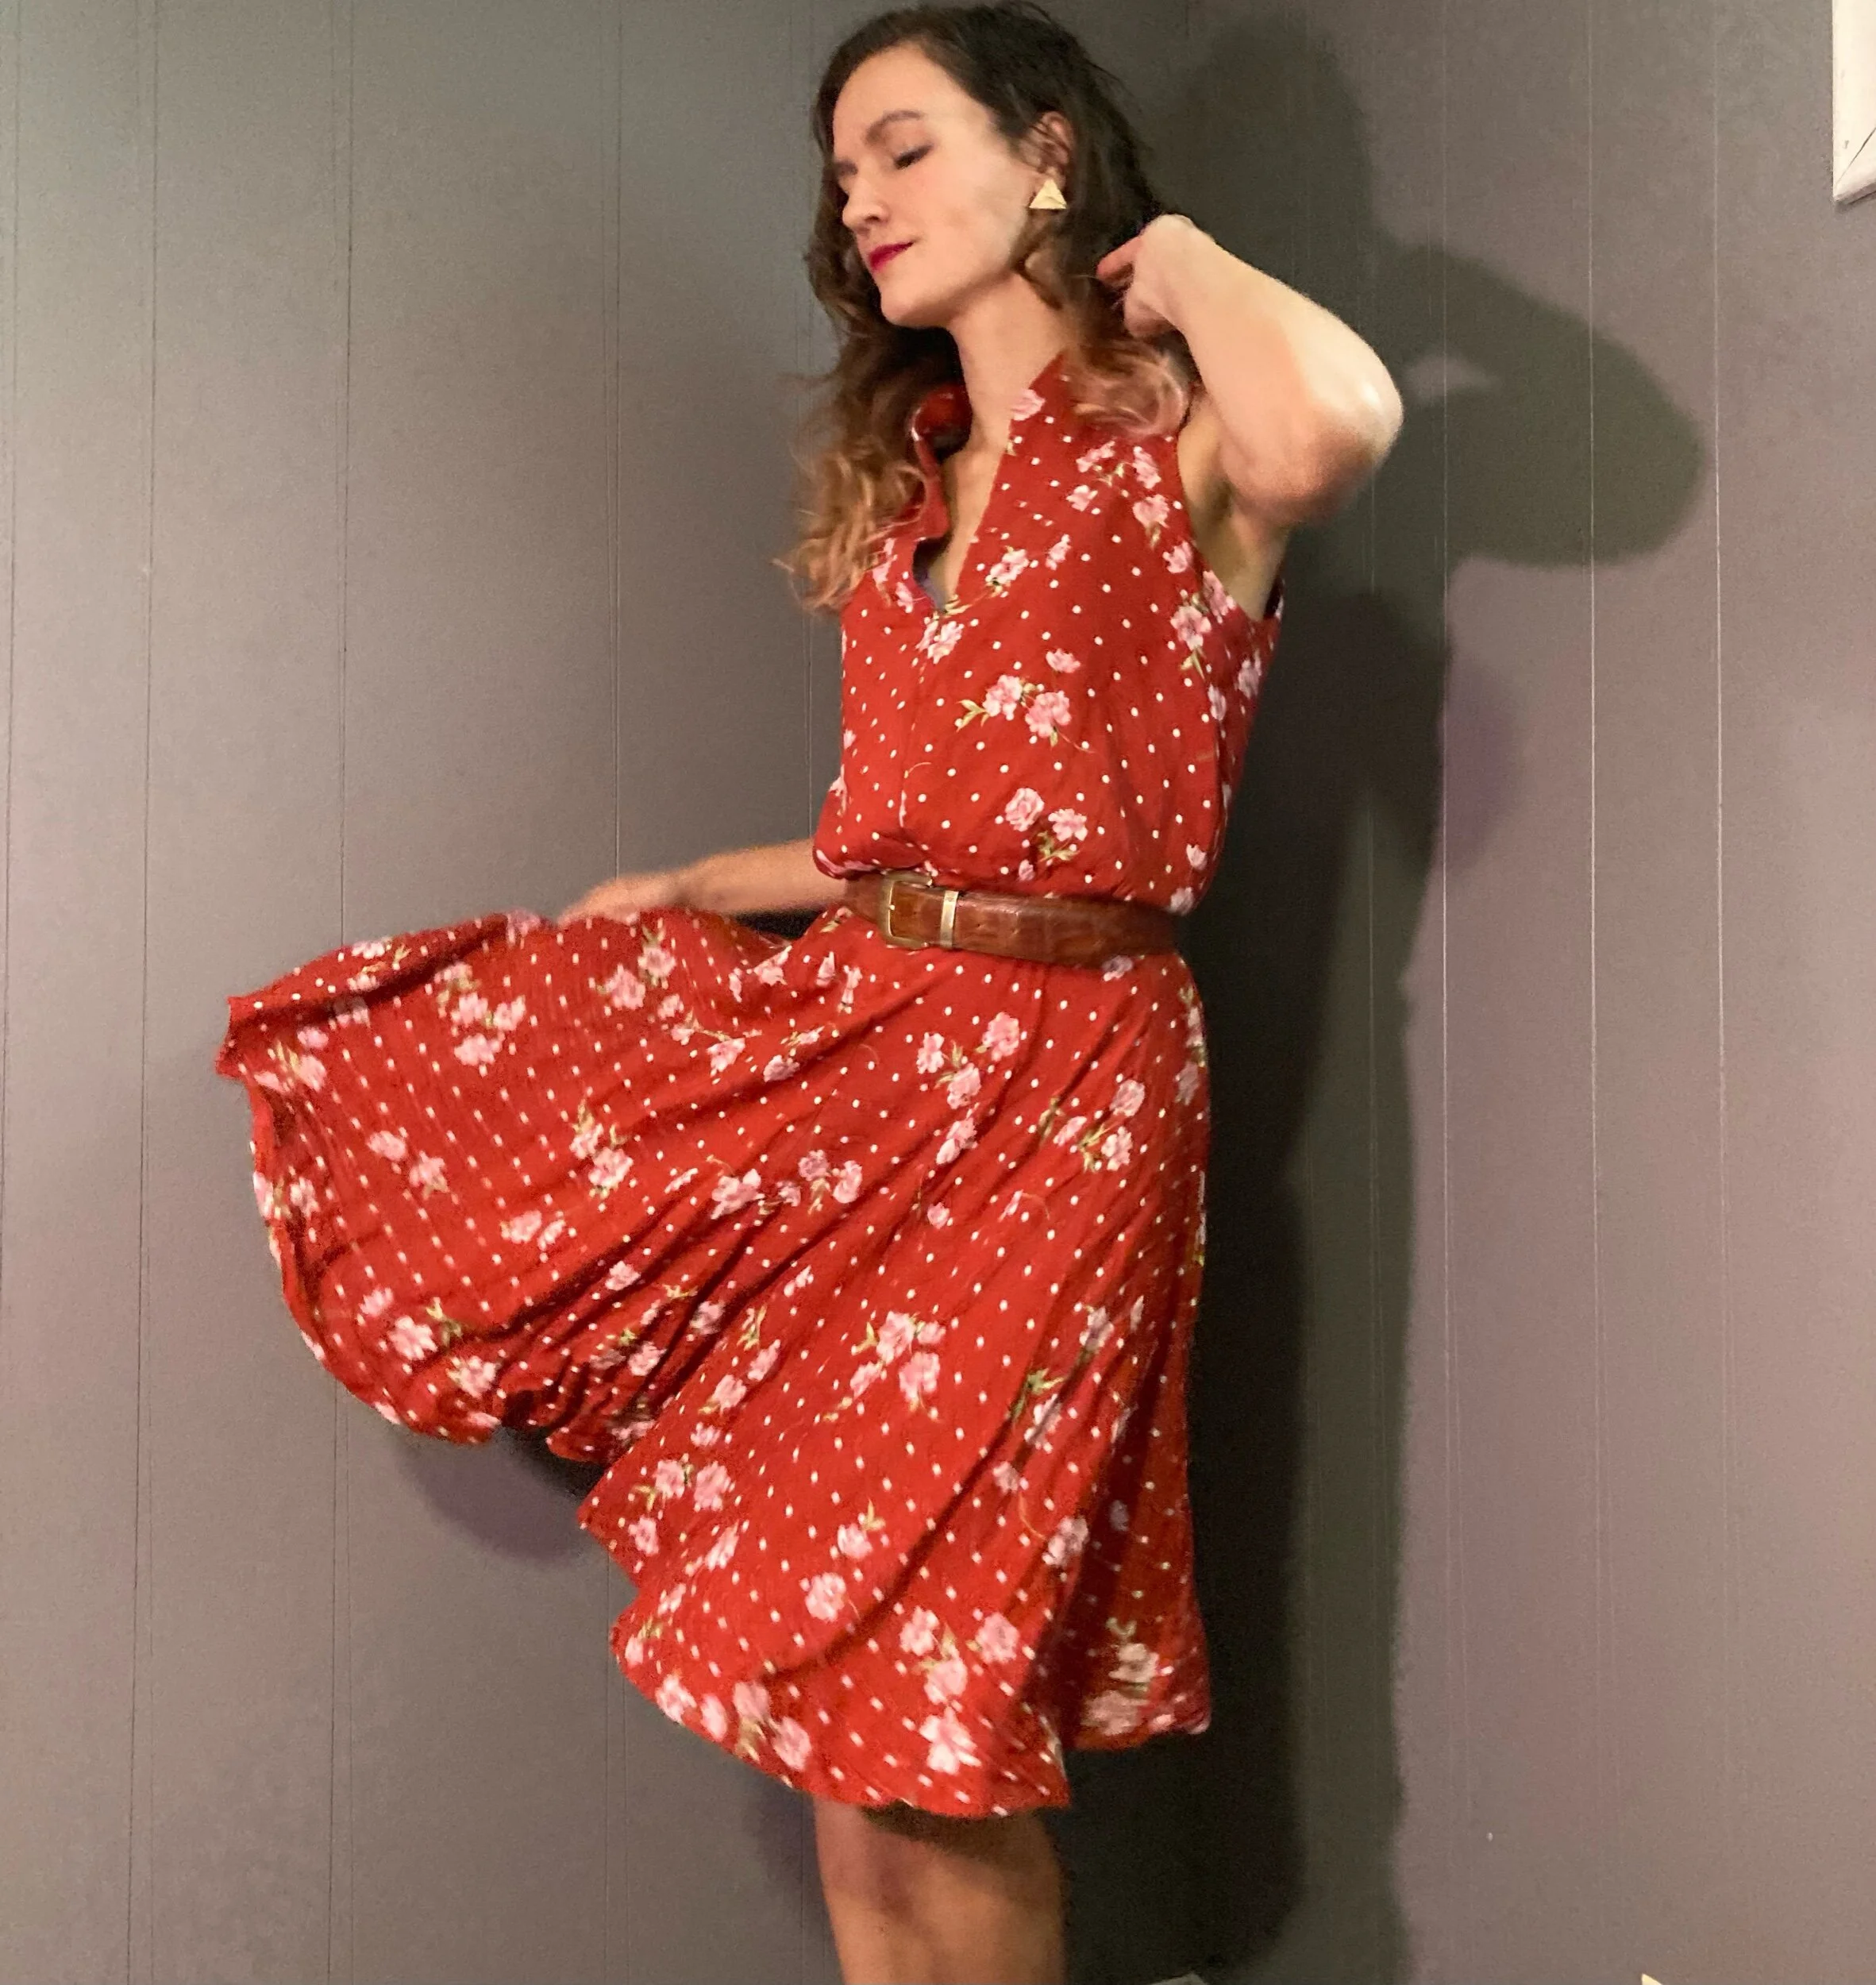
I really think I’ll end up wearing this again next Halloween season, as this year things didn’t align to really get out much in costume, and I’m just pleased as punch with the overall look! (The wig really is another fun treat. Bought quite on sale from Arda Wigs, and it’s synthetic so not a great sustainable option, but I intend to get a fair bit of wear out of it post-costume. Anyone know how to achieve one of those spikey buns Jocelyn wears? My hairstyling is not up to the task.)

Pattern: style 3790 circa 1972
Size: 36, shoulders adjusted, bodice darts lowered
If there is a next time: I love the fit of this pattern off the hop. I think I have square shoulders rather than wide ones as I thought, so adjust for that first. Basting is good, better than pins!
Fabric: Gold tencel twill from Matchpoint