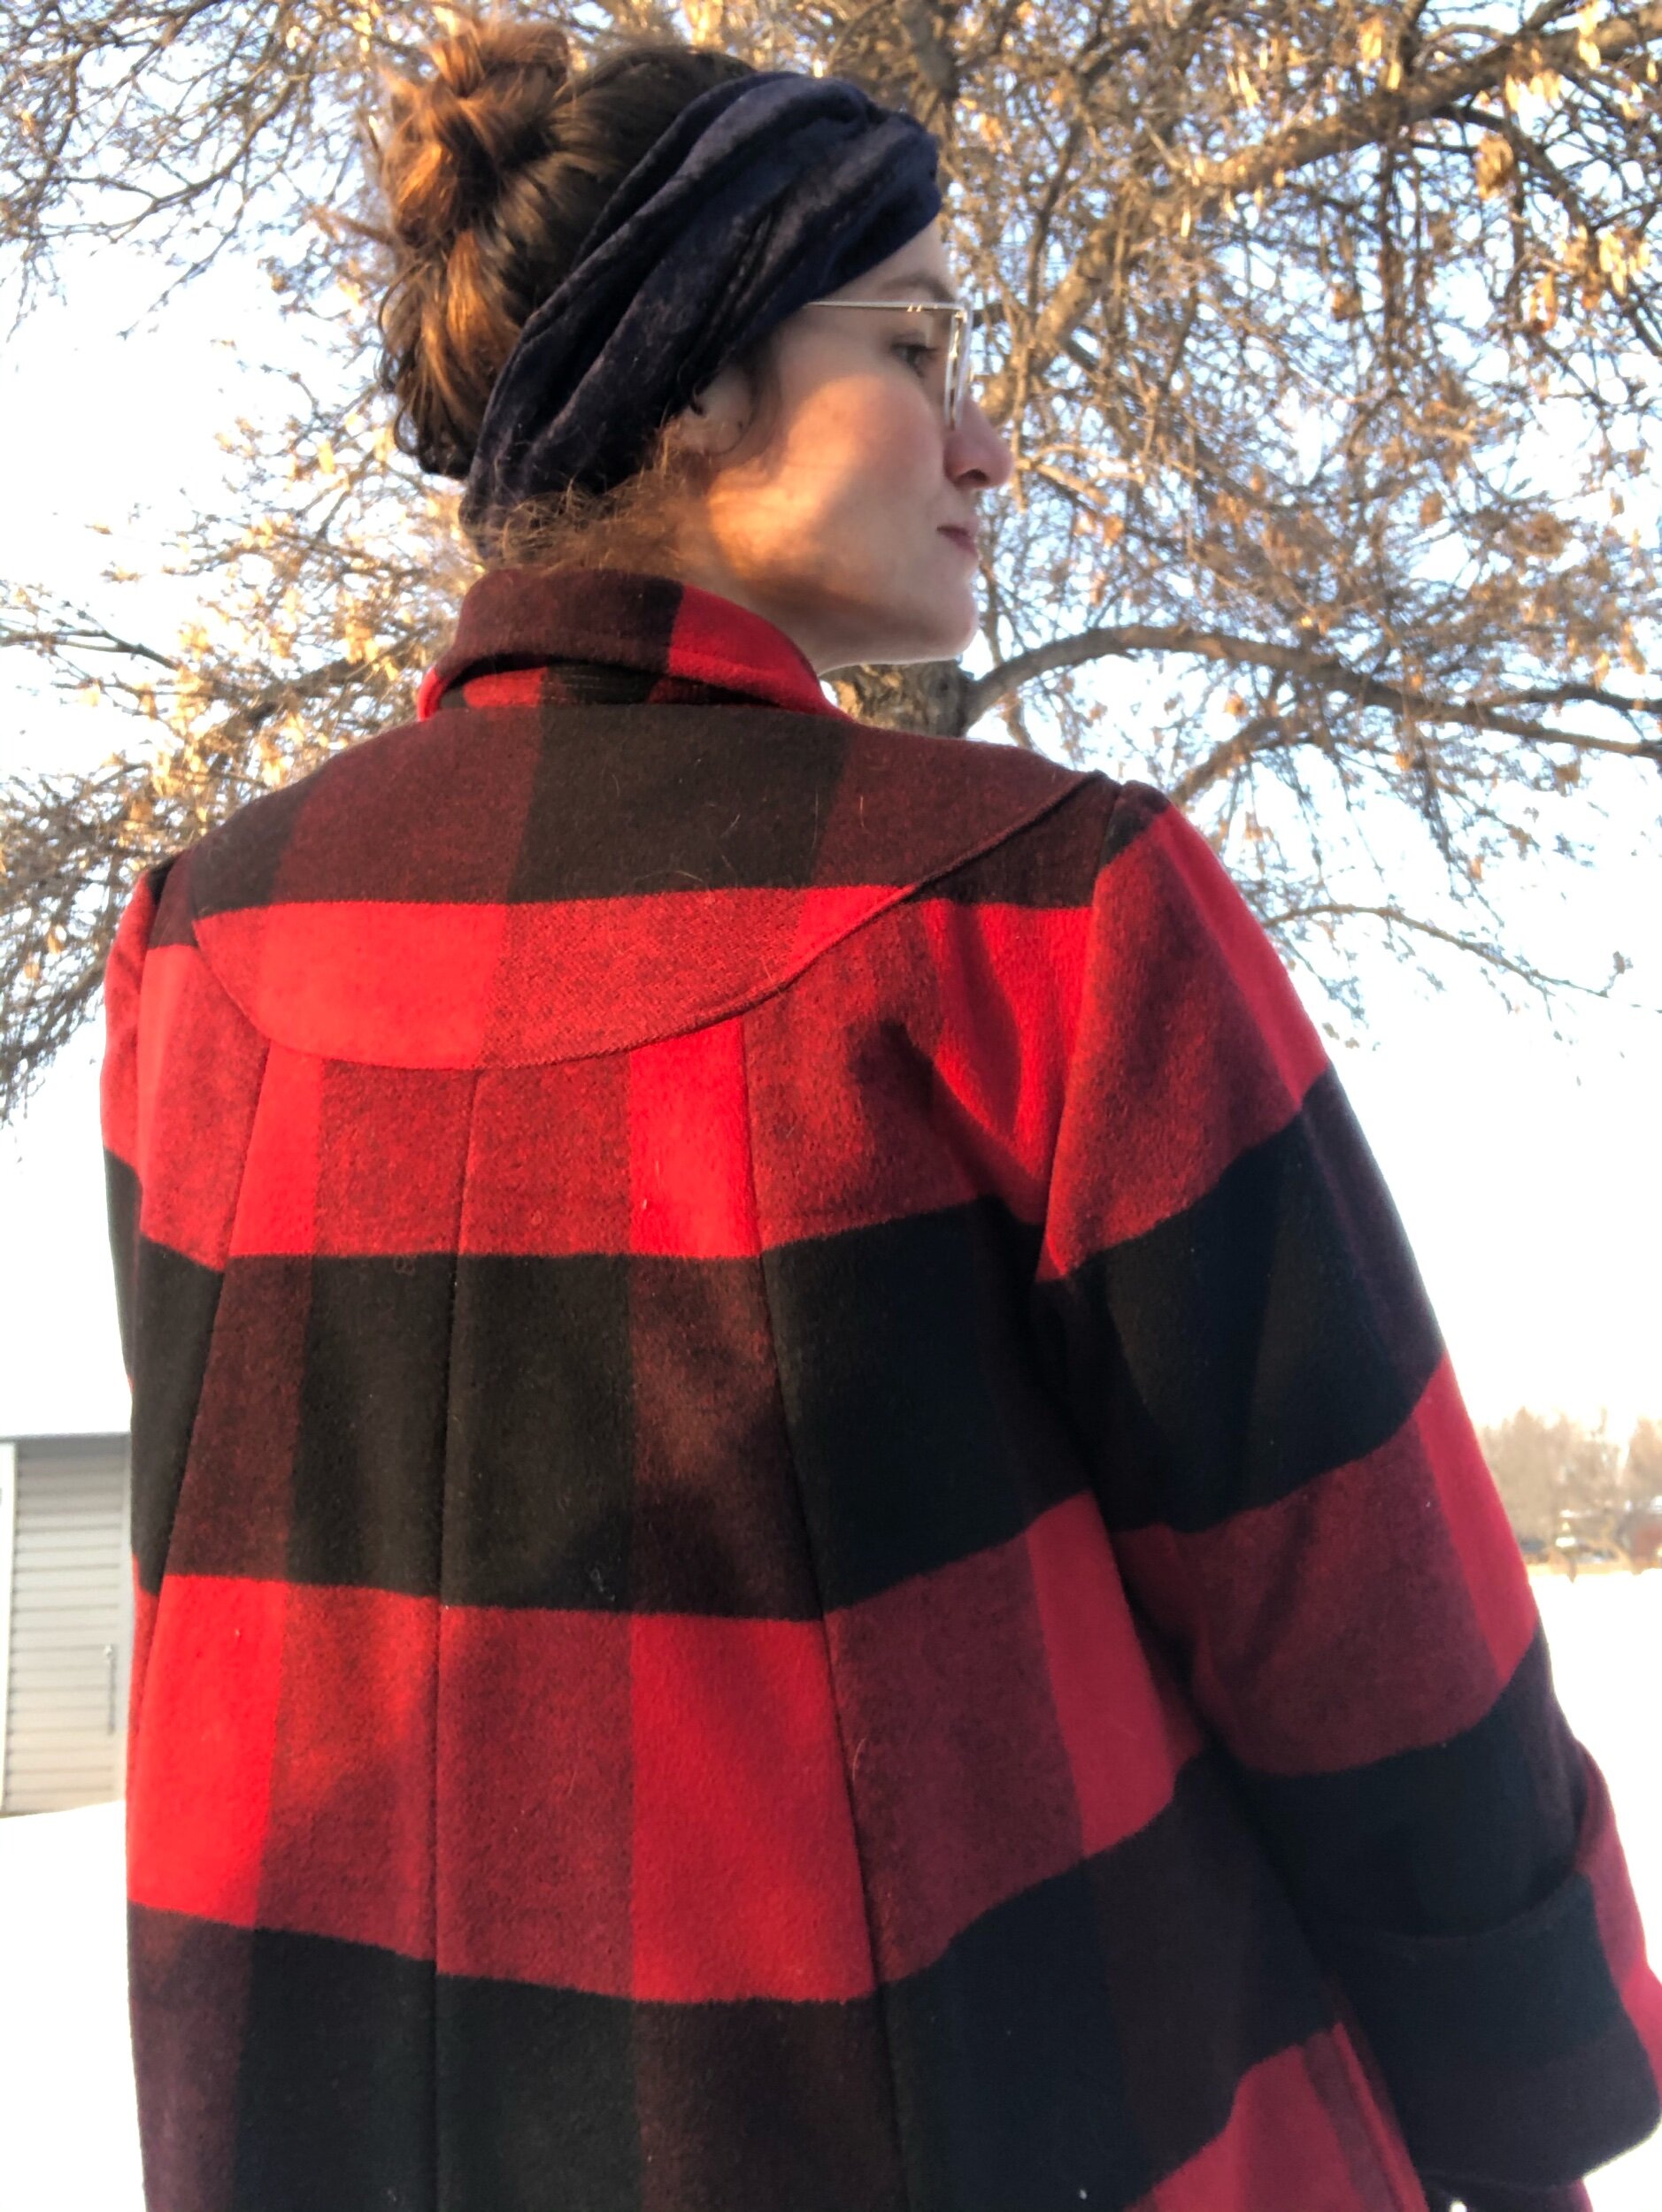
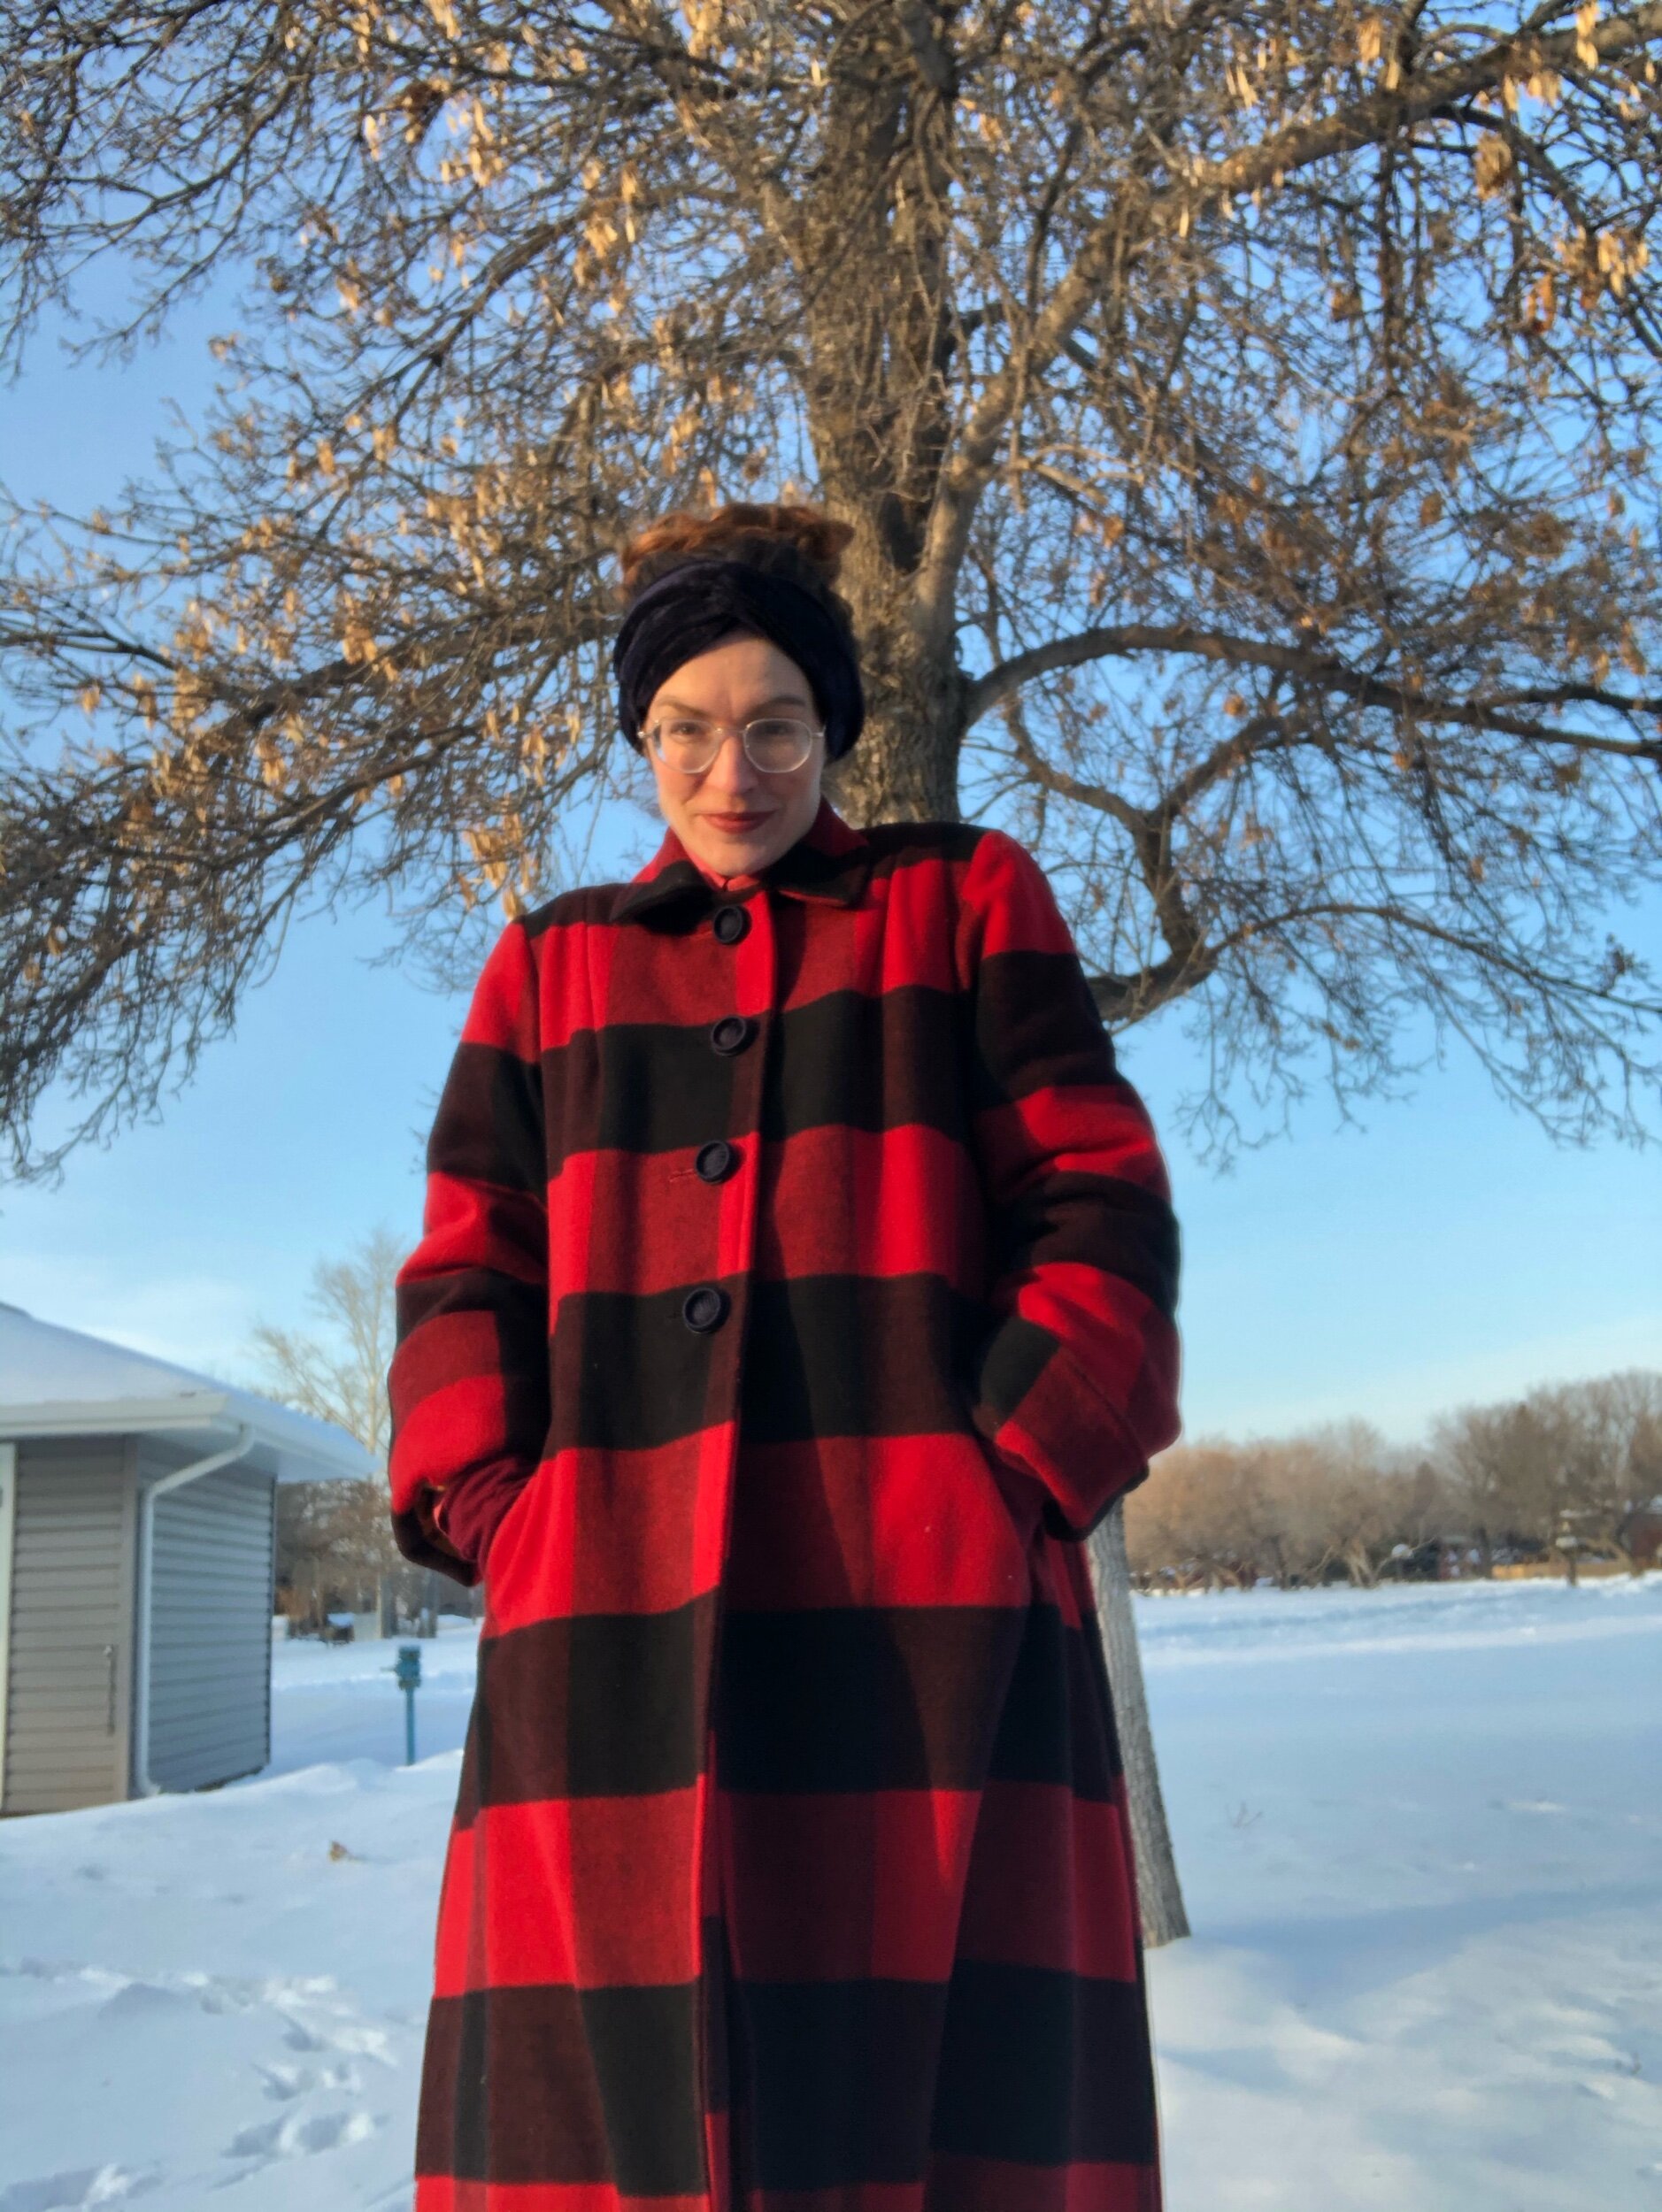
Buffalo Plaid 1950s Opera Coat
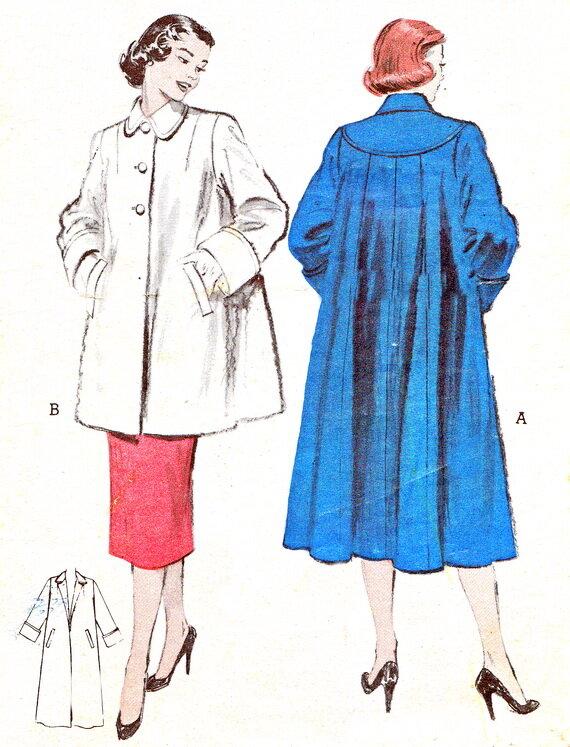
pattern envelope
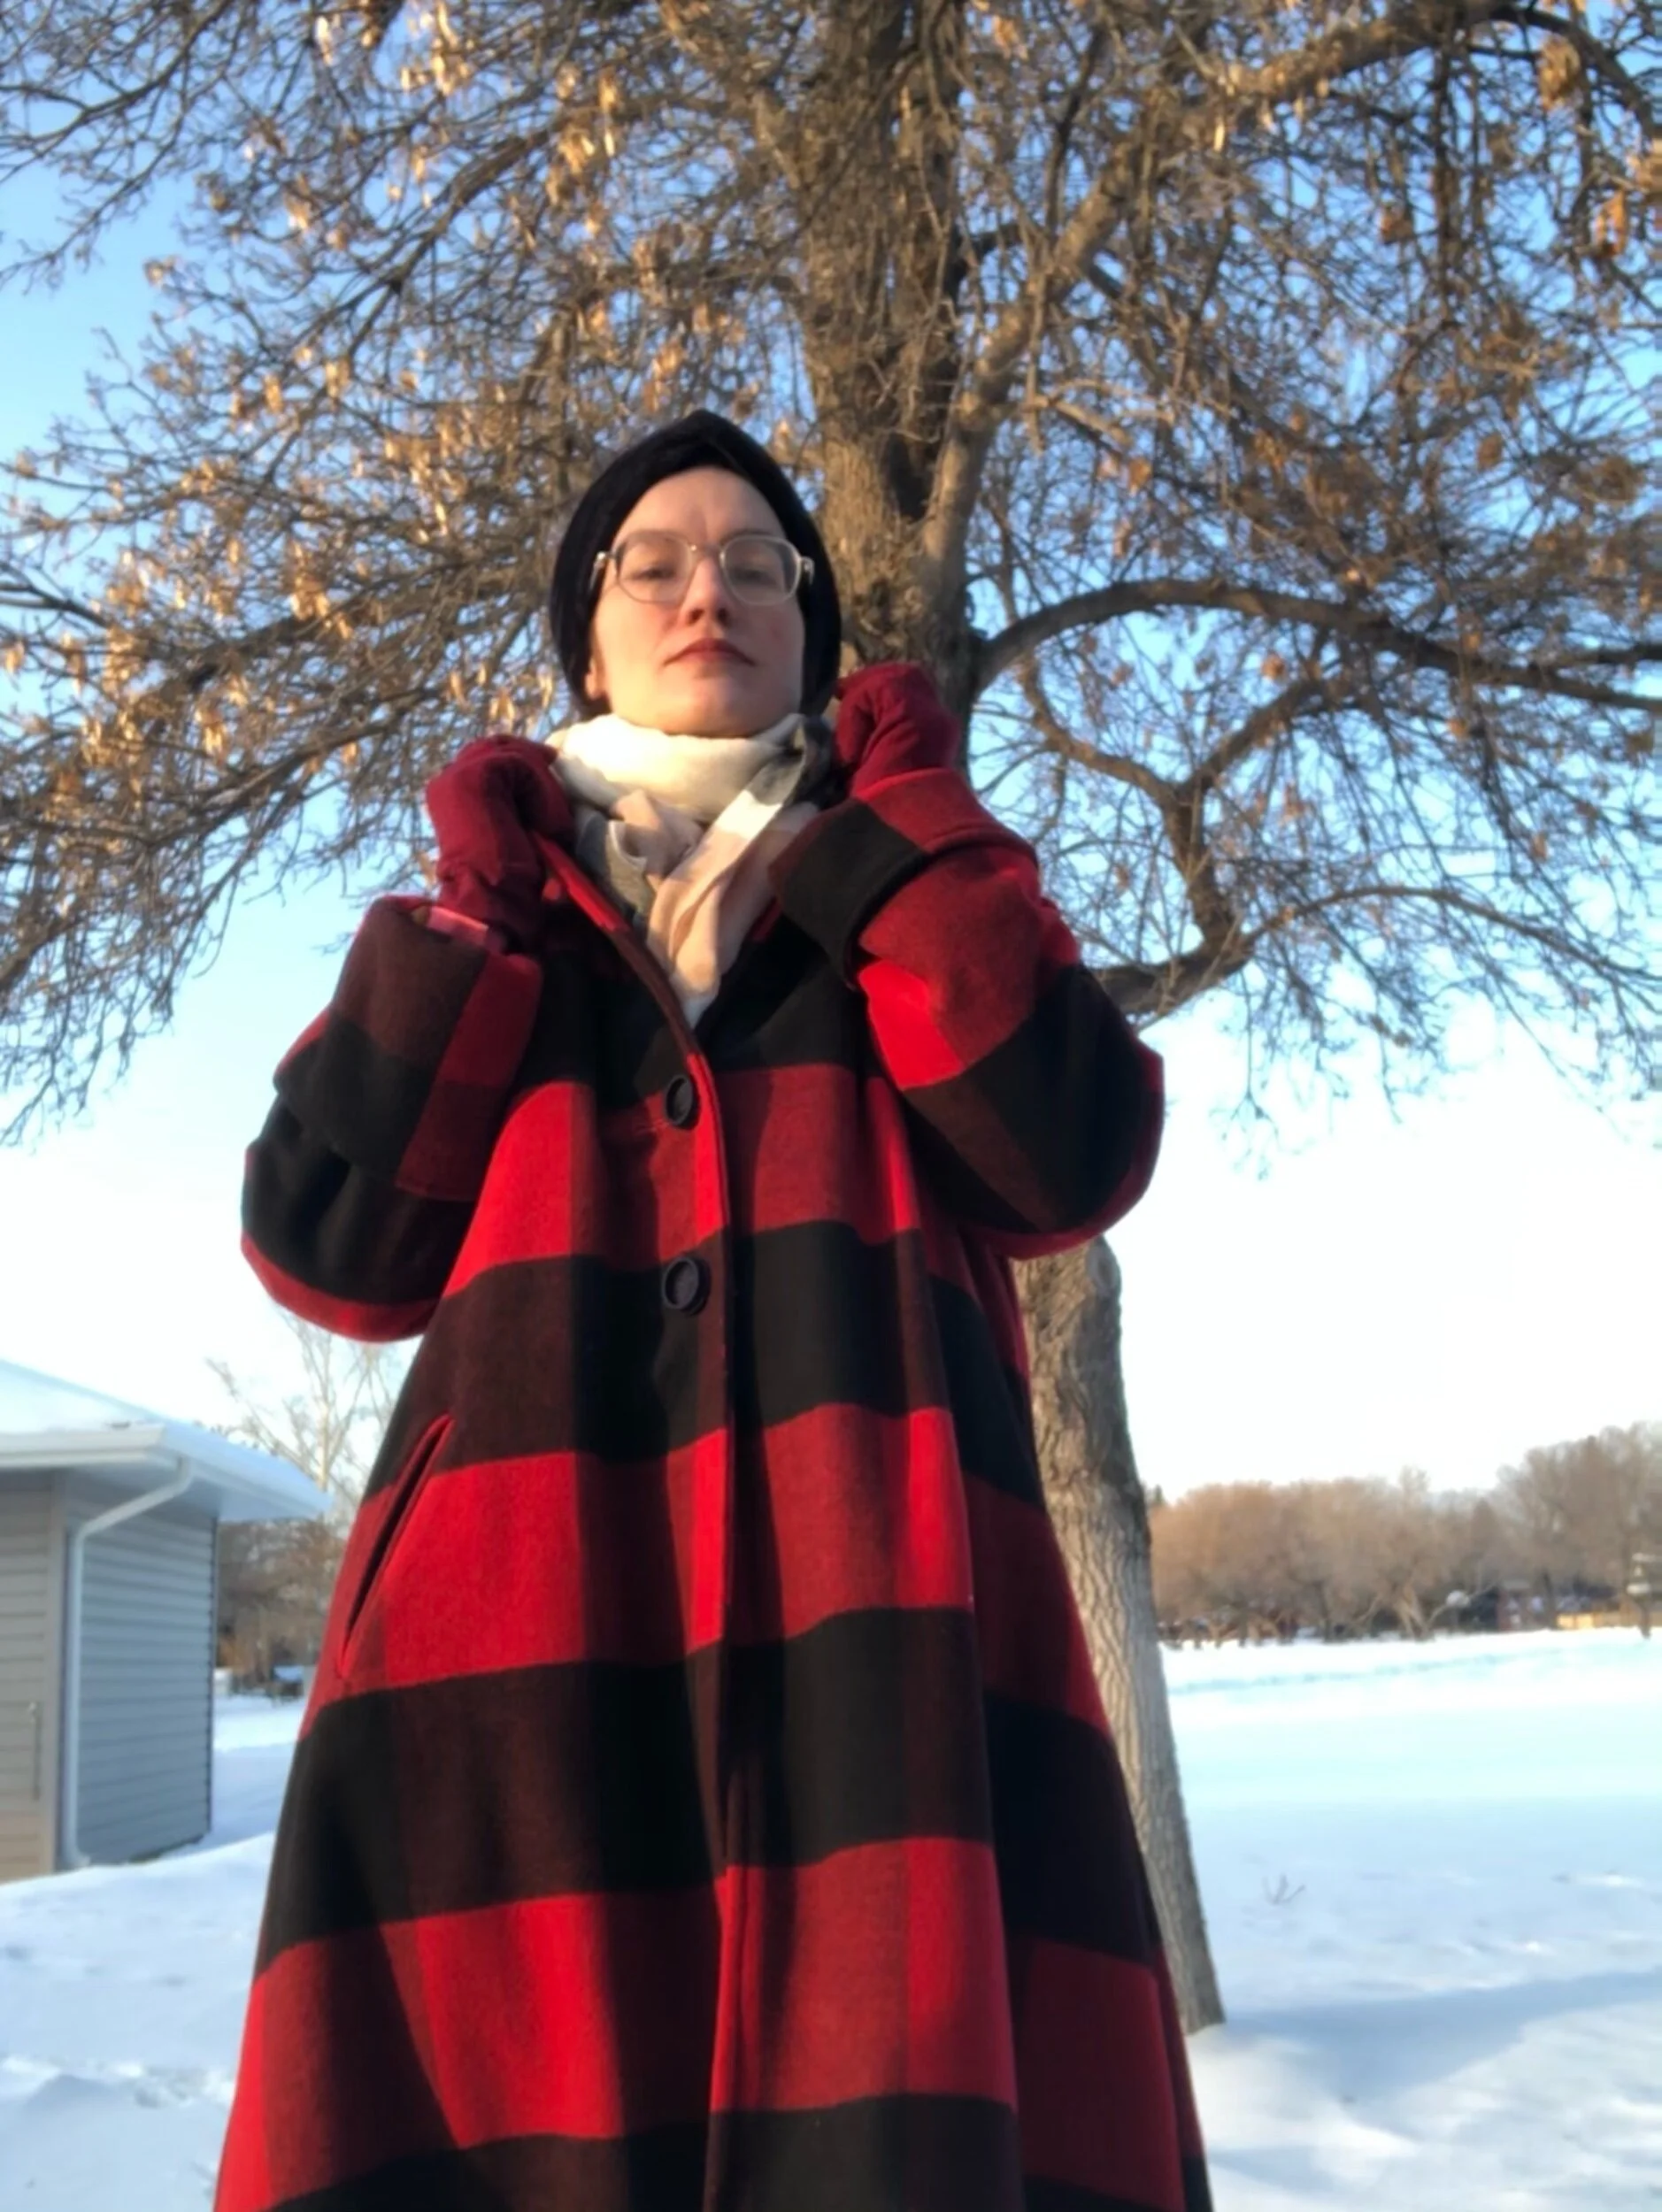
Boy, is this coat extra. The vision was to have something properly warm in which to be dressed up in February here (as I write this, it’s -29C, “feels like” -44C with windchill(. Fortunately for me, this coat does me well in that cold, and photographed it in -30 and and -25 (before windchill)… the cold killed my phone at least once. Also wore it grocery shopping and BOY did i get too warm. Sweaty even. Anyway, it totally serves the intended purpose of being something to wear when it’s freezing but you want to be fancy (which, presumably events will come back someday) and it is also nice for walking to work.
Last year, I traced the pattern for Clara in a pattern tracing trade, which made me take a closer look at it and want to make it up. Then I saw the the buffalo plaid from Matchpoint, a wool poly 50/50 blend with a 4” scale print and hatched this vision. But by the time I had the fabric the most dire part of Saskatoon winter had passed and Covid was in the air, so I moved on to other projects. I never forgot about it though, so early this winter I started to plan for real.
So I started to gather: hair canvas from Wawak, silk buttonhole twist in three colours (two reds and a black since it’s hard to colour match on screen) and large vintage buttons (more on these later) from Britex, -30C rated thinsulate from Club Tissus. Tailoring books from the library.
I lost the instructions somewhere in our move in the summer, so it was a must figure this out myself situation, which wasn’t really an issue because we know vintage instructions would be thin anyhow and lack the tailoring stuff.
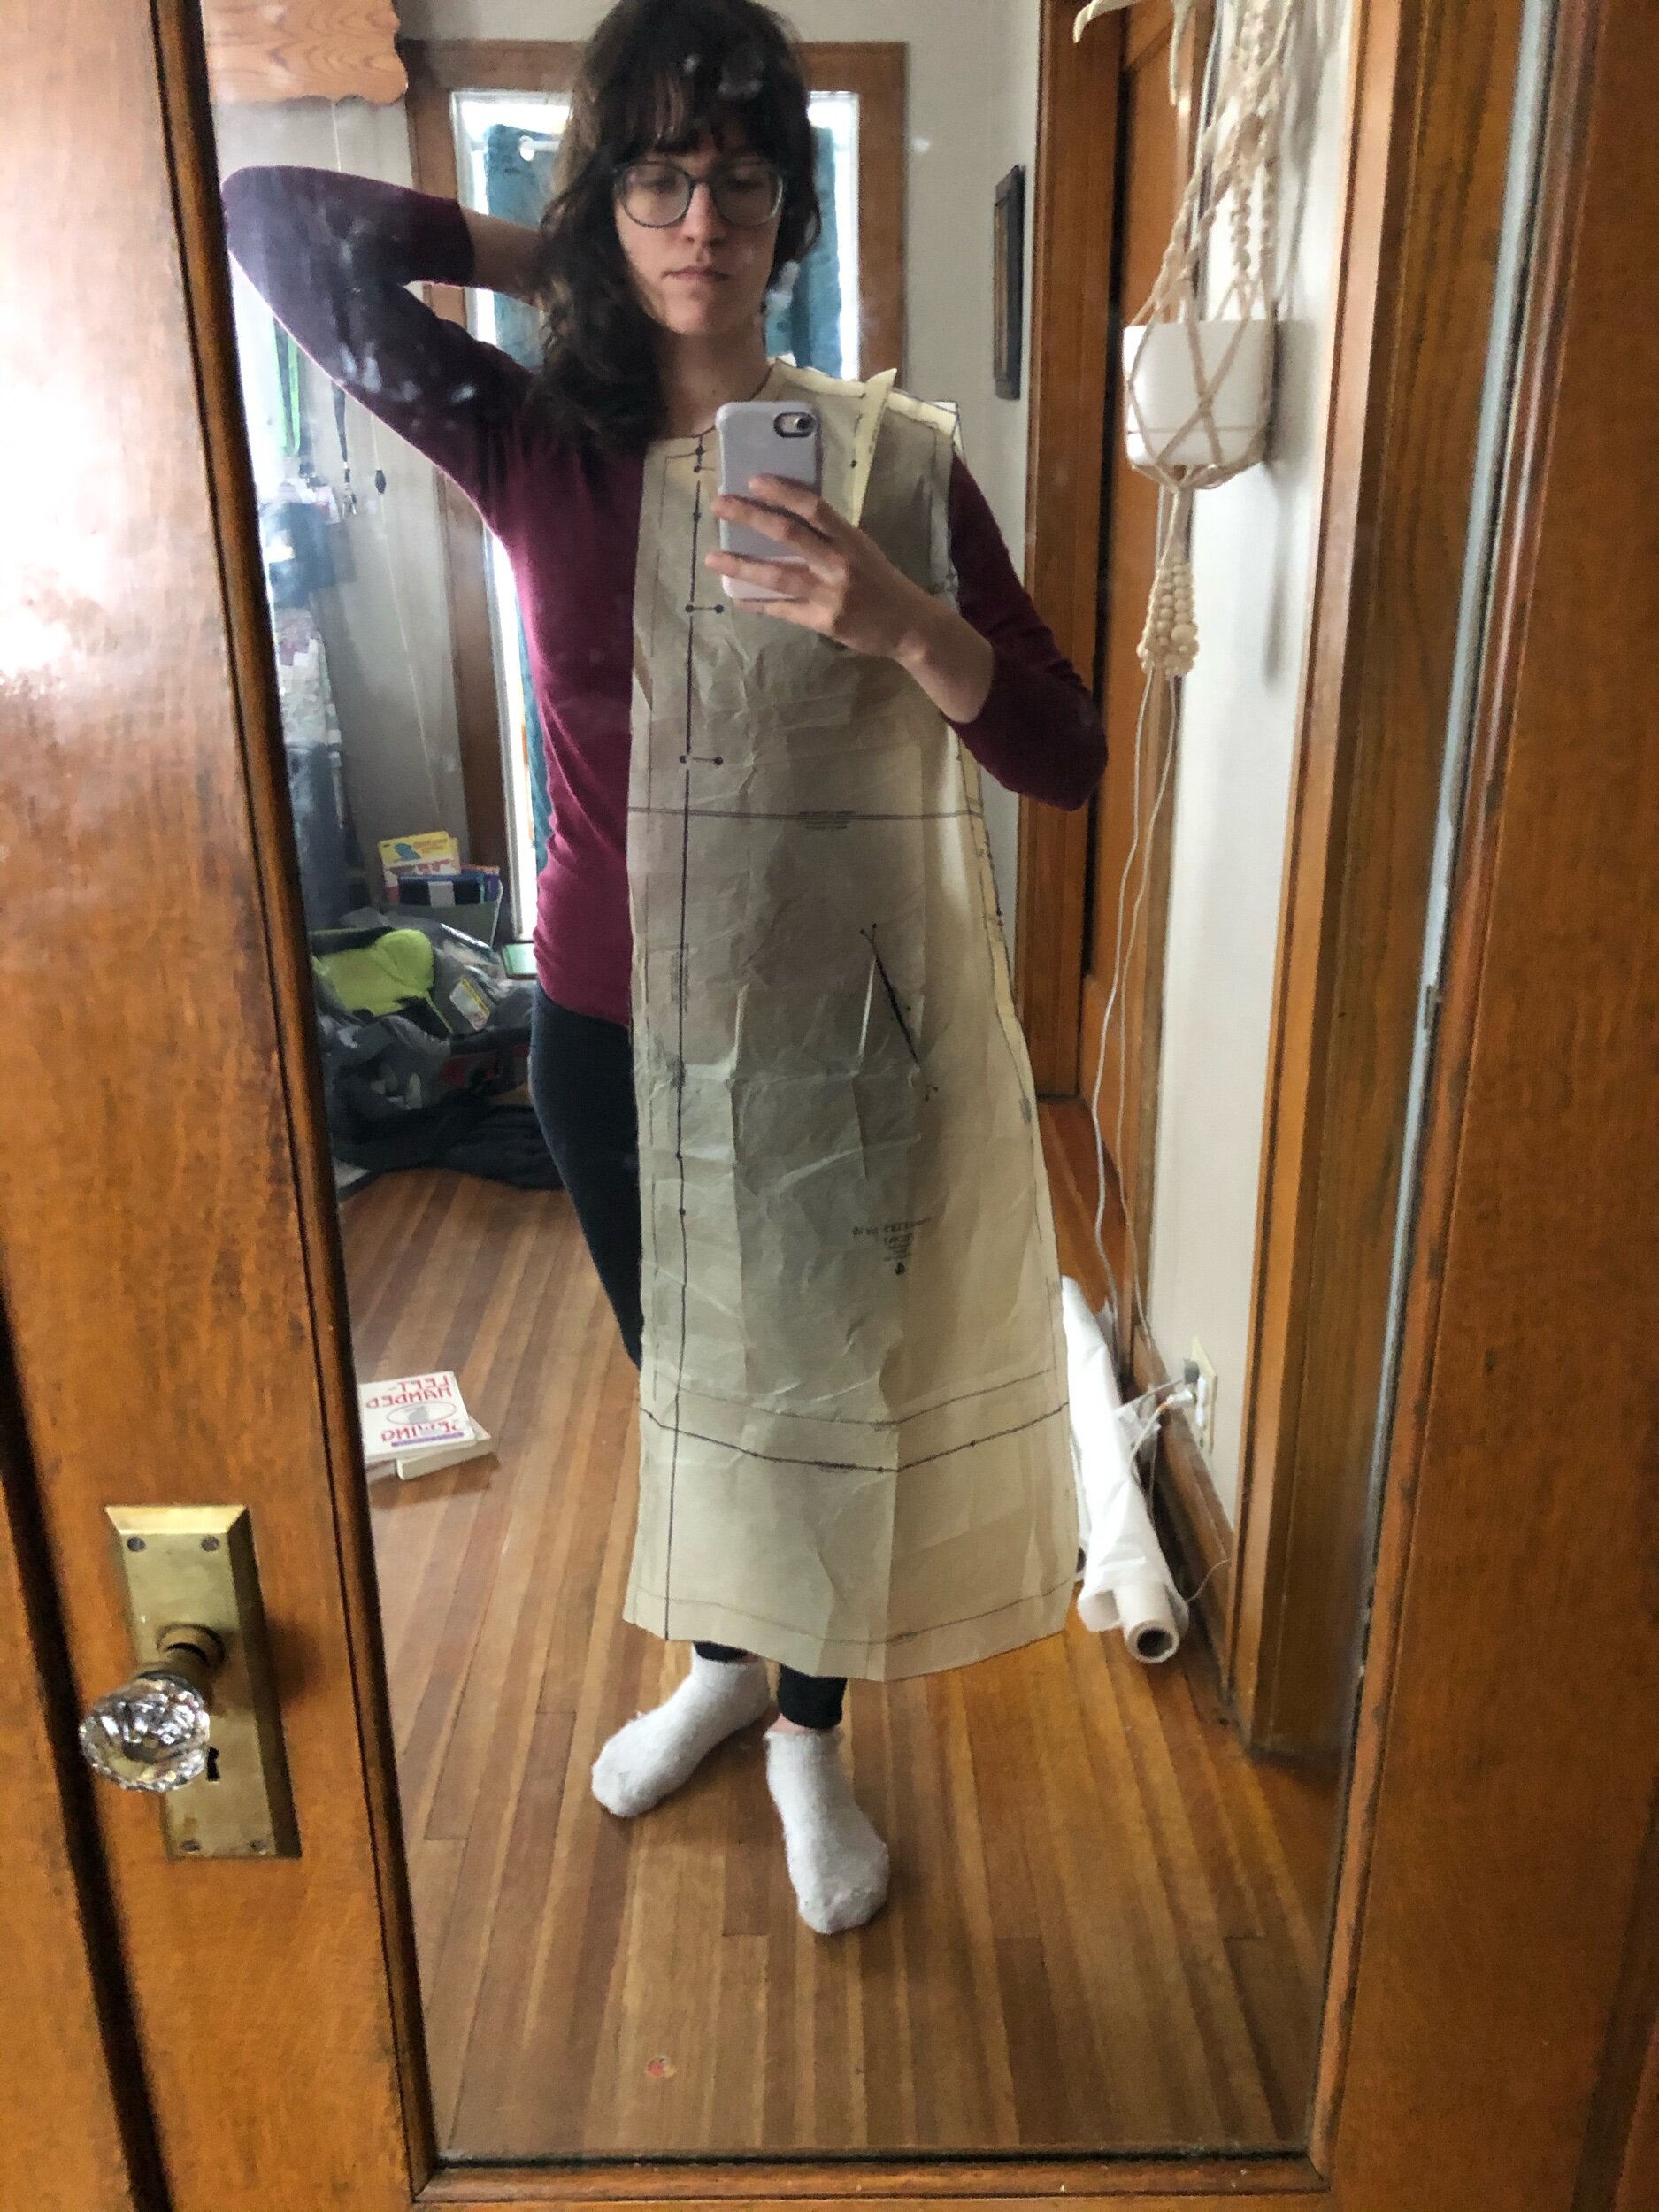
tissue fitting selfie
Last year I did a tissue fit, and it felt around the right size, then I did a fit this year with the thinsulate pieces pinned, since balancing bulk was my biggest concern. This was quite fun and the instagram story led to people thinking i was making a cool structured quilted coat, so now that idea’s embedded in my brain.
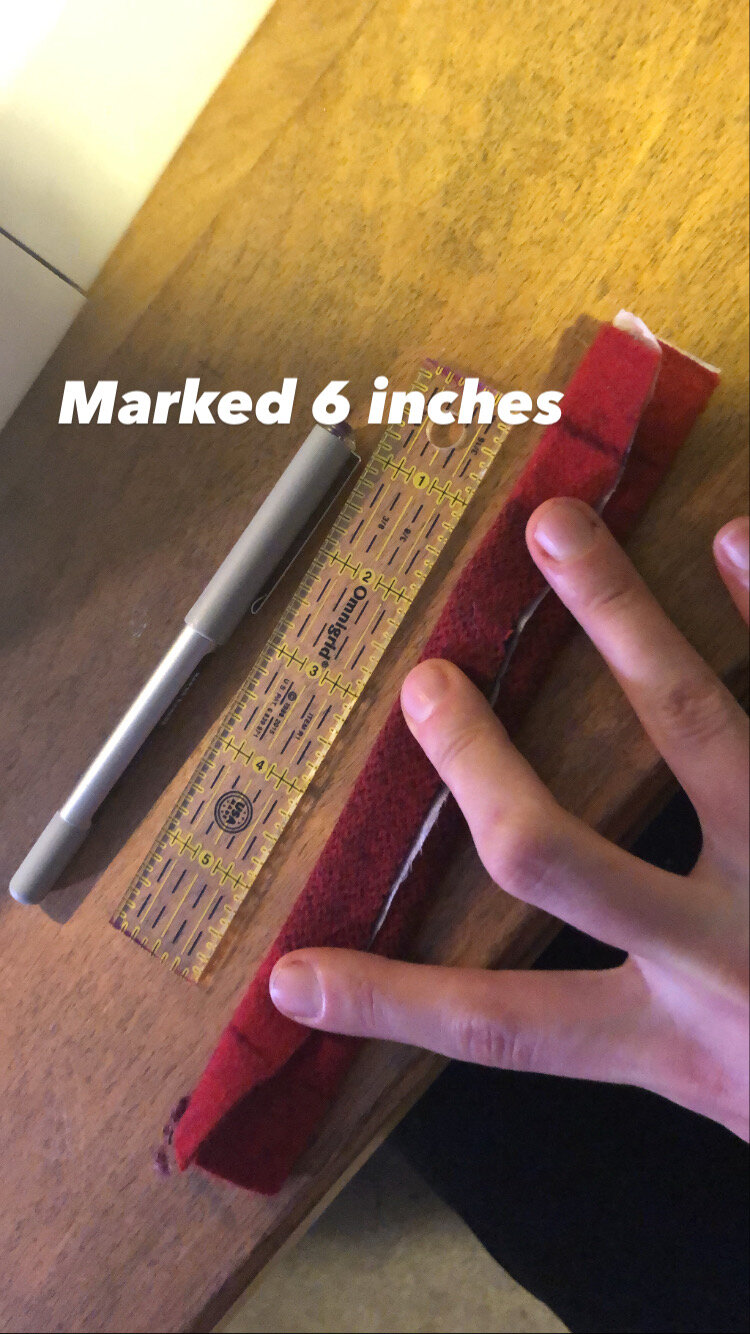
Ah yes, the thinsulate I cut then quilted in big 4-6” passes, as per manufacturer instructions. This is in case of ever washing/drycleaning, to ensure the fiber doesn’t shift around too dramatically. Had intended to bring the plaid to the dry cleaner’s for a steam press shrink but they said that that wouldn’t shrink it. I’m a little baffled, but my husband had gone for me so I couldn’t inquire further. I opted instead, at Tanitis’ suggestion, to put it in the dryer with a dampish wettish towel. Hopefully that did the trick, tho I don’t intend to wash this much.
Cut the body fabric with no mods to the pattern, then came up with the hair canvas patterns - no big issues there.
Then it was handsewing time! One issue with doing all the fitting rough and ready on interlining/tissue was that I was not at all sure how the roll line would work. I held up the front piece and guessed, and since the pattern is designed to be worn all the way closed and the open view was secondary on the pattern, I told myself this would be more than fine and more than anything give me the padstitching skillset/experience for next time.
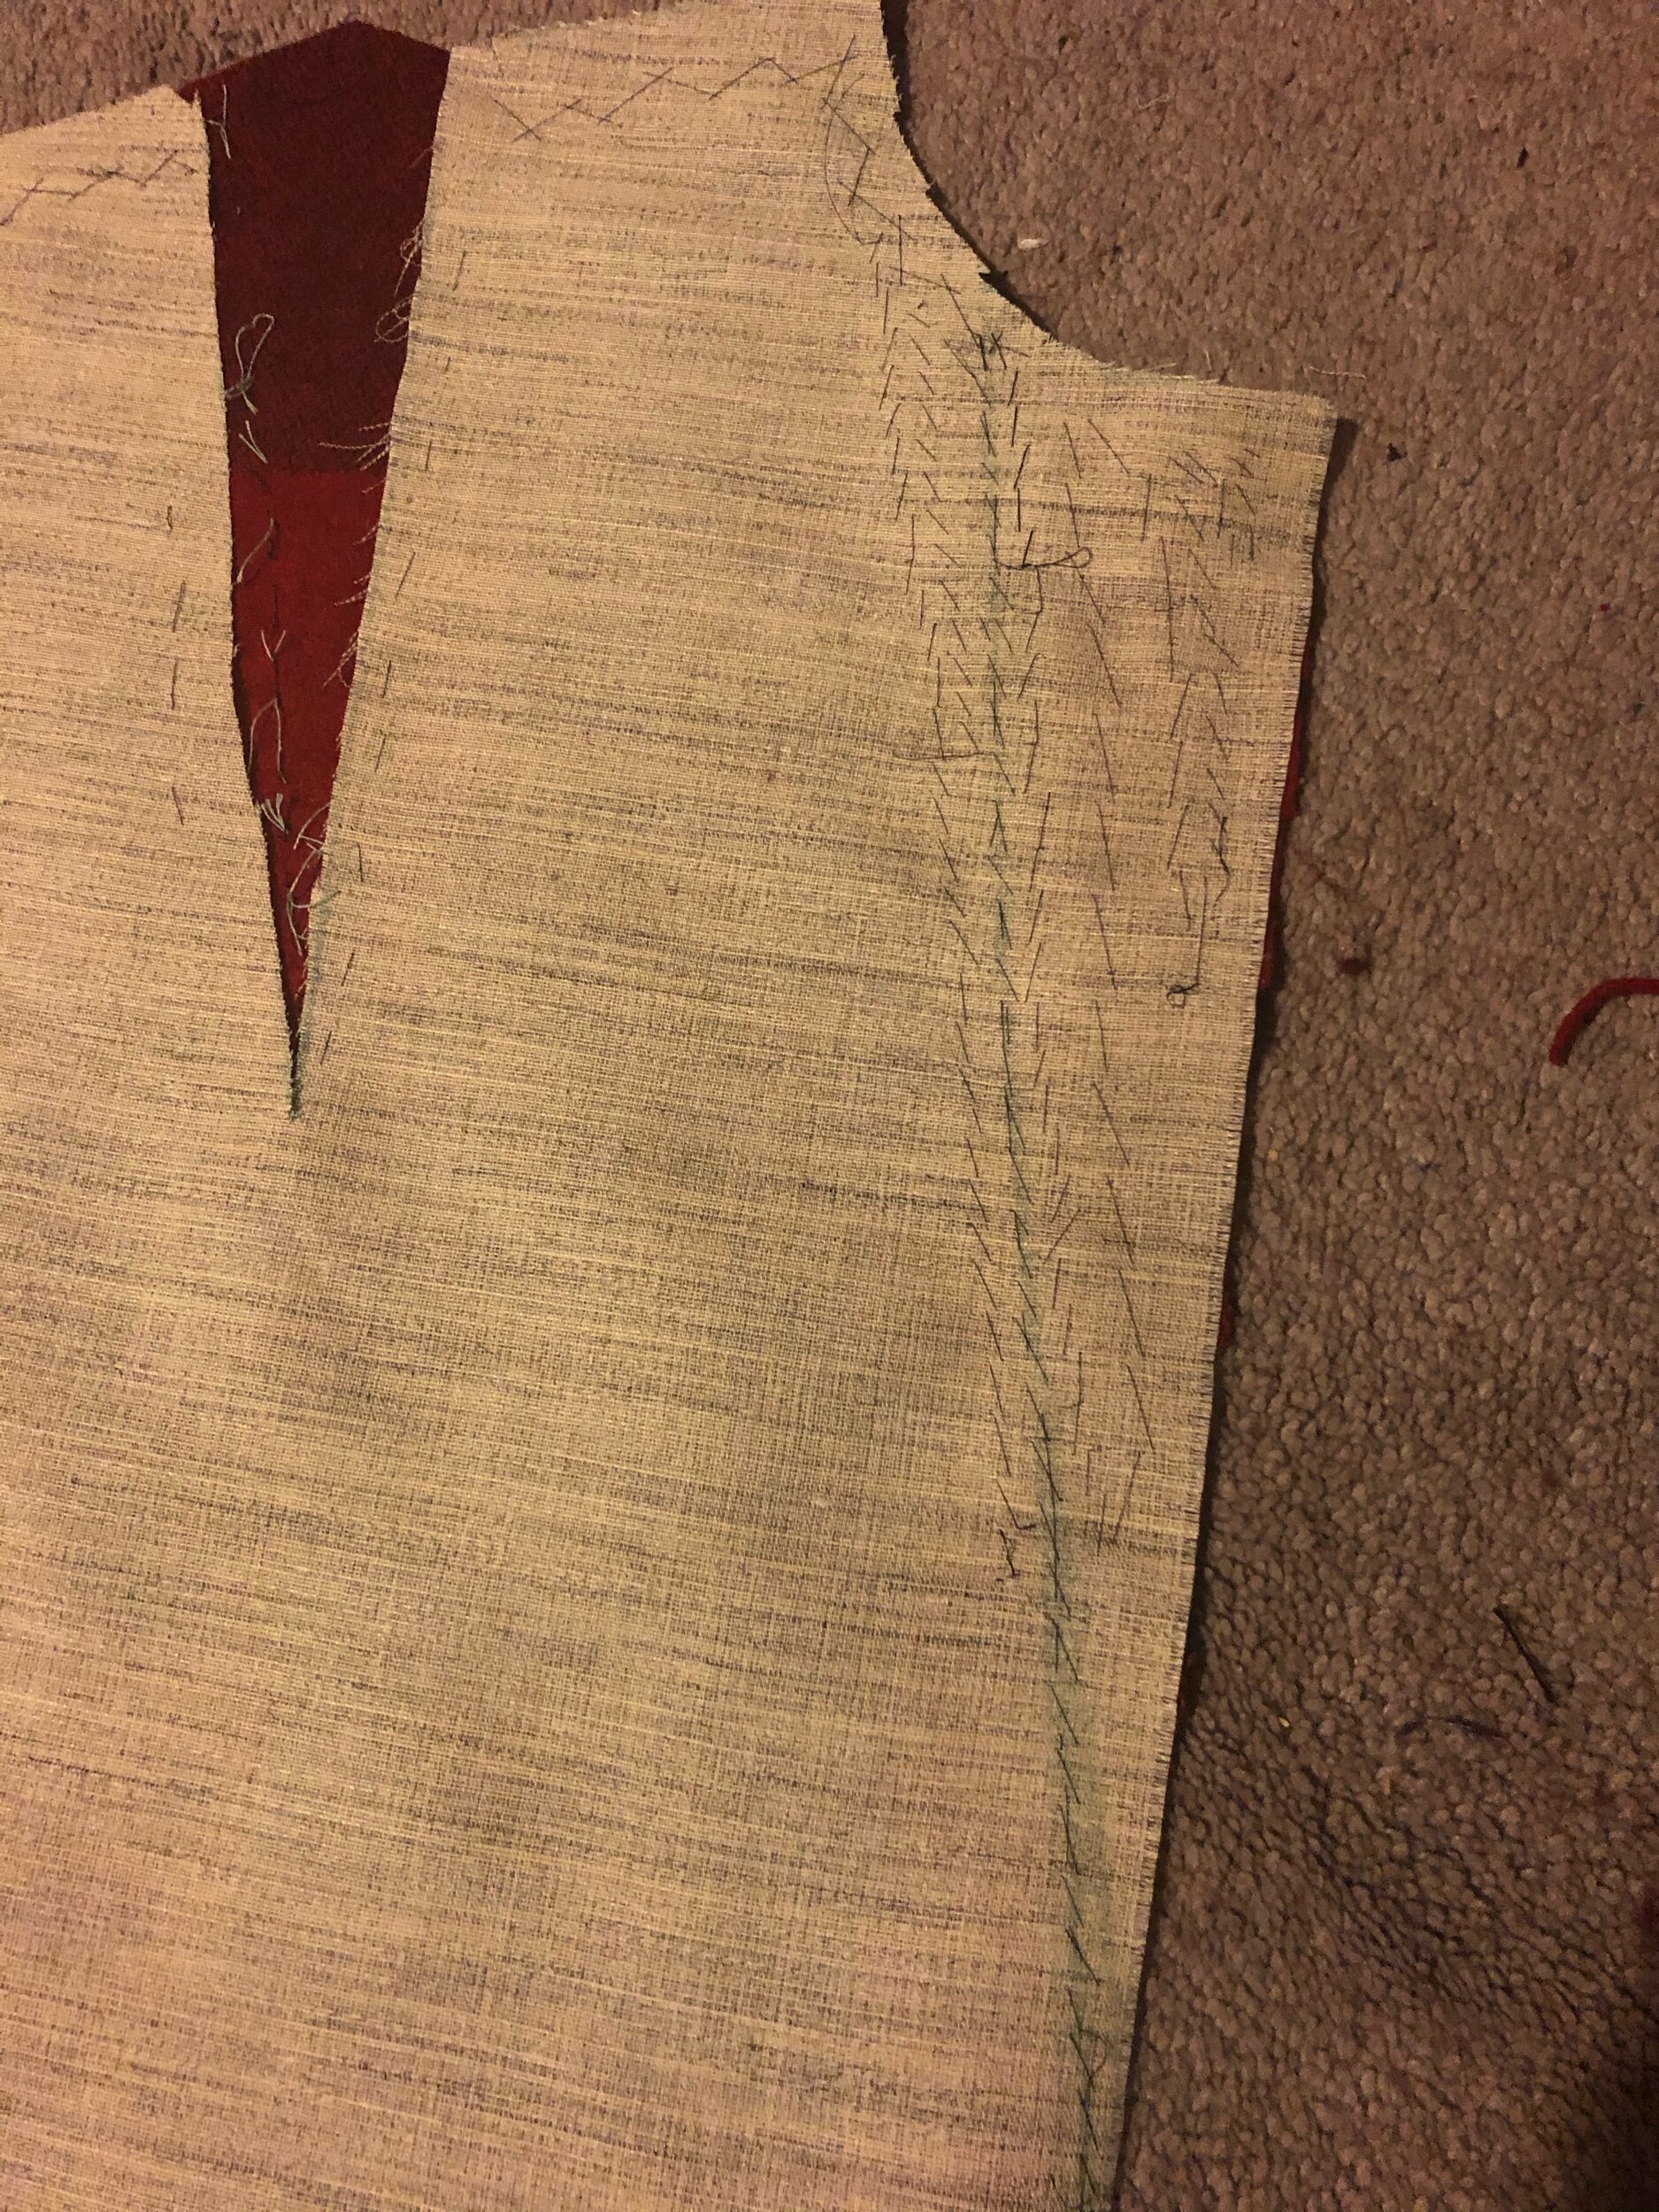
padstitching the collar, dart cut out woopsie
A couple of oopsies: running on assumption, I removed the darts from the big front interfacing piece, which I don’t think will be overly problematic, and I forgot to machine one of the front roundish shoulder support things in place before padstitching etc, so there’s only one. The other side I cut a length of horsehair canvas to reinforce the actual shoulder seam and hoped for the best.
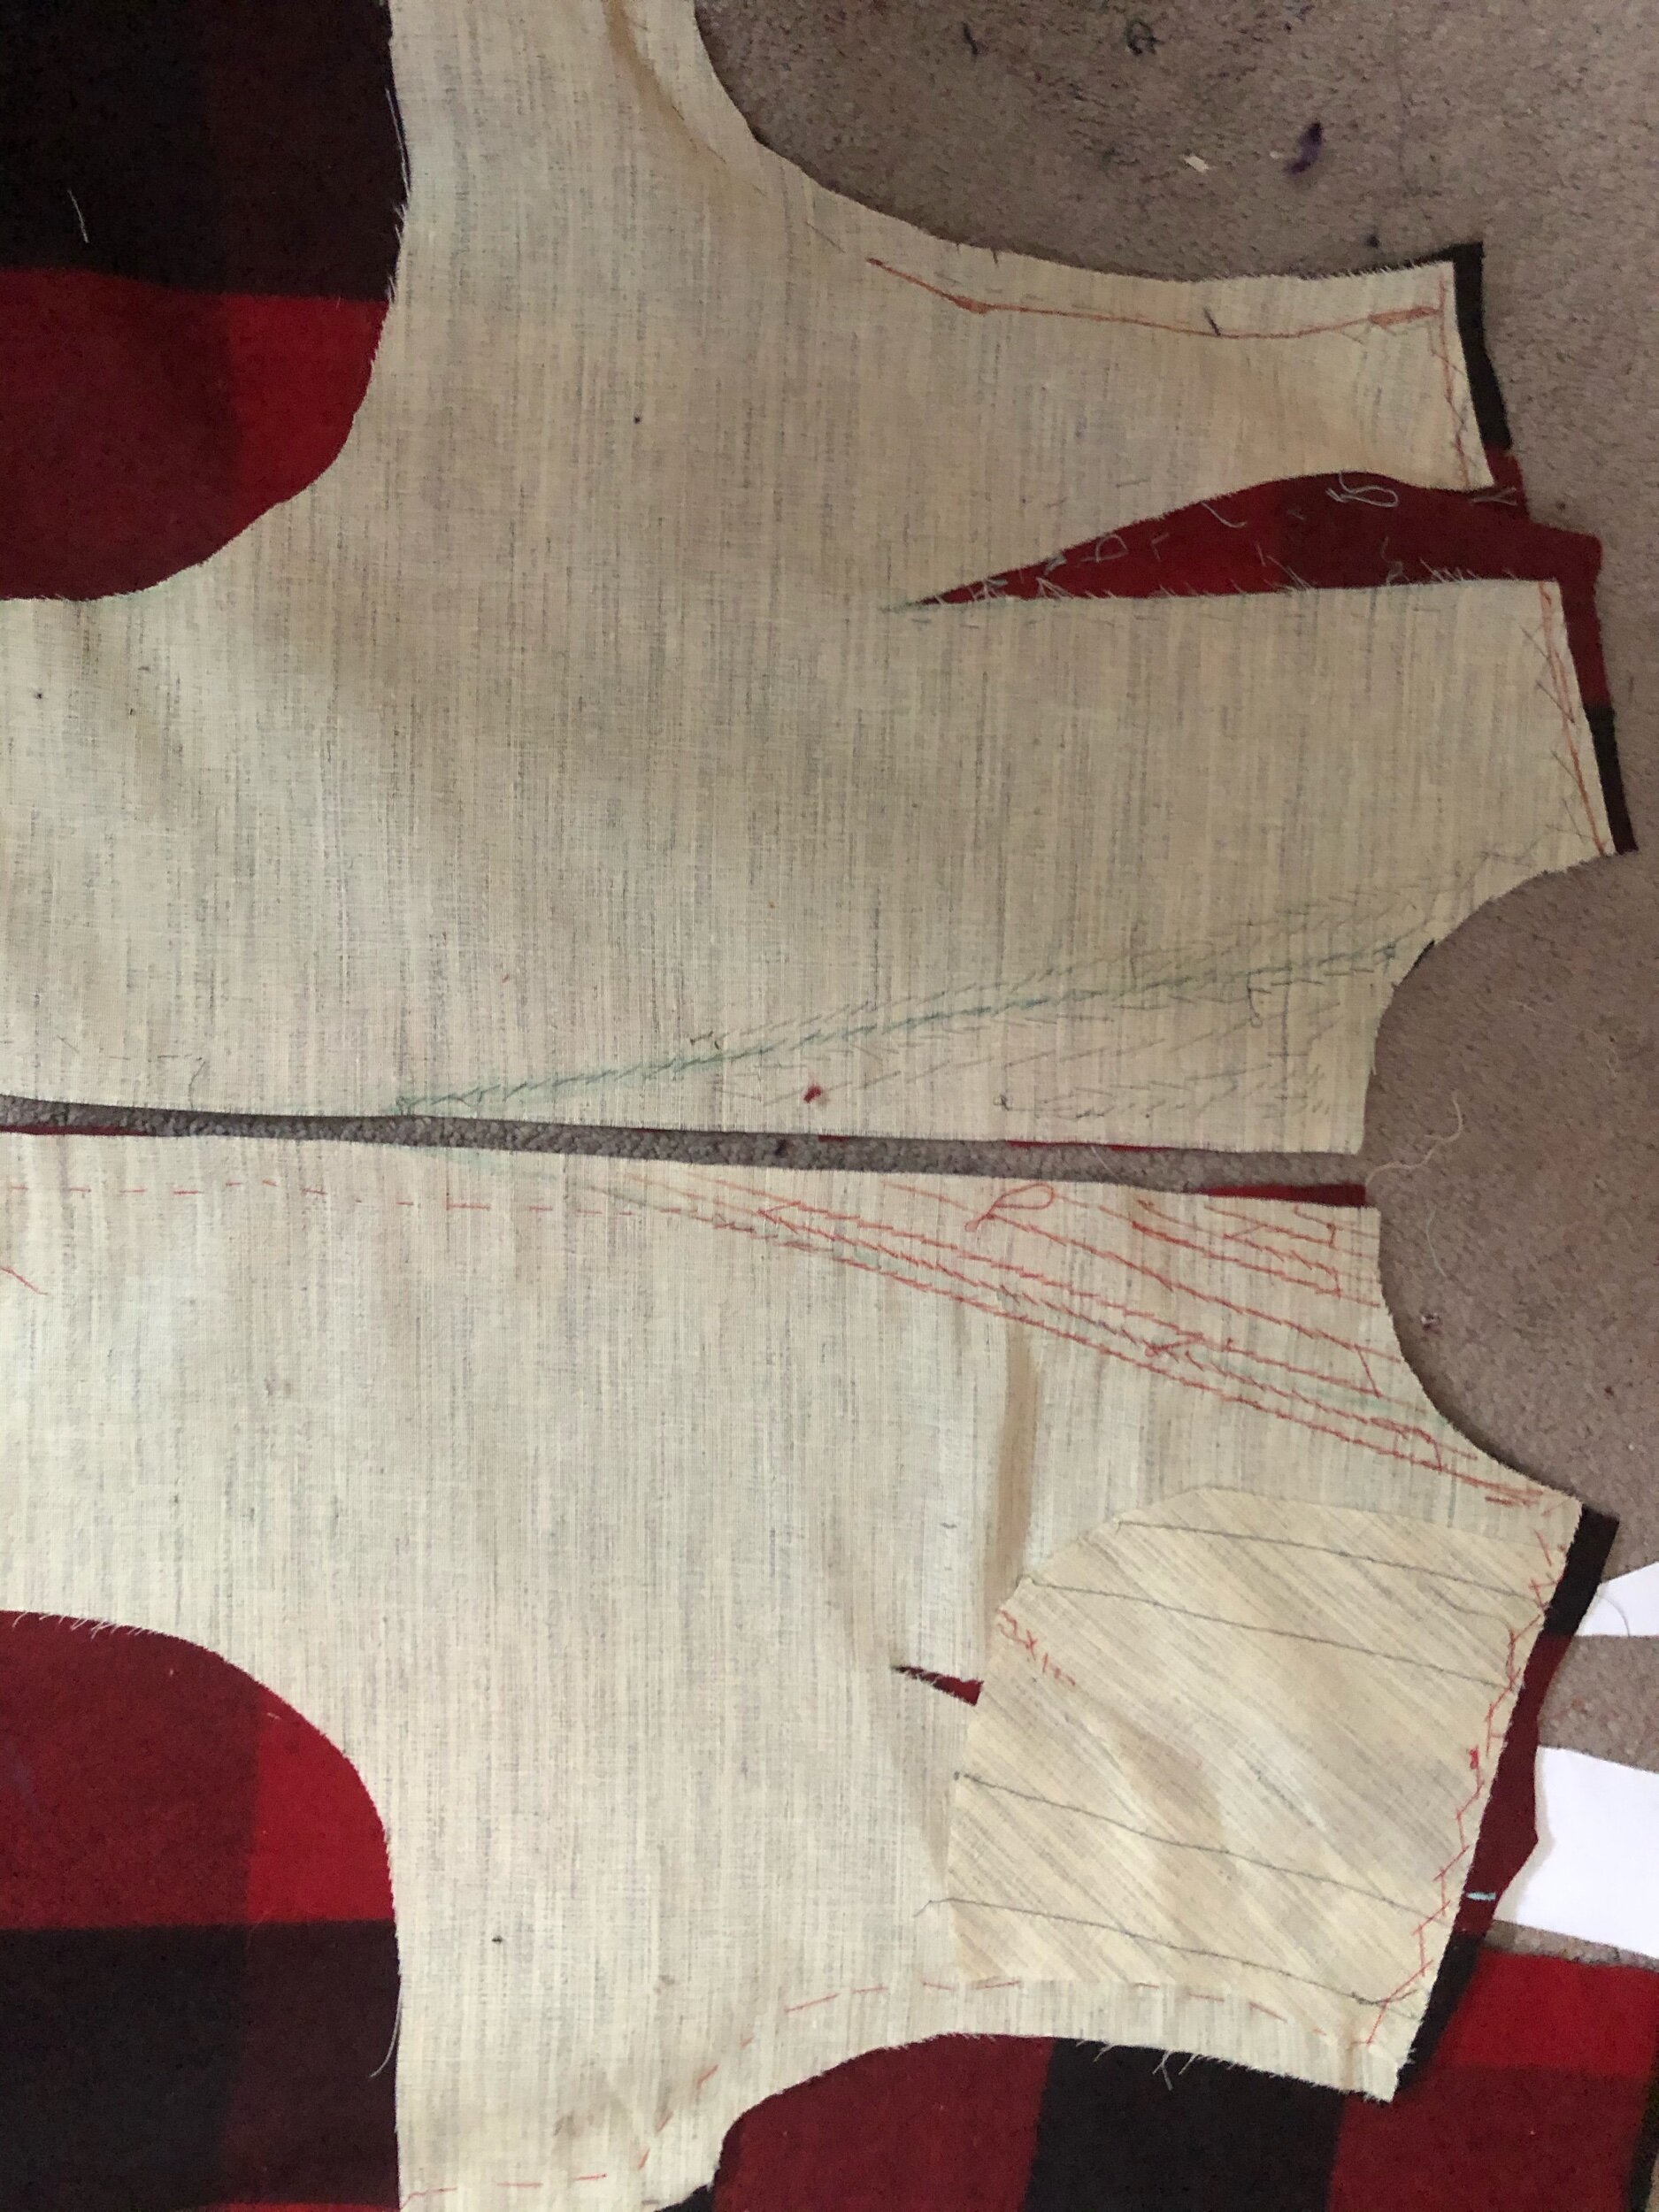
on the side missing the shoulder reinforcement, i added a length of hair canvas by machine. better than nothing?
I followed Julia Bobbin’s instagram for padstitching, and I skipped the twill tape edge bc a) i didn’t feel like it and b) with the bulk of the fabric to deal with I thought the edge wouldn’t benefit all that much from something designed to make it sharper. Set the bend on the collar and that was that.
The collar pieces I redrafted to have 1/4” seam allowances and to build in turn of cloth (undercollar cut in two pieces on the bias, top piece cut in one with a 1/4” added at center. For the structuring I went machine stitching rather than padstitching, and I have to say I really like the look of all those stitch lines.
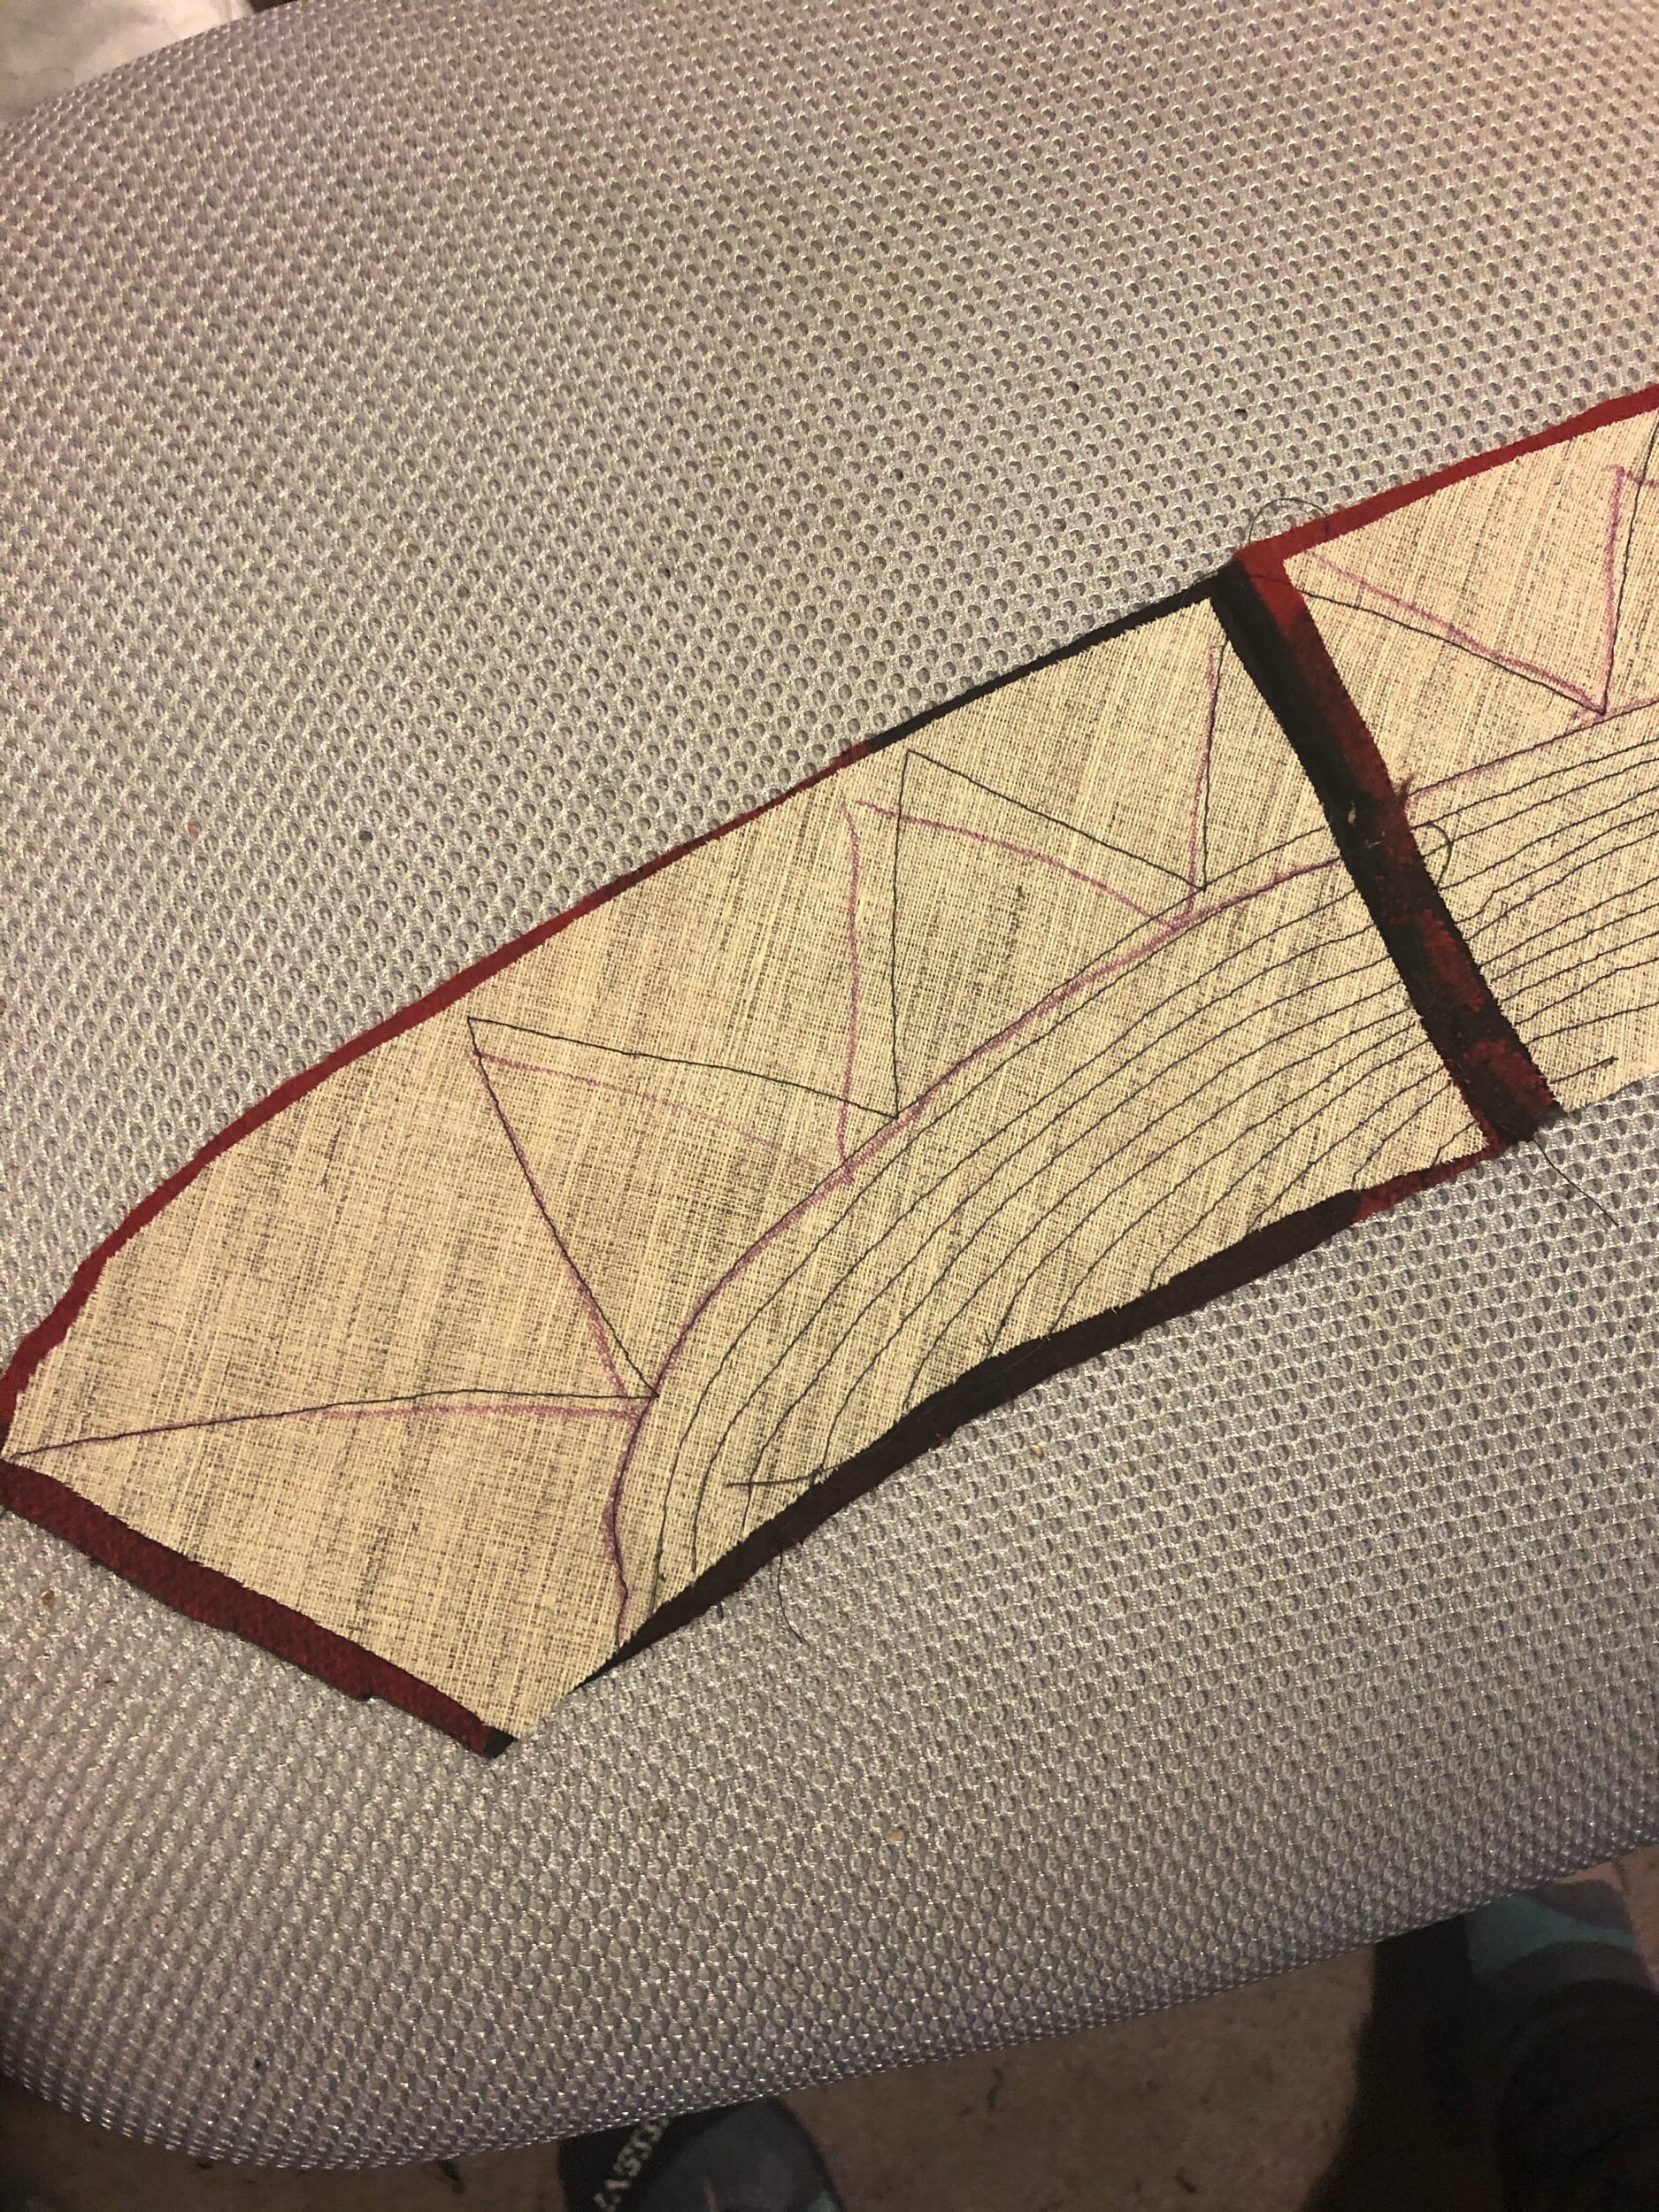
machined hair canvas on undercollar

collar shaping in progress
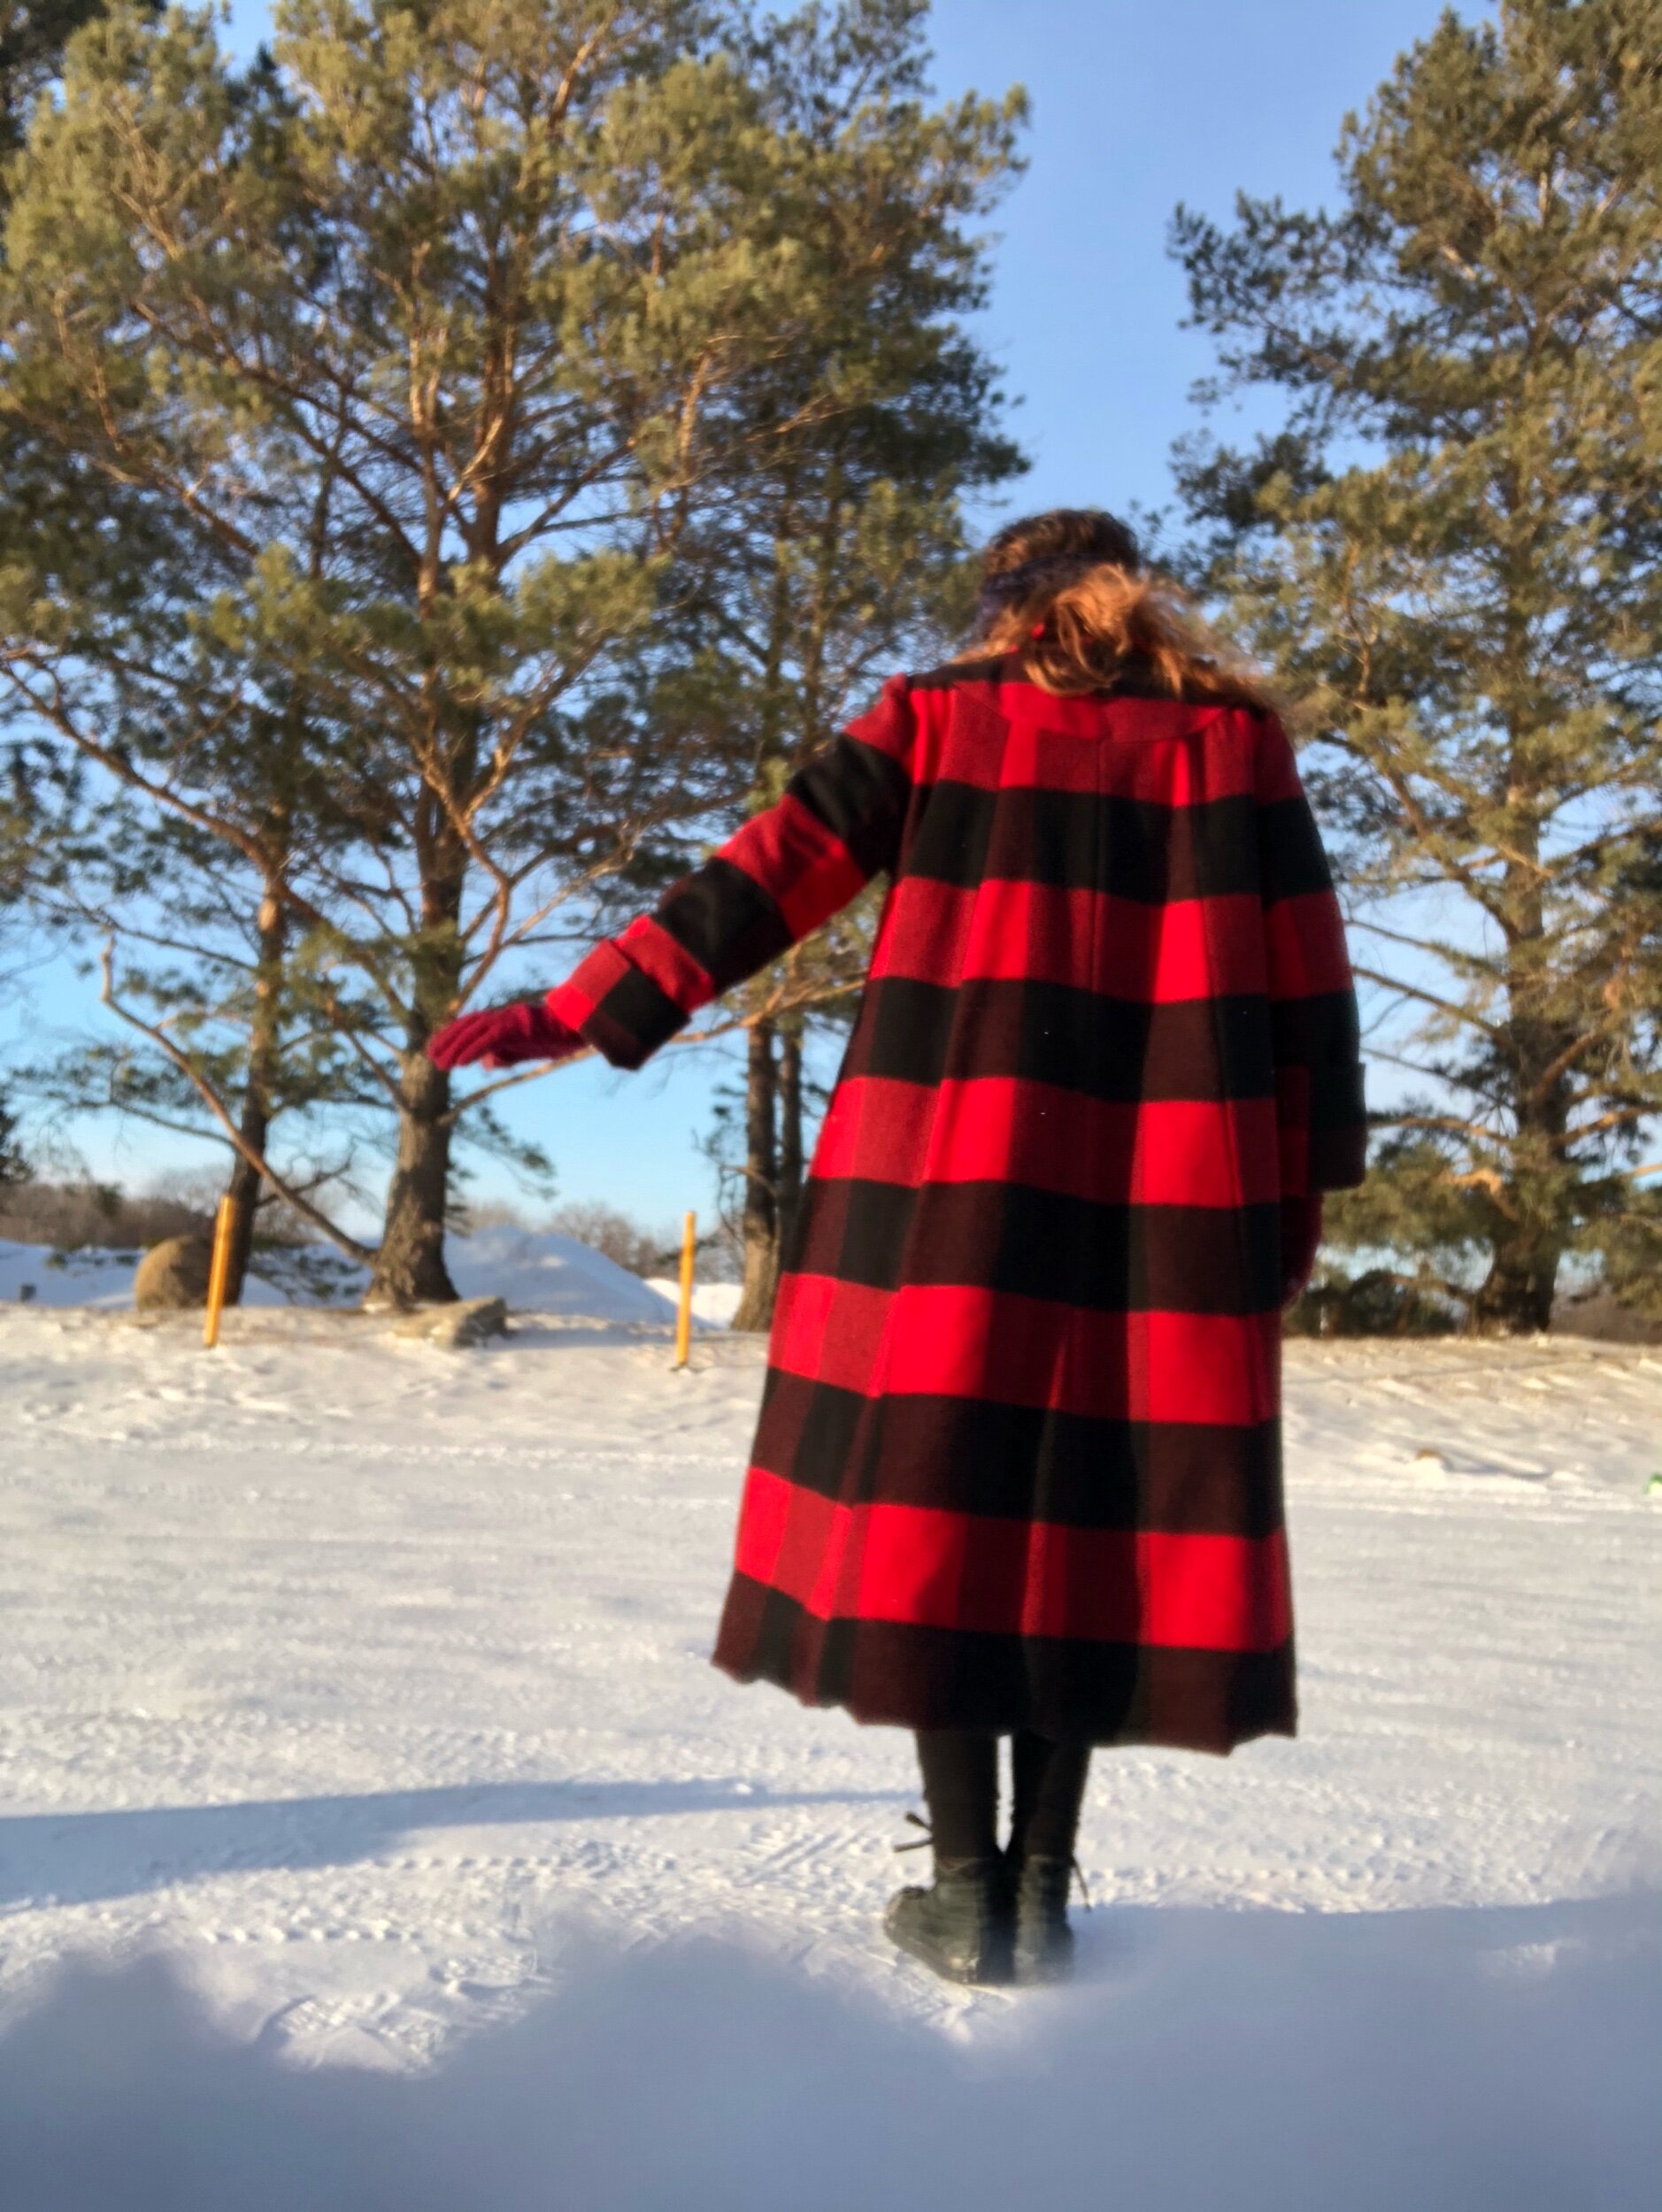
Also to note, I really love the yoke detail at back, and it’s the one place I really wanted topstitching to emphasize the line
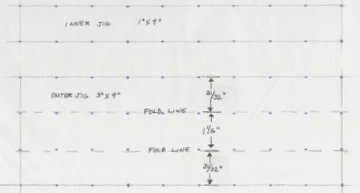
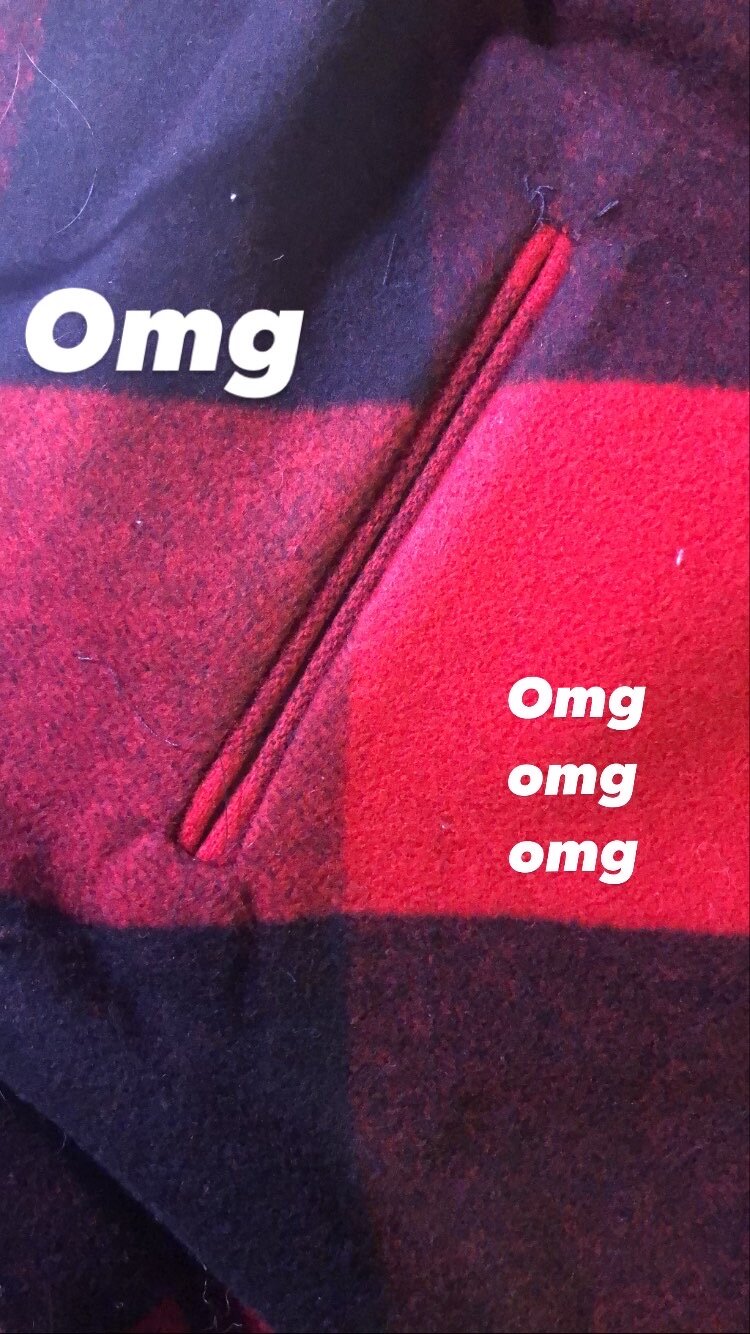
Before assembling the outer in full, I needed to add in the welt pockets. For this, I referred to Kathleen Fasanella’s infinitely useful and entertaining archives. Because of the bulk of the fabric, I again ran into some issues with the paper jig technique, that is, the lips were just not meeting how they should. I needed to remove a turn of cloth’s worth from the centre jig piece (3/16”) to properly accommodate the fold. Once that had been worked out, they came out beautifully.
So beautifully in fact that despite attaching the welt FULLY, i mean I CUT THE DAMN FABRIC, to the WRONG SIDE of the coat, I was able to remove the welt, flip it over, reattach, and you literally cannot tell. Such is the power of a jigged construction, i tell you.
Moved on to cutting out the twill - leftover from my Halloween costume and of course from matchpoint for the lining and tacking that to the pieces of interlining. I also remembered at this point to add a little width at the underarm, meaning the twill was wider than the interlining there, but this didn’t present any major issues. To avoid big bubbling in this process, I really only tacked a couple of edges and then just held the pieces together as I sewed them to their appropriate pieces when the time came.
One issue in attaching the lining to the coat, and part of why I went more the speed tailoring route than the custom tailoring way, was that once the interlining was attached I couldn’t press the seams. I didn’t want to fight with finger pressing in edges, so I mostly machined it in, but left ample space for turning the massive bulk.
(I’m starting to think I should have gone with my first instinct and done this over several posts while building the thing. Live and learn i guess)
The whole hem situation was a little bit touch and go I have to admit, but I don’t think it much matters. Once the lining was fully in and hand sewn closed, I just started wearing the thing buttonless because a) it was very cold and b) i was very excited about it.
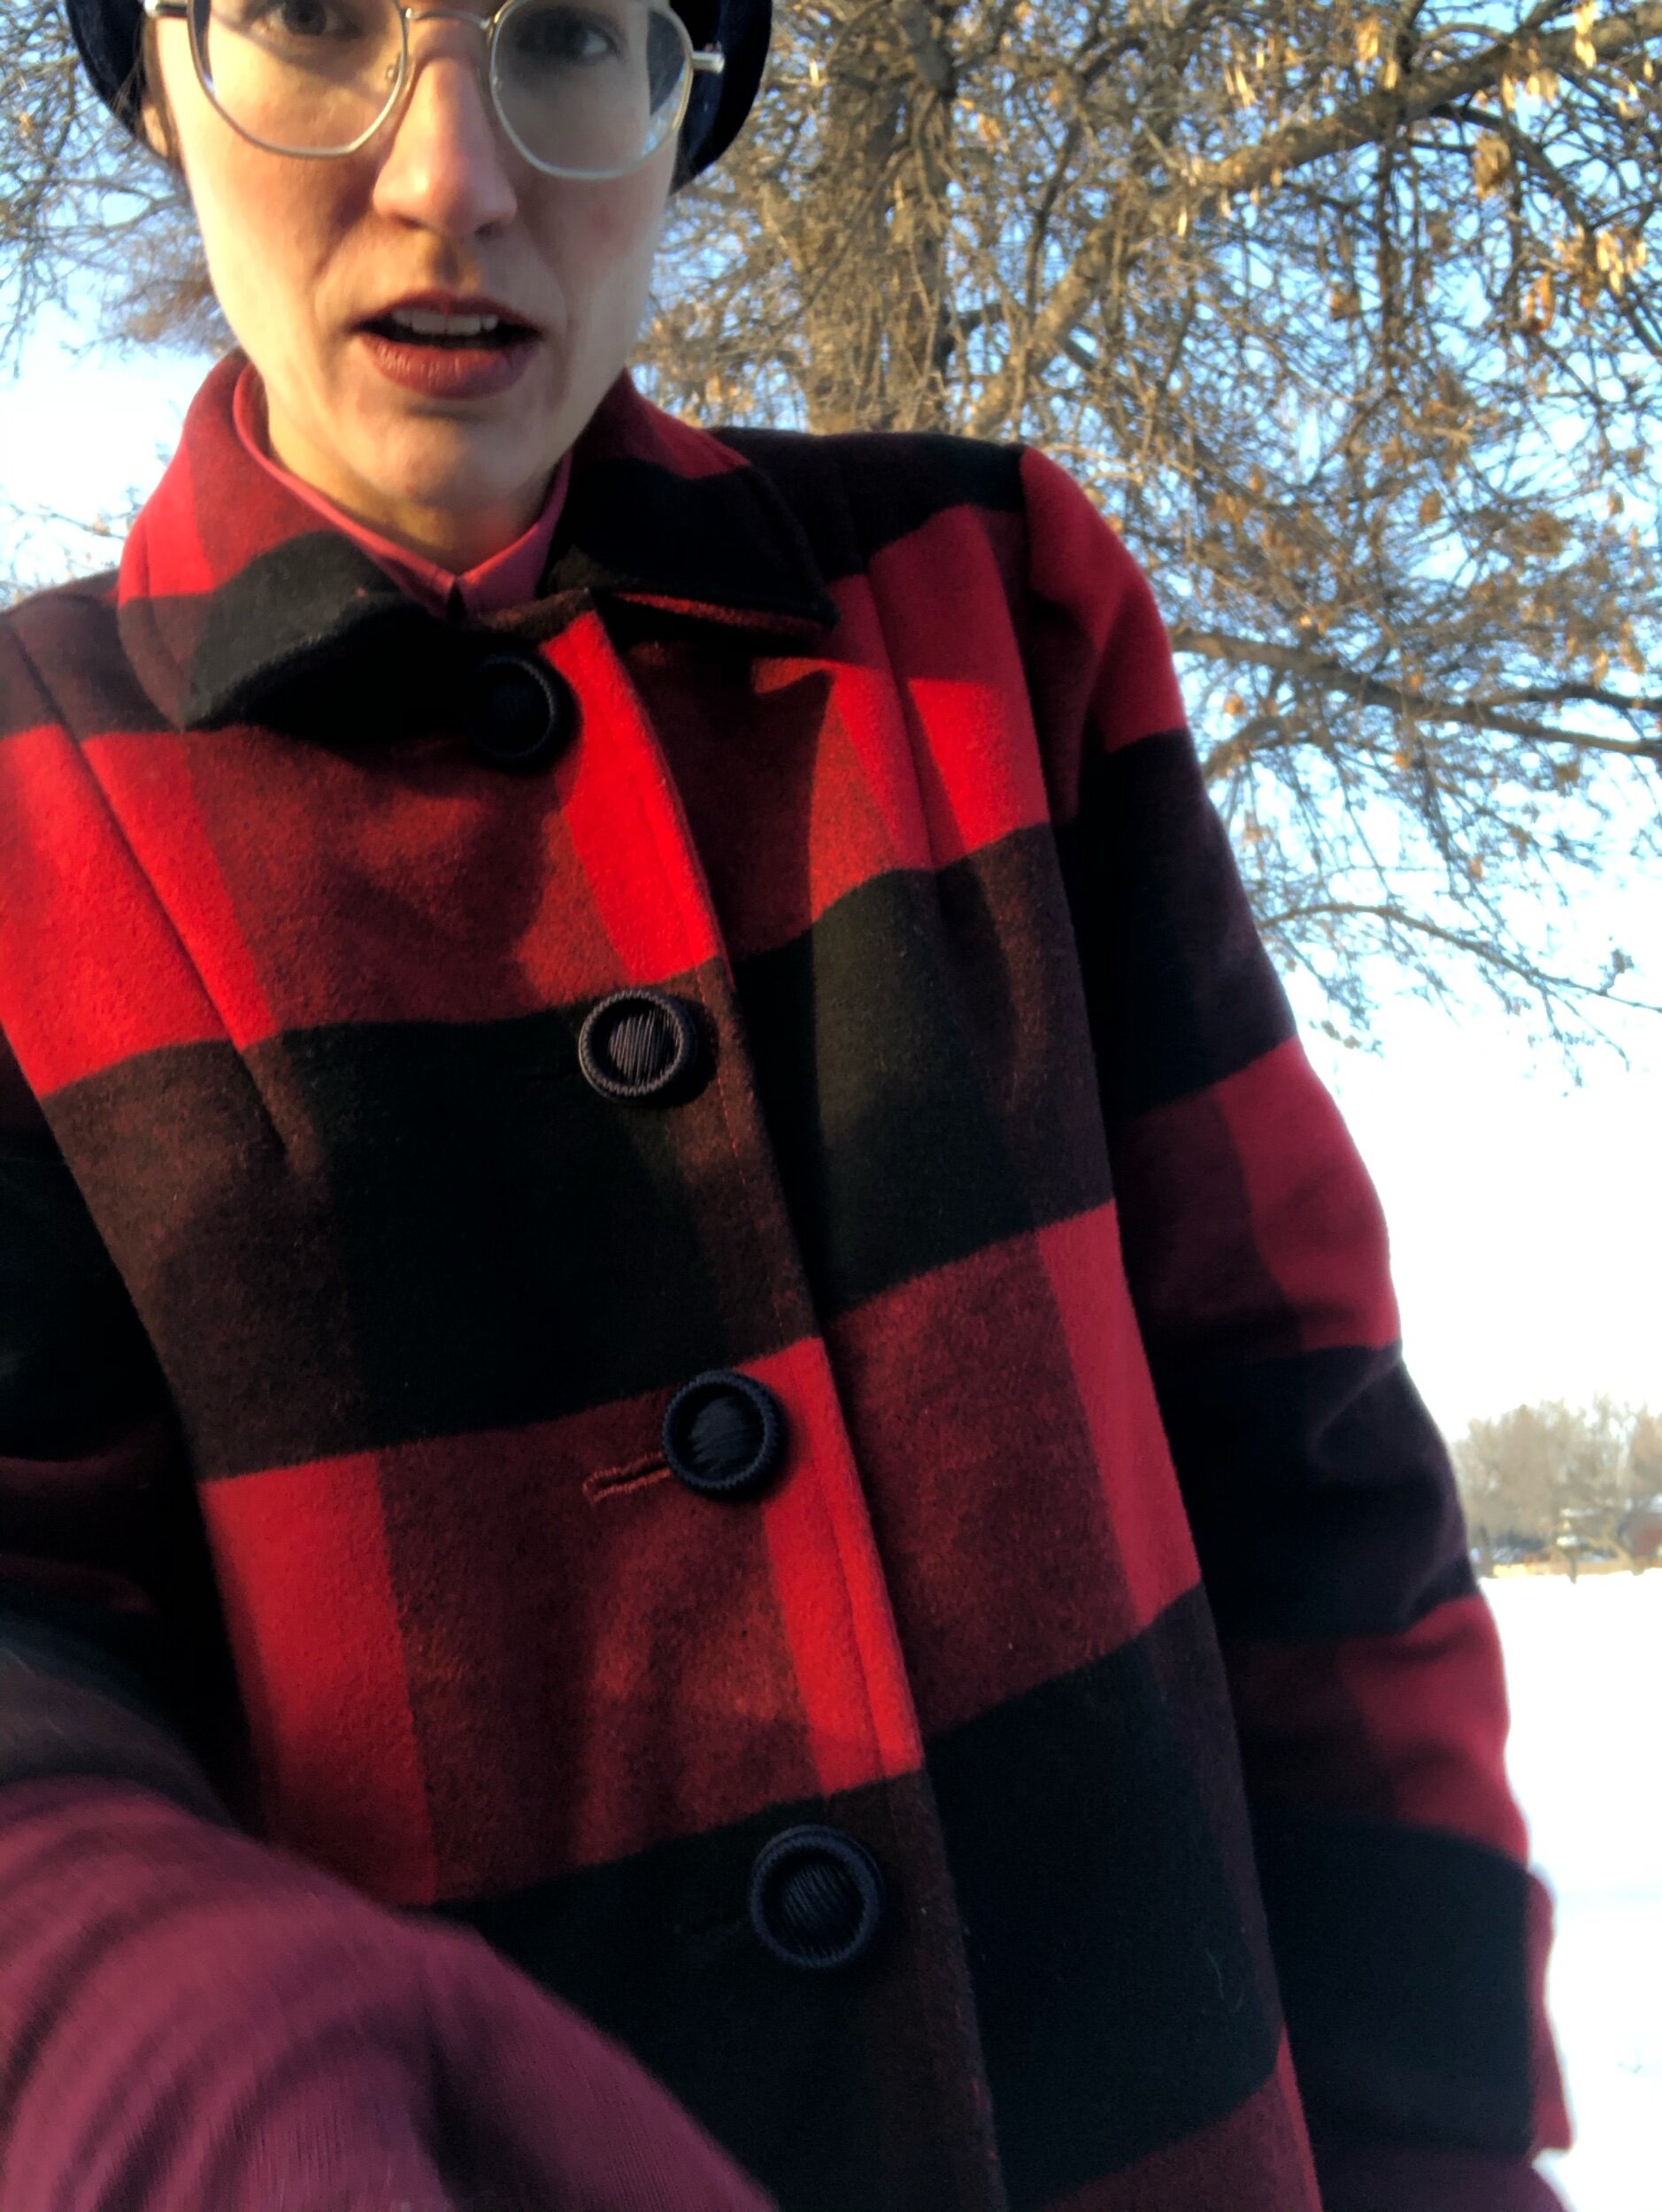
And I waited patiently (a week ok) to take a class on handworking buttonholes through Tatter. Boy was it worth the wait!! I am so pleased with the quality of my buttonholes, and I only did 4 practice ones!!! Mathew Gnagy taught the class and he really did a lot of reasonableness along the lines of no, you don’t actually have to use silk buttonhole twist. He doesn’t use beeswax, but he does press his thread. Entertaining and so fun.
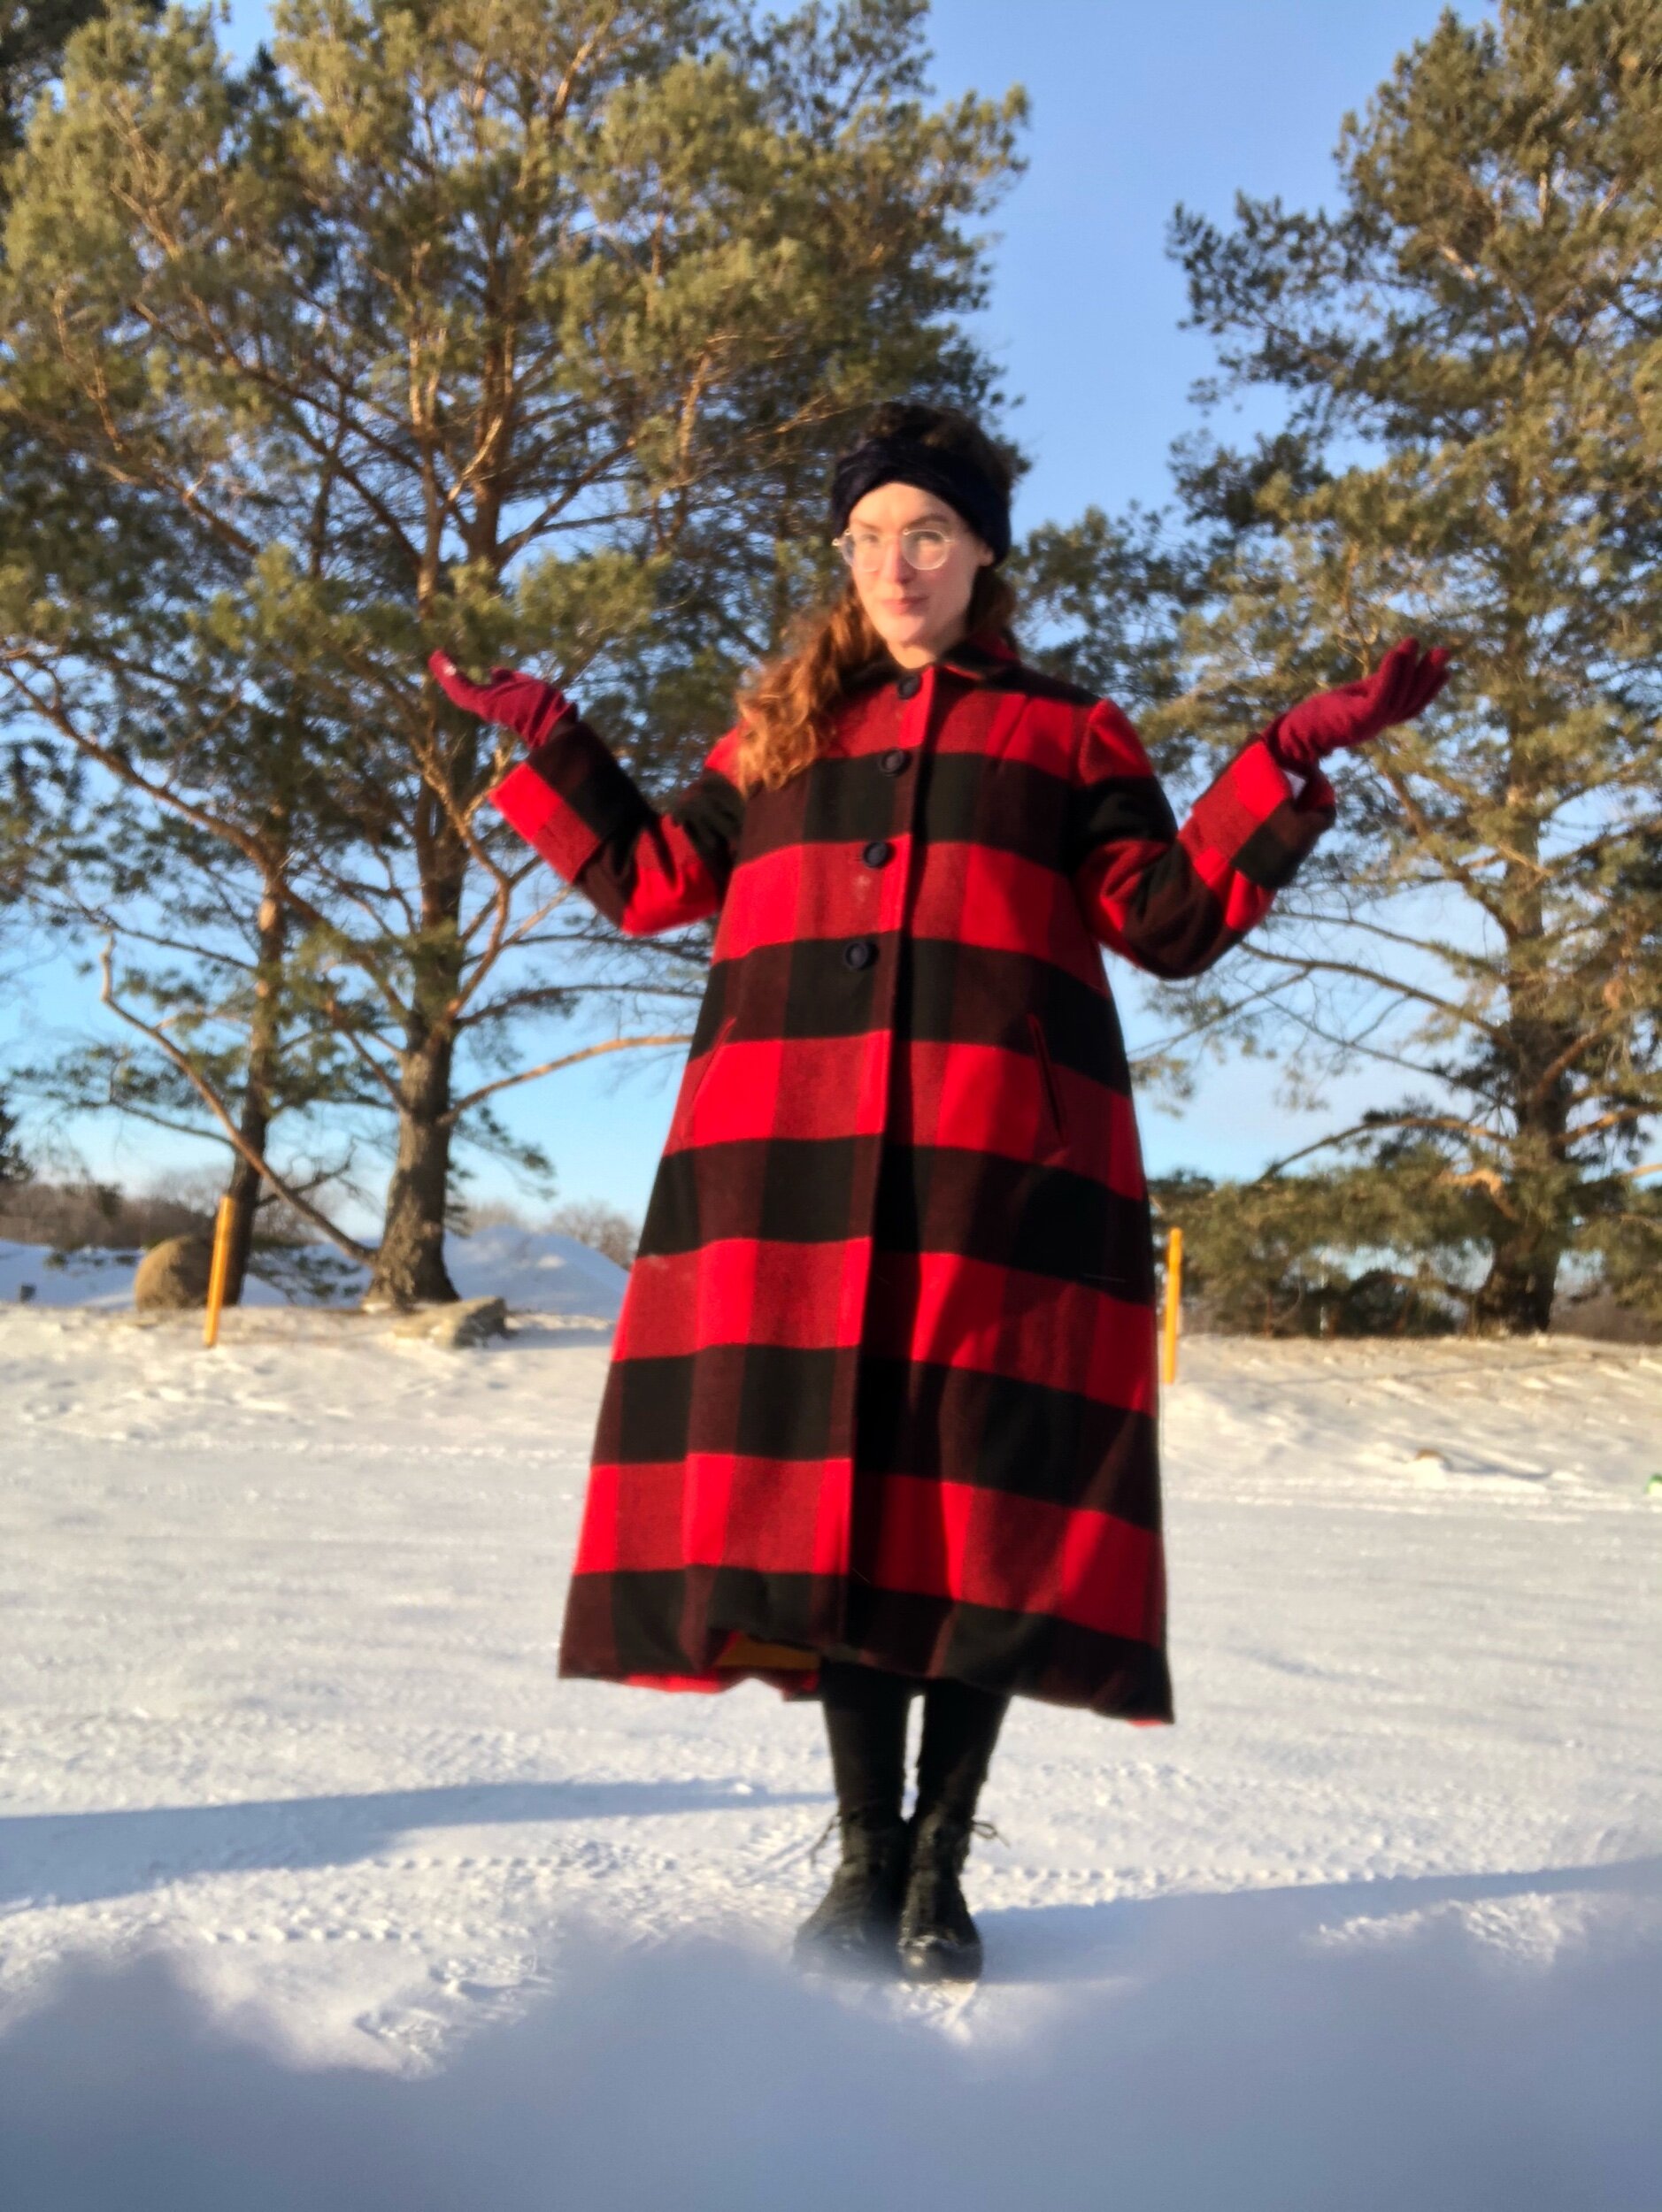
They are so HUGE. The buttons themselves are vintage from Britex (the only type of thing I can imagine buying from their beautiful options!!), 1 3/8” wide and another 3/8” tall so the holes are very nearly 2 inches across. I did my four practice buttons with the bright red twist I’d bought and the four real ones (working from the bottom up for additional practice) with the dark red and the black to blend in as appropriate.
Because of the size of the buttons, I had to fudge placement around where I’d worked the collar fold, because I hadn’t thought of that at alllll when I decided on that. That said, I don’t think any fudging is visible, which may actually be helped by my not having the front pattern matched (altho I actually did match across the shoulders/back!!
I actually… think that’s it! Or at least those are the big notes. I can’t imagine needing another coat this warm as this should be a lifetime piece for that month that a heavy duty coat is necessary every year (climate changes allowing), but Thinsulate is def one of those “non sustainable” things that I would think is absolutely worth buying new precisely because of how well it performs, really making a lifetime coat possible.
Pattern: Butterick
Fabric/Notions: Matchpoint Fabric sourced deadstock wool/poly 4” buffalo plaid coating, Britex sourced vintage blue buttons and silk buttonhole twist, RPET black and burgundy thread from Sewing Kit Supply, Wawak sourced horse hair canvas, Club Tissus sourced -30c rated thinsulate
My Measurements: B34.5 w30.5 H38
Size Made: B34
Next time: More tailoring. No big oh no this sucks totally moments here, just more learning to do.
oldest of cold days but some rather inappropriate footwear (converse)