60s silk dress with 20s inspired trim

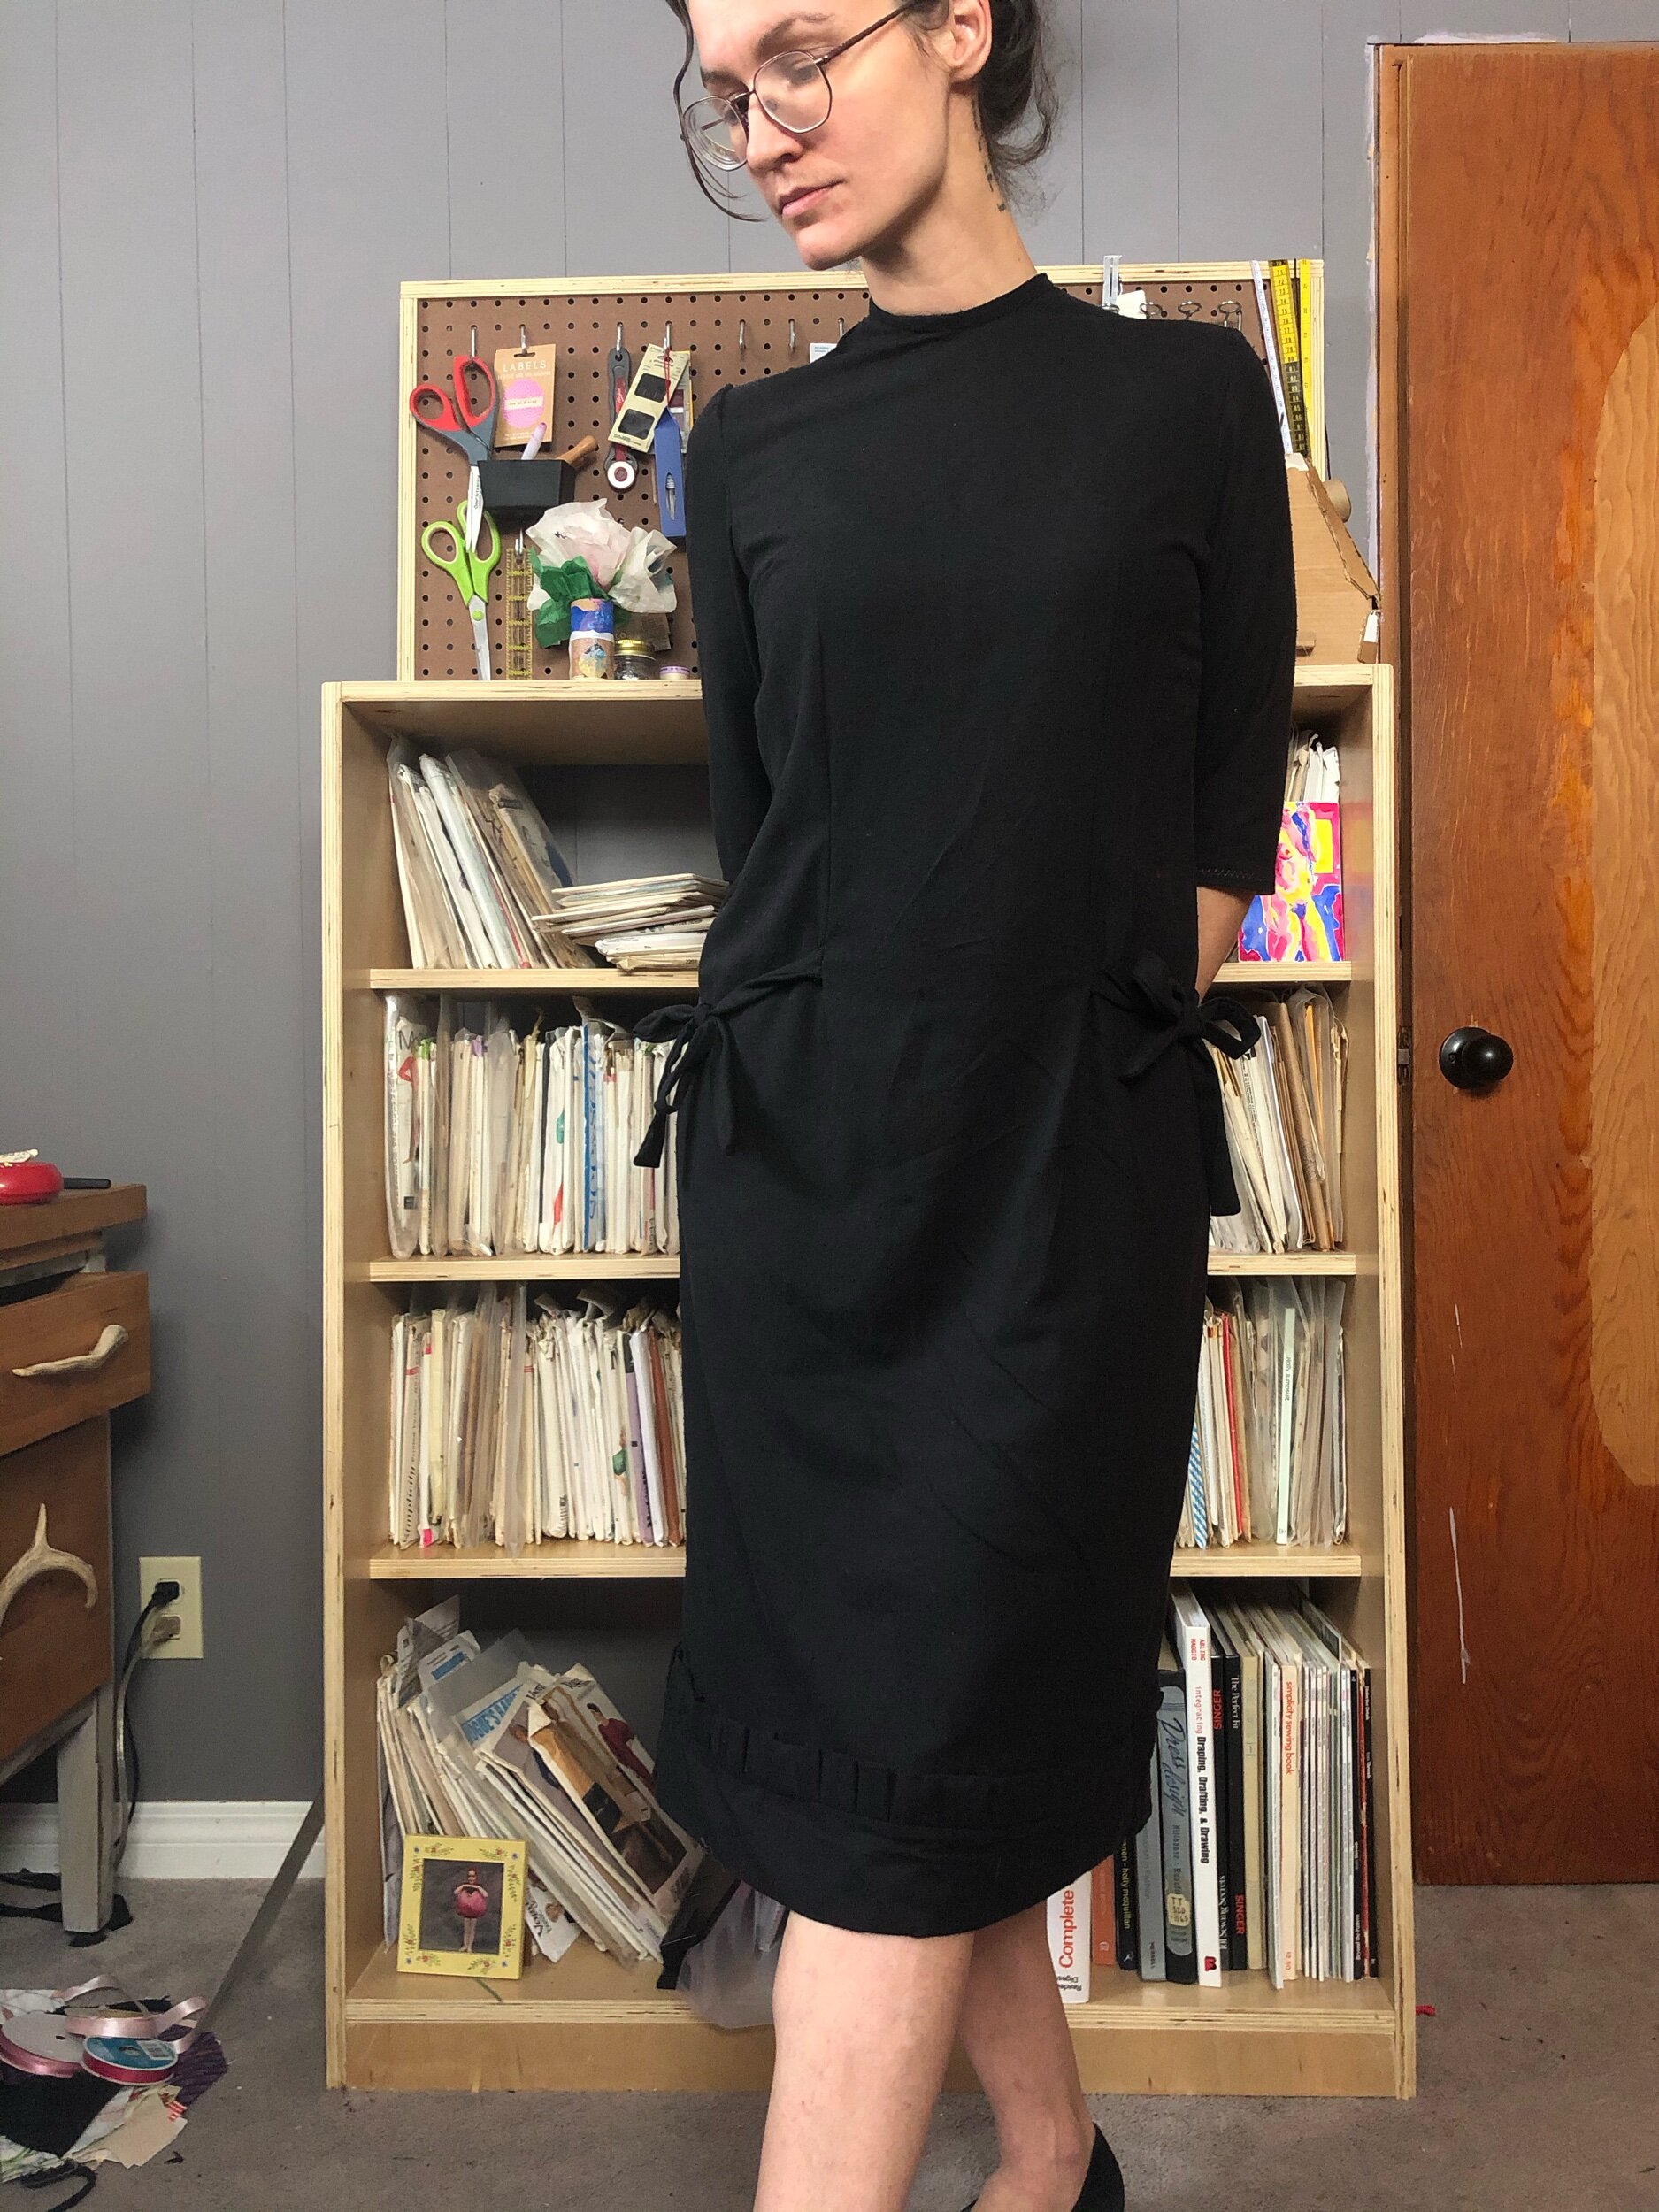
Rear view of black 60’s dress
This is a simple dress, a 1960s pattern from my collection I’ve always liked the art on, but I went with one of the simpler views and simple black silk noil for a wintry, subtle effect. I like the line of this design, not super fitted but not super loose.

Butterick 8749
This is view A, minus the contrast collar and sleeve cuffs. I also added a bit of pleated trim, which of course is practically invisible in a black on black situation. This was inspired by a Ruth Wyeth Spears tip:

Ruth Wyeth Spears on plaitings of self material via Midvale Cottage Post
In the name of actually getting these instructions out of jpg into text and remembering what I did (therefore i blog), here’s what I did:
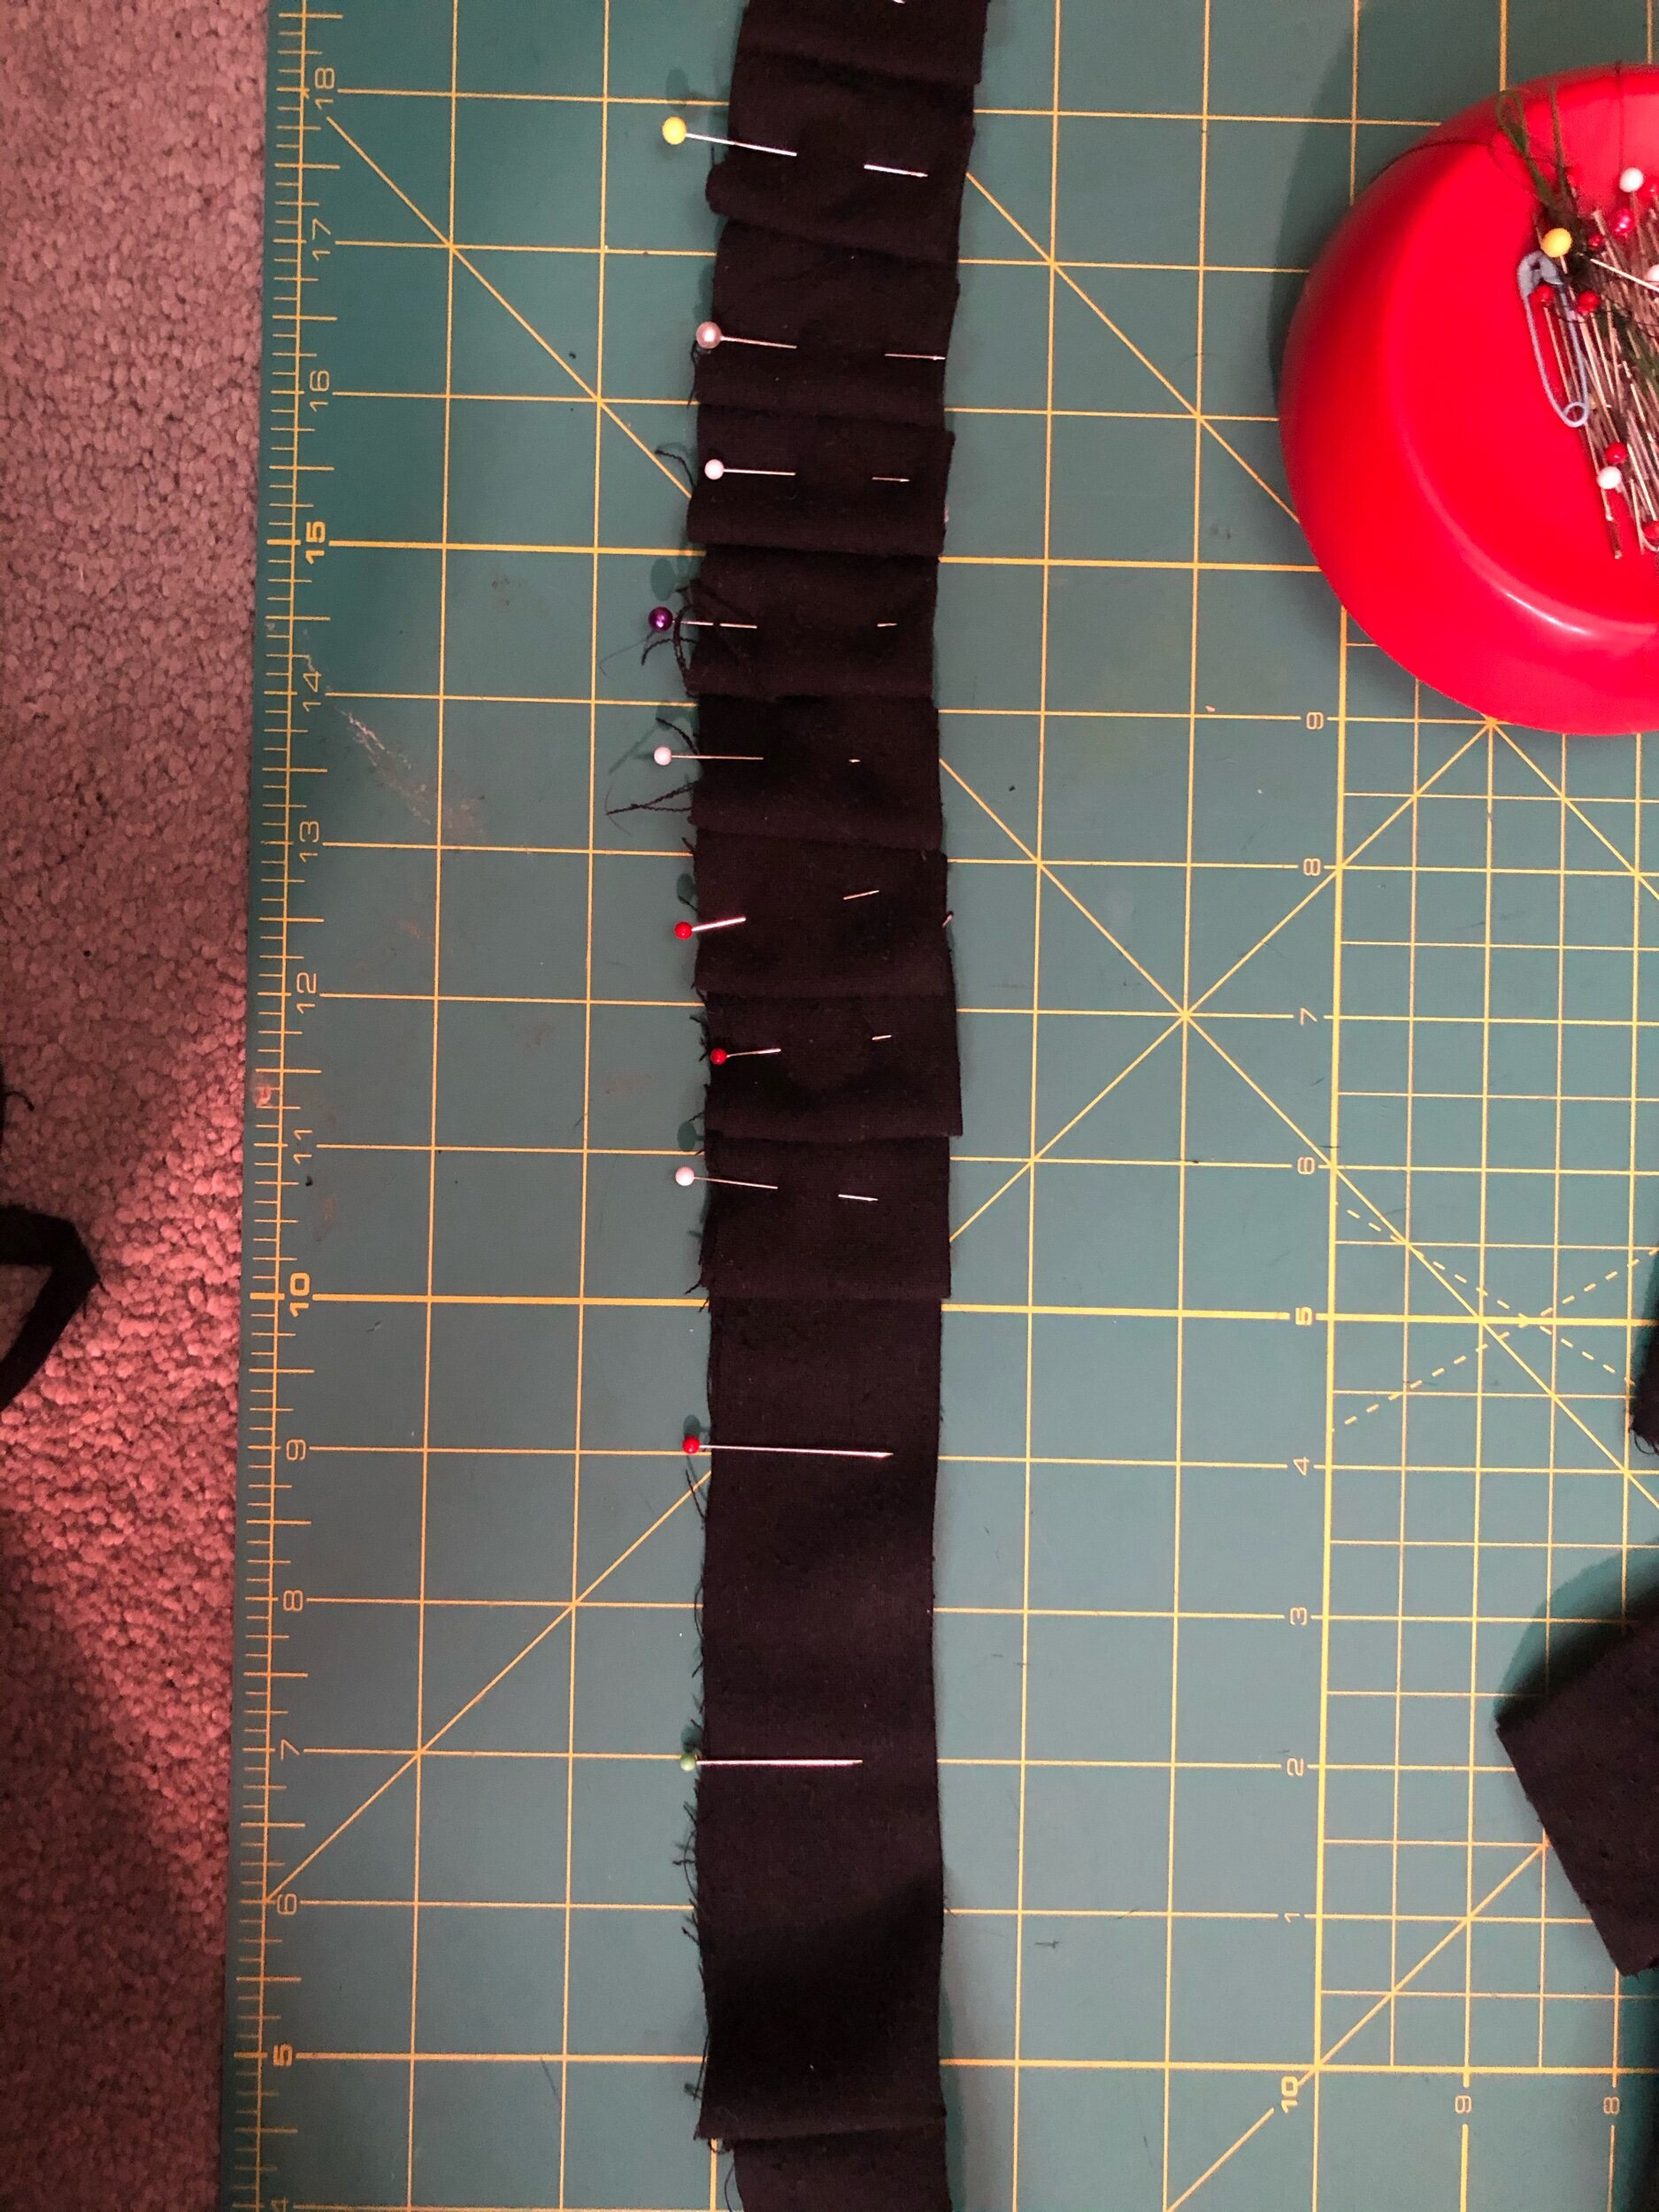
“Instructions” to created pleated trim
(Too chatty by half to be true instructions)
Measured the bottom hem edge, multiplied this by 3 and cut out a looooong (pieced)
strip of this lenght (I believe it was 139 inches in my case) and 1.5 inches deep (this could be whatever you like, keeping in mind that the finished width will be half what you cut, less seam allowances)
To plait, I used my cutting mat for markers and wasn’t too bothered about absolute precision. Each section is 3/4”, so you fold at the 3/4” mark to the 1.5” mark, and pin. Ruth recommends actually basting instead of pin basting and I think that would be better, but I couldn’t find my handsewing kit, and pin basting worked out fine.
Press the full length. Because I was pin basting, I did this as I went along, about every finished foot of plait. I also had to watch the pin heads (though most of them were glass)
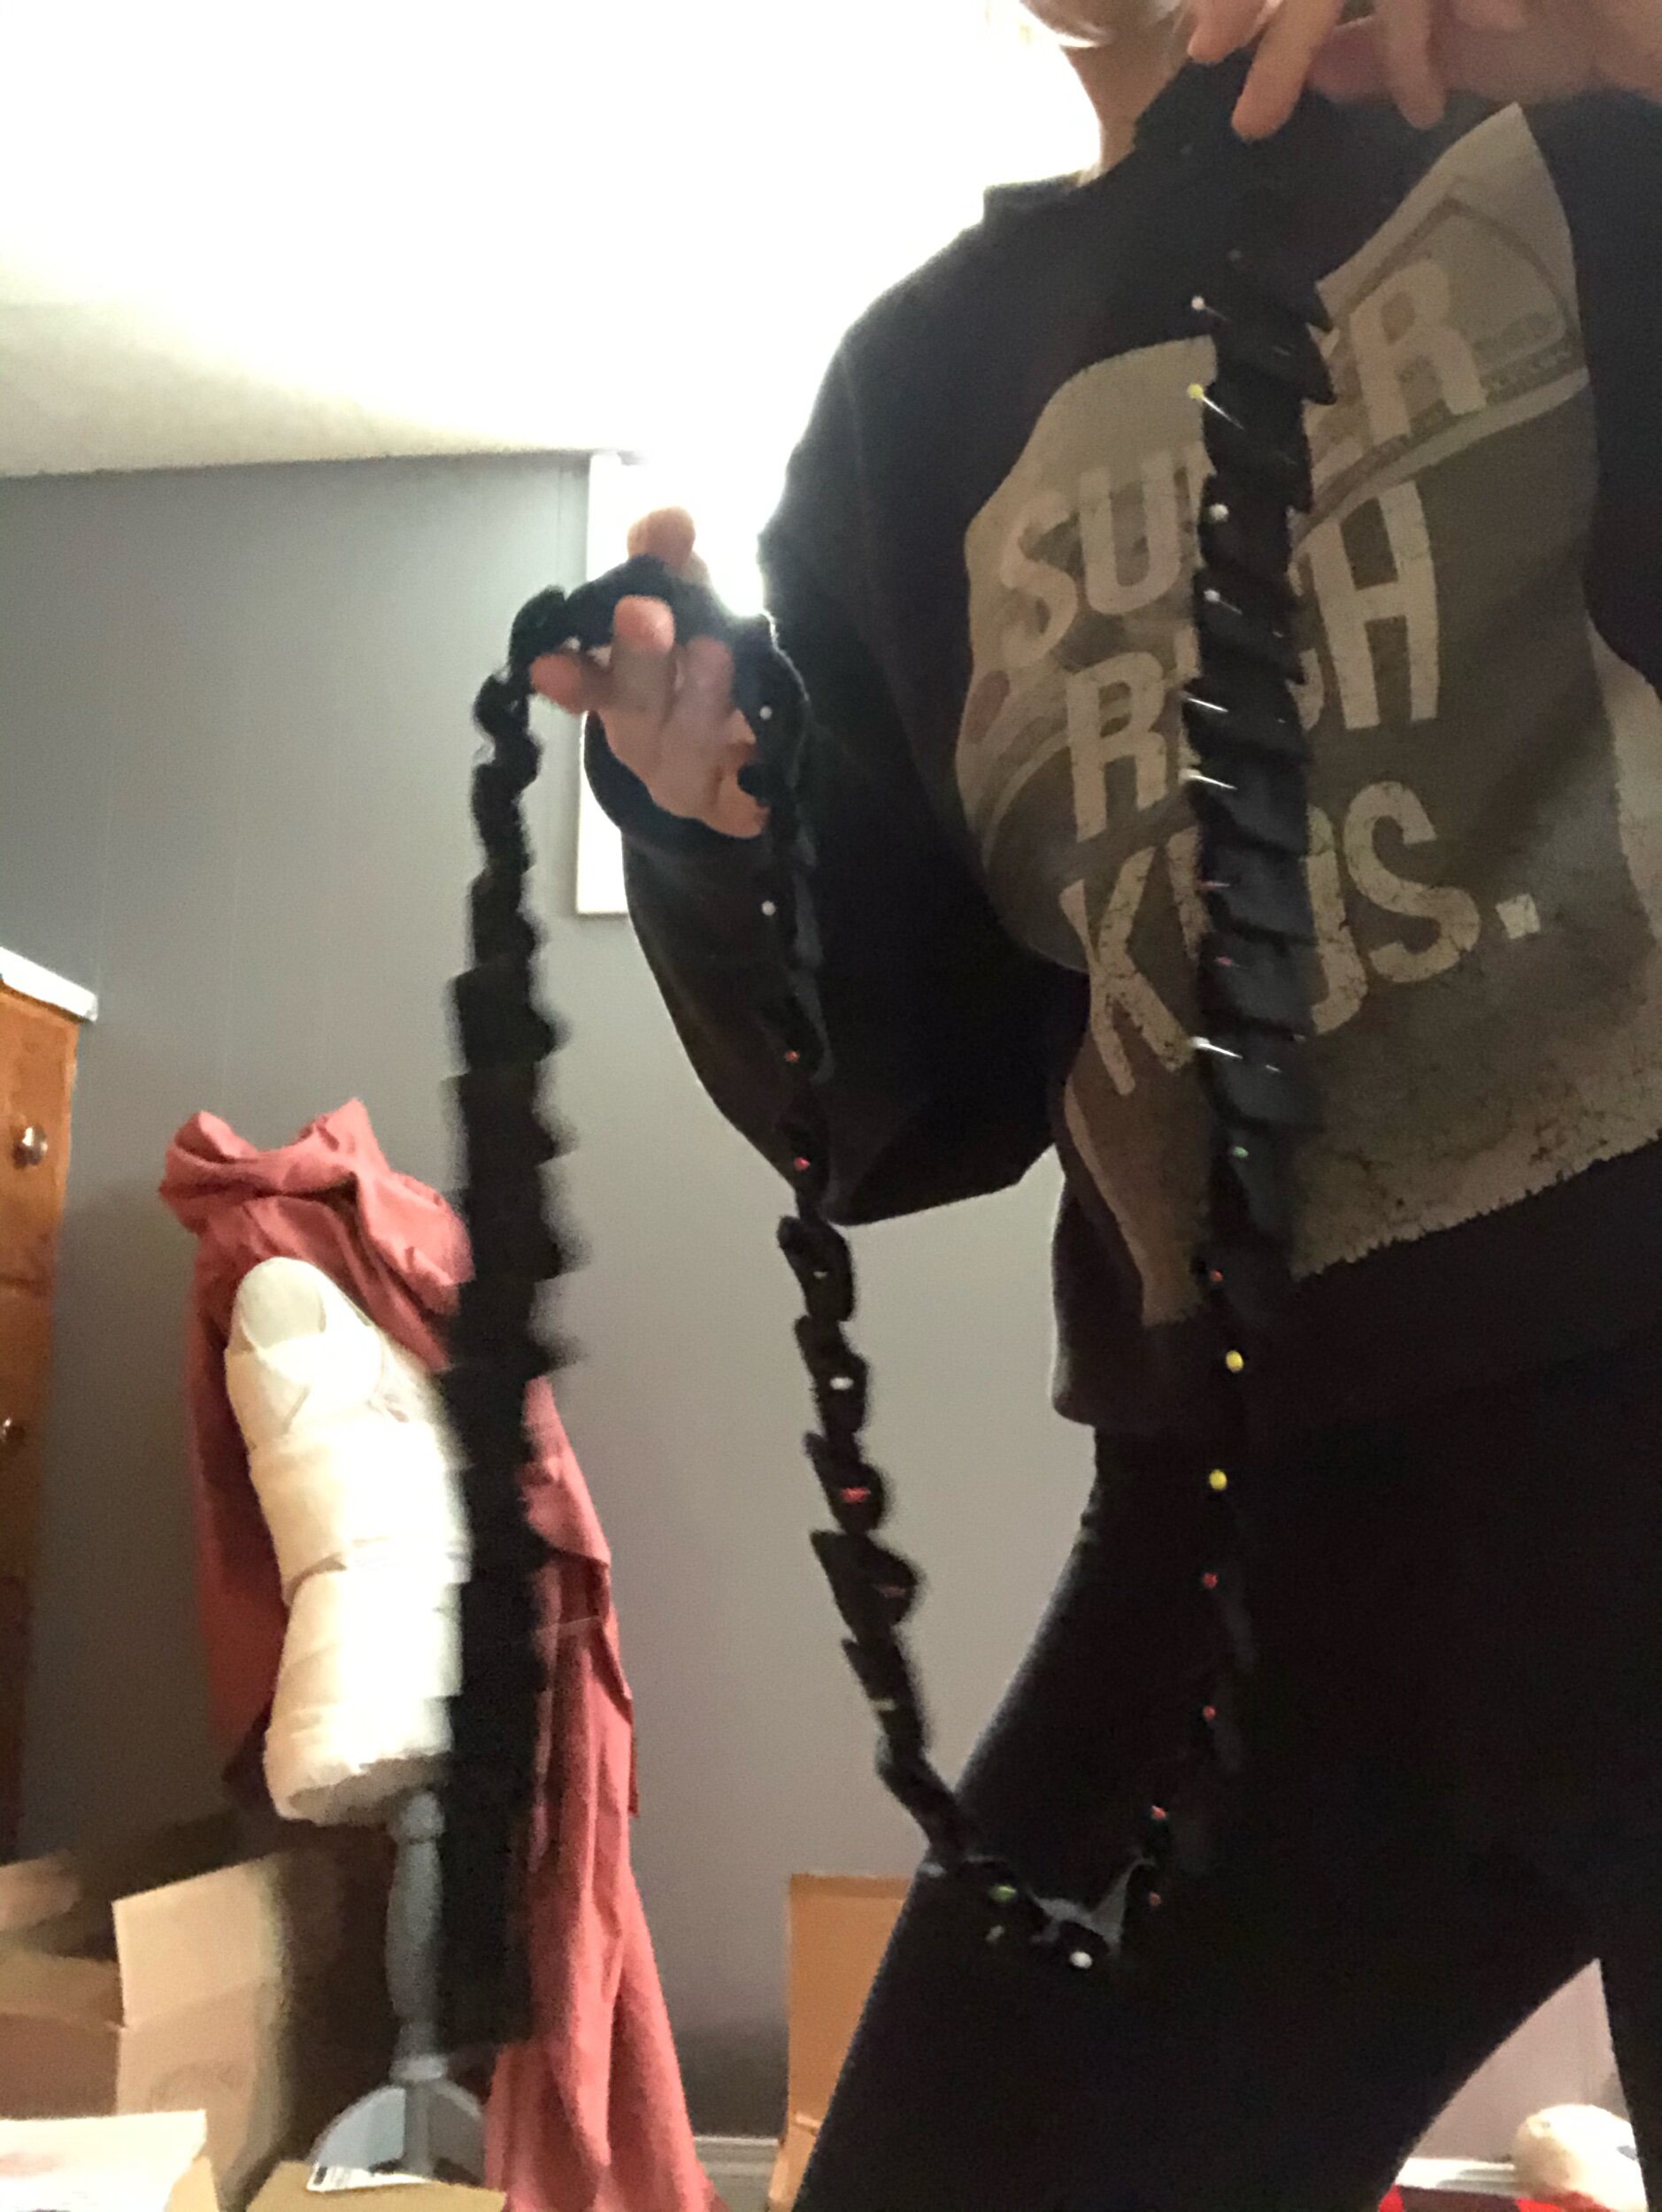
Ready to sew to the edge!
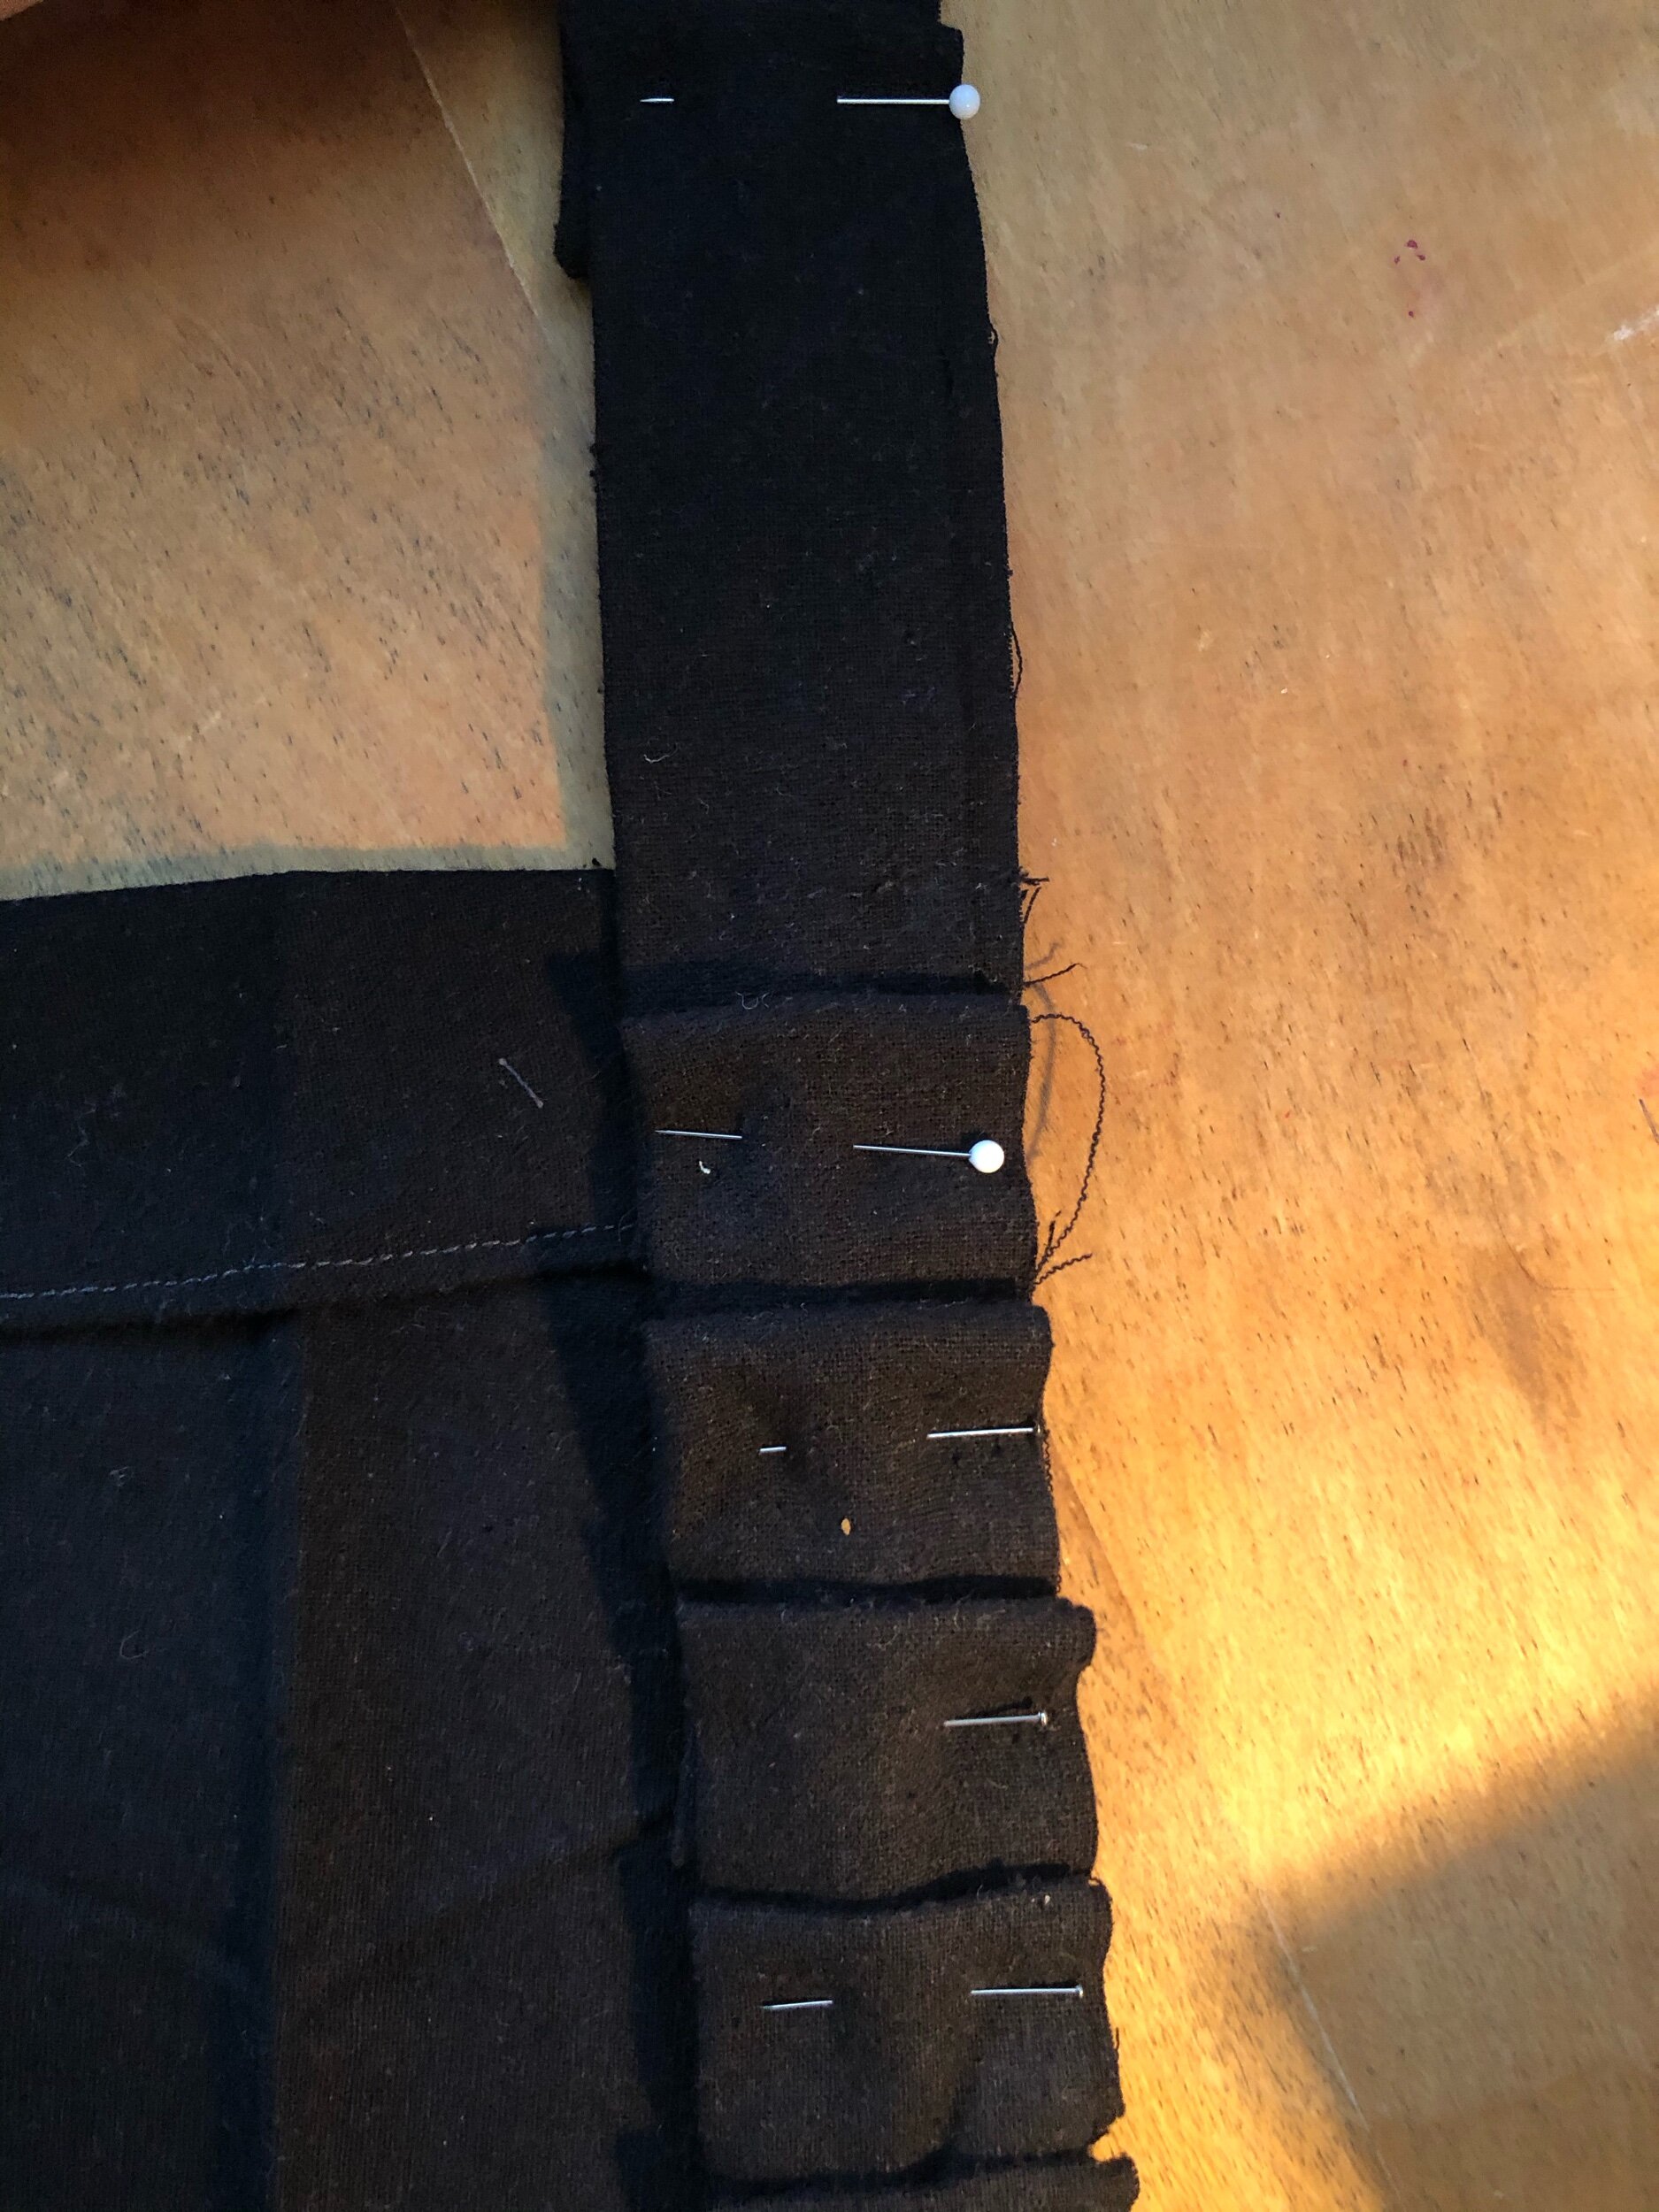
Attaching the trim for a novel finish
In my case, I did as Ruth suggested to create “the novel feature of the little dress sketched here”, which is that the hem is turned up to the right side, so the plaits don’t trim the bottom, they decorate a bit above the hem.
To make this look clean, I had already french seamed the innards.
Attached the plait to the hem on the wrong side of the skirt. Pinned only at beginning, and unfolded the first plait to give myself some wiggle room in terms of finishing the edge.
Press open.
Press hem edge up (here at 3” from the original edge)
Replace beginning and ending pleats so the pattern is correct and turn a bit of excess around the vent. Trim.
Stitch in the ditch to secure.
Hand tack top of plaits to secure. This could be done quite loosely, one stitch or two per pleat, and it could probably be omitted for a thinner pleat strip or lighter fabric. I also hand sewed down the visible part of the french seam, so it has more of a flat fell effect.

So there you have it, my not at all historical look at how to create a pleated trim. It’s funny how much I like it, since it really is not that visible. But it does give the skirt a nice weight in wearing.

Funny to me that both the dress and the trim are aimed at teens, and here I am, making a dowdy dress for my 31 year old bod with them.
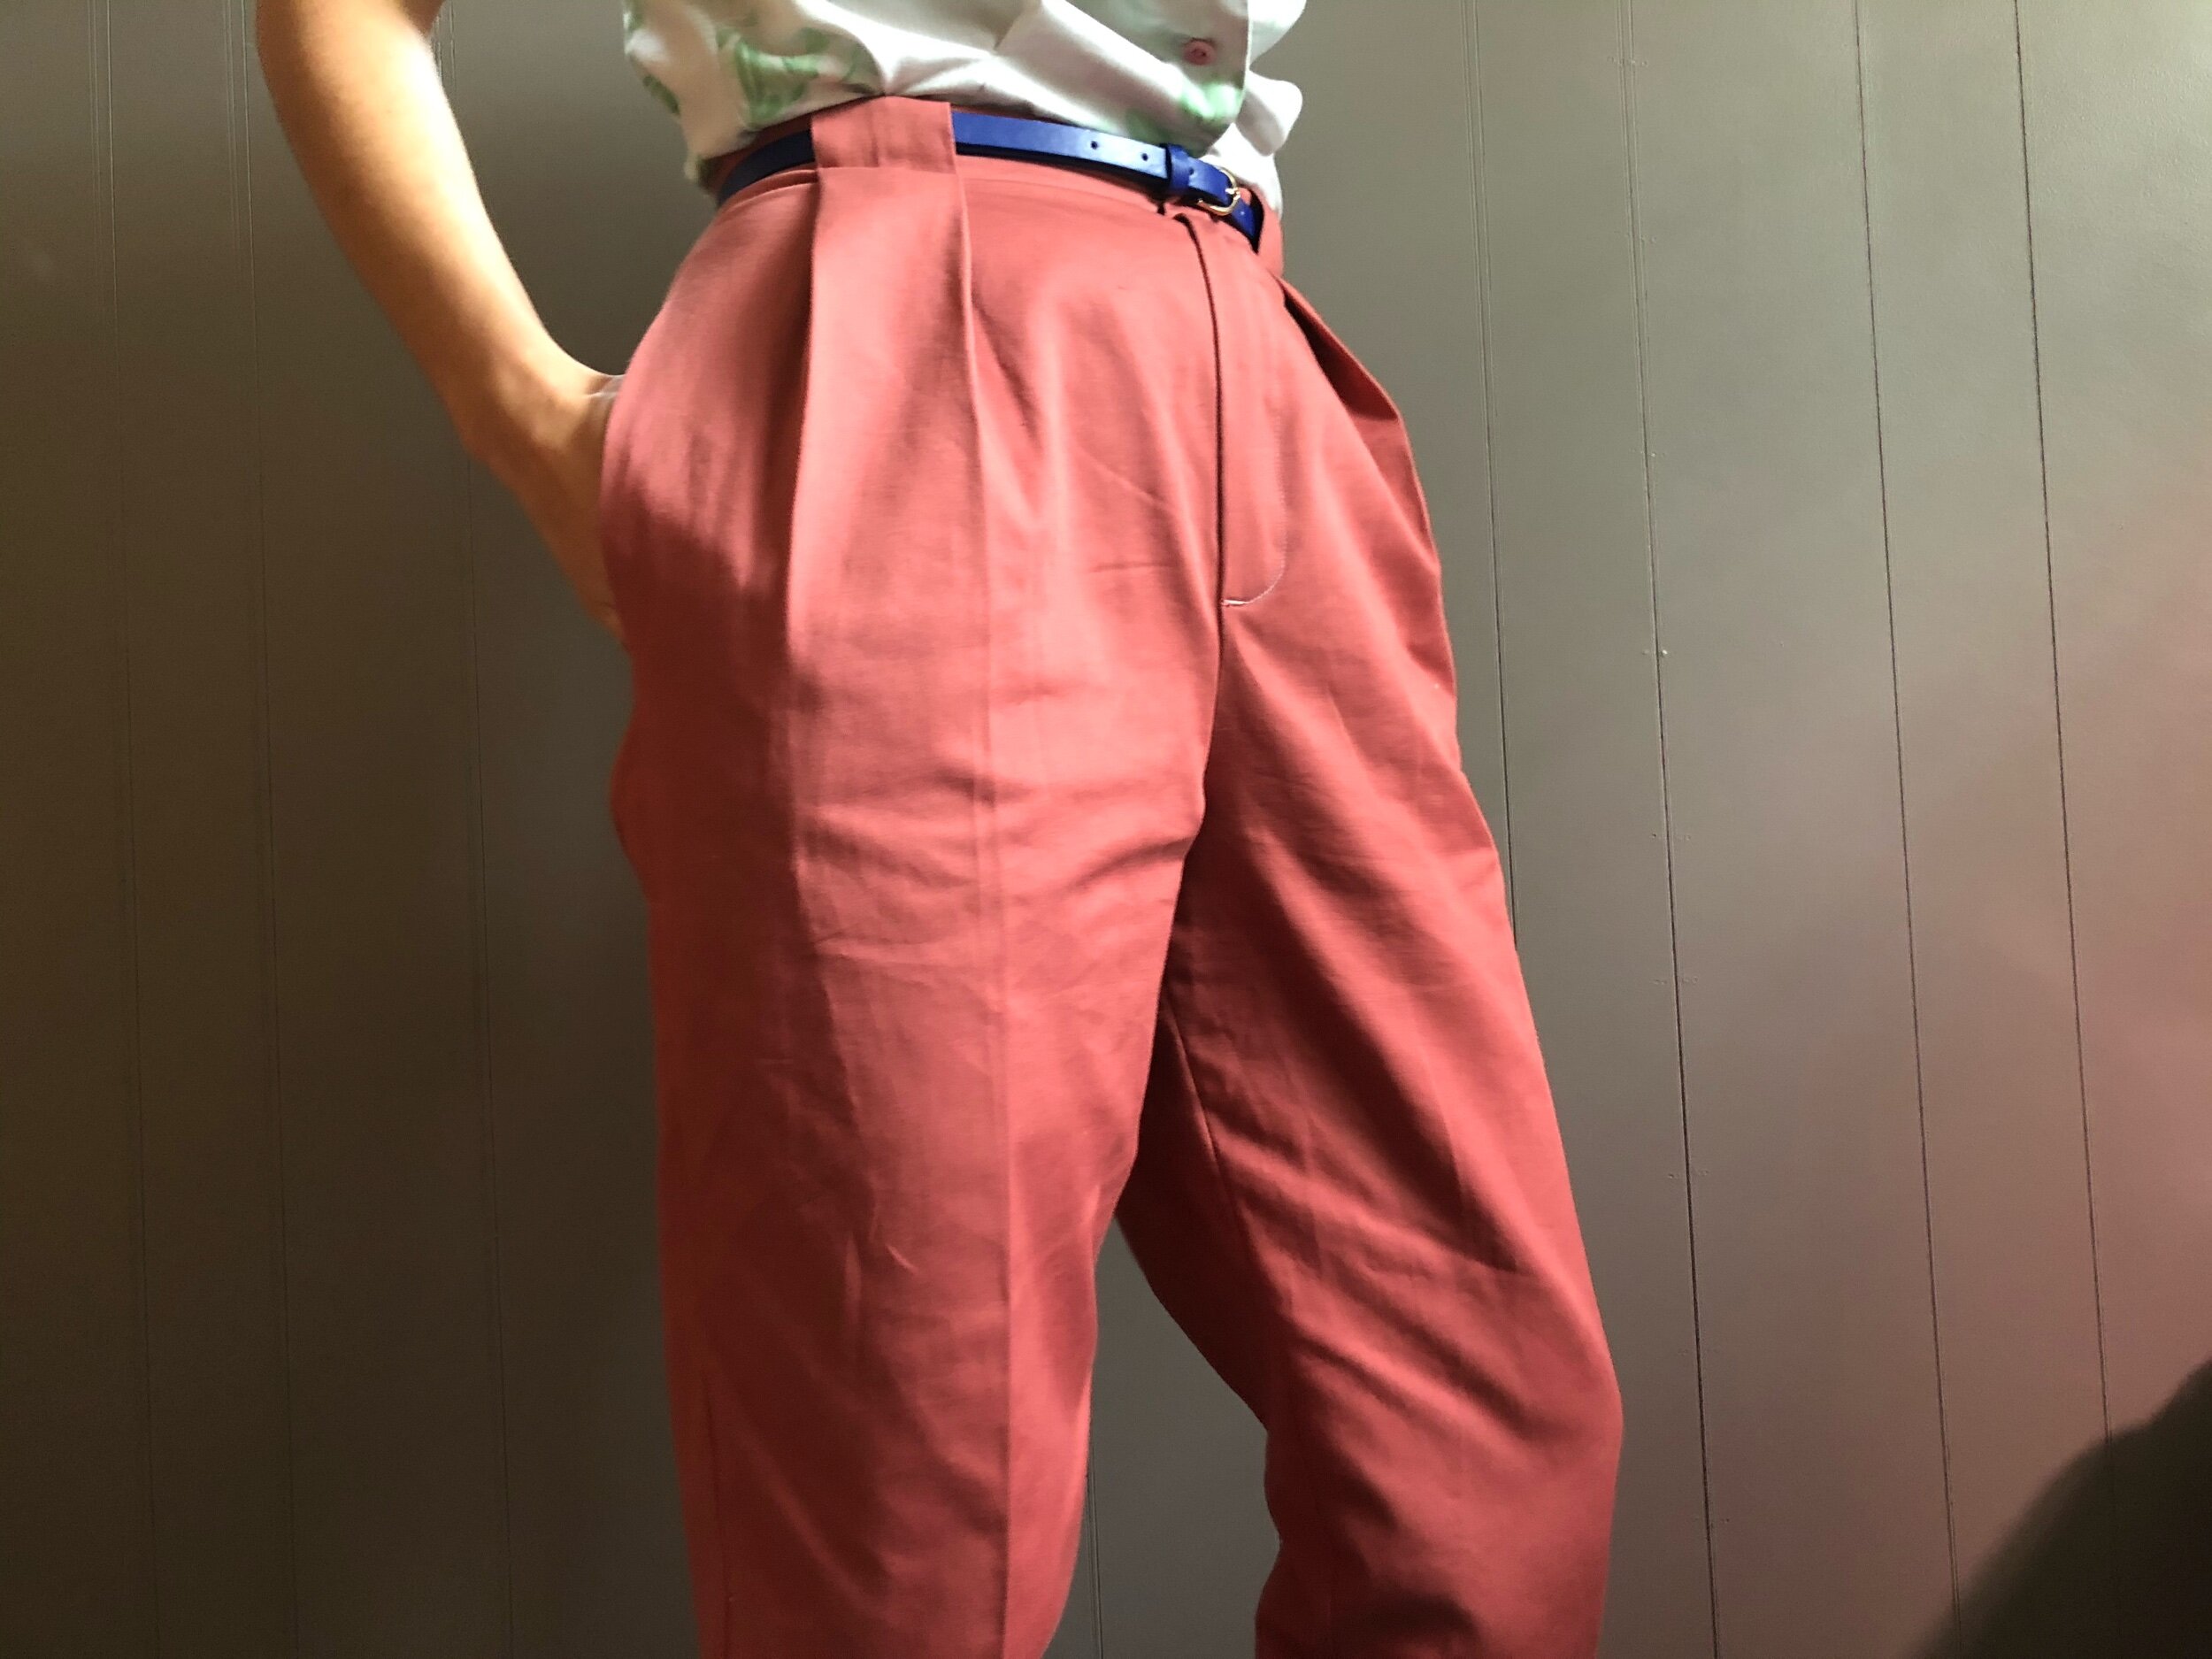
The dress has other nice details, I mentioned that I like the line of the dress with its fisheye darts at front and back. The hip bows are sewn on there by hand, and are quite solid. They’re really the only part I don’t think this fabric was particularly well suited for, as with such a thin ribbon created, the bulk of the fabric doesn’t quite lend itself to this well.
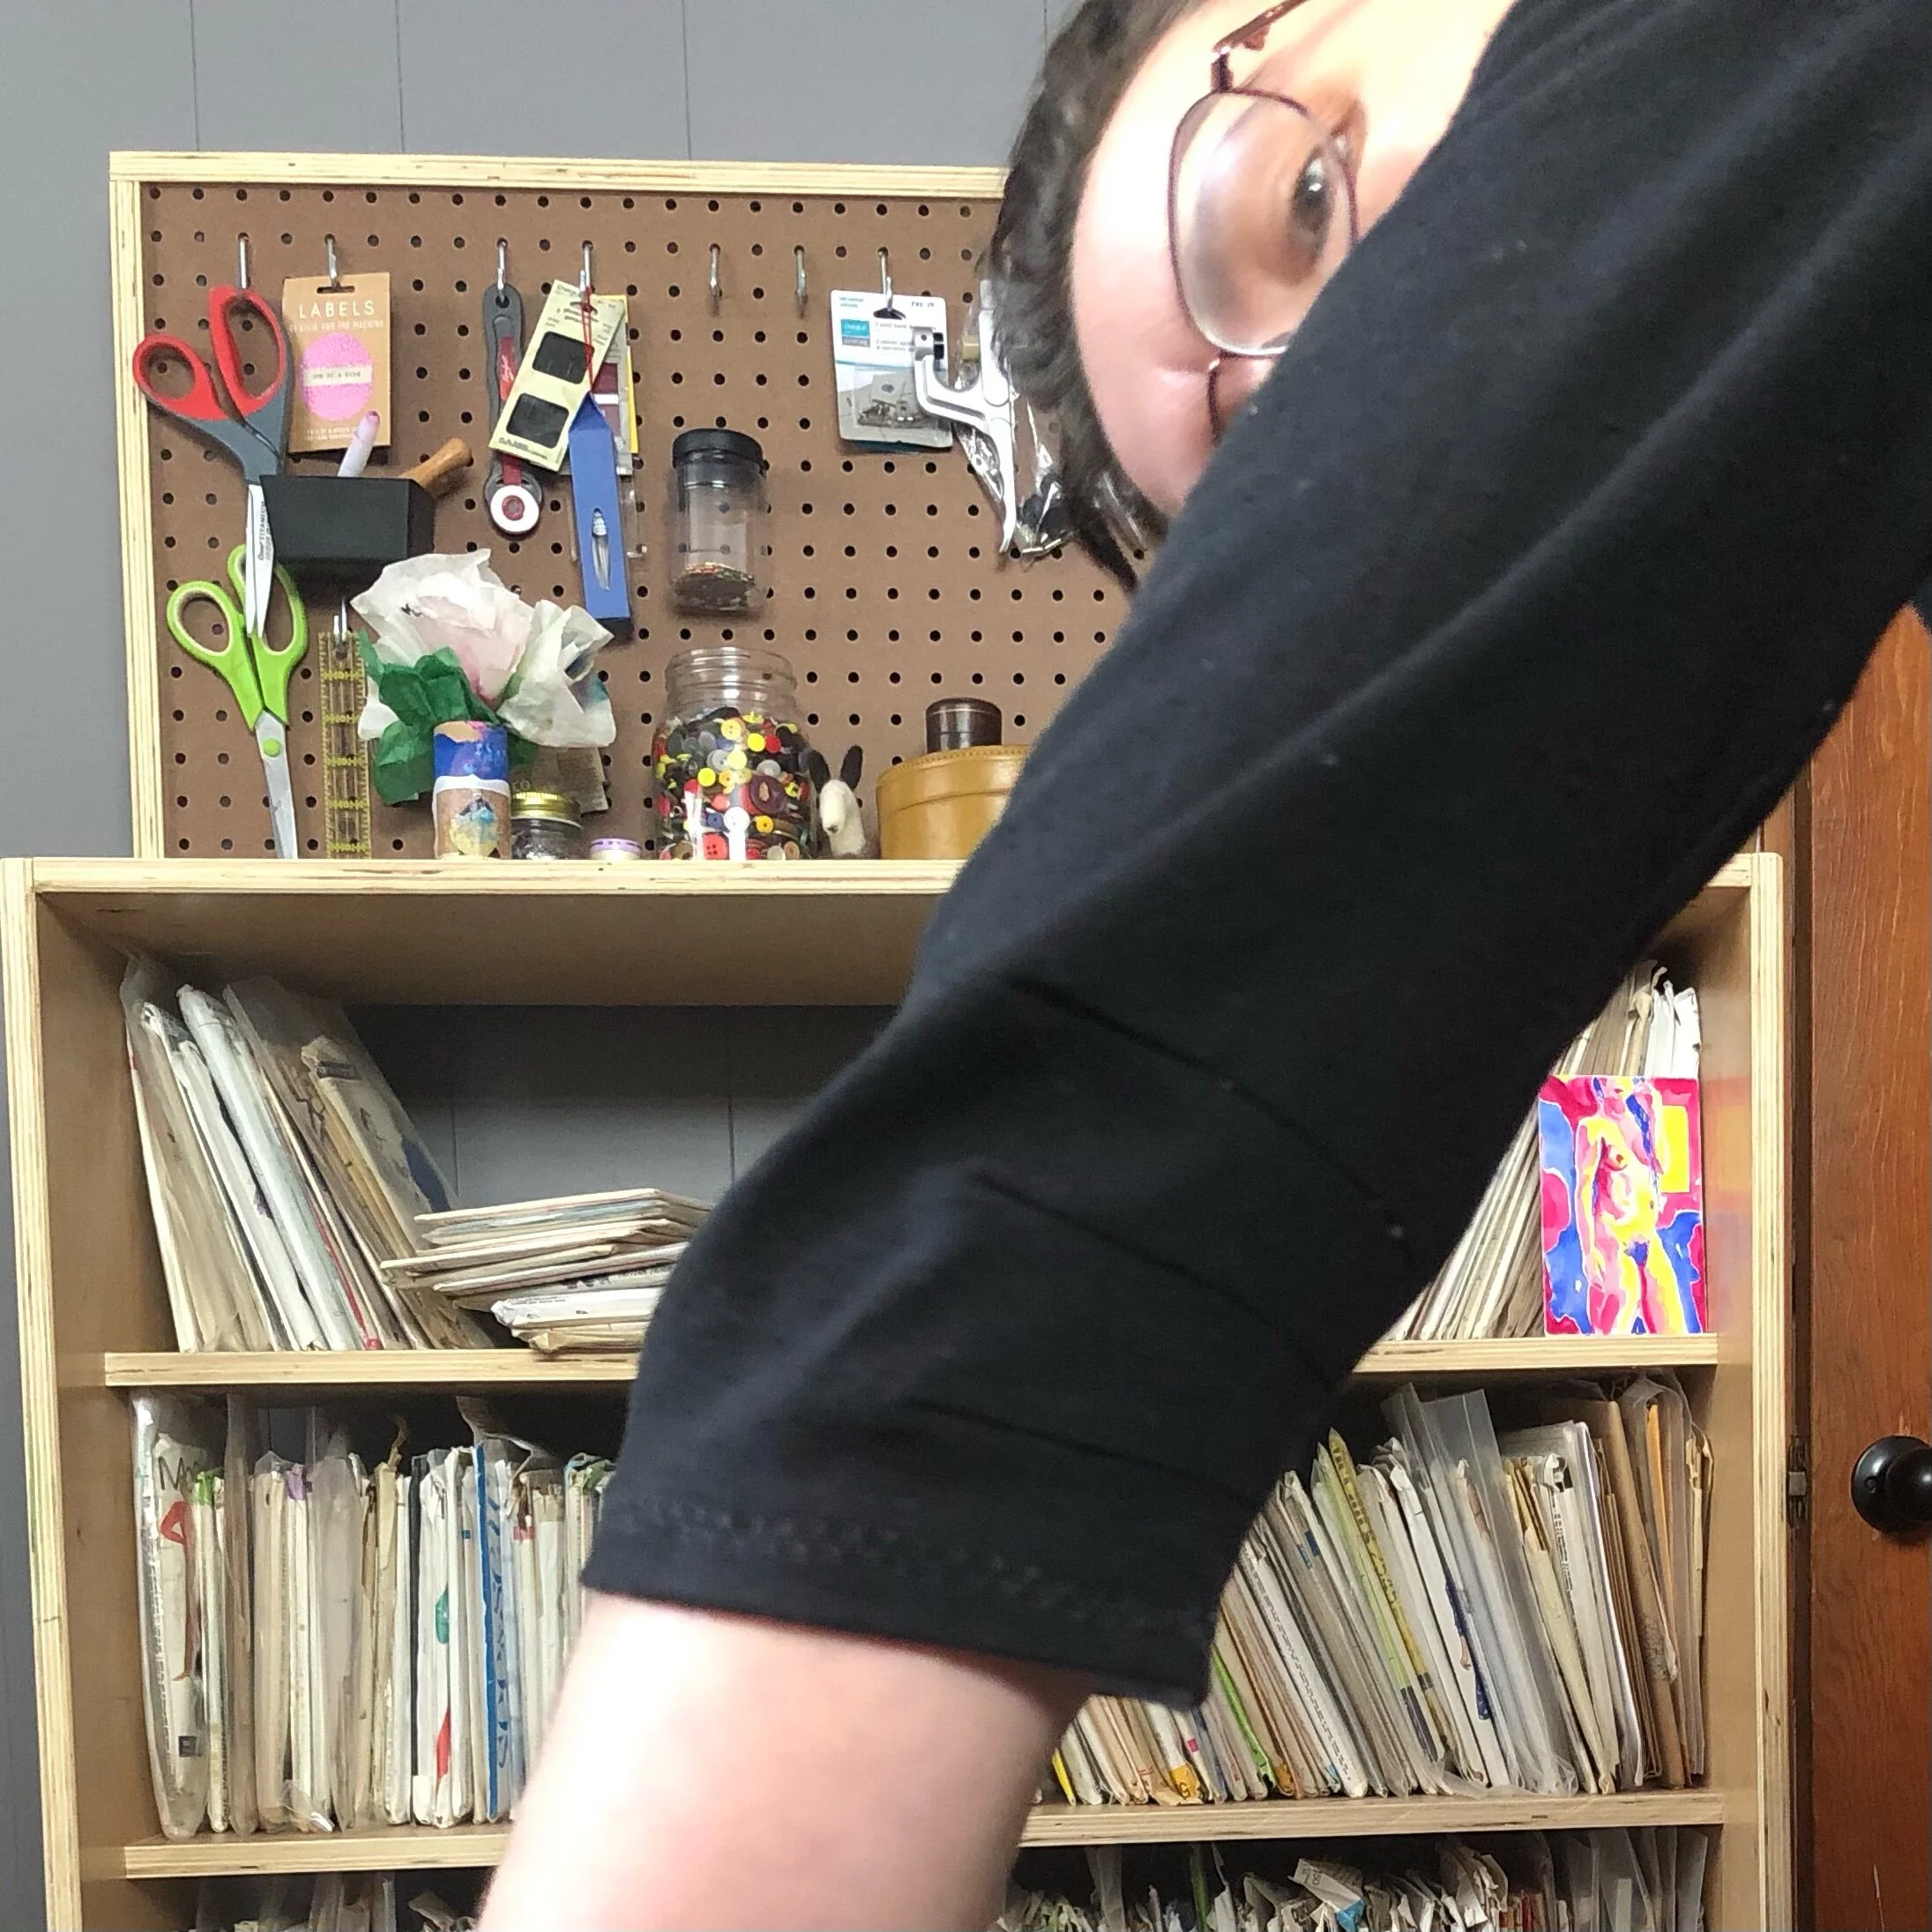
And the detail that I love most - my first darted elbow sleeve. The fit is so lovely and slim. The look is just beautiful, even though it’s one of those no one will notice this in a million years details. Perhaps the theme of this particular make.
The neckline is quite high and tight, and as a result I had to move my hook and eye at the top the eye is visible. I knew it would be, but it was enough that it was uncomfortable in even a neutral standing position.
This dress was also my first lapped zipper; I did not attempt to follow the instructions in the book and instead turned to the Reader’s Digest Complete Guide to Sewing (always invaluable when making these one-page-instruction-sheet instructions). The guide also helped me with the kick pleat/vent. The rest of the dress is done with french seams but I did this one with a clean finish, which suits back seams better a lot of the time, I think.

There were no disasters in the making of this, little unpicking, but the progress was slow and steady. Like everyone I’m a bit tired, a bit overwhelmed, a bit lonely these days, but still plugging along. No personal projects are moving quickly.
Also, this finally finishes off an order of fabric I made from Matchpoint in August 2019. Plans outpace purchases… But it was nice to just be able to turn to this fabric and this pattern as I thought about what I might want in my wardrobe this winter (longer sleeves, mostly).
Pattern: vintage Butterick 8749
Fabric: Black Silk Noil from Matchpoint
Measurements: B35, W31, H39
Size made: B34
Next time: Loosen neckline a bit. Try a slightly lighter fabric. More elbow dart sleeves!!

Worn irl