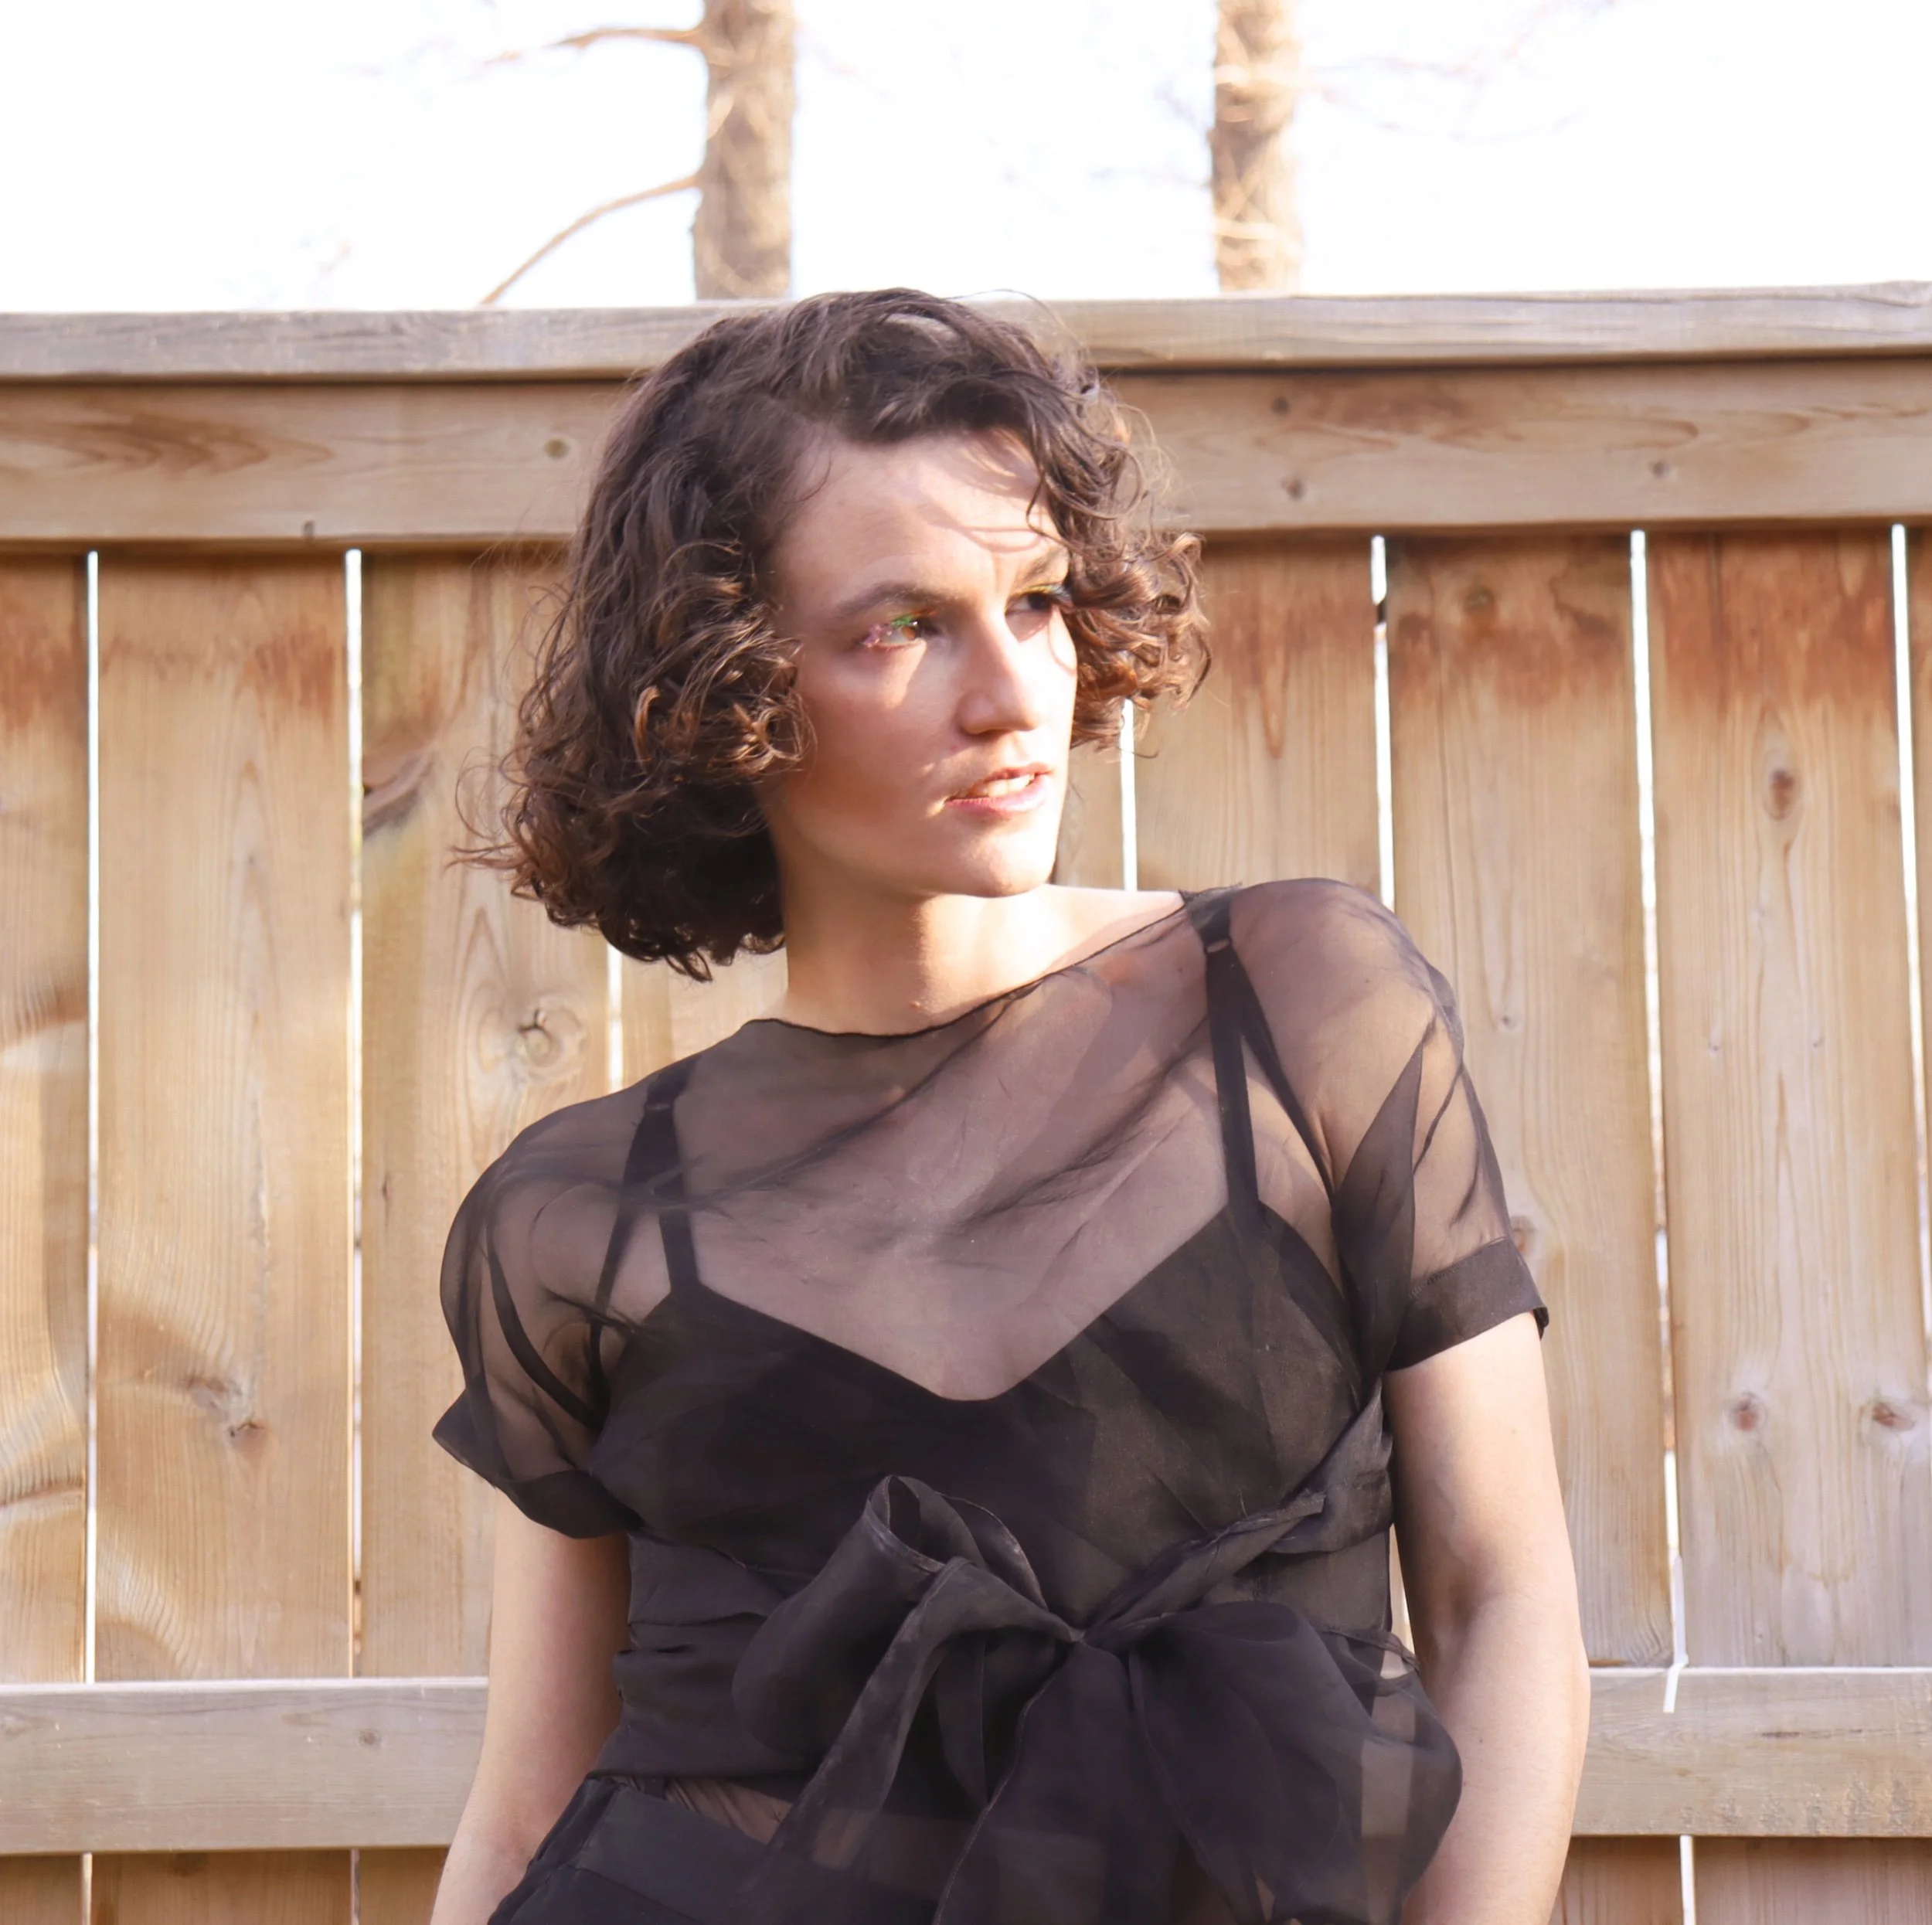
Silk organza wrap top - 1945 Life magazine

This particular idea has been kicking around my brain for juuuust about a year (my dropbox indicates screenshots from mid-May), but it’s been one of those that demanded an occasion. Well, my occasion turned up!! Art party LUGO had the theme “unreal” this year and i figured, well, it’s not wildly dramatic for the theme but silk organza has an otherworldly quality that’ll do.
I’d also had another not-really-themed dress idea but between final exams, parenting, work, etc, it hasn’t yet gone far. Needs some fitting. This, however, I threw together day before the event!
Which, given the simplicity of the design (from March 5, 1945 LIFE magazine issue), is not a huge deal, buuuuuut doing it up in a sheer significantly upped the level of difficulty, making it impossible (well, difficult) to use a neckline facing and important to think every seam finish through.
My draft is as follows, and my measurements are as ever at the bottom of the post.

Drafting the top
Cut 2 rectangles:
desired finished width + 4” for side hems = 32”
desired finished length + 1 cm for hem + 1/2 inch for shoulder seams (lol i’m sorry) = 18.25”
Cut necklines from these rectangles.
I used the following templates, where stitch lines for the necklines are marked.
excuse the quality please, i do not love using Illustrator
Mark stitch line then cut with a generous seam allowance.


Cut 2 long rectangles for the bow:
This was determined by the leftover length and width of my given fabric
34” x 8”
Cut 2 smaller ribbons:
10” should be good
I used 1” tubes of the organza for ties
Assembly
Finish edges of bow piece, I used a machine rolled hem along both long edges and one short edge.
Press side edges of both shirt pieces in 1 inch and 1 inch again, as precisely as possible
Edgestitch these hems.
Use a small hem on bottom edge - I did a machine rolled hem.
French seam shoulders together, using 1/2” and 1/2” passes.
Attach large bow ties to back piece, using zigzag stitch.
This could have been attached in the hemming pass in step 1, but I didn’t find the slight added bulk to be worth it. There are enough layers here that you can be fairly certain there won’t be any undesirable show-through
Attach smaller ribbons to front piece
Same note as for large bows
Using a super small satin stitch, stitch over the neckline. This stitching needs to be tight as it all the neckline has going on.
Trim as close to neckline as possible
I used an electric razor to trim threads away, this went wrong once and cut through the stitching but otherwise was fine

Pattern: Self-draft based on LIFE magazine diy - original source: March 5, 1945 LIFE magazine issue
my measurements: 34 high bust, 34 full bust, 30 waist
fabric and notions: 1 yard black silk organza from MAIWA, silk kimono thread, polyester all purpose thread
next time: no notes, i’m really quite happy with this