Birgitta Helmersson ZW Singlet
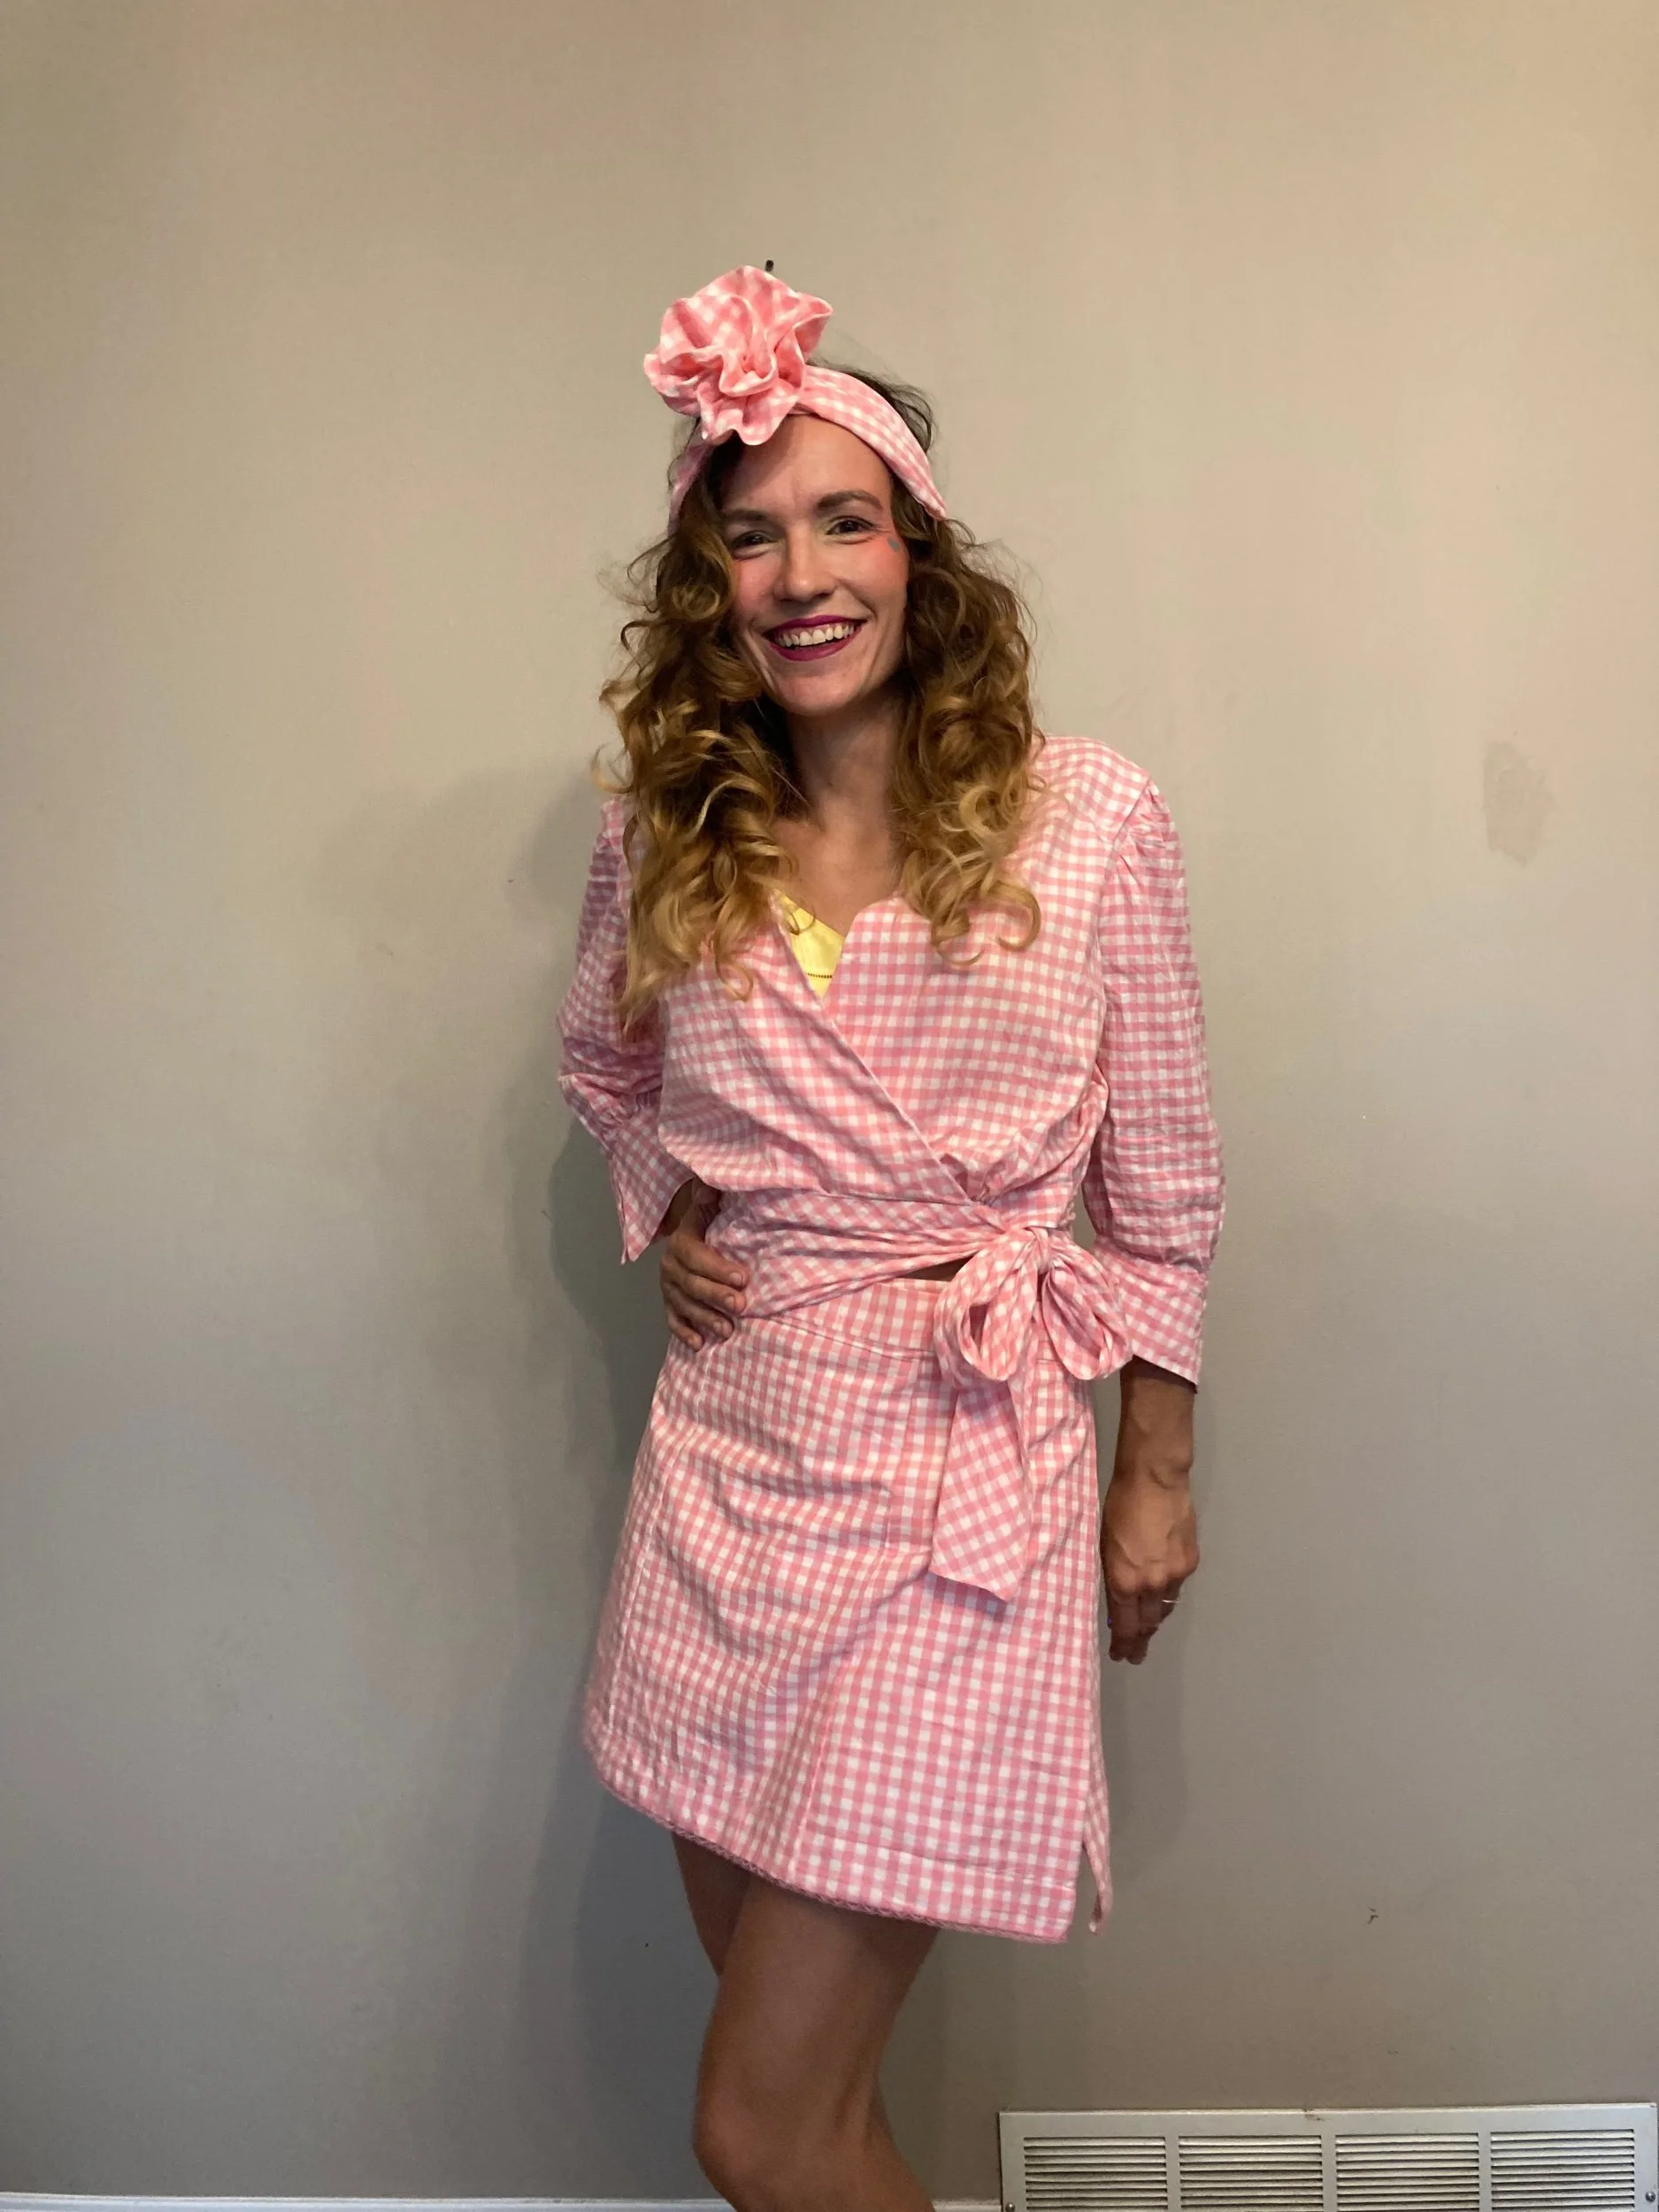
A few months ago I got a tiny bit of pink gingham (114cm x 70cm) from the thrift store for $1.50, and I hadn’t quite figured a use for it until I borrowed Birgitta Hemersson’s Zero Waste Patterns from the library. I thought the singlet design was quite cute, and it fit the bill for something that could be done with a little bit of fabric.
Annnd then Barbie was about to come out, and despite having a whole capsule of pink gingham garments, it did seem right to add a little tank top to the mix. Especially given that the wrap crop in the previous gingham set does have one failing: a tie at back that is not sit-in-a-chair-and-watch-a-movie comfortable (I am working on extending them a bit with the off-cuts from this).

So I set about making the singlet, with a few adjustments. I definitely wanted it shorter than the book draft, so went with 42 cm to accomodate a 1 cm double fold hem. I wanted to use all of the 114 cm width, but measured closer to the 110 cm draft. I decided to use french seams and alter the draft to accomodate a 5/8” seam allowance for this. This worked out well enough, but shortening did leave the side seams with a much more dramatic angle than the full singlet length would have.
While I do like the shirt, the process of using the book wasn’t love for me, so I don’t think I’ll be buying a copy. It was mostly little things, but enough little things to make a quick and easy project feel kinda frustrating.
One such issue was how the measurements were given to cut out the pattern. Unless I misread (and if I did misread, I think that speaks to the instructions being more confusing than necessary!), they’re just laid out in a way I found unintuitive (given three sections A/B/C, instead of a measurement for one, there’s a measurement for A+B). Similarly, it was not entirely clear to me how to orient the armhole template.
The other, more significant issue, was the designer/design team’s affection for using white fabric in tutorials. Anywhere where white fabric photos were used to illustrate an idea, I found it quite unintelligible.

Modified main pattern piece, with top labeled. Modified pattern layout notes included. Grid is 1/2”. Edited layout does not reflect dart taken out of side seams.
I’m still torn on whether the bias application method was really nice or unecessarily fiddly, as she has you use unfolded bias tape and iron in folds on the garment itself. This has the advantage of being certain your first stitch line is covered, but def felt fiddly. And even more so when it came to pressing the straps into double fold bias tape format after attaching.

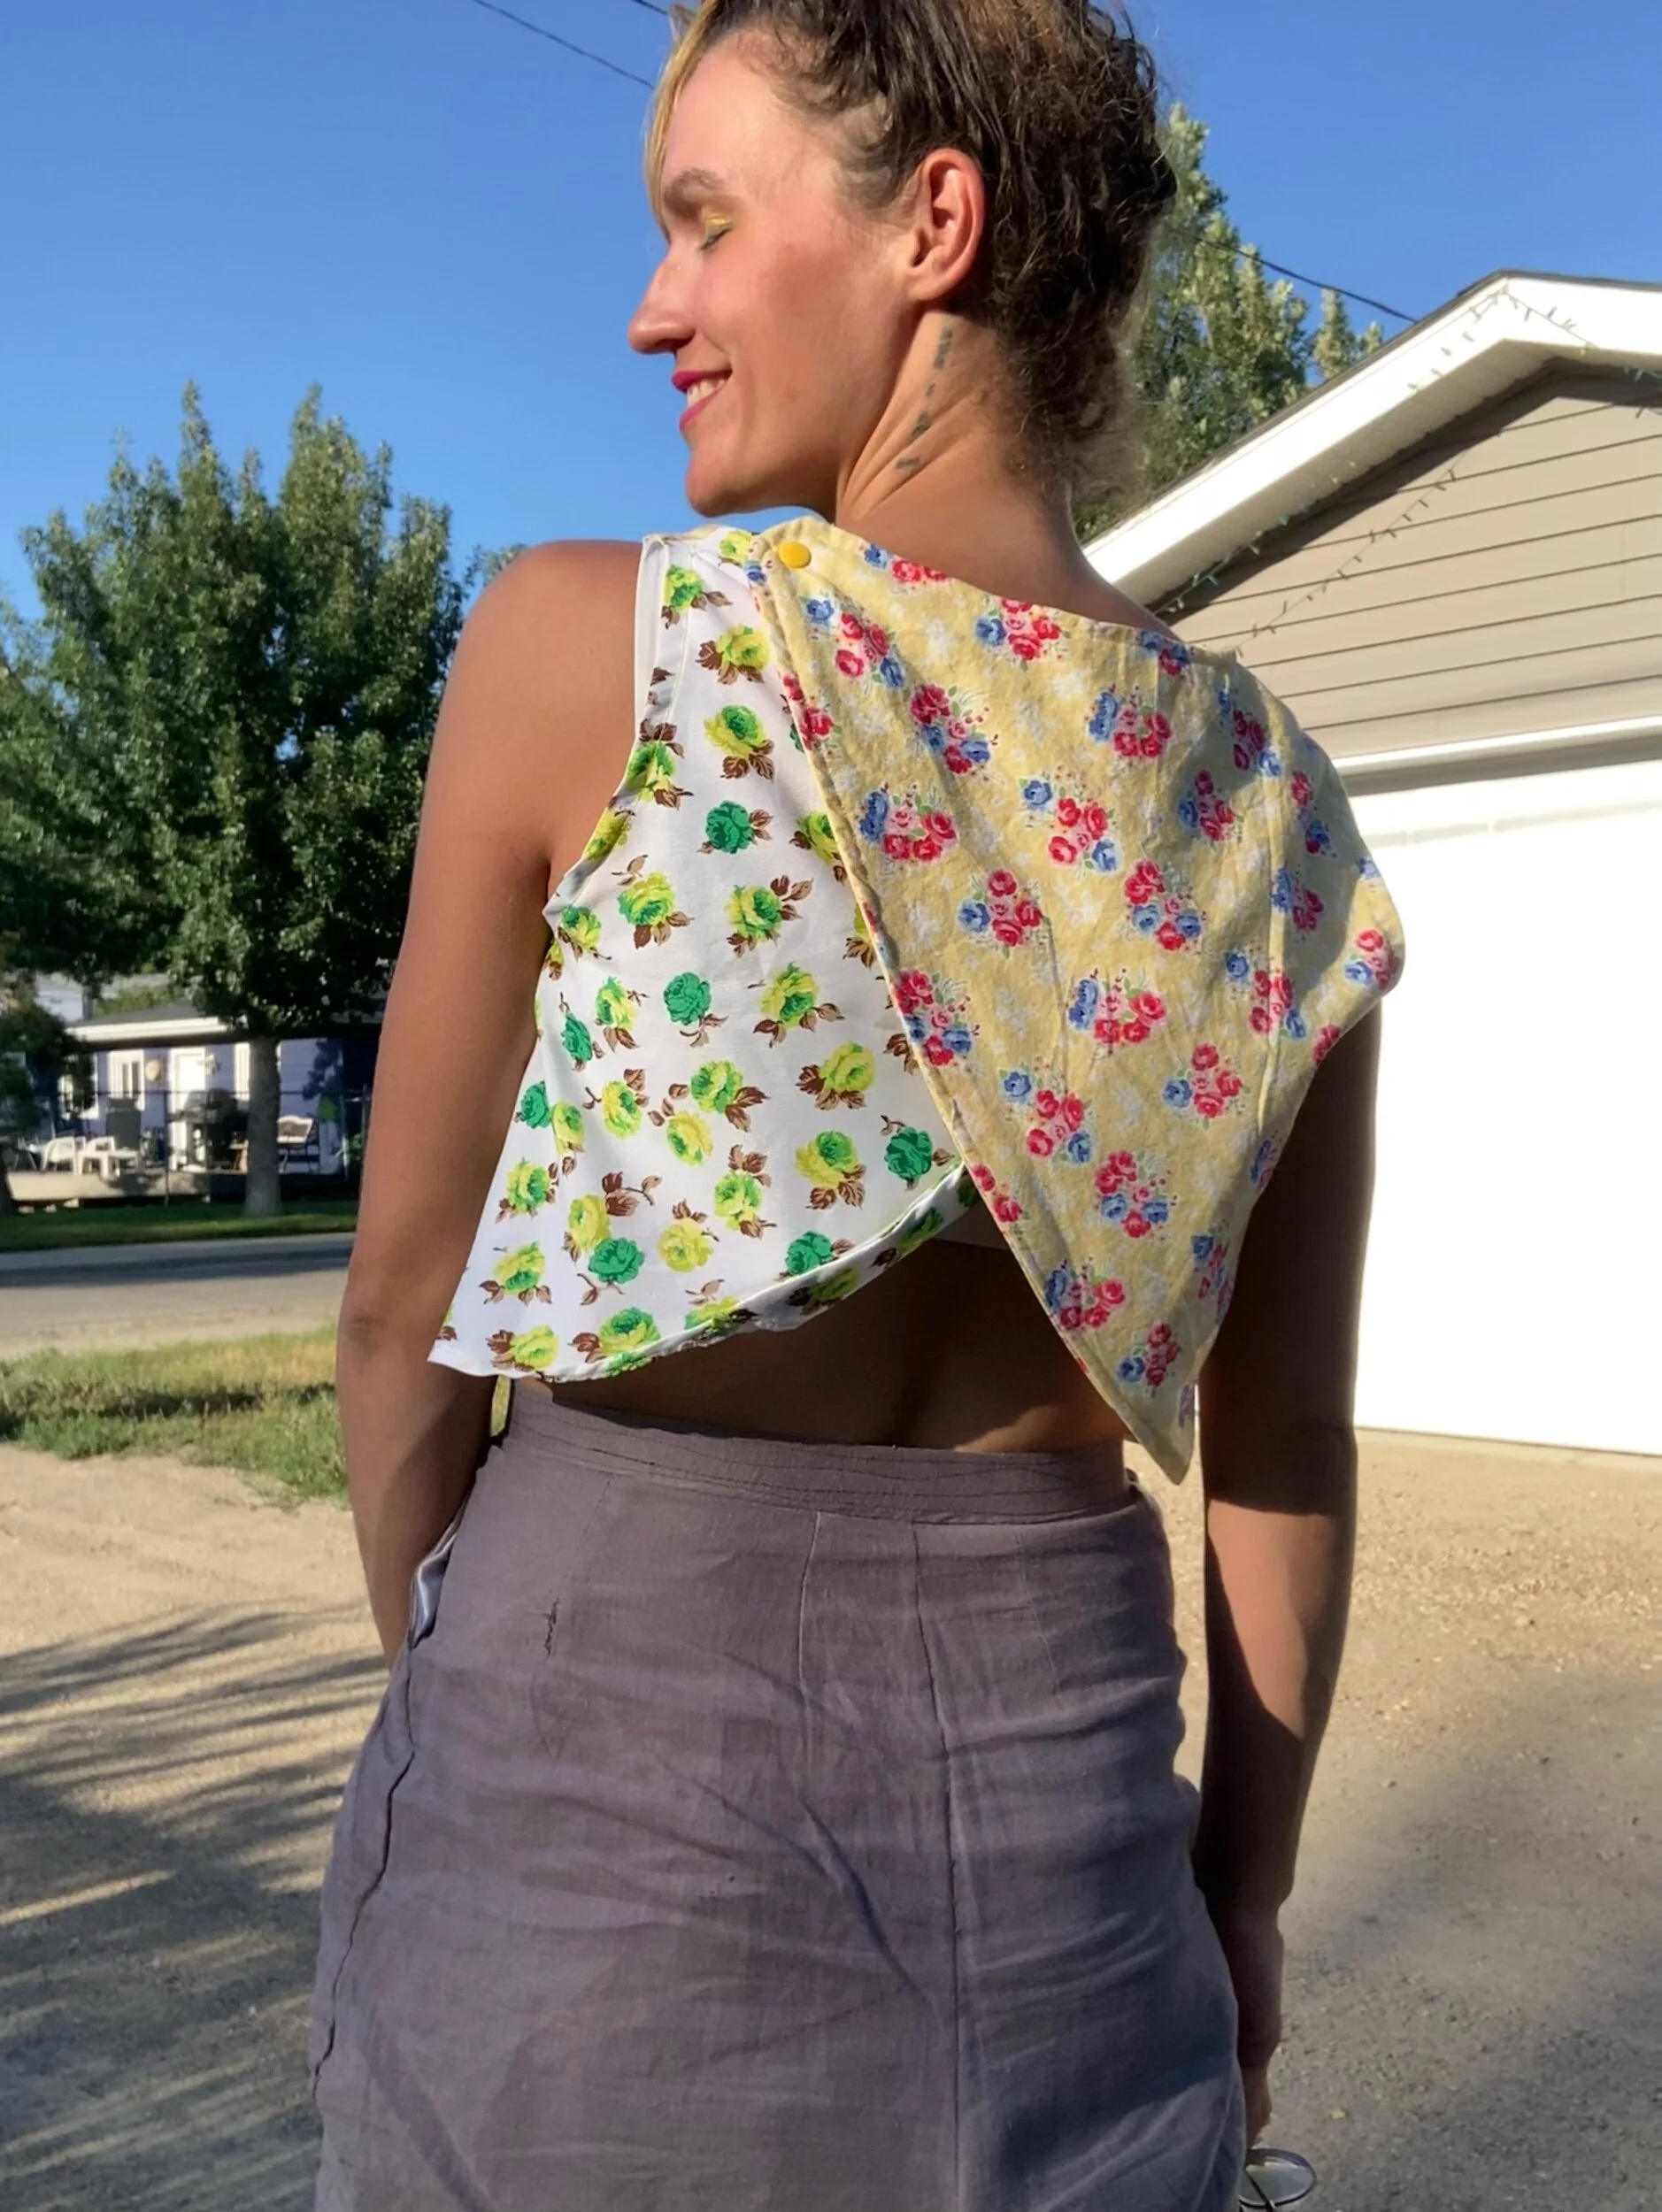
I adapted the shape of the top a bit further by moving the dart into the giant armholes, partly because I knew I didn’t need as large a dart as drafted and partly because the armholes seemed too gapey. In fact, Birgitta’s instructions mention the armhole largeness and have you add cotton tape to ease it in. I am anti-dealing with unecessary ease and would probably just make the armholes smaller next time. Instead, I ballparked the dart I thought would be right with a try-on and then put a thin strip of interfacing along the armline to prevent too much growing.
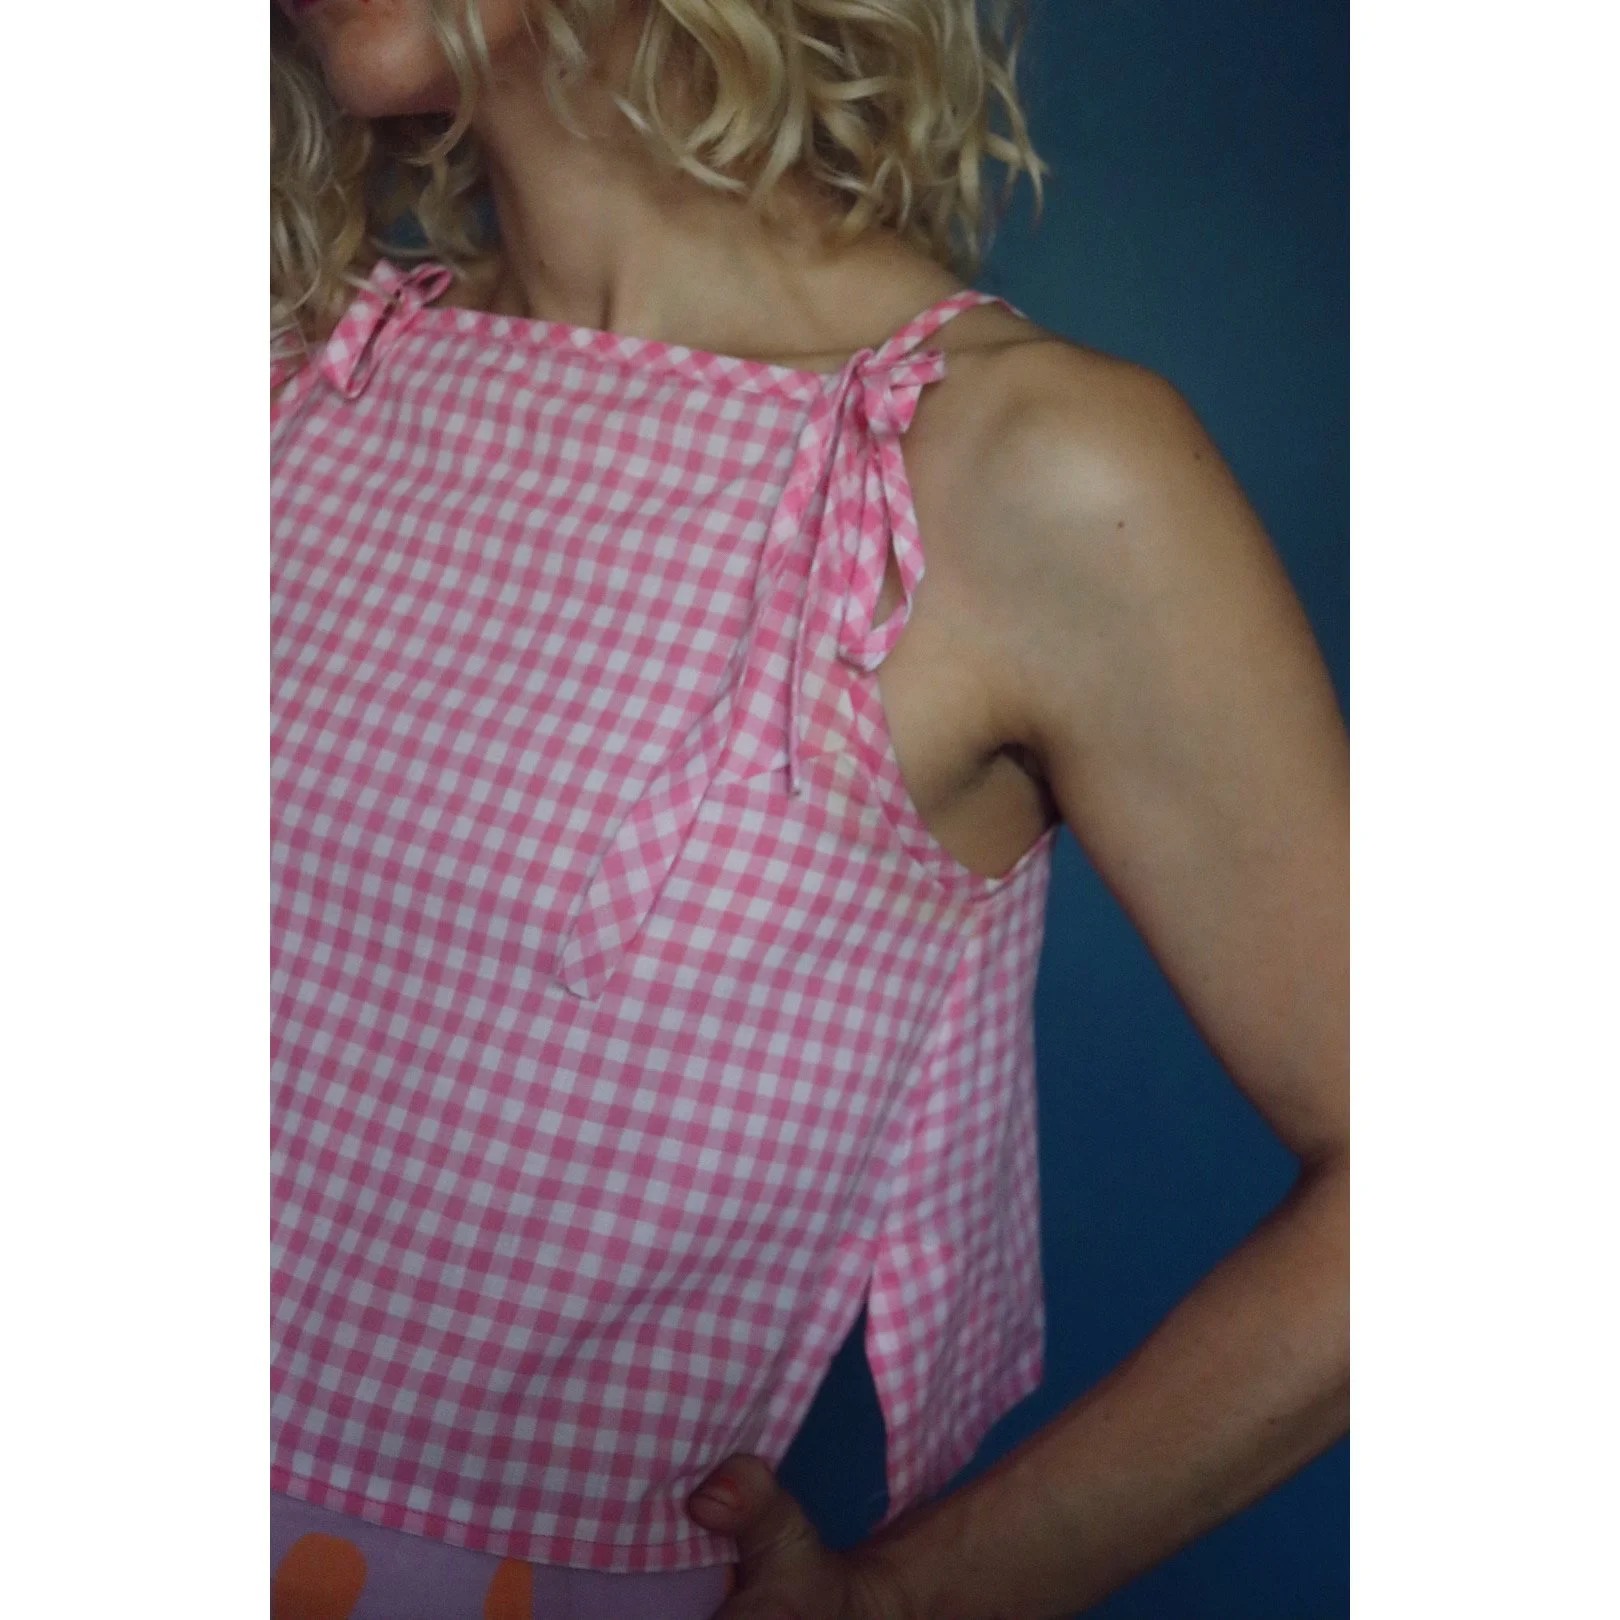
Unfortunately, they still wound up a bit wider than ideal, so to prevent any wardrobe malfunctions I hiked the strap ties riiiiight up. I was rather glad I’d opted to include straps that tied as bows in the front instead of a continuous strap! Downside, the darts I added in are no longer pointed correctly.

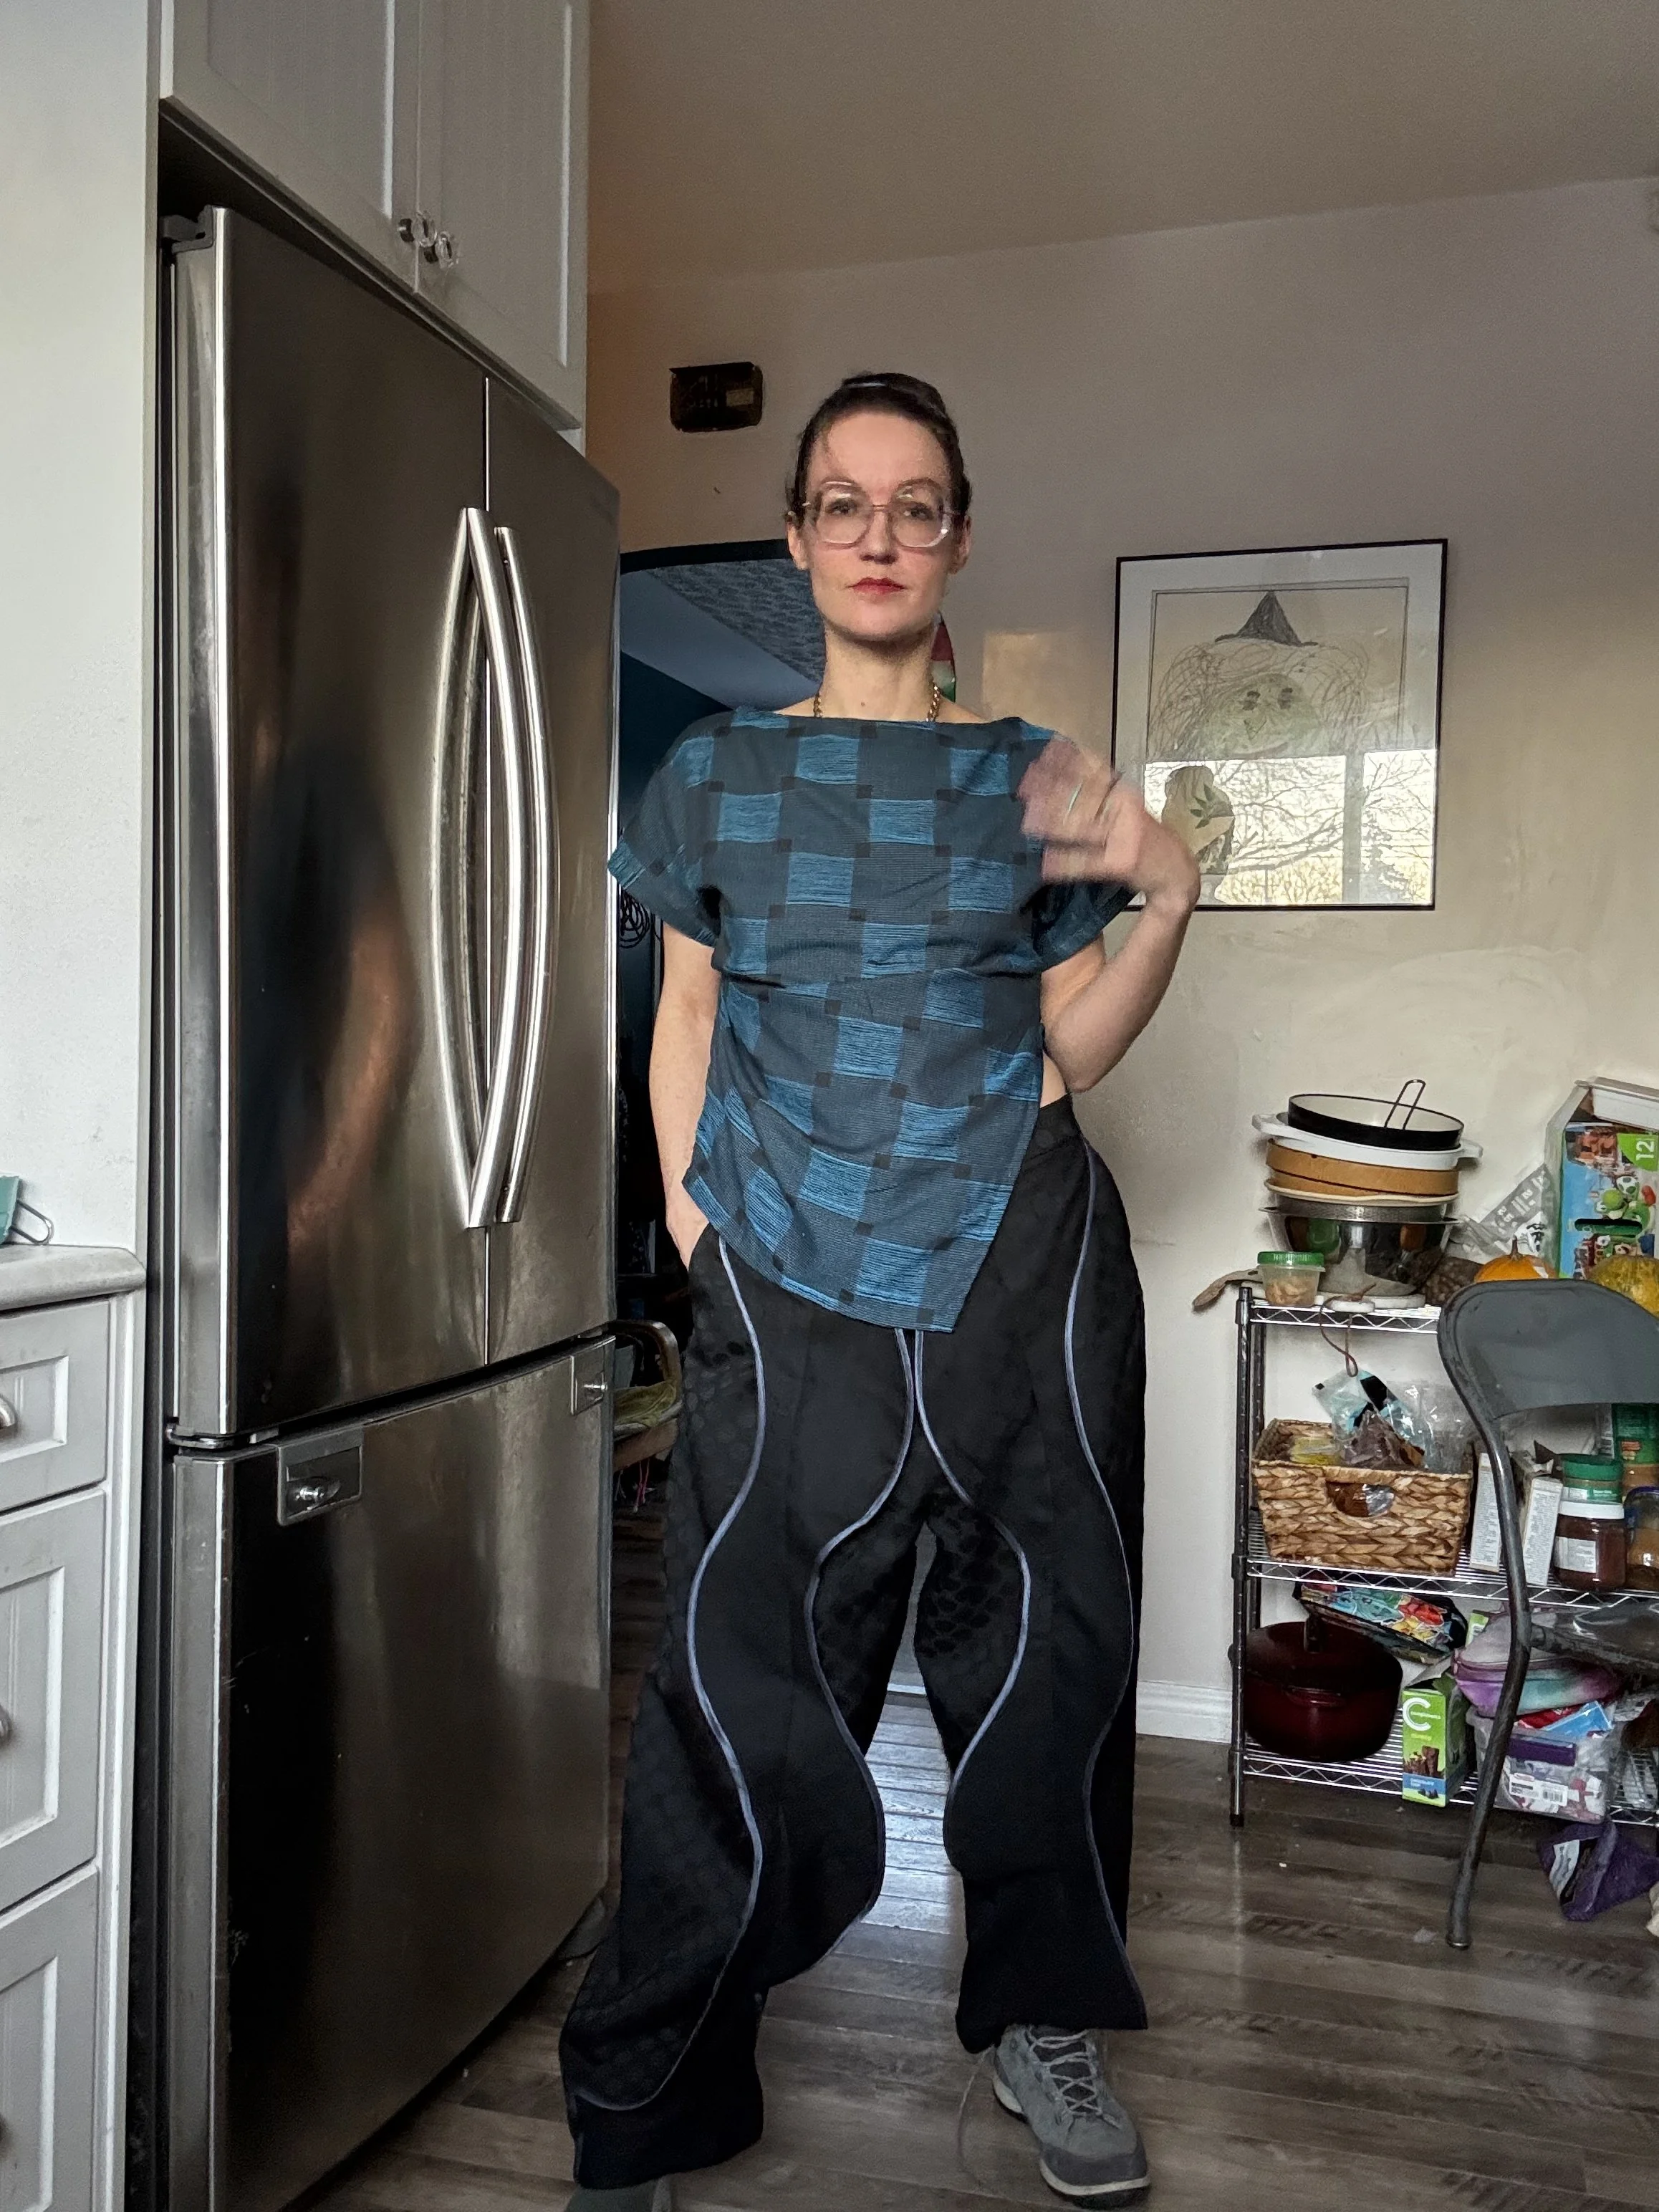
Another small issue came up at try-on, as the slanty sides of the top combined with the stiffness created by the large slit facings were giving more of a tent vibe than i found cute. I dealt with this by taking in the sides with a slapdash extra centimeter.
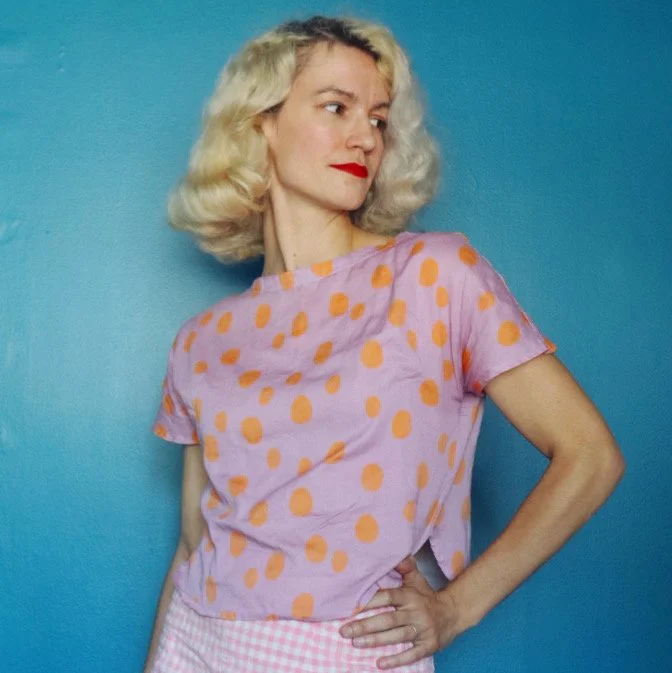
As with most projects, in the end, I’m super happy with the garment and am getting tonnes of summer wear out of it. It checks a major stylistic box for me, which is just that I wanted to add a few tops with alternative necklines to my arsenal.
Pattern: Zero Waste singlet from Birgitta Helmersson’s book - Zero Waste Patterns
My measurements: 34” high bust, 34” full bust
Size made: fairly modified, as layout posted above
Fabric/notions: thrift store gingham, a bit of knit intervacing
Next time: Reduce armhole size. Think about those facings because I don’t love the stiffness they create. Pre-fold bias tape.