Philippa pants II
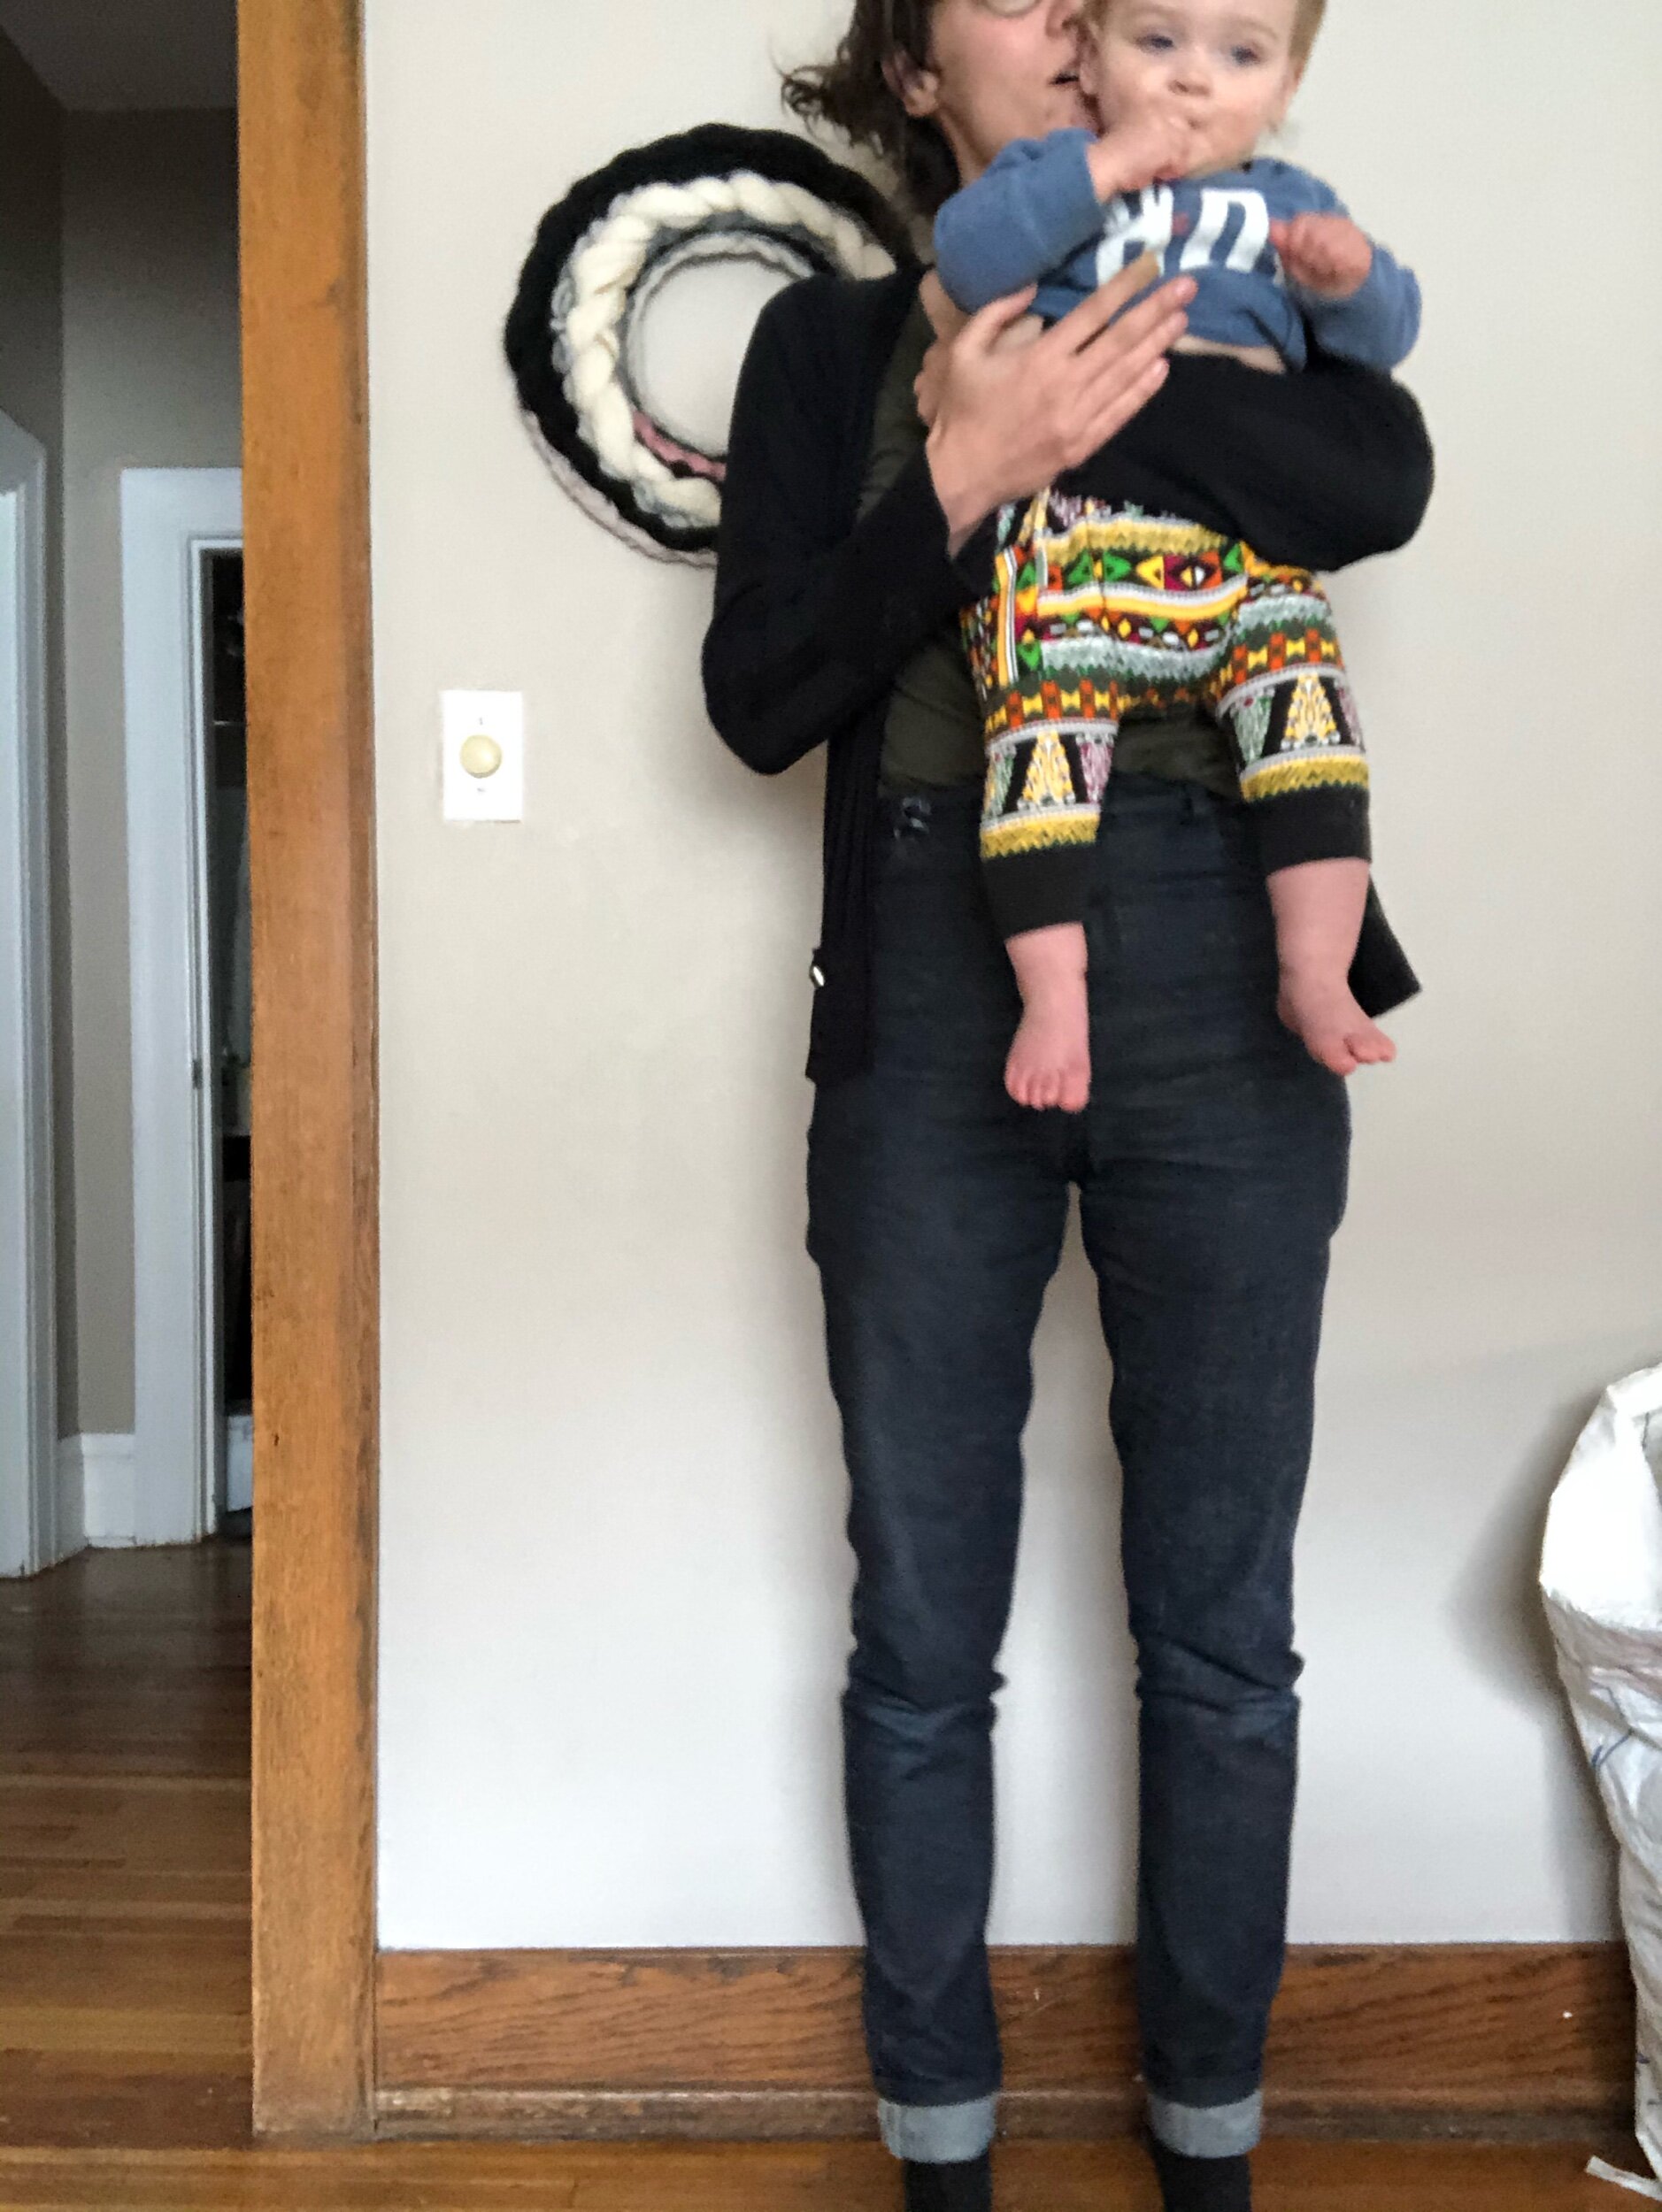
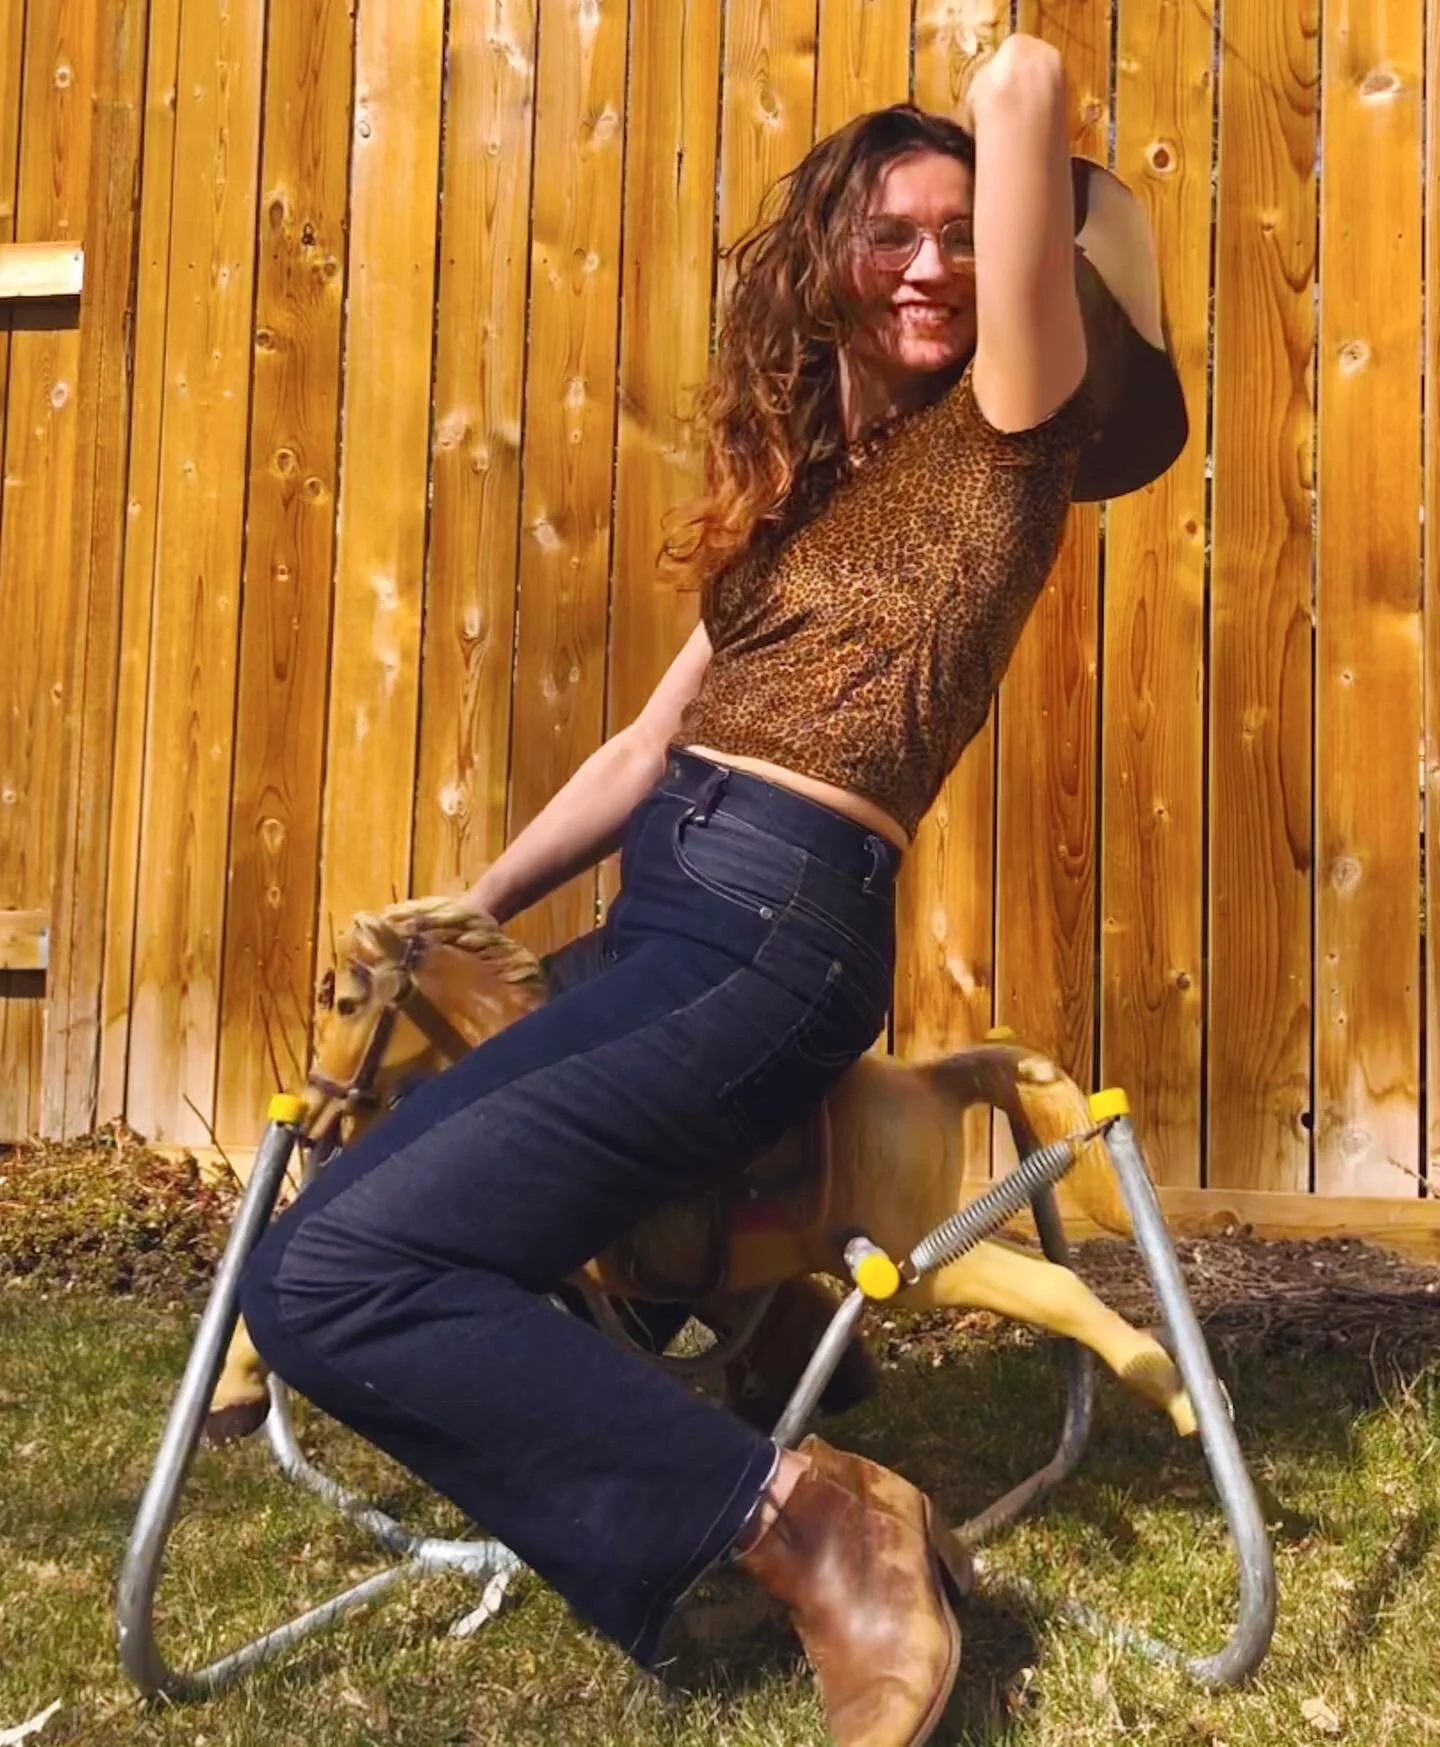
PERFECT JEANS Y’ALL
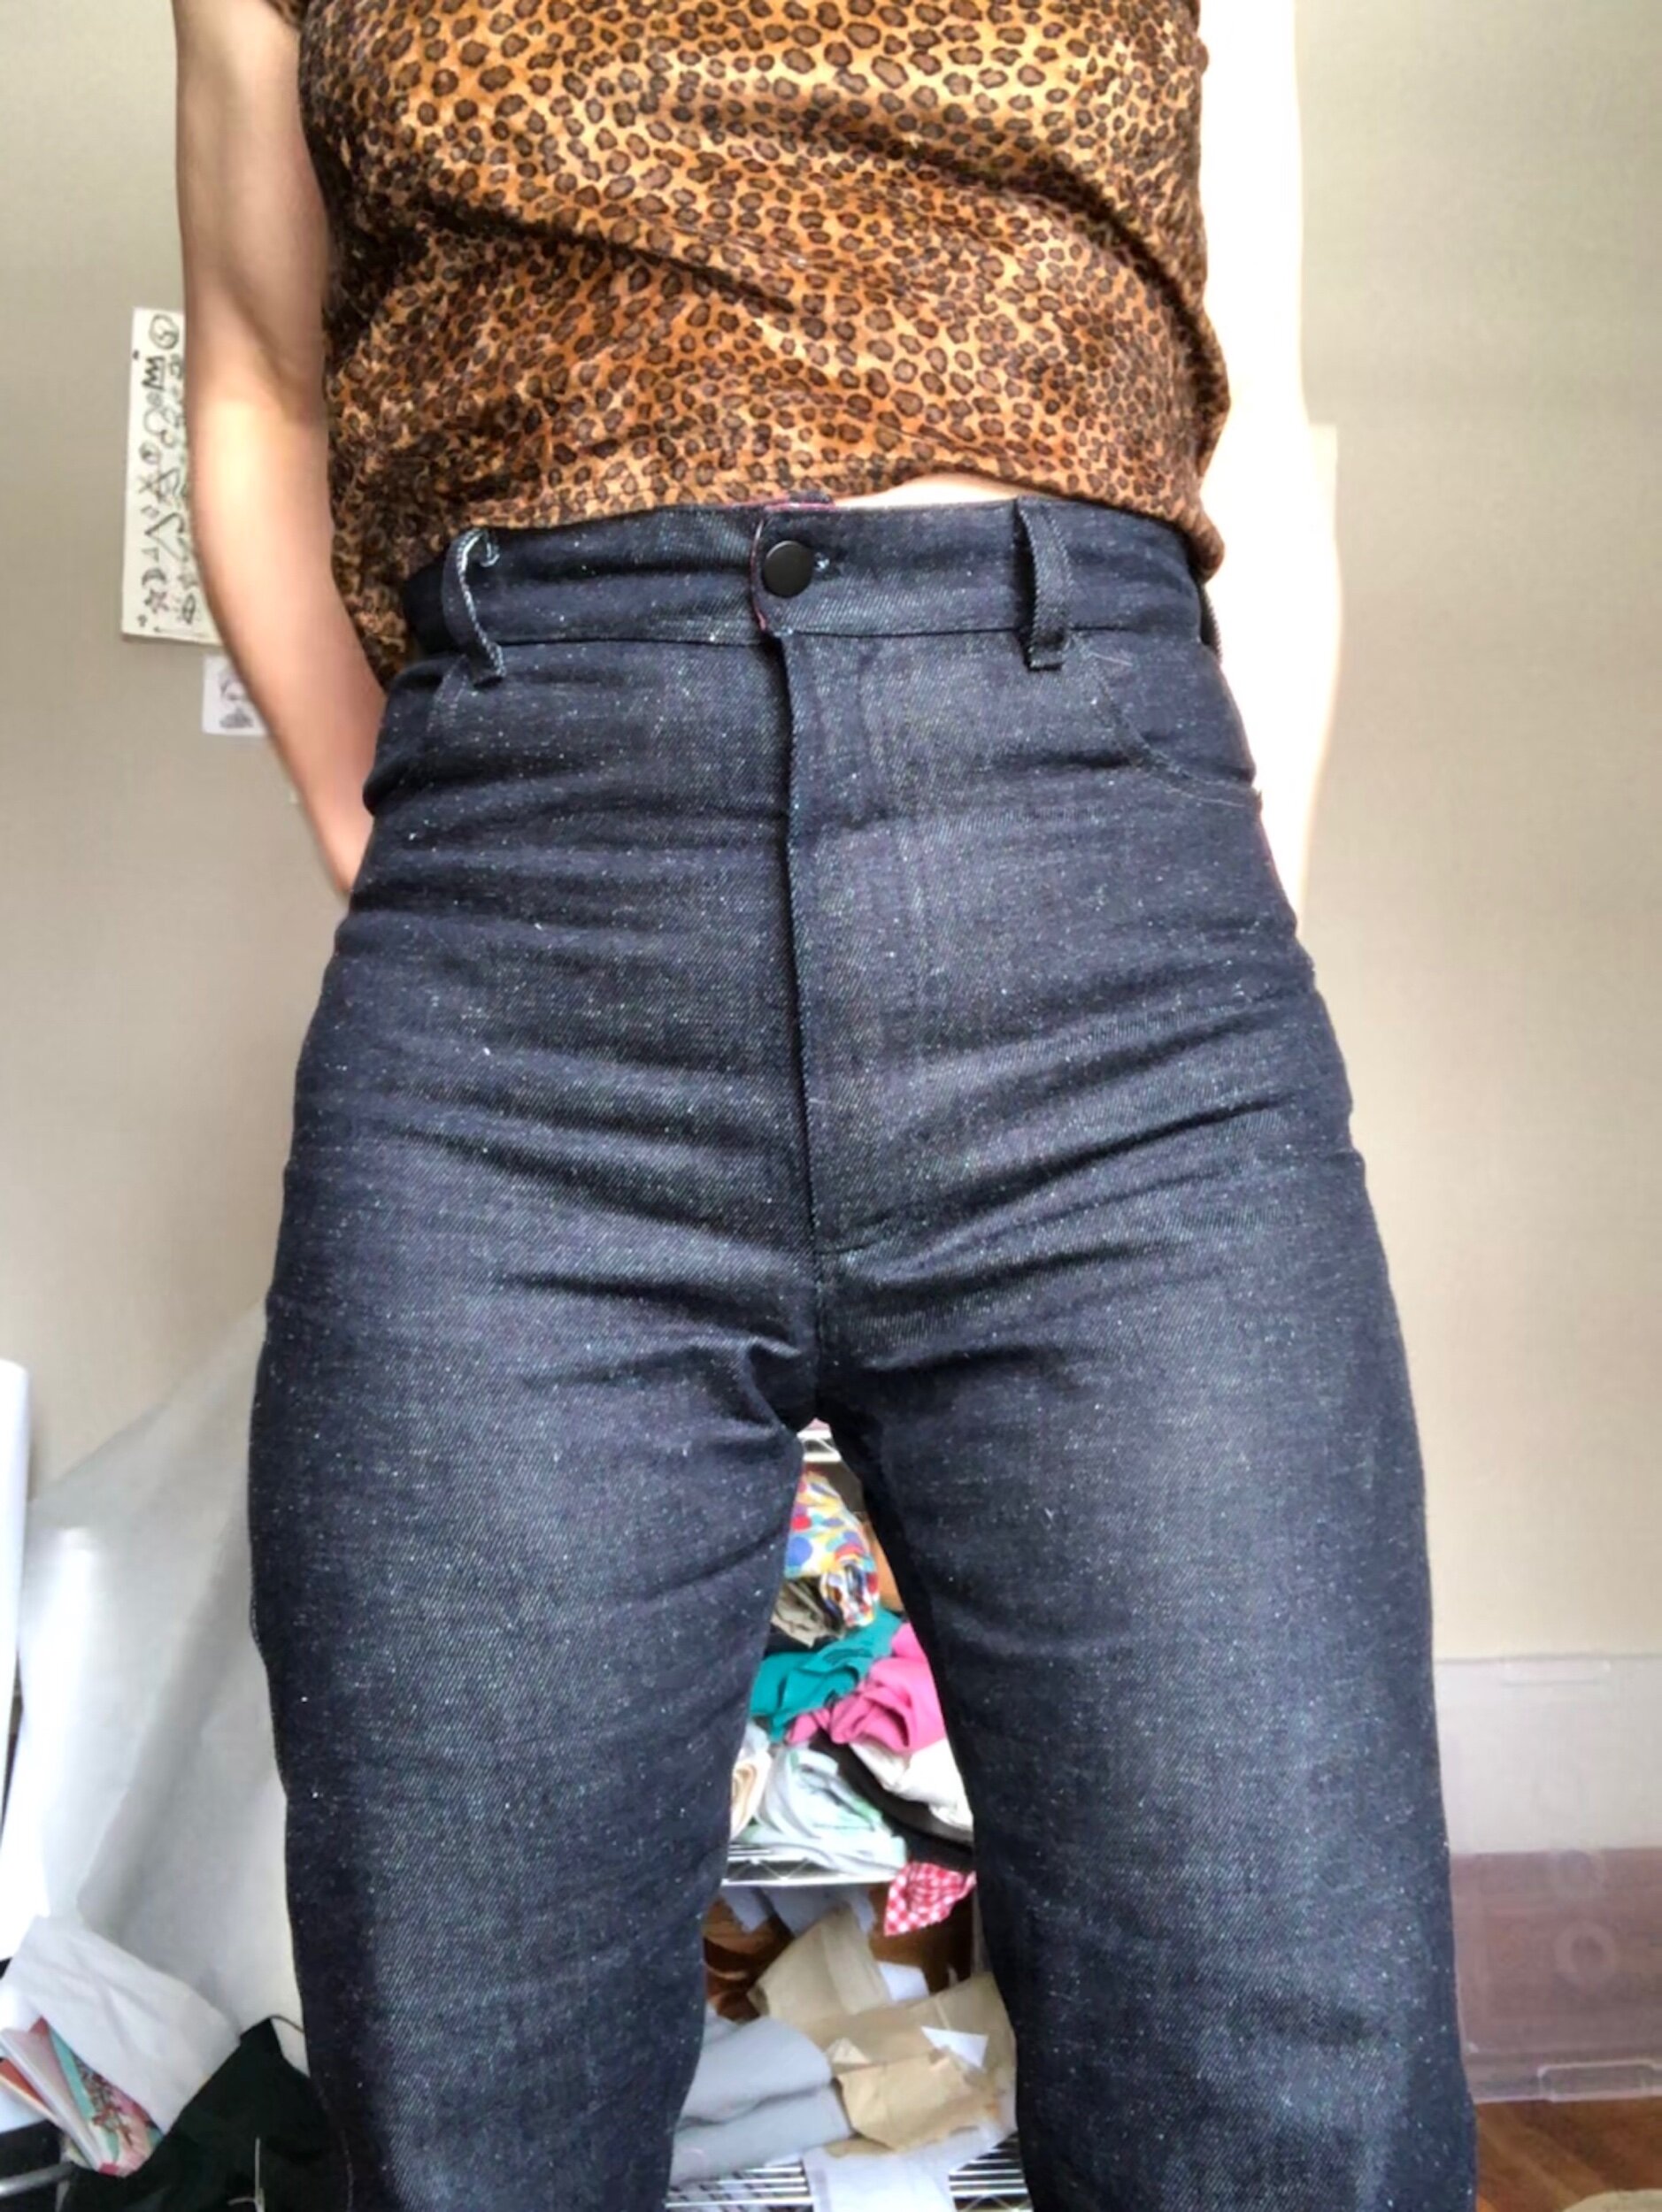
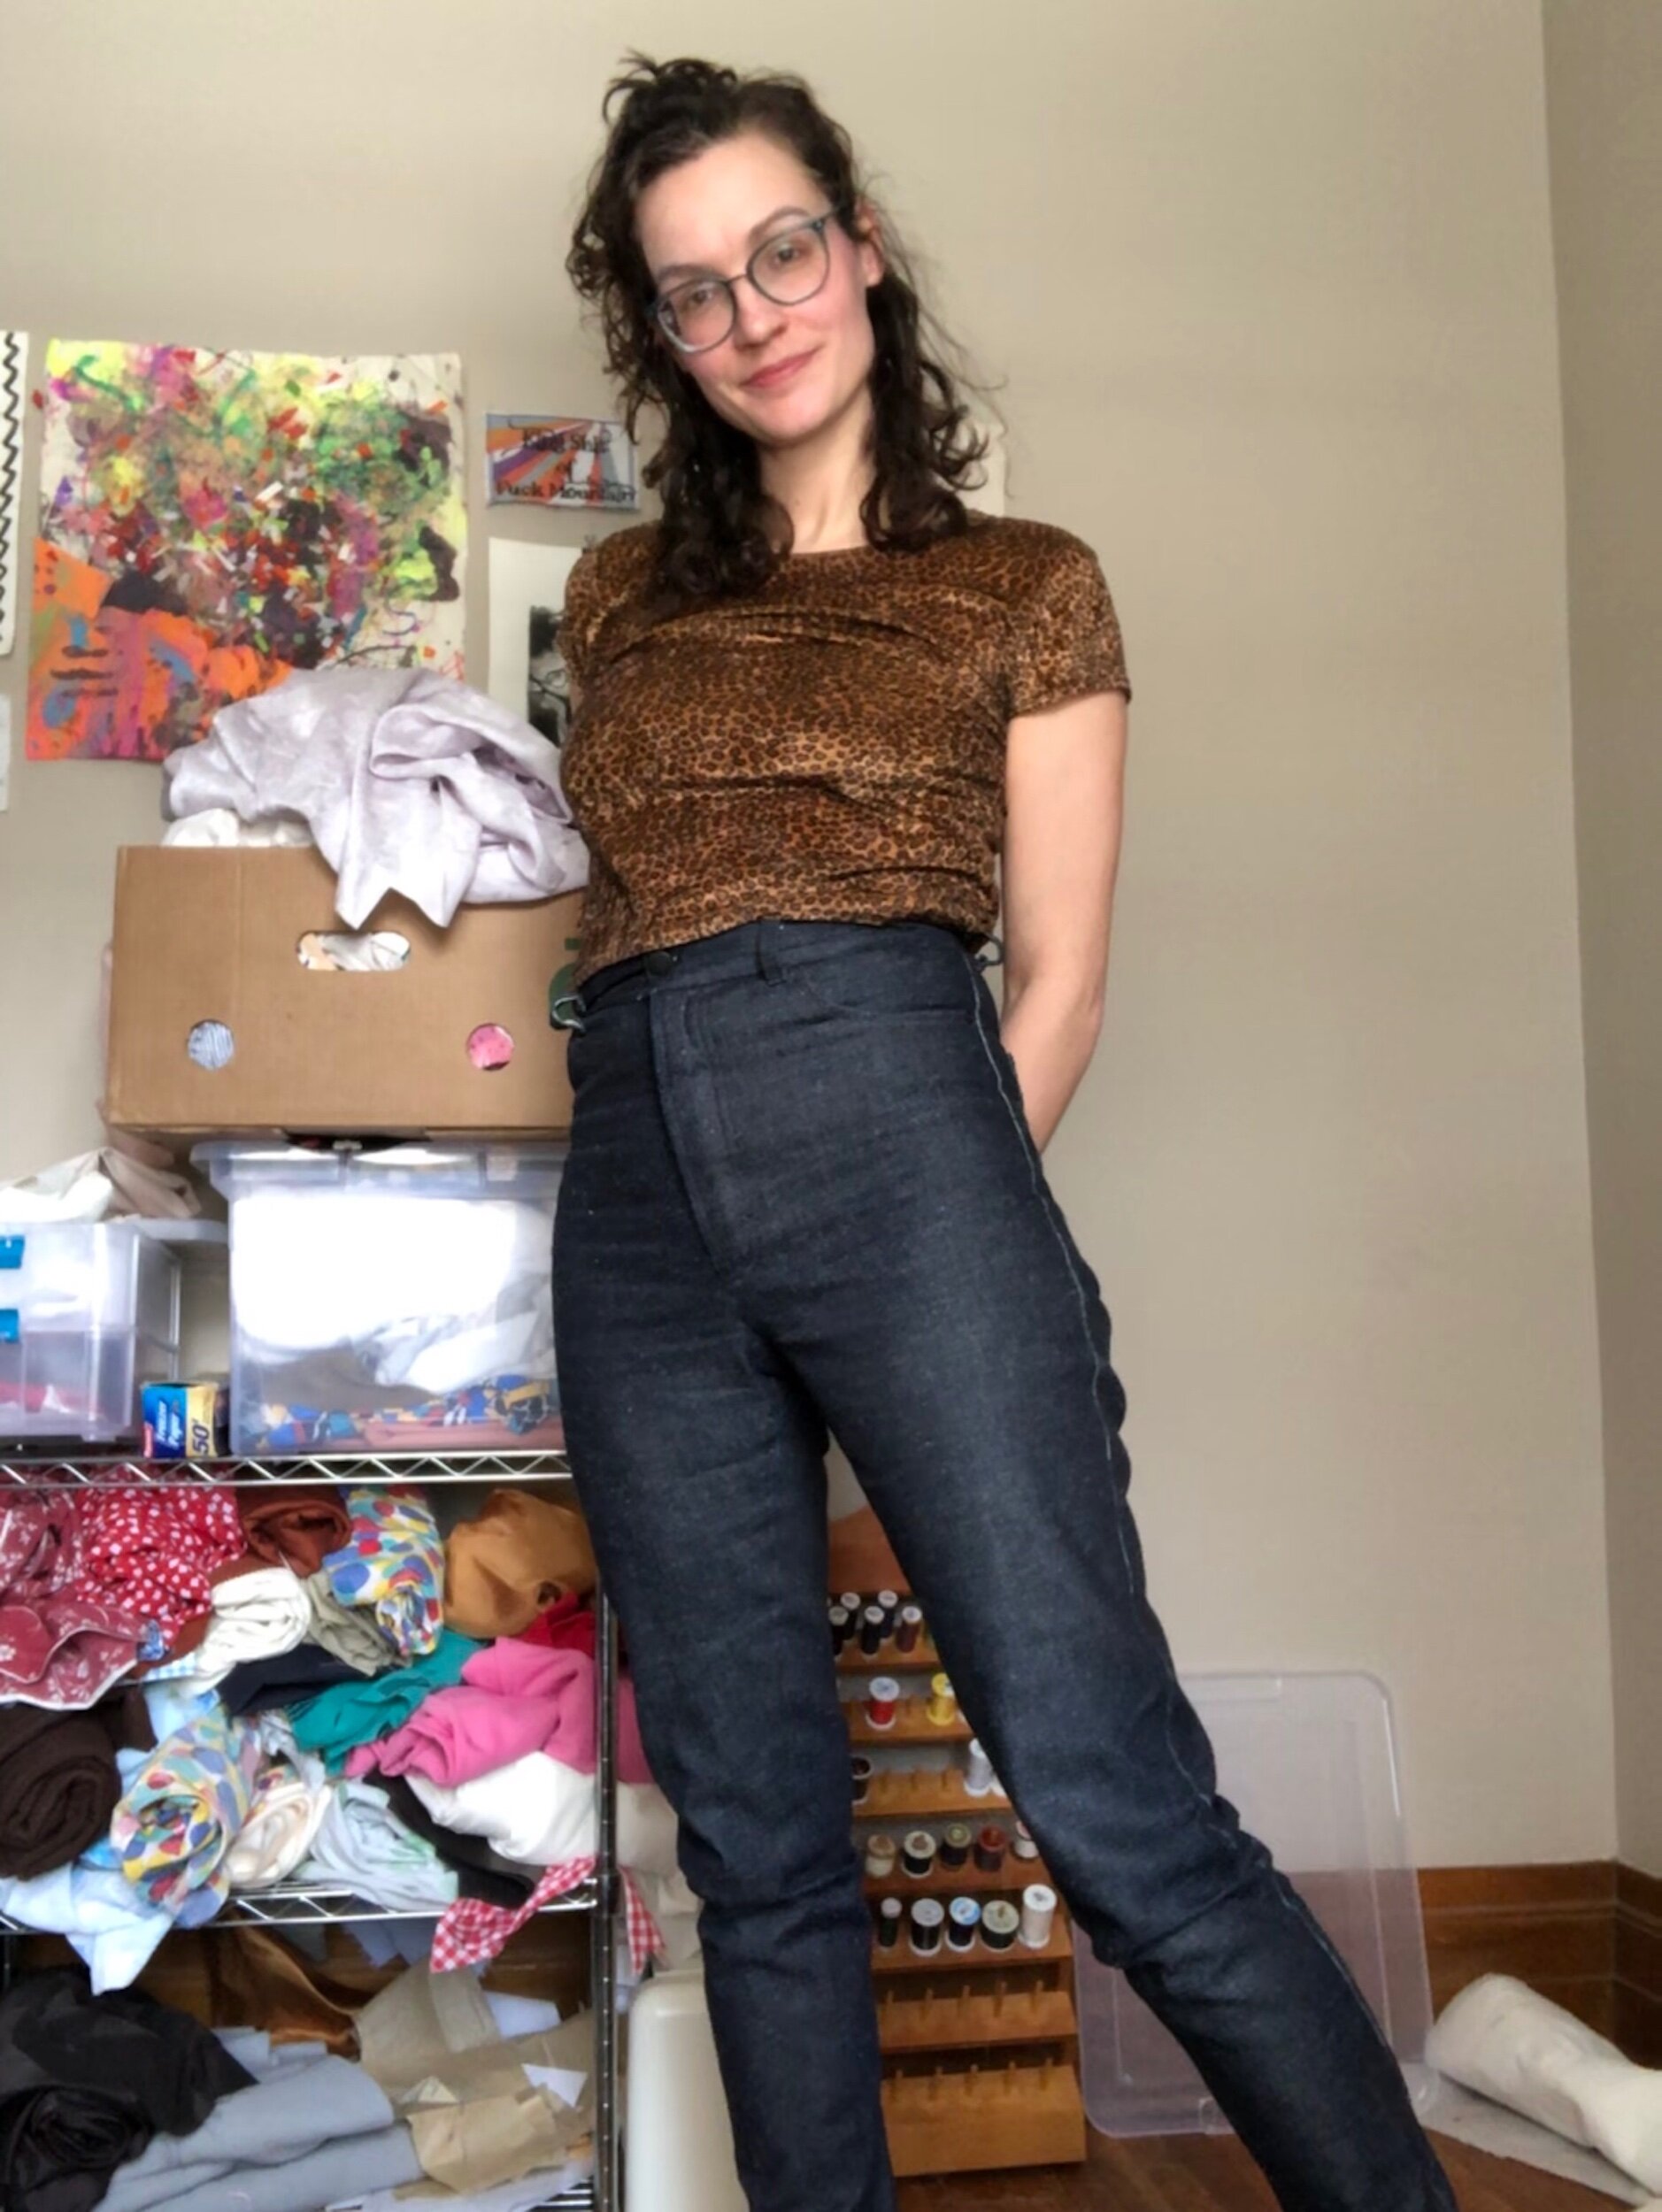
or whatever; nothing’s perfect. The fit brings me real joy tho. All tall rise and right curves. (but i’m open to improvement from wiser sewing fit experts!)
So Philippa round 2. Though the first pair were supposed to be sort of a muslin for this pair, I did a baste fit all over again with these ones. I made a few completely new fit decisions that I wanted to check before committing to tight stitching.
After finishing up the first pair, I came across Grace on Instagram, and her wealth of thoughts on all things clothing construction/pattern analysis; most relevantly: the anti-crotch-scoop position. I’d scooped the crotch on the first pair and ended up not so happy with the front crotch, but unsure where to go. So on this pair, I reverted to the original curve.

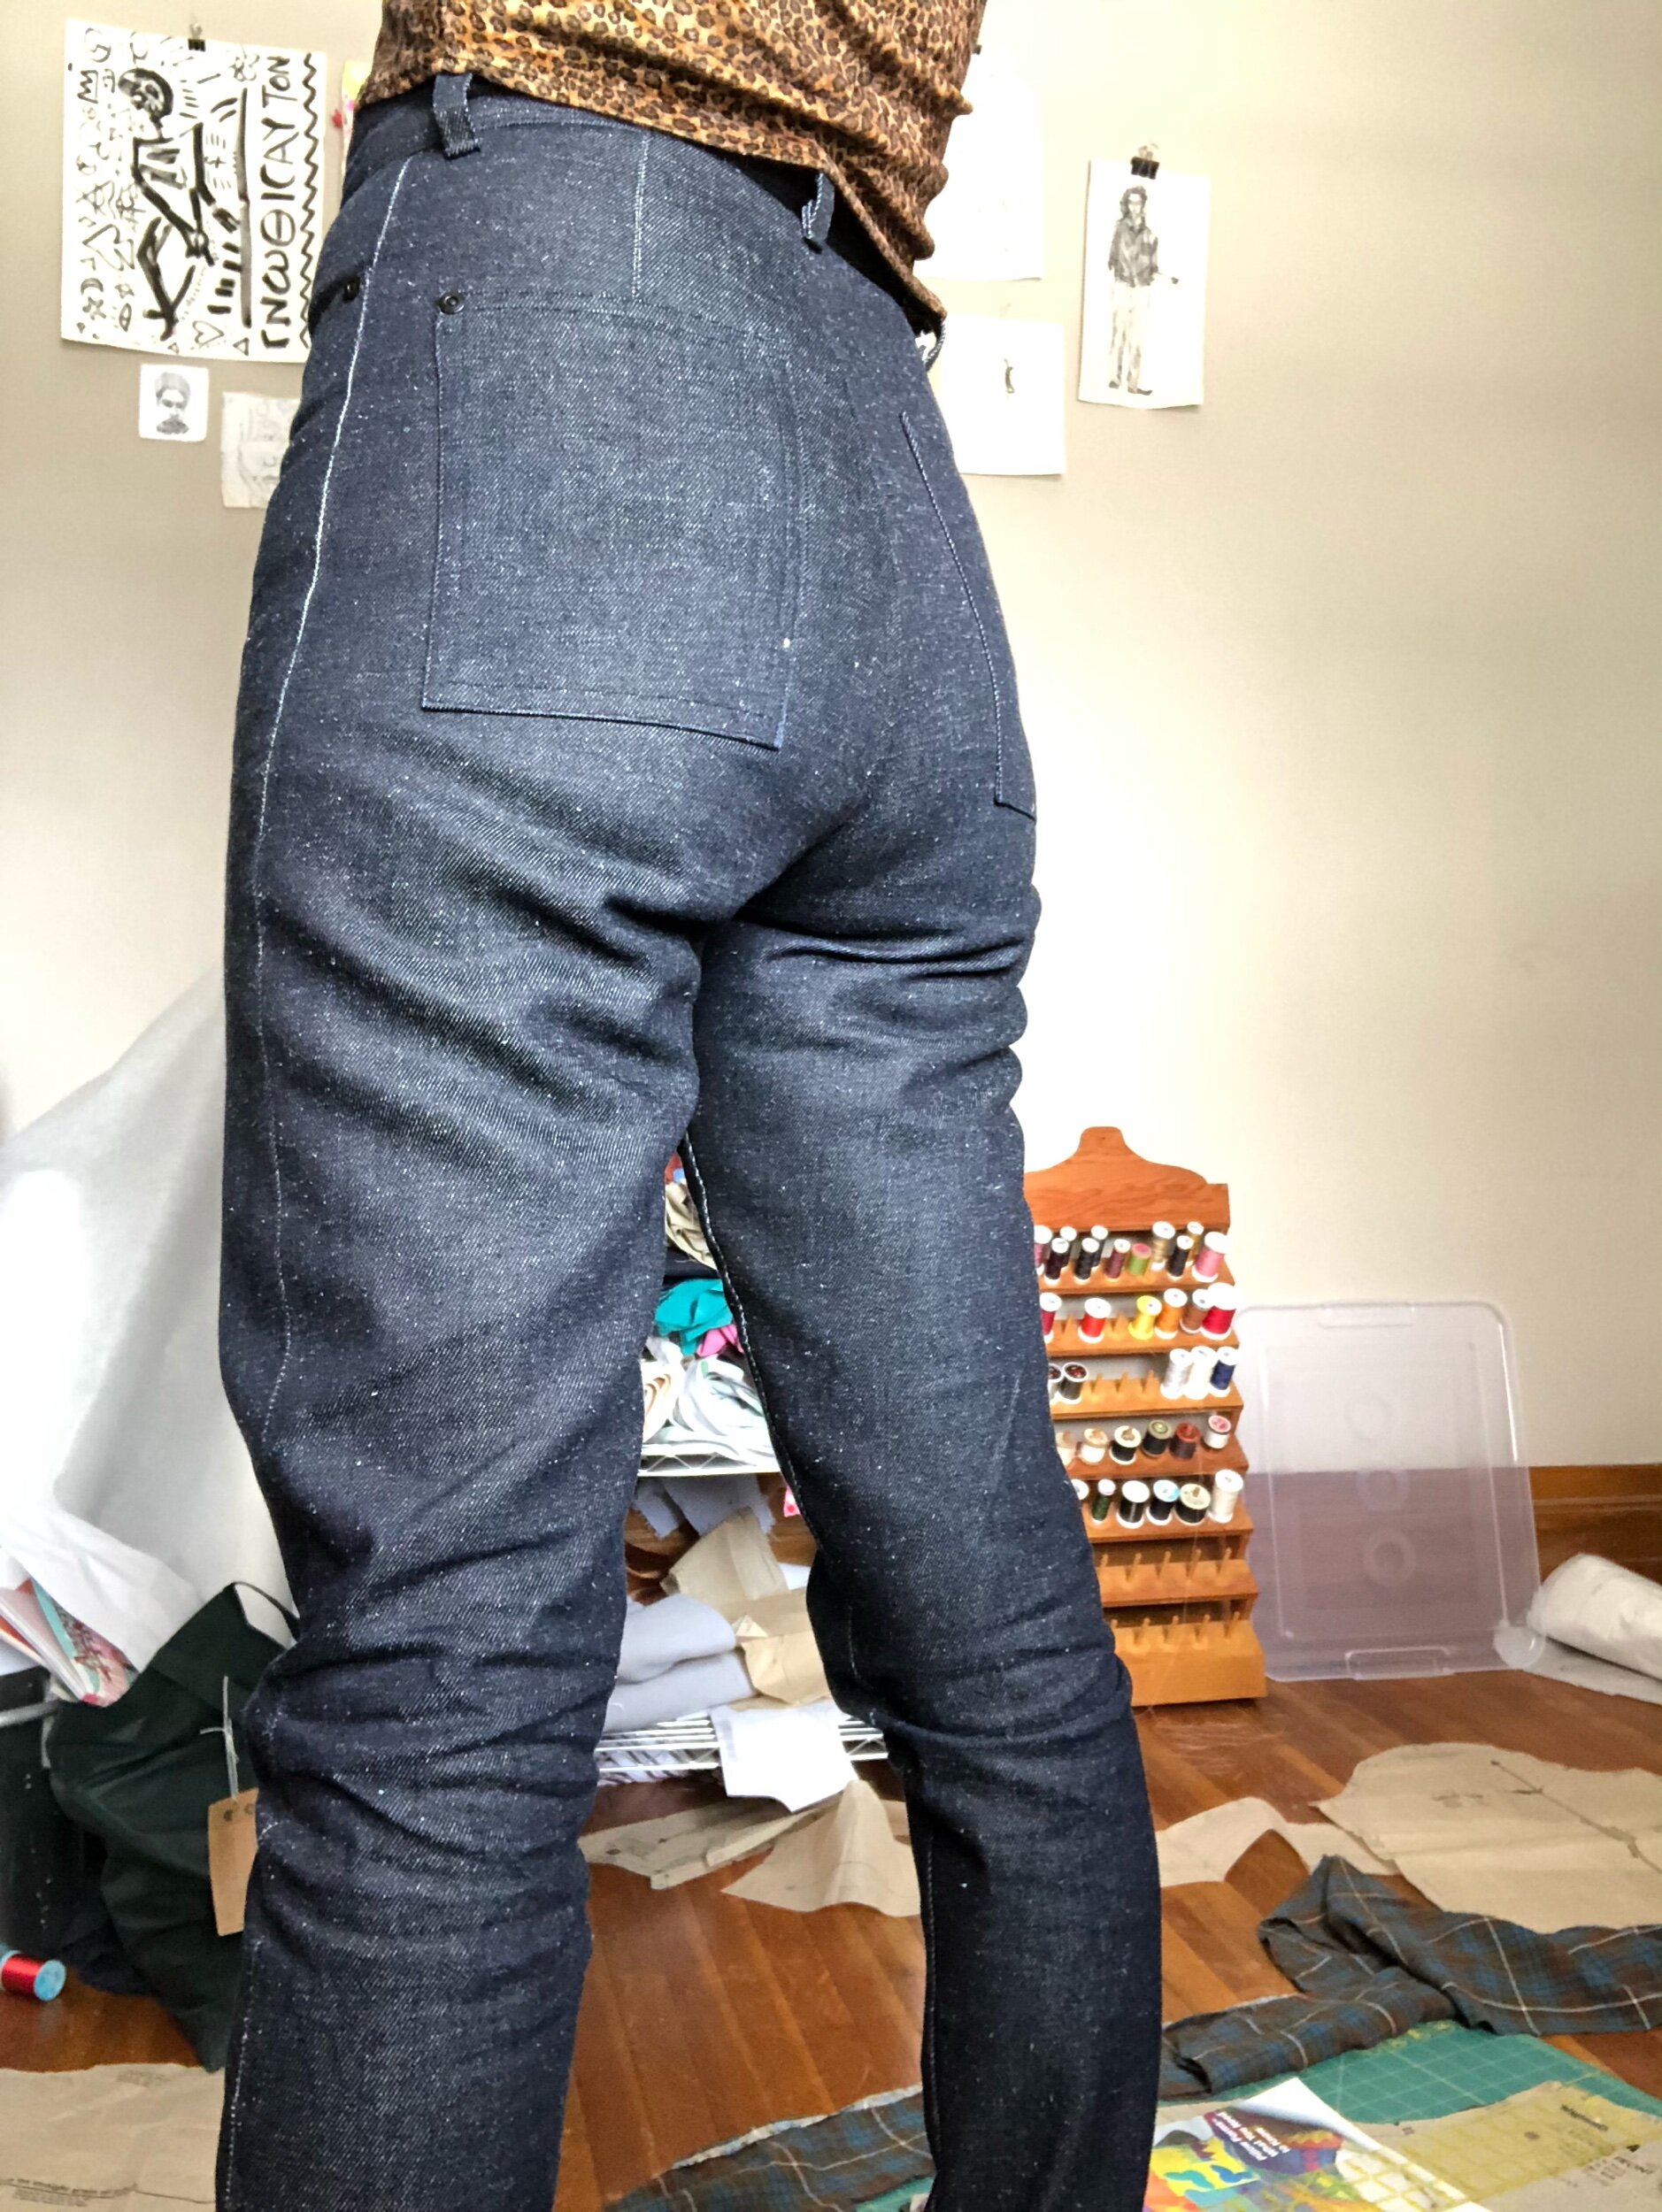
Like the first pair, I extended the front crotch by 1/4 inch (adding a wedge going down a few inches). This time, I also cut the front waist and hips as a 6, 4 thigh and below, while the back I left as a 6 waist, 4 hips and below. For both pairs, I’d sized down from the charts, in this case everywhere but the front hips. Coupled with my crotch dissatisfaction, I wanted to eliminate some of the pulling across the hips that’s inevitable with a tighter pair of jeans, while preserving the fit around the butt and thighs.
The denim on this pair is also heavier than the first round, at a solid 12 oz. Don’t know my weights well enough to guess with the first pair, but maybe around 10 oz? This is Kuroki Mill deadstock sourced from Blackbird fabrics. Anyway, it probably helps with the stretching/fitting.
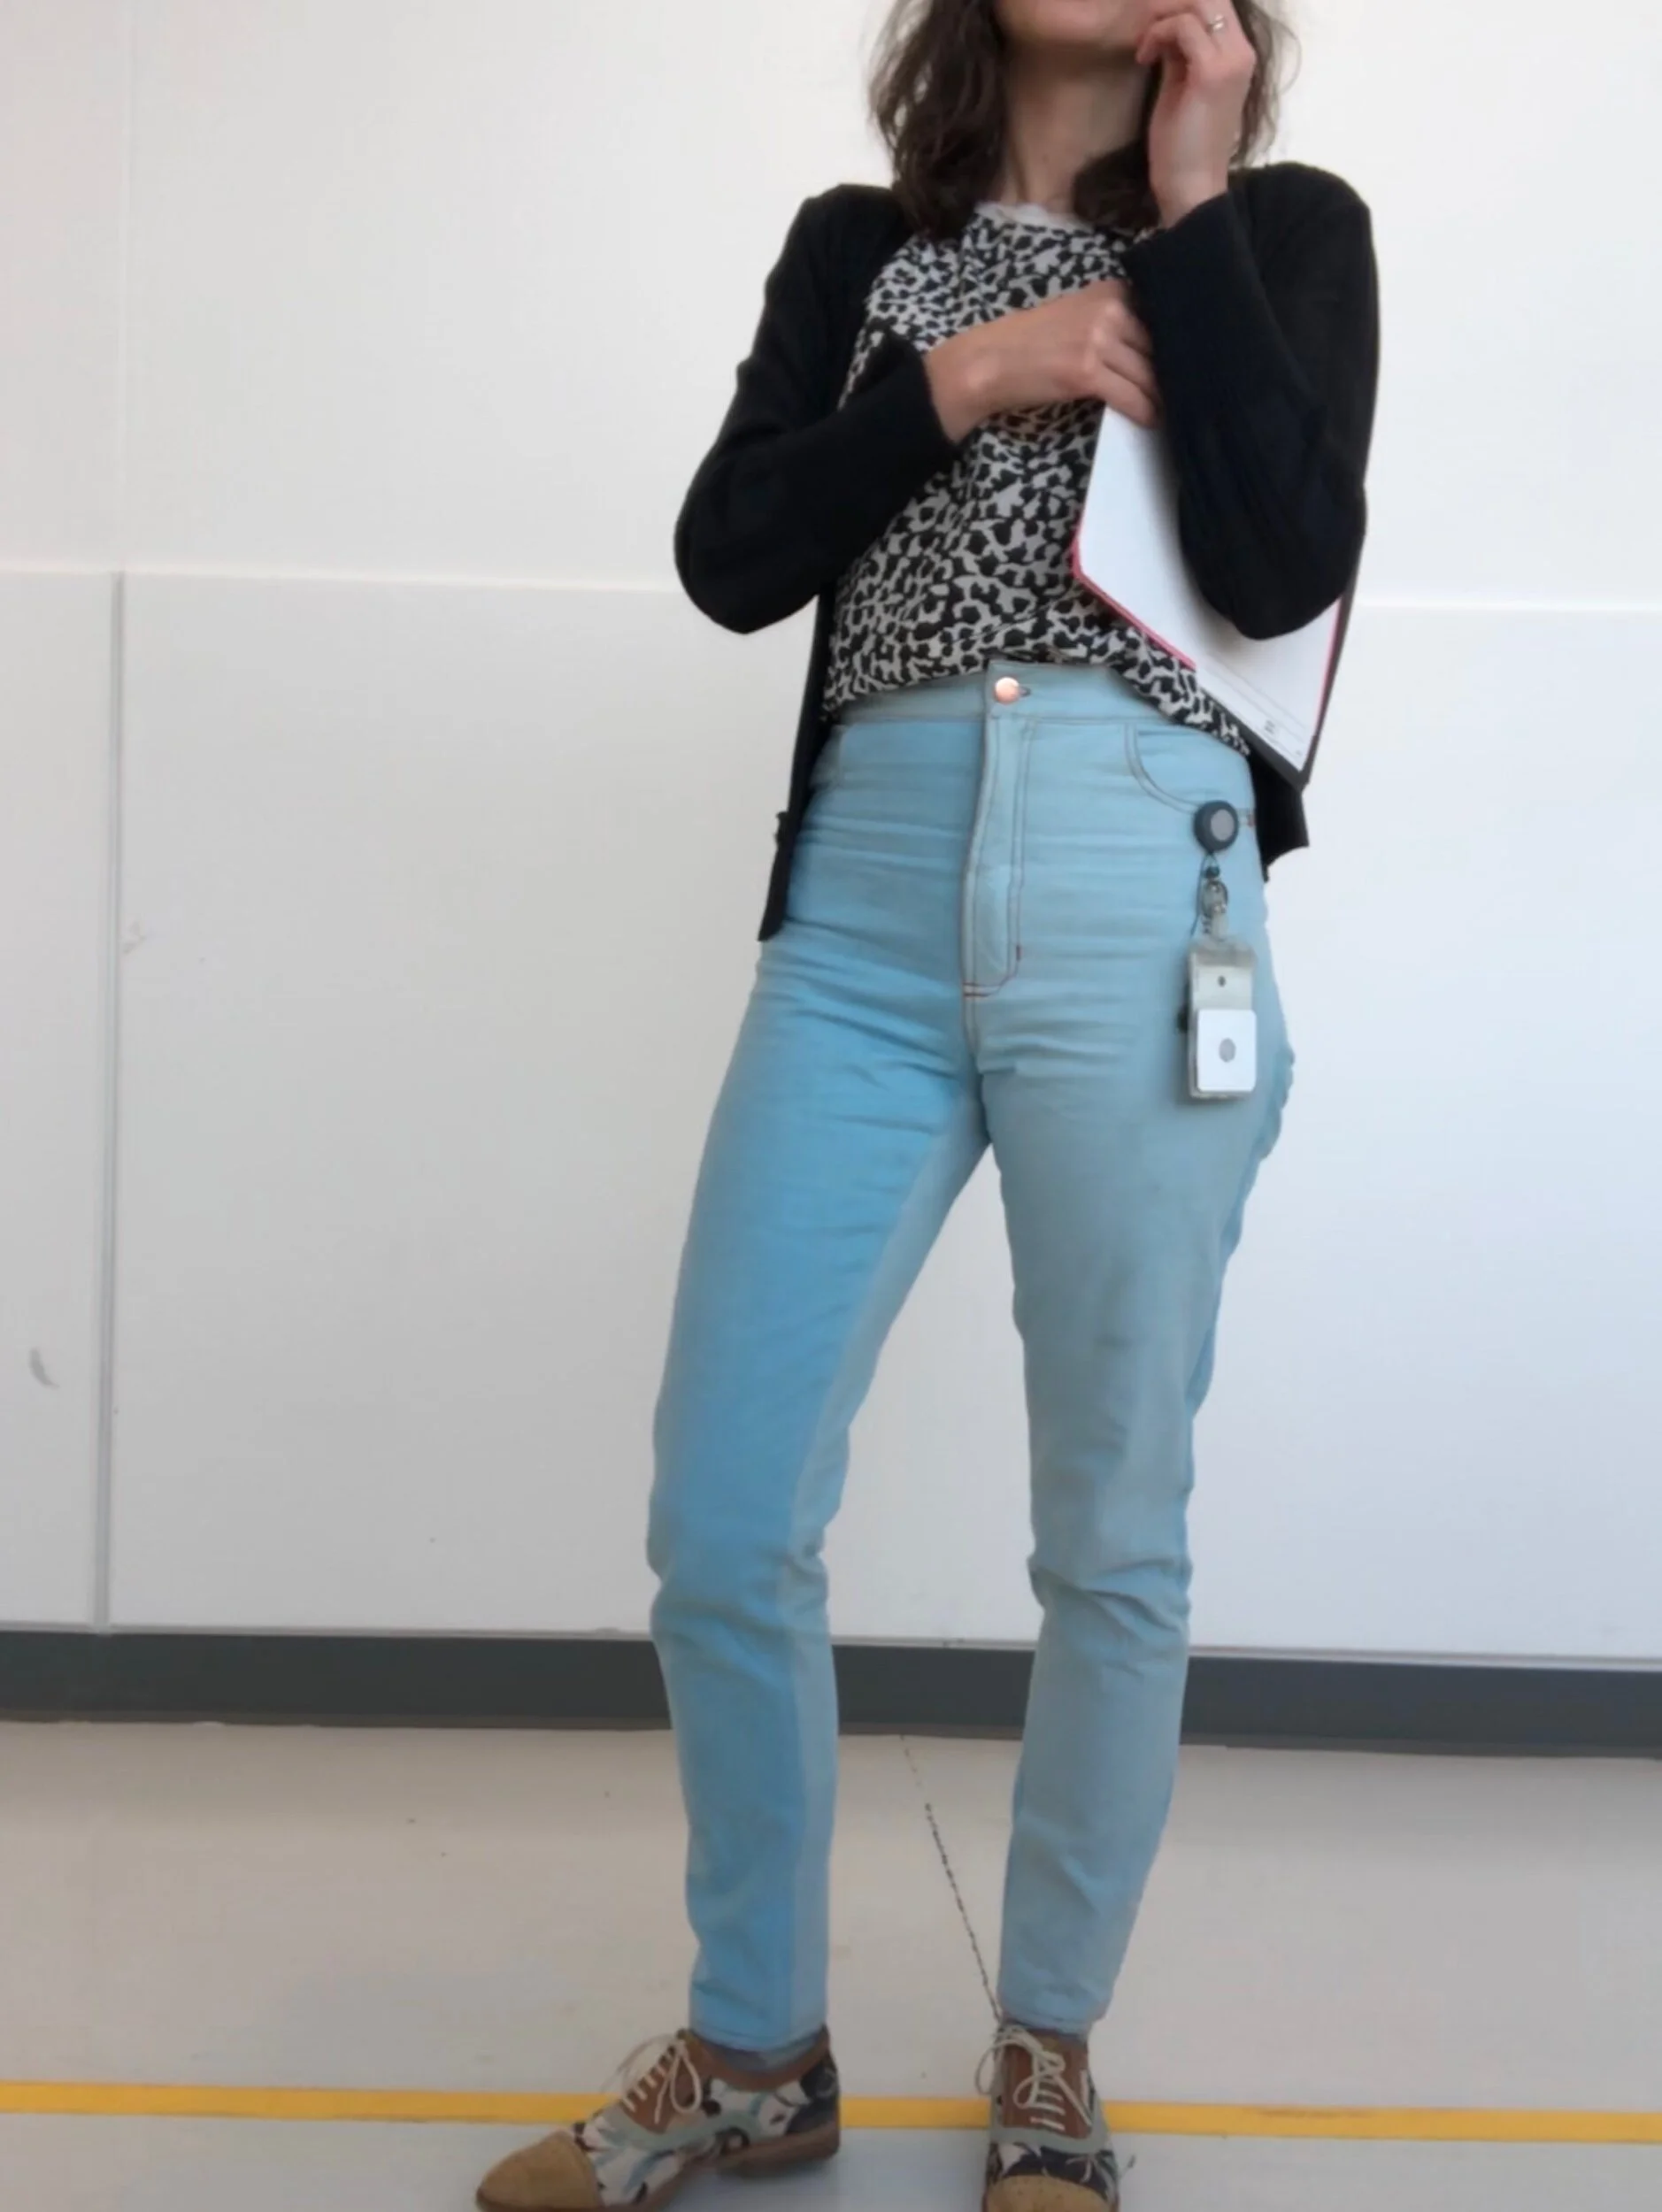
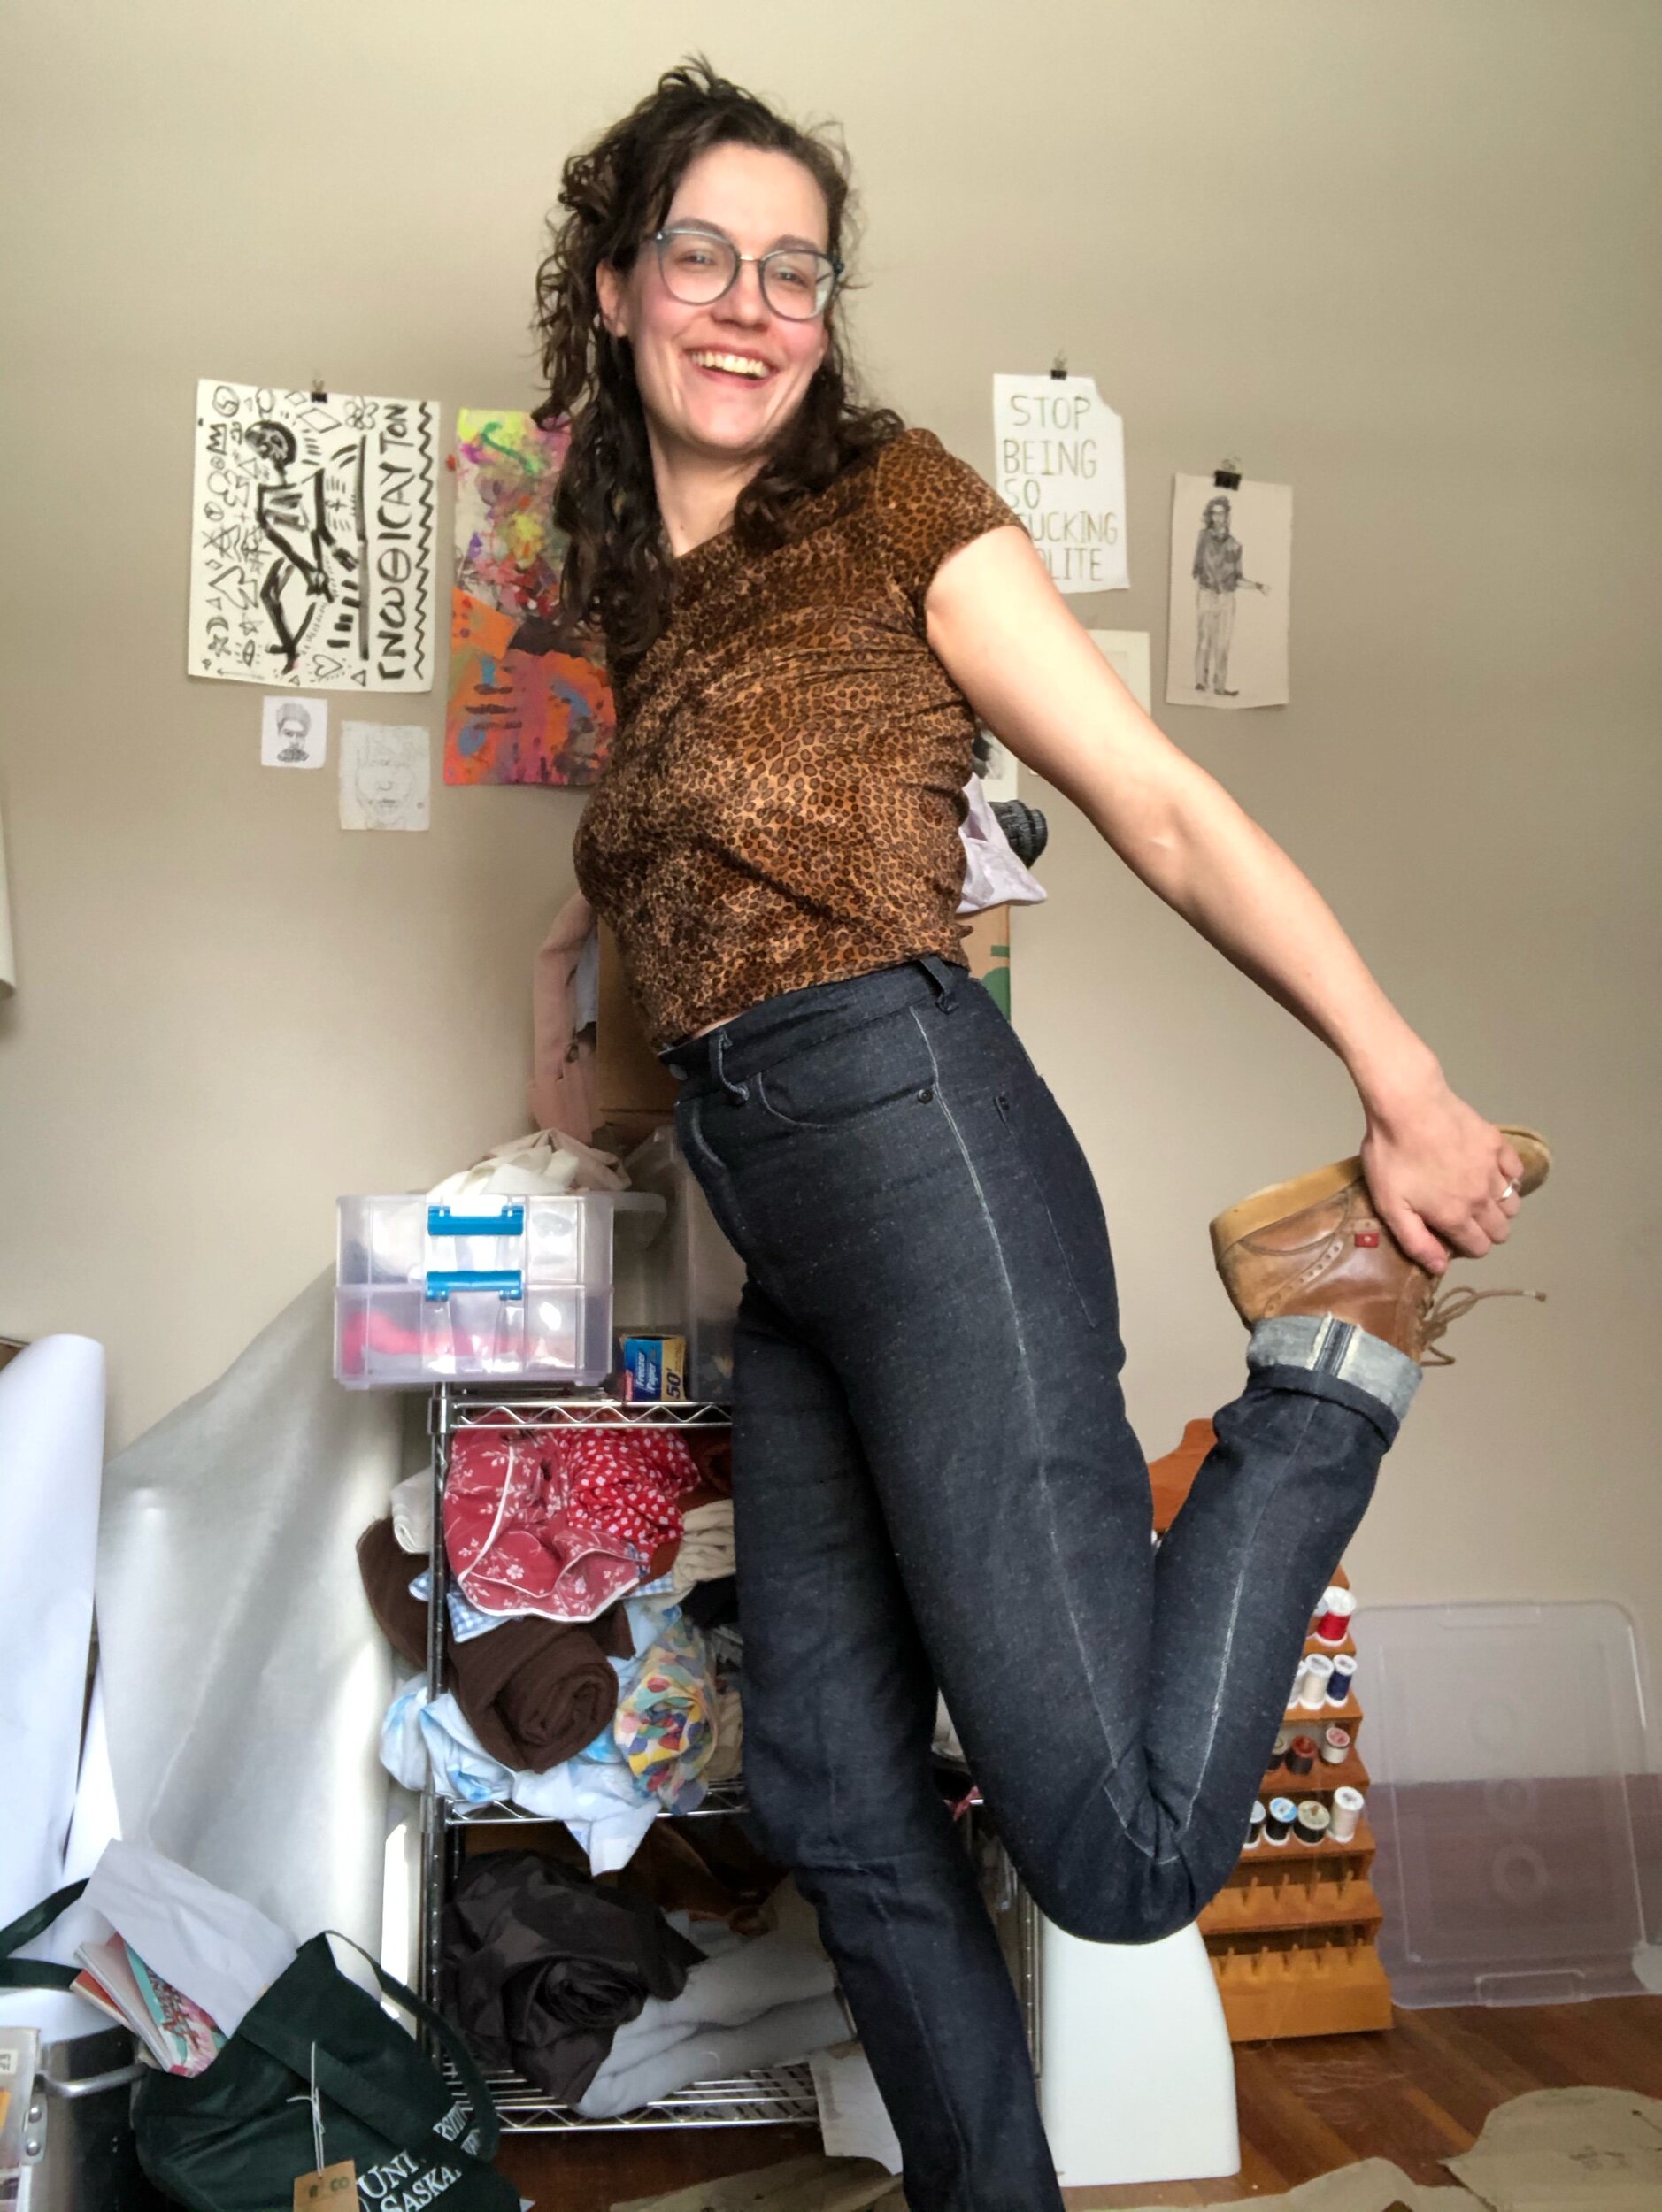
The last major change didn’t really need to be tested, but I’ll note it now. I added 3 inches to the hem (added straight down, no taper), as the first pair came out too short to do a clean double folded hem. Plus, I am quite into the selvedge on this denim, and had purchased a whopping 4.5 metres, so I cut on the selvedge and wanted plenty of room for a cute show-off cuff. It’s the perfect length for that!!
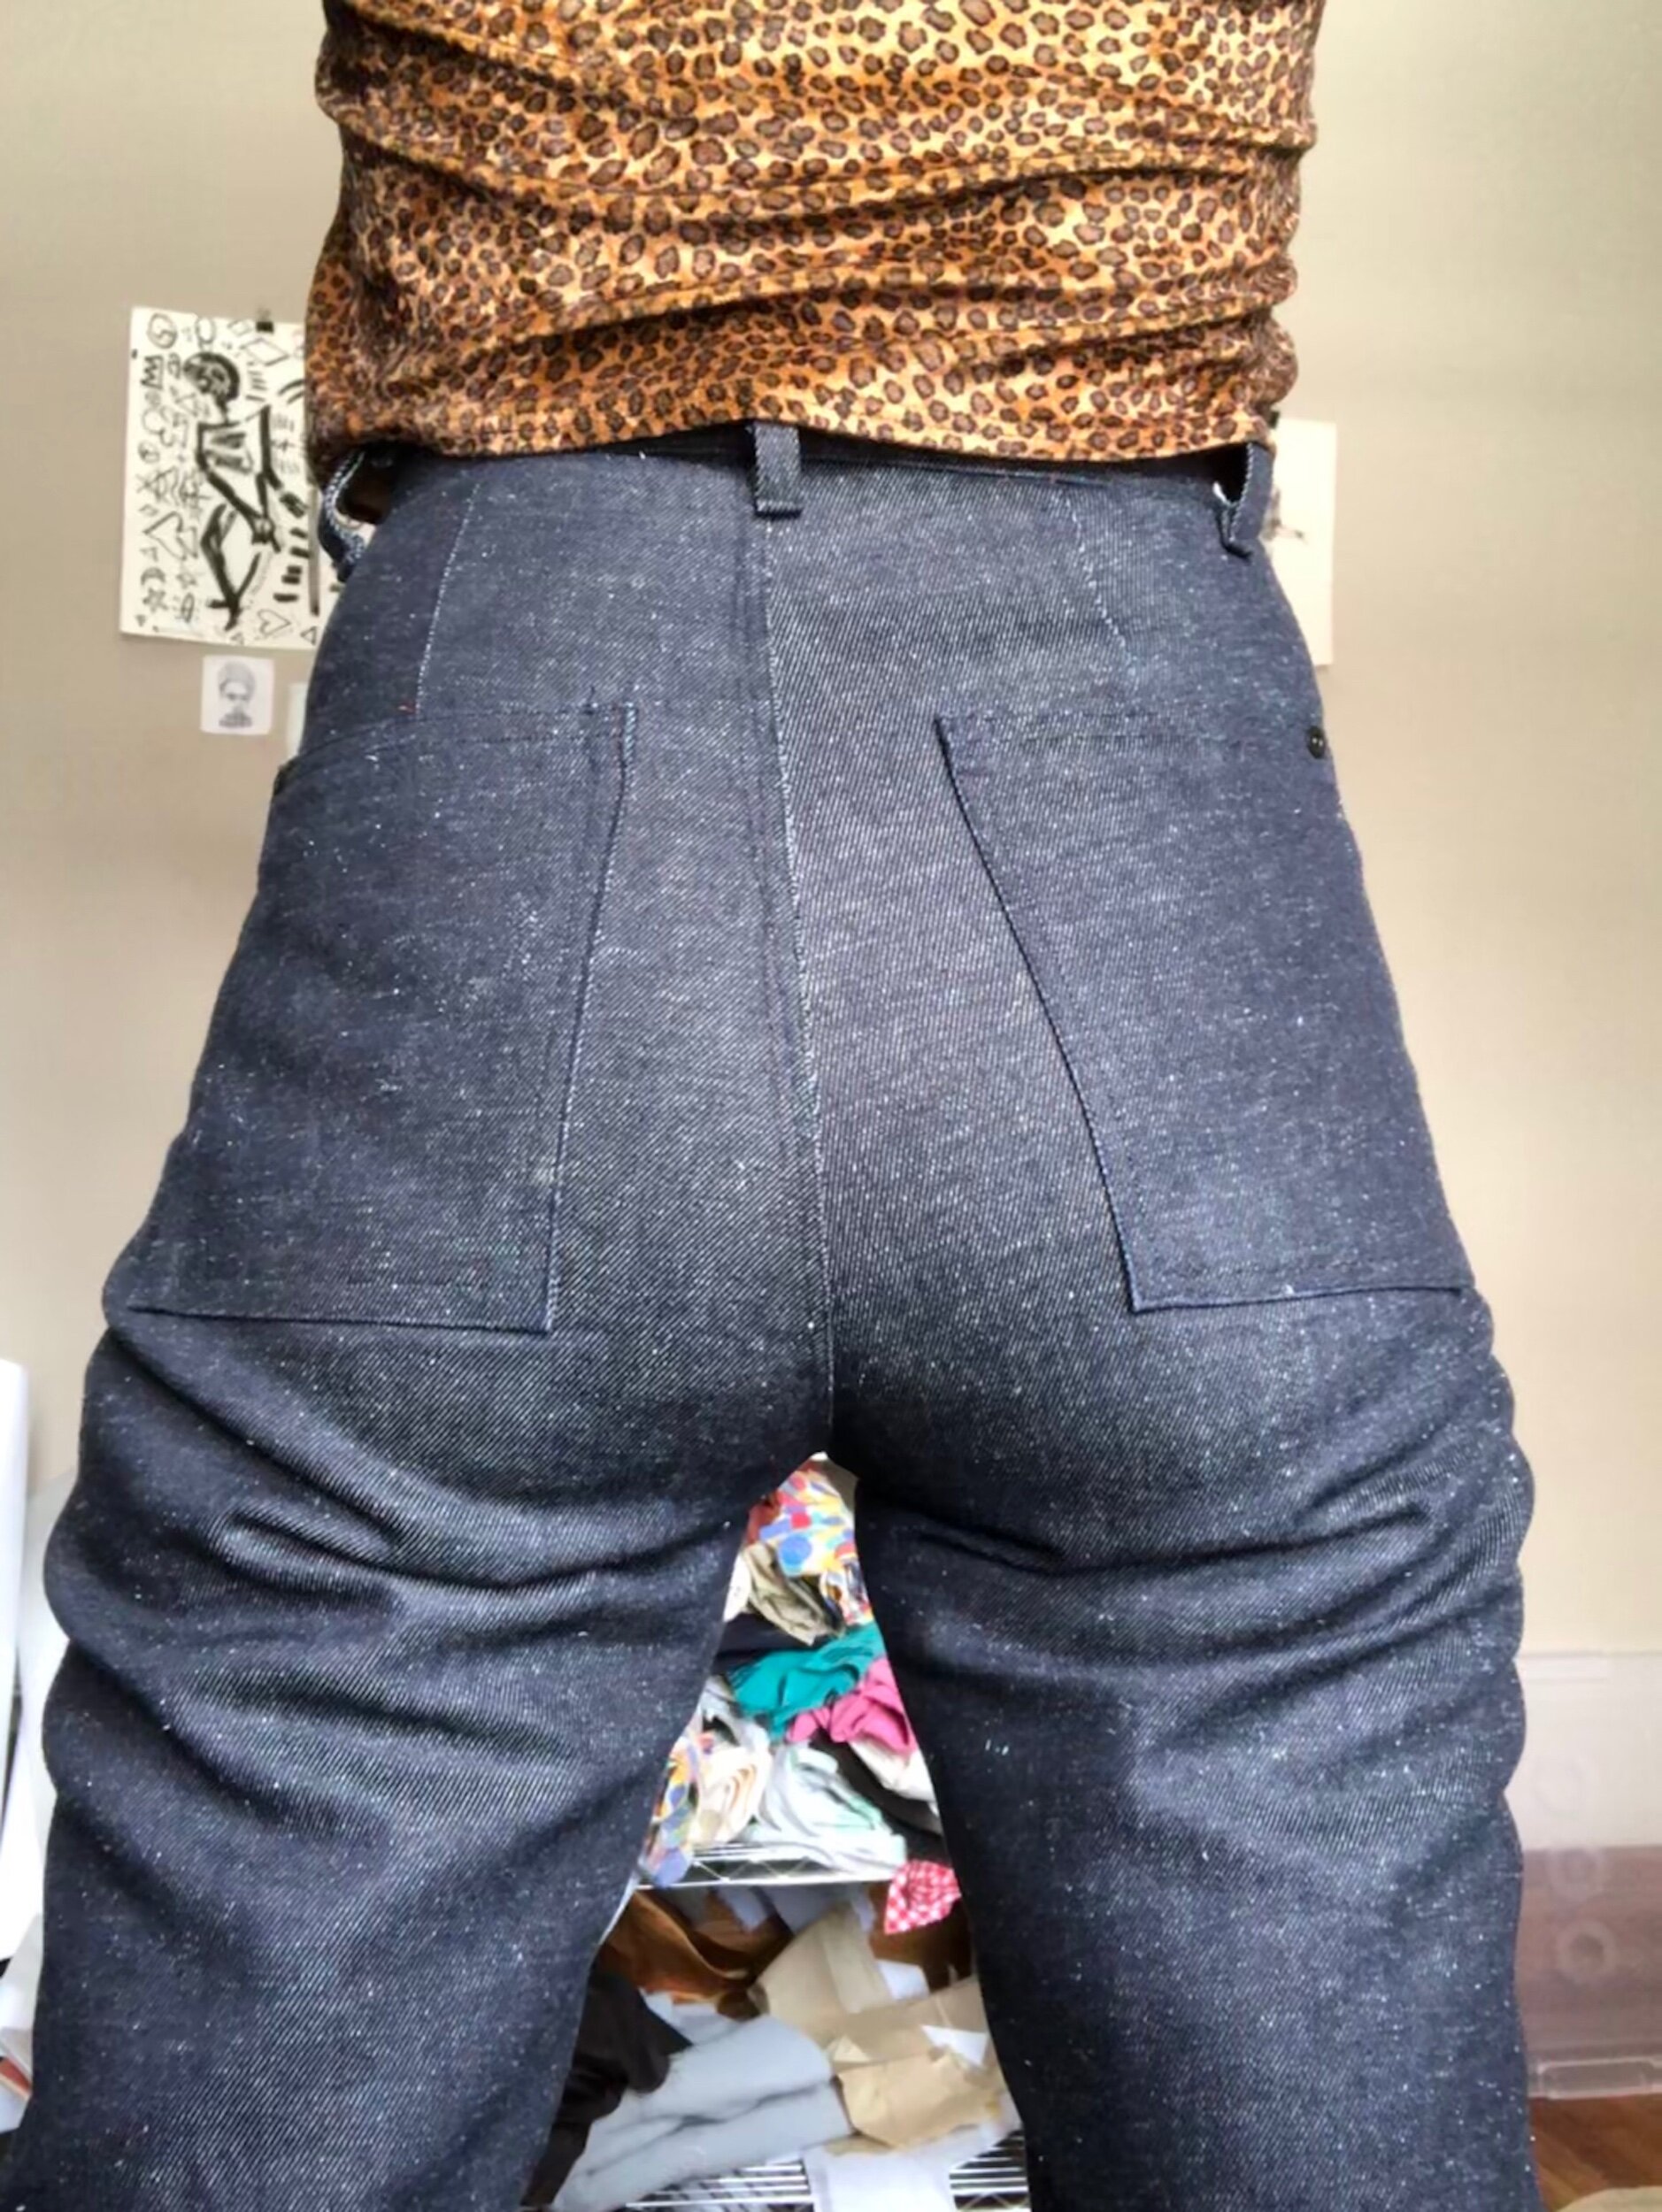
I am, as I said, pretty perfectly happy with this. I didn’t have black topstitching thread and found that doubling didn’t really add much to the visibility of the topstitching, so went ahead with the same thread for sewing and topstitching. This also meant that there are areas with some truly shoddy topstitching and IT DOESN’T EVEN MATTER.
That said, pretty insides remain a goal/priority for me. So I did try to flat-fell, despite the thickness of this fabric. One thing that worked pretty well was sewing the seam allowances down/together before top-stitching. Otherwise it was hard to actually keep it folded over with all that bulk. I’m not yet convinced that I’ll be able to do a satisfactory flat-fell at home. An extra 1/8 of an inch would have helped (5/8 SA instead of the given 1/2), but I don’t know if I would ever go add that to the pattern.
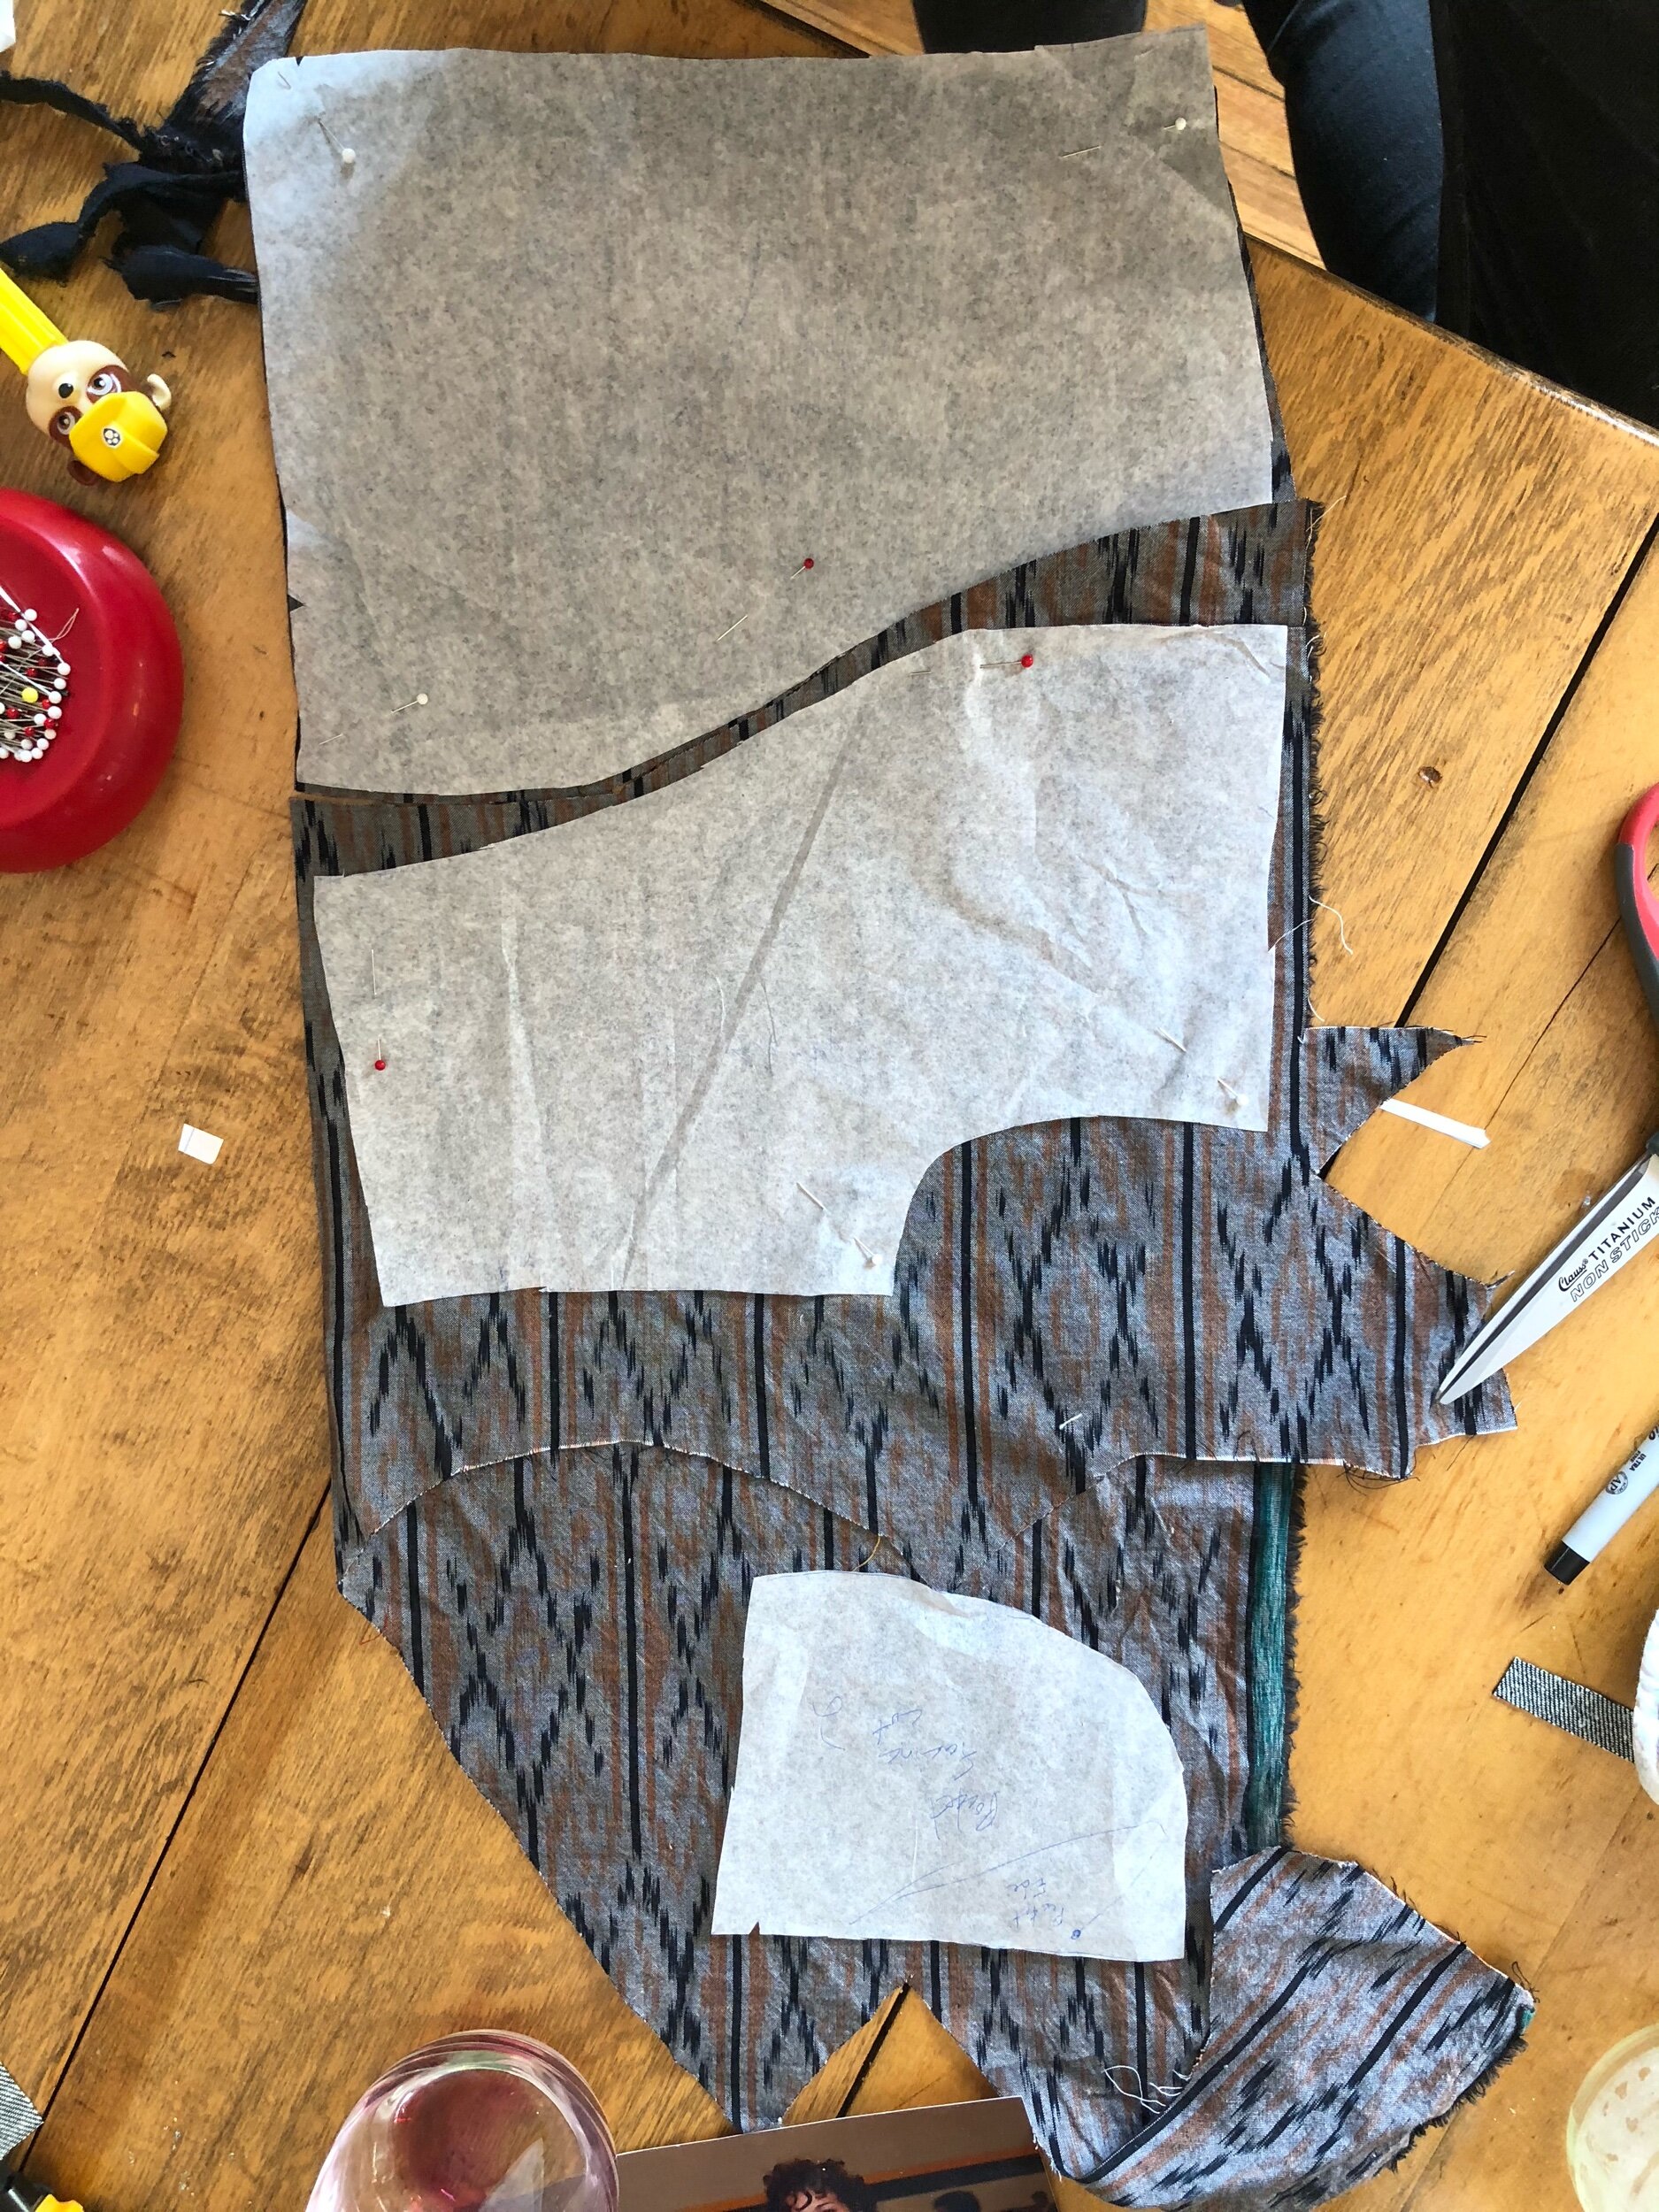
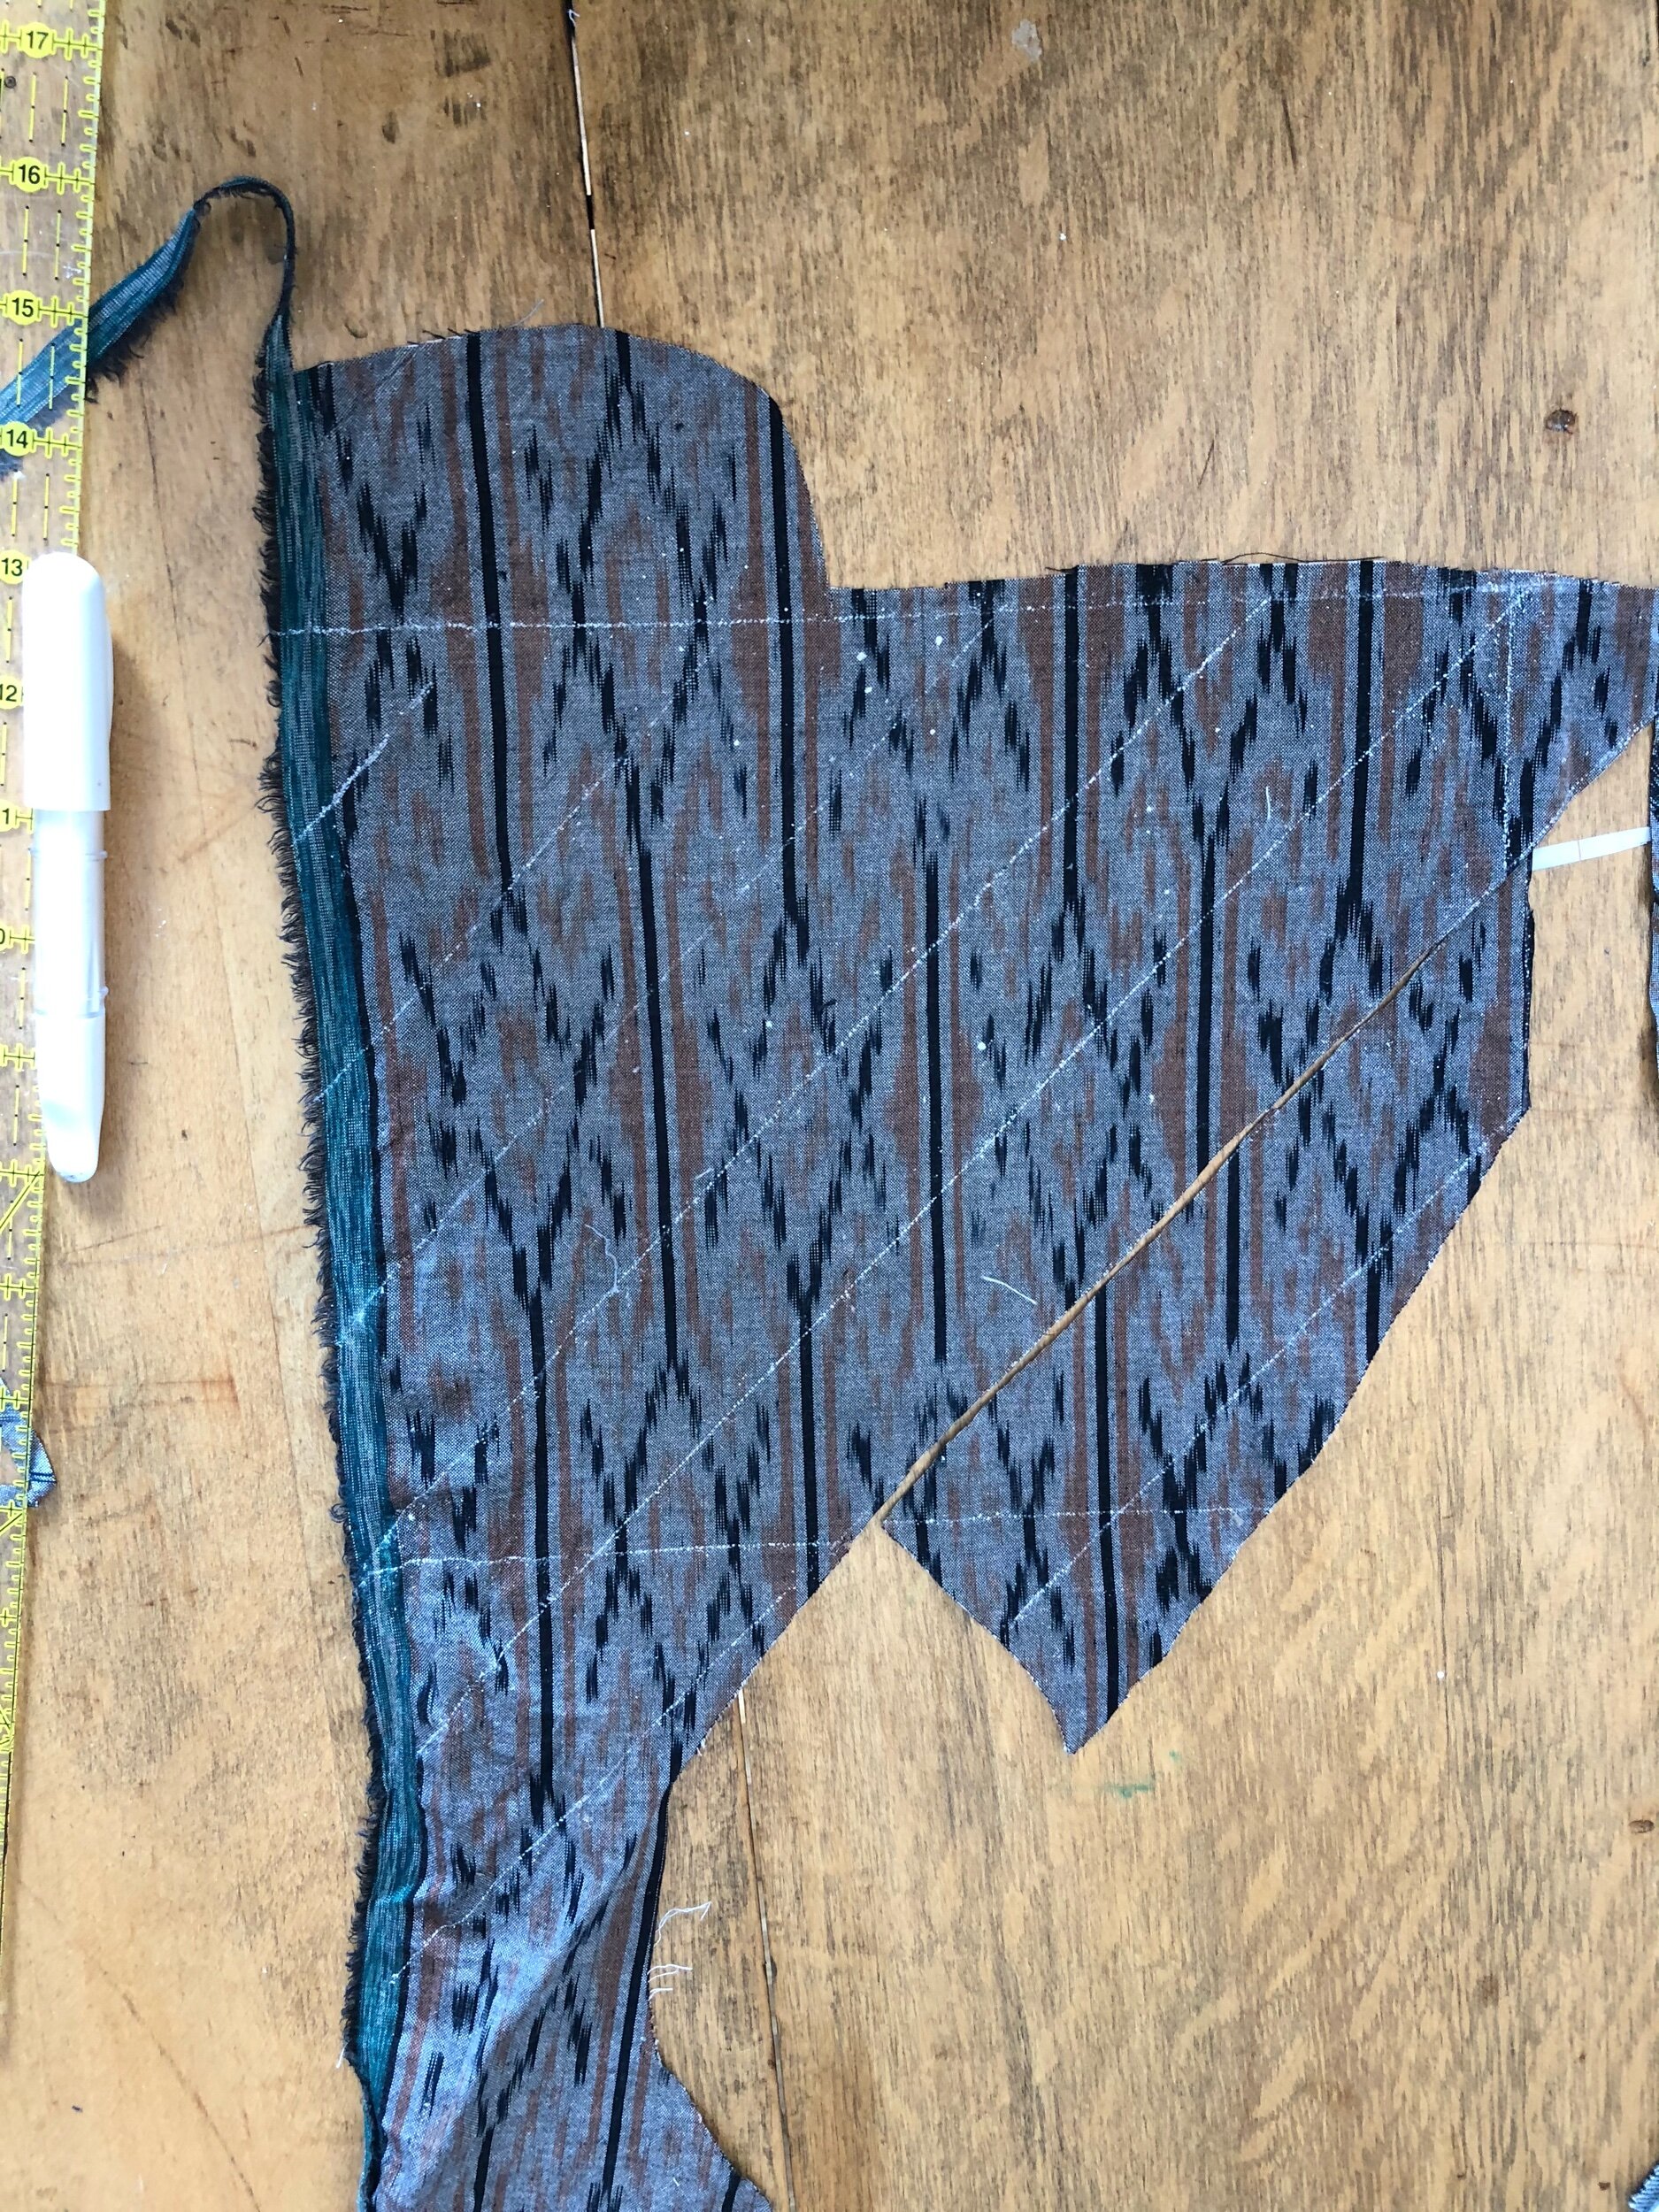
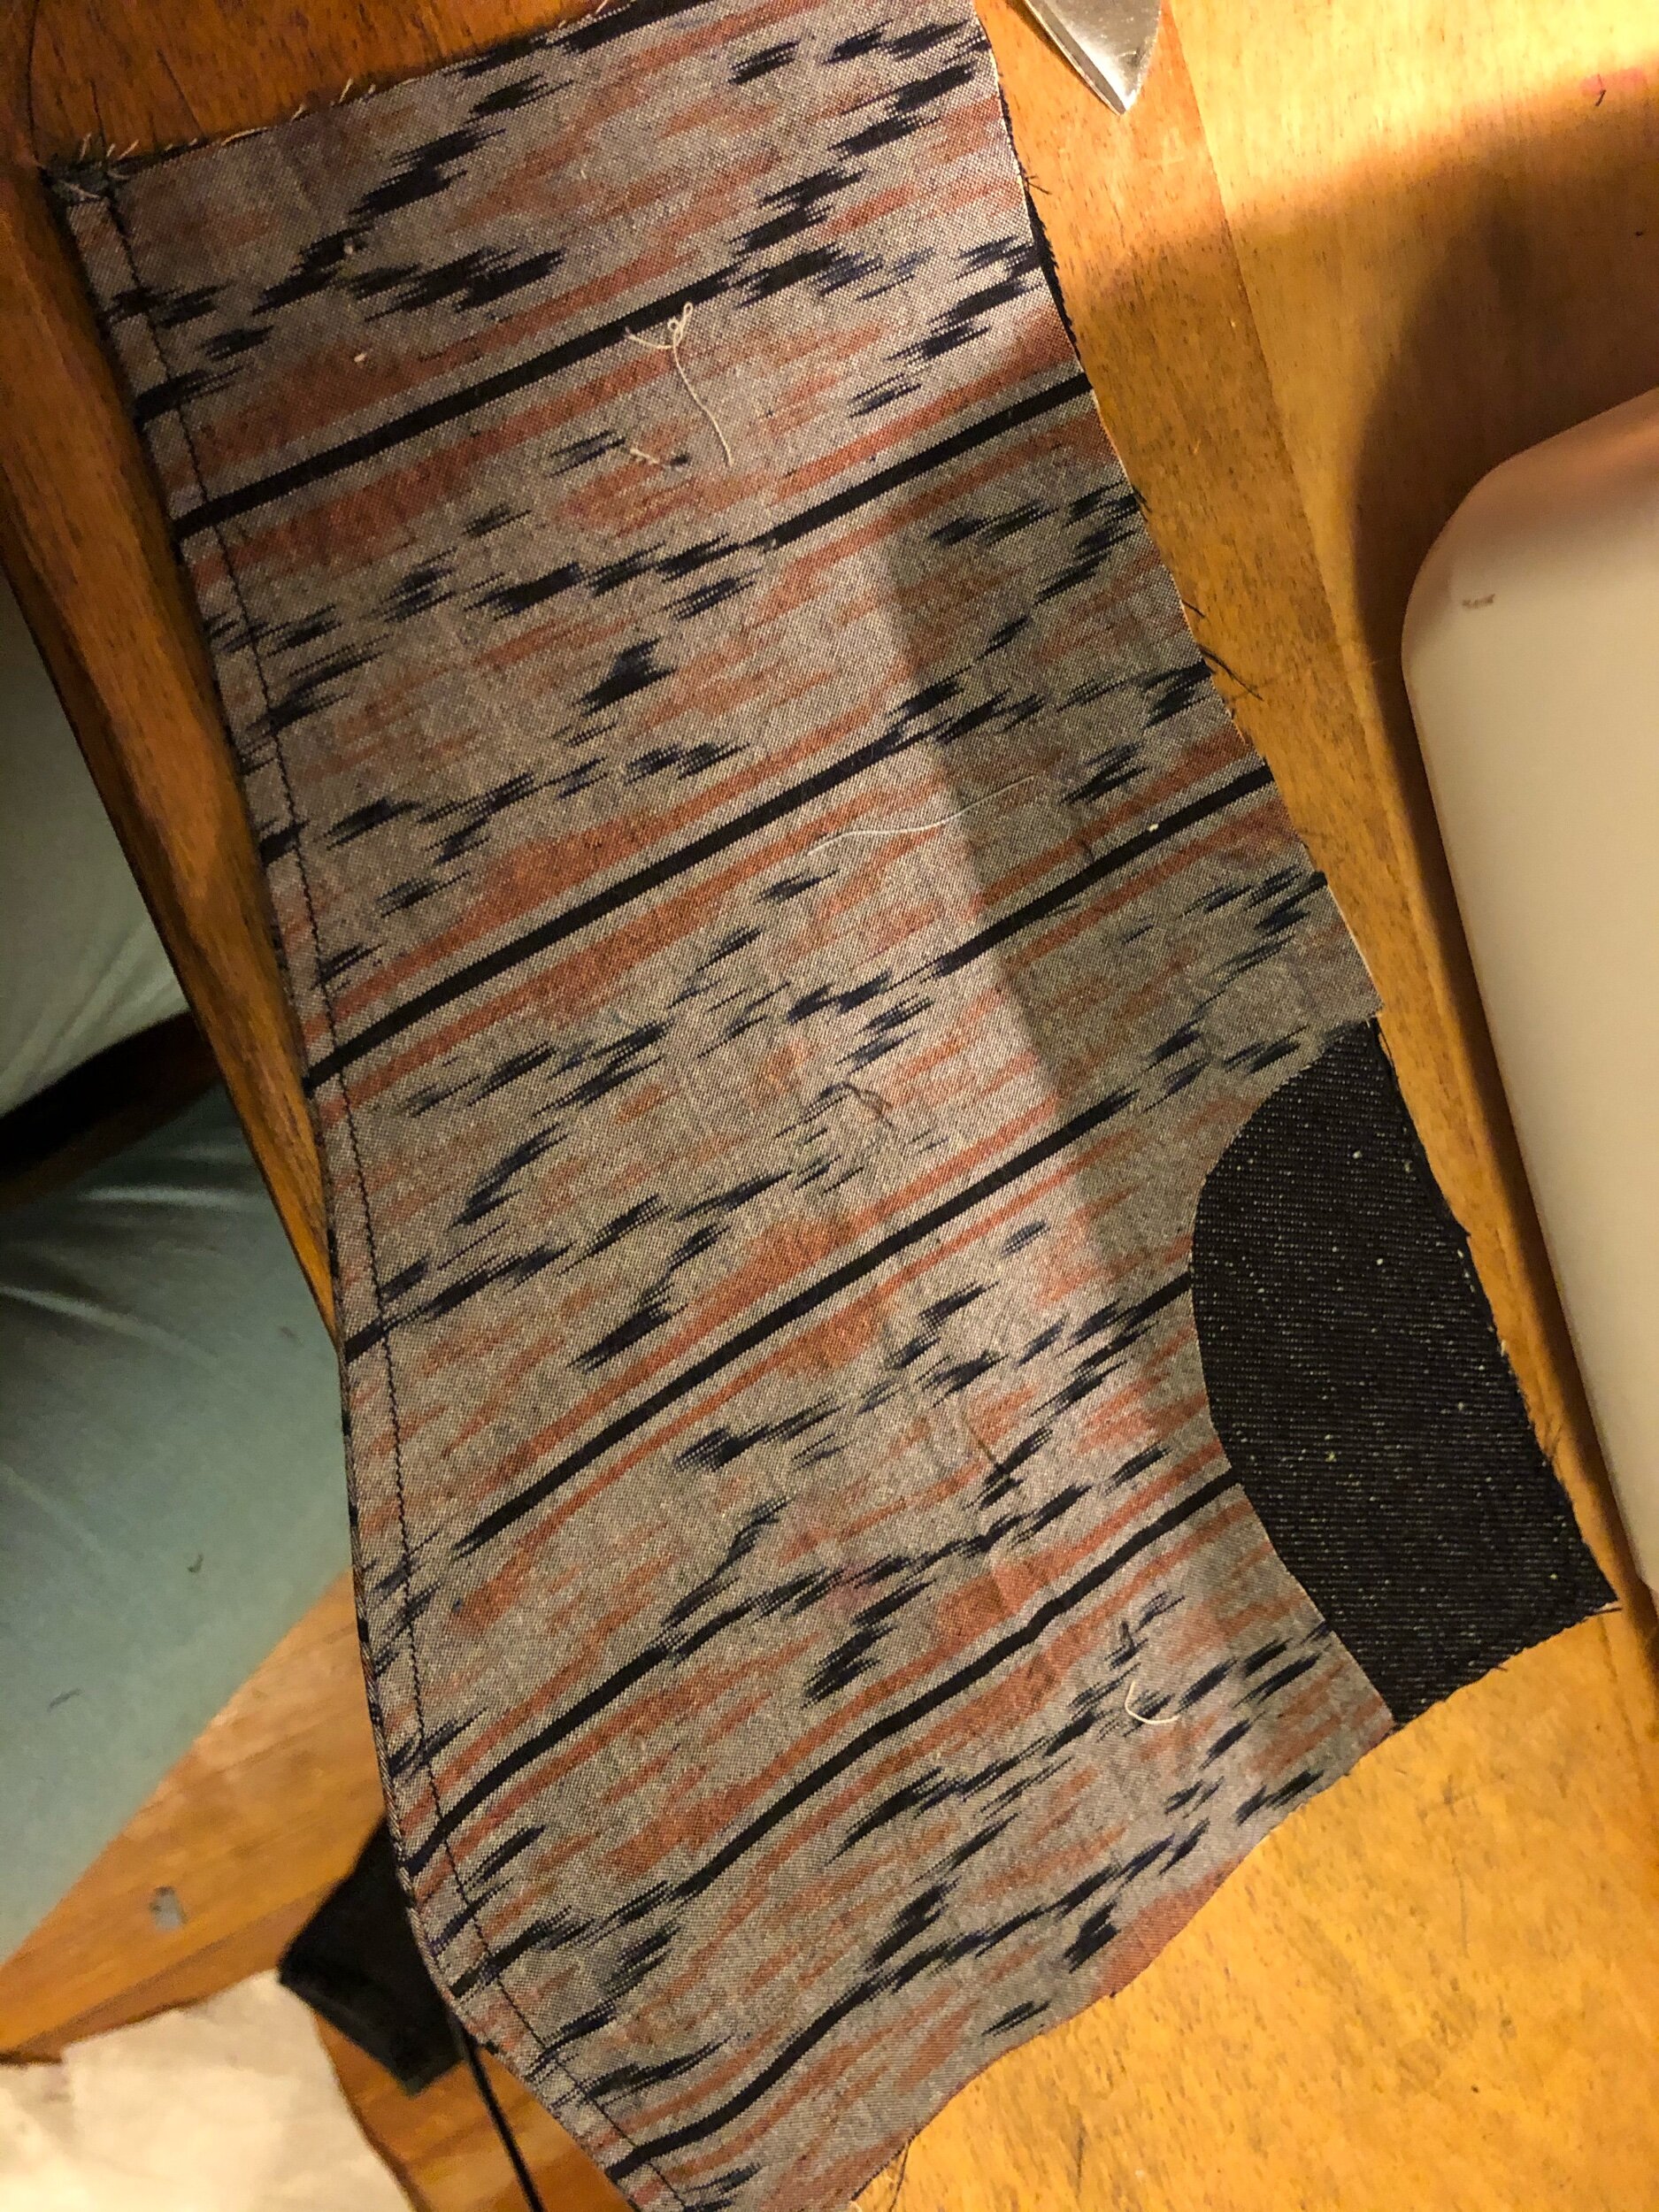
In other news, cut out the pocket stays from the last little scrap of ikat from the shirt I made my brother last year. I would have had to piece quite a bit to make the waistband lining, so I cut that from some other cotton I have from local Village Green Thrift. The leftover bits of ikat I turned into bias binding, which I used on the fly shield. Didn’t interface the waistband, except for at the front button. It does scrunch a bit over the course of the day, but I think that might be inevitable with wearing pants that hit at this point, and unscrunches happily.
The waistband is one area where I wasn’t totally happy, in fact, with these jeans, though it barely bothers me and is more of a do-better next time. I totally failed to encase the fly/shield region in the waistband, which somewhat undermines the otherwise clean look of the bias binding etc. Was quite careful about placing the fly shield properly and it paid off, I figure, with a clean look to the whole thing, despite SO MANY layers of fabric being involved.

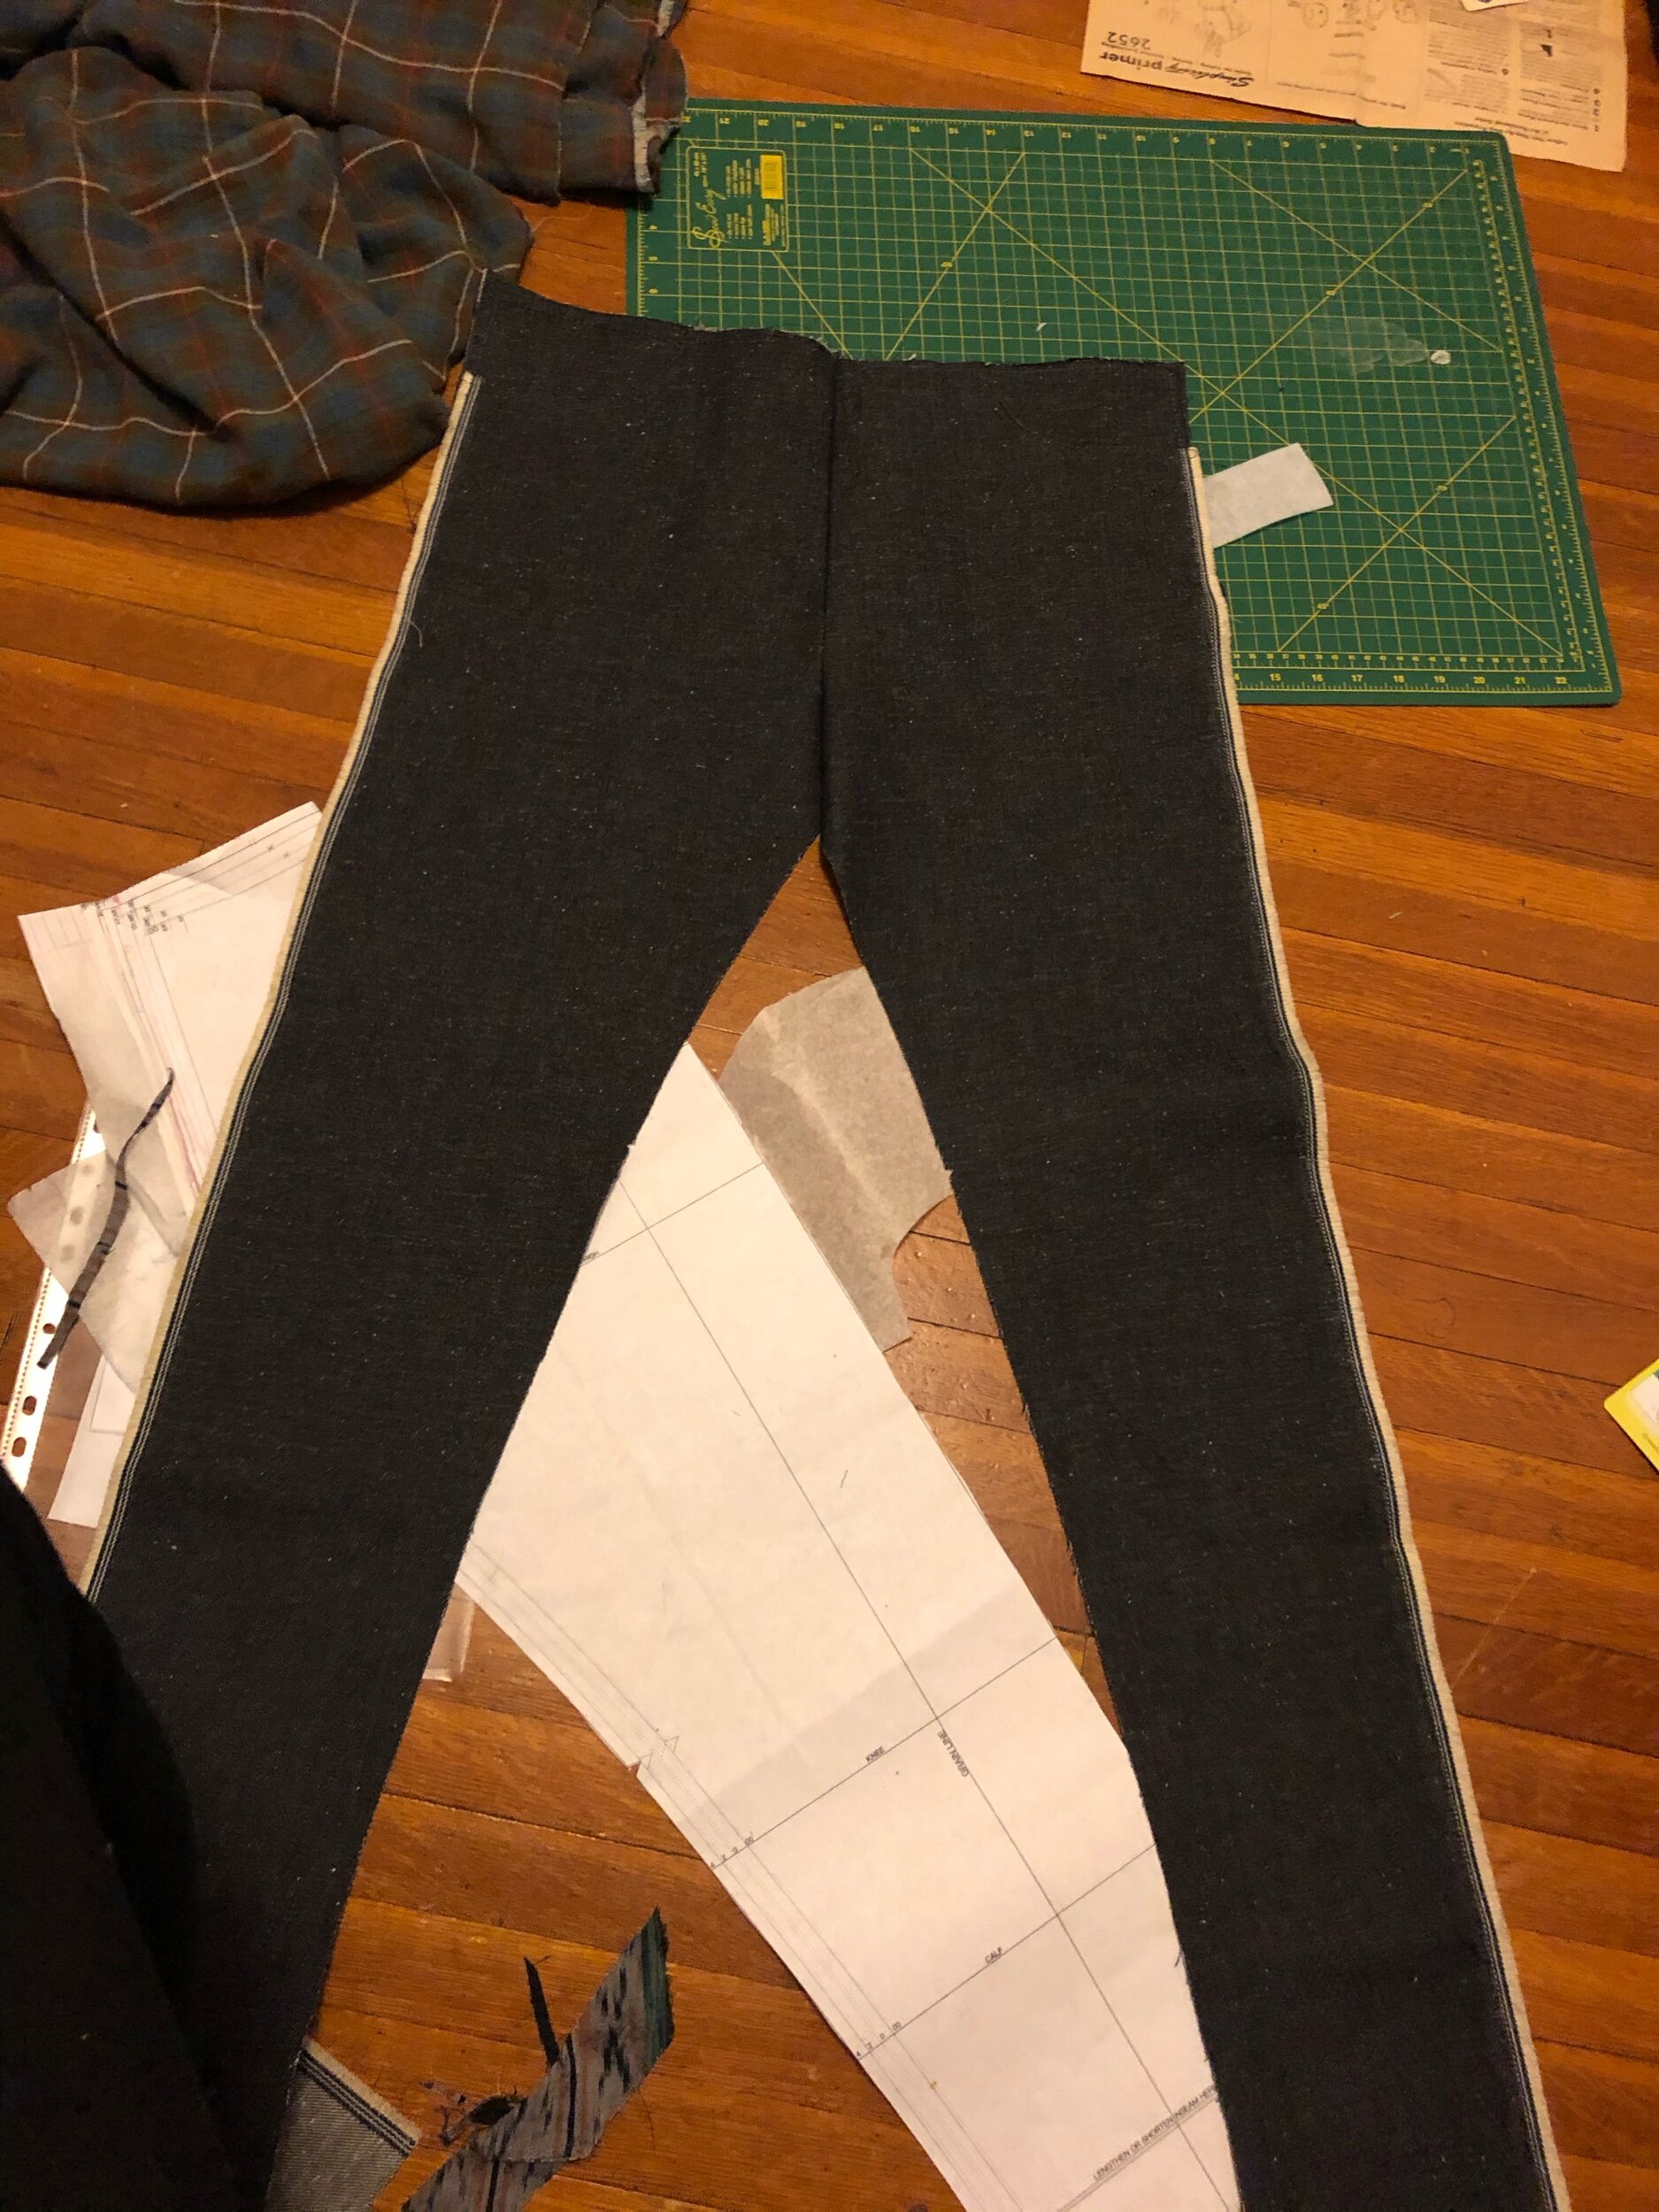
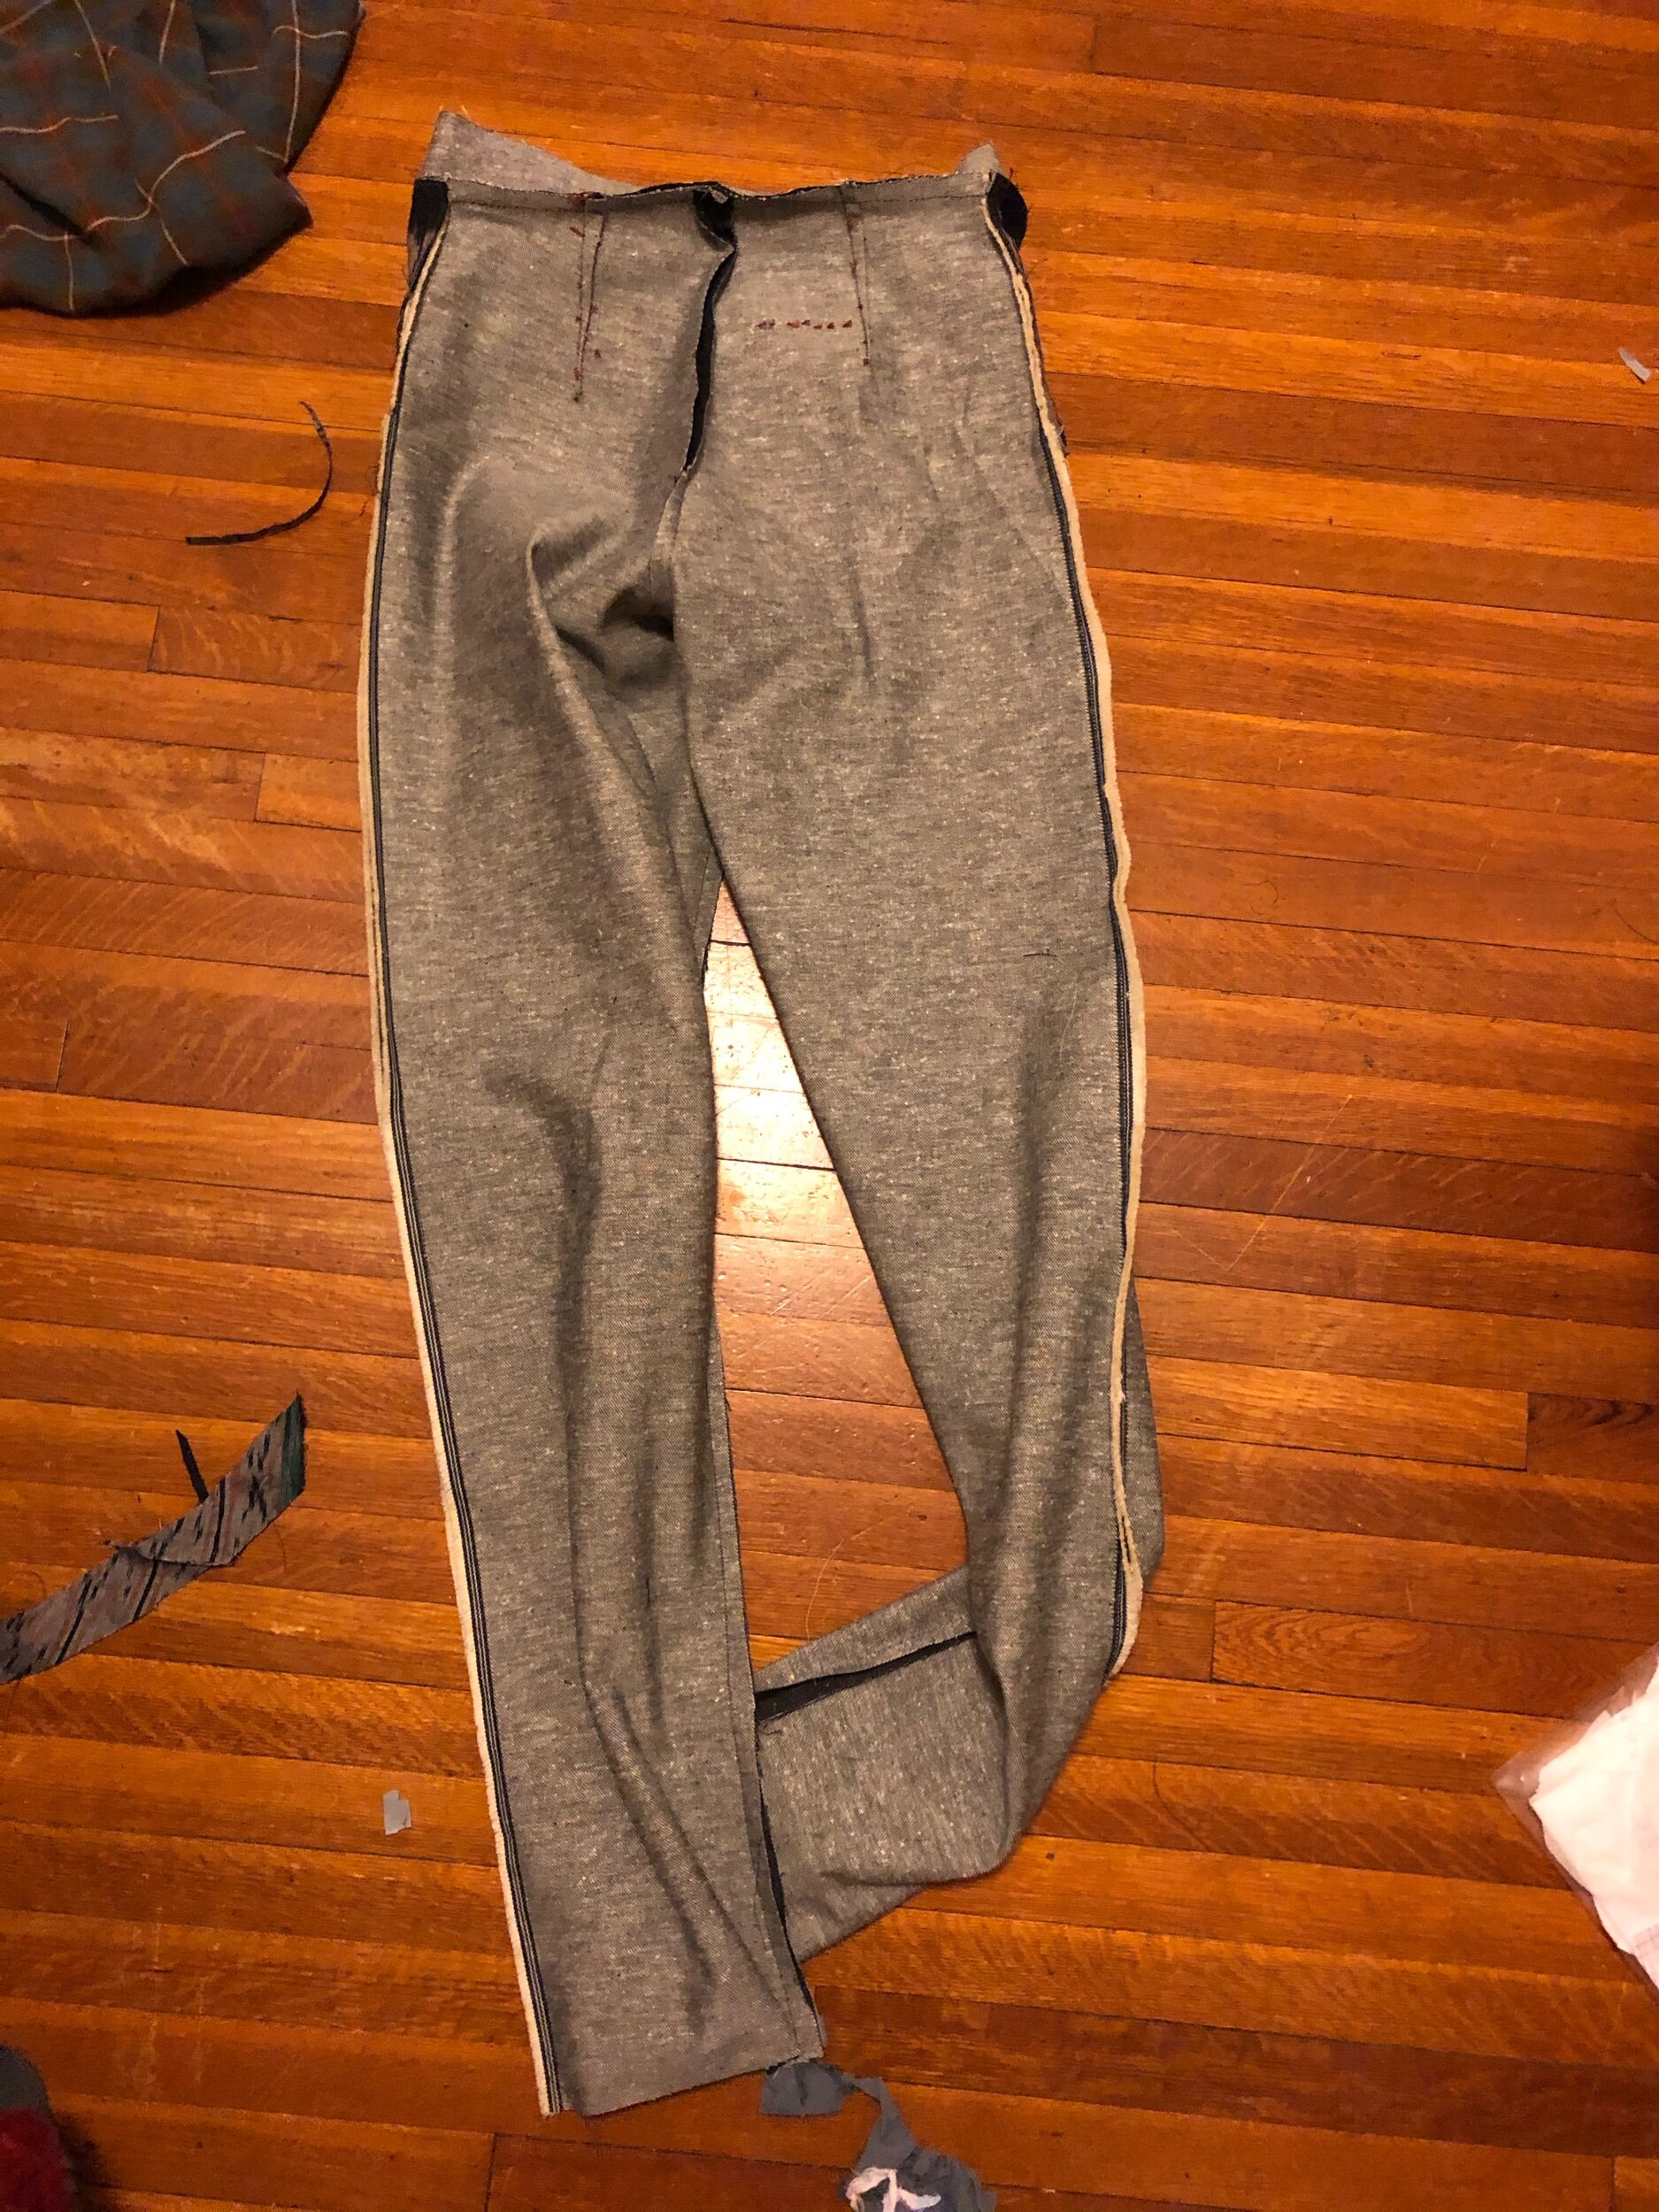
Progress now that I have an idea what I’m doing sort of hopped along - you can see end-of-session project updates in the photos below. I cut a few weeks before actually starting sewing, then hour one got the pockets assembled, session 2 got the fly region/fronts together, three basted, then four got up to that last side-seam. Five got me over the top with the waistband and hems and rivets all. Perhaps that’s why the waistband leaves a little something to be desired.
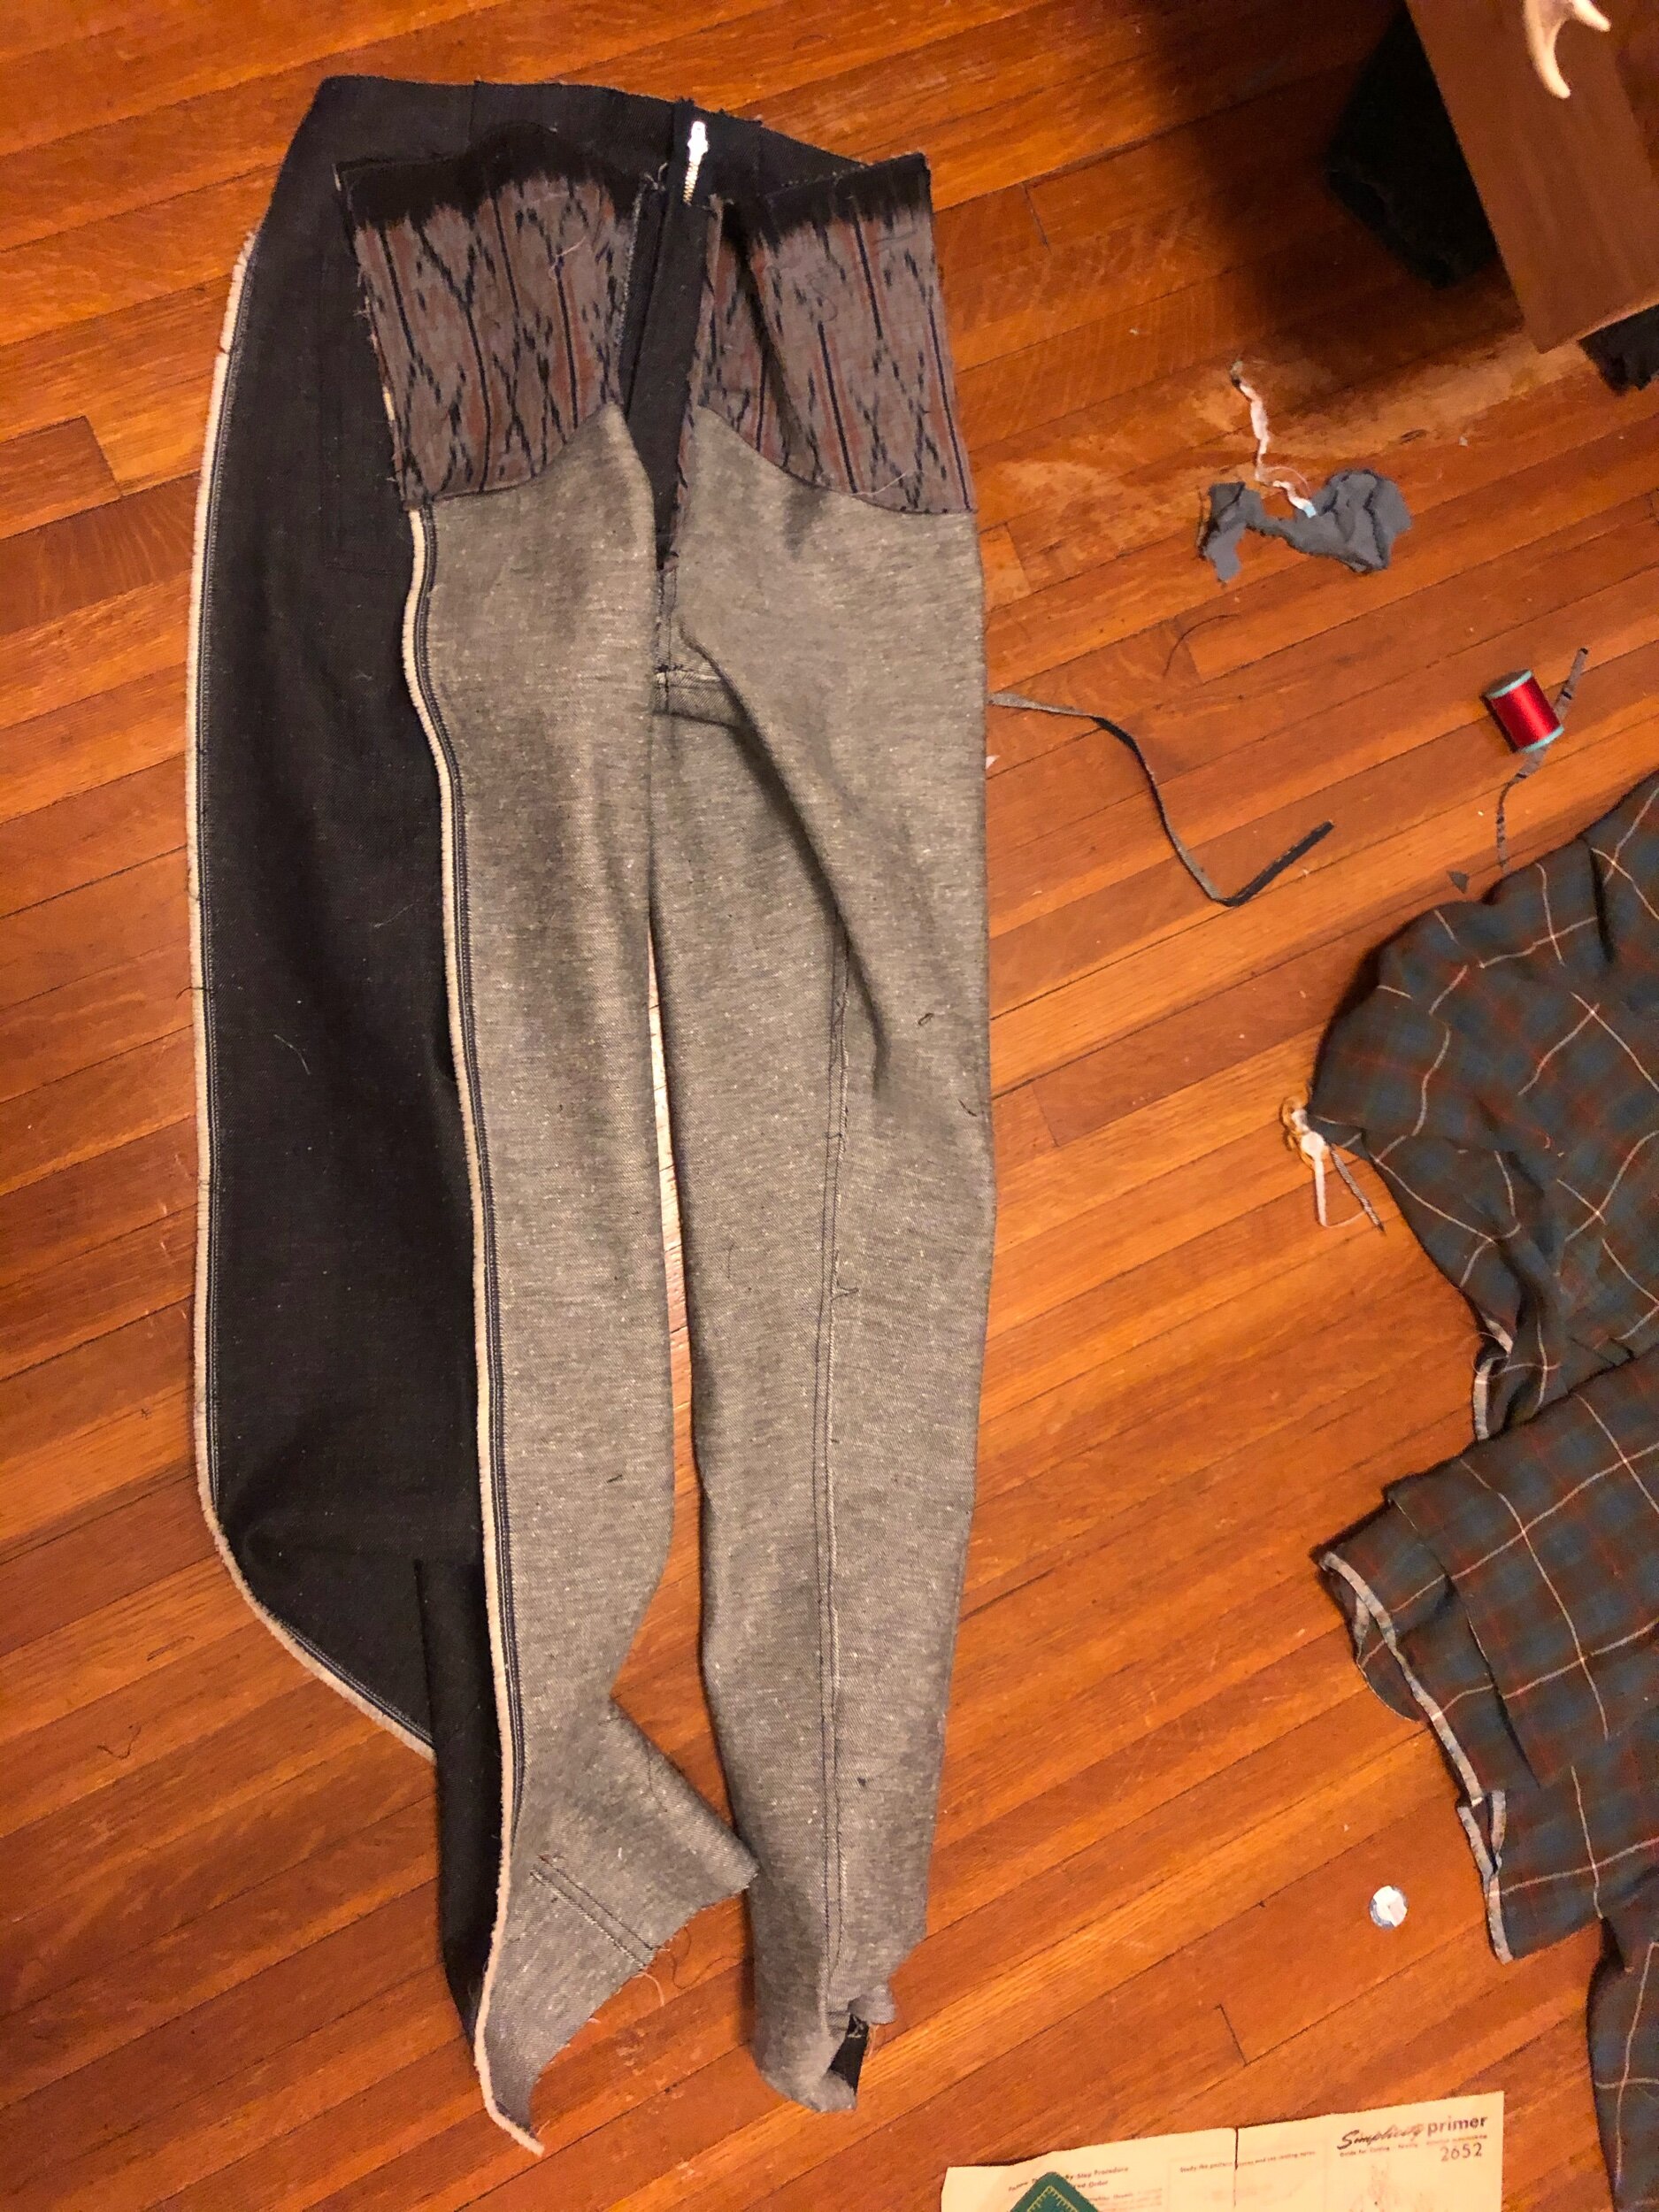
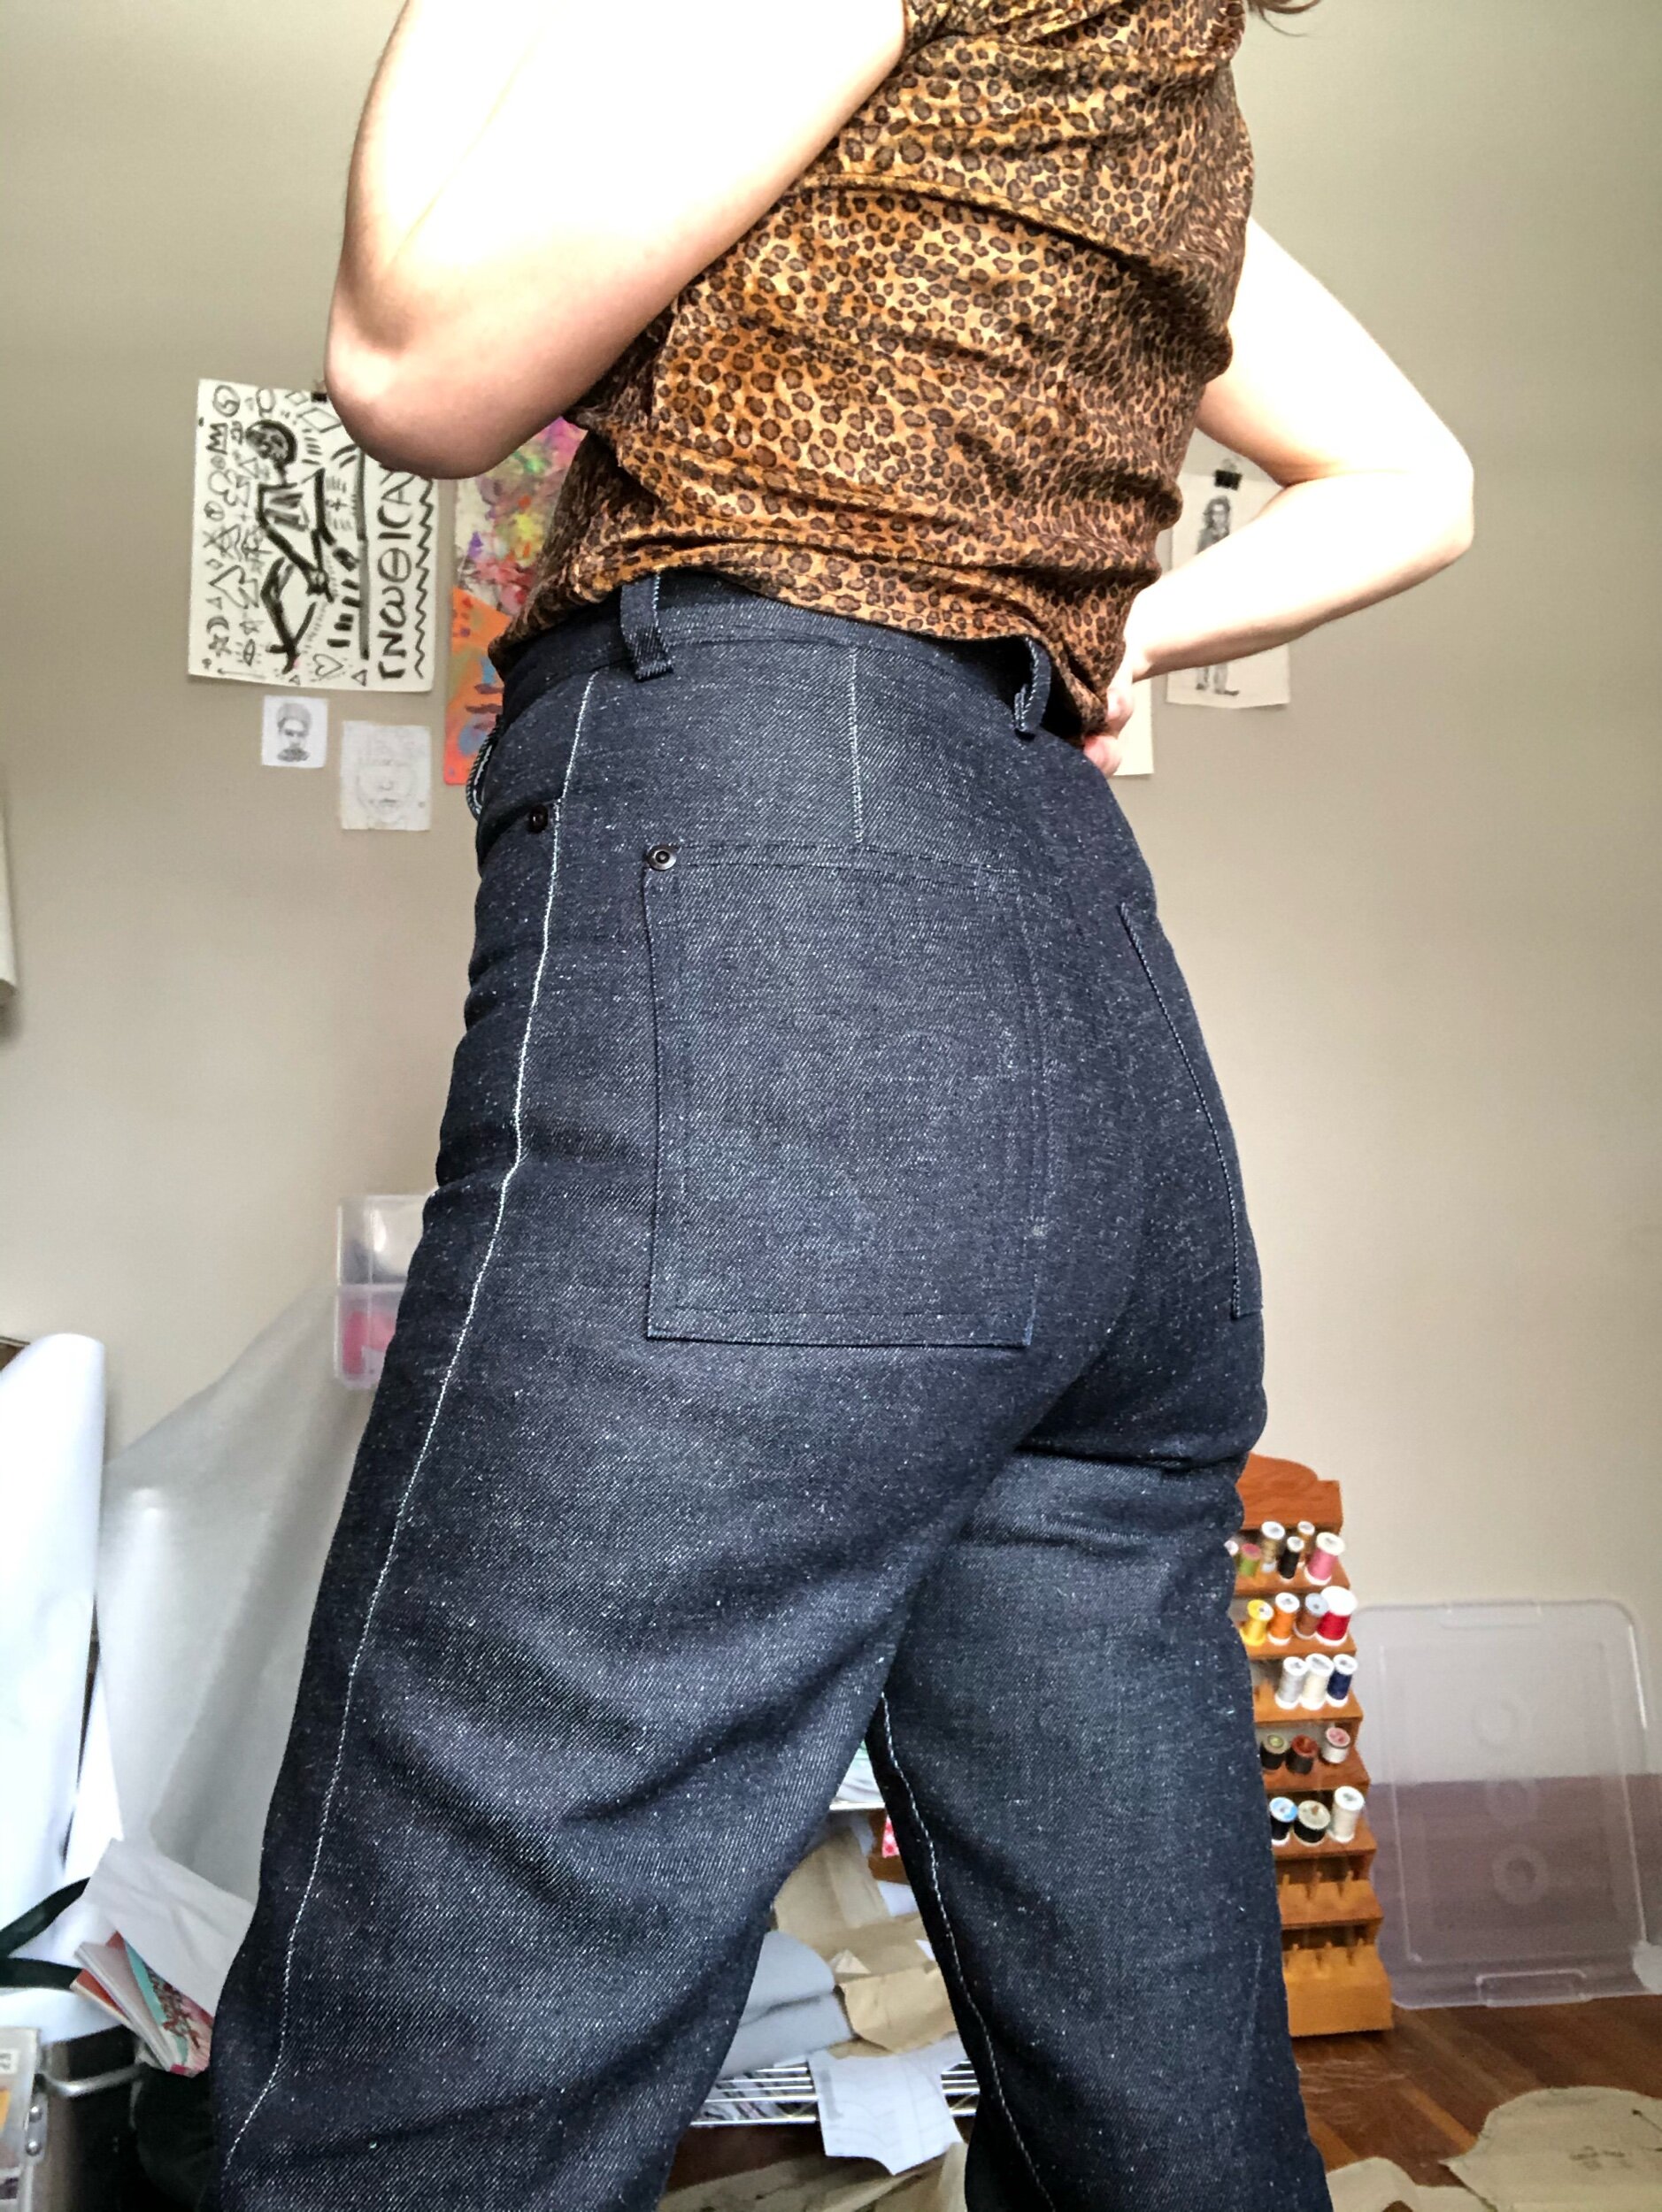
One happy surprise here was that in lieu of visible topstitching, I have the white warp yarn showing at side seams and the back darts, providing some visible structural highlighting. Very cool, denim! Very cool job!
Mmmmm… oh other thought - rivet hammering is not as satisfying to me as for others. One of the front pockets is still rivet-less after two just bent. At least the front button placement is closer to right this time, and no giant dumb ripple is happening.
Fabric: Deadstock 12 oz popcorn denim from Blackbird w/ their black matte jeans buttons kit. Pockets are leftover ikat from a shirt for my brother and the inner waistband is a cute cotton from village green thrift.
Pattern: Philippa pants (w/ Ginger front pockets)
Size: Front = 6 waist & hips, 4 leg // back = 6 waist, 4 hips & legs — added a 1/4 inch wedge to front crotch curve.
Next time: I have yet to master a truly clean waistband - that’s the dream right now. Improve rivet installation technique
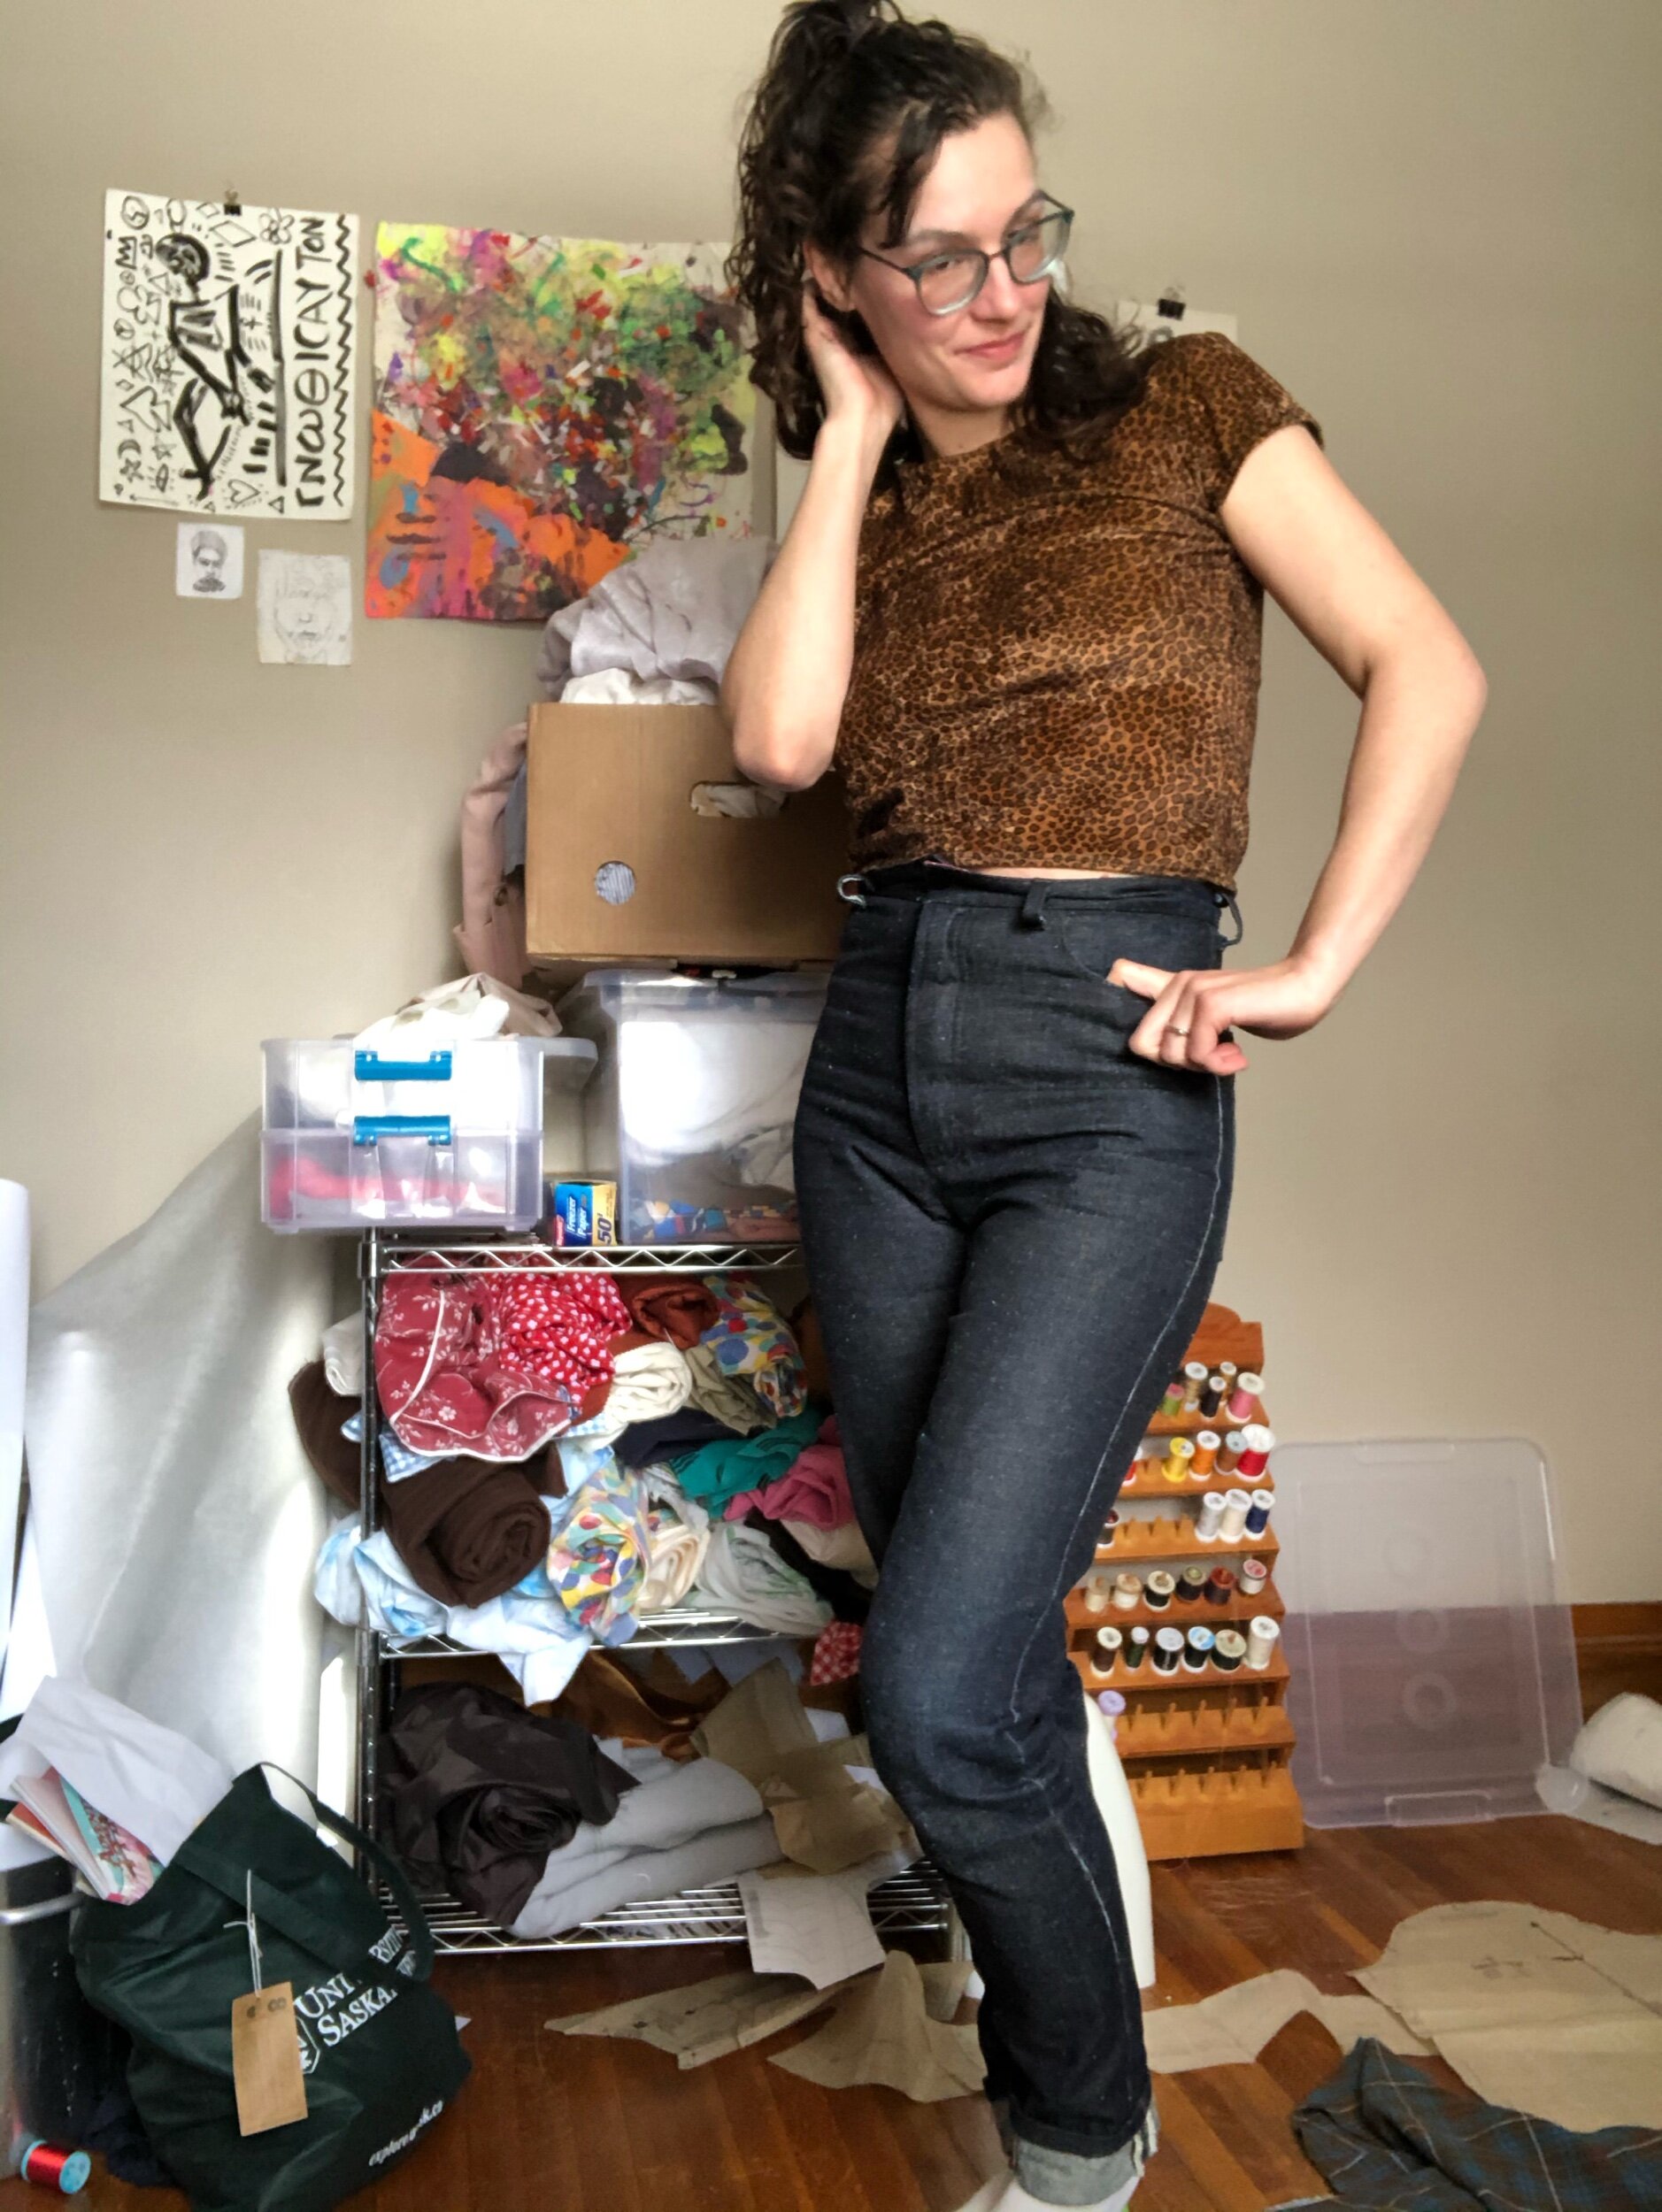
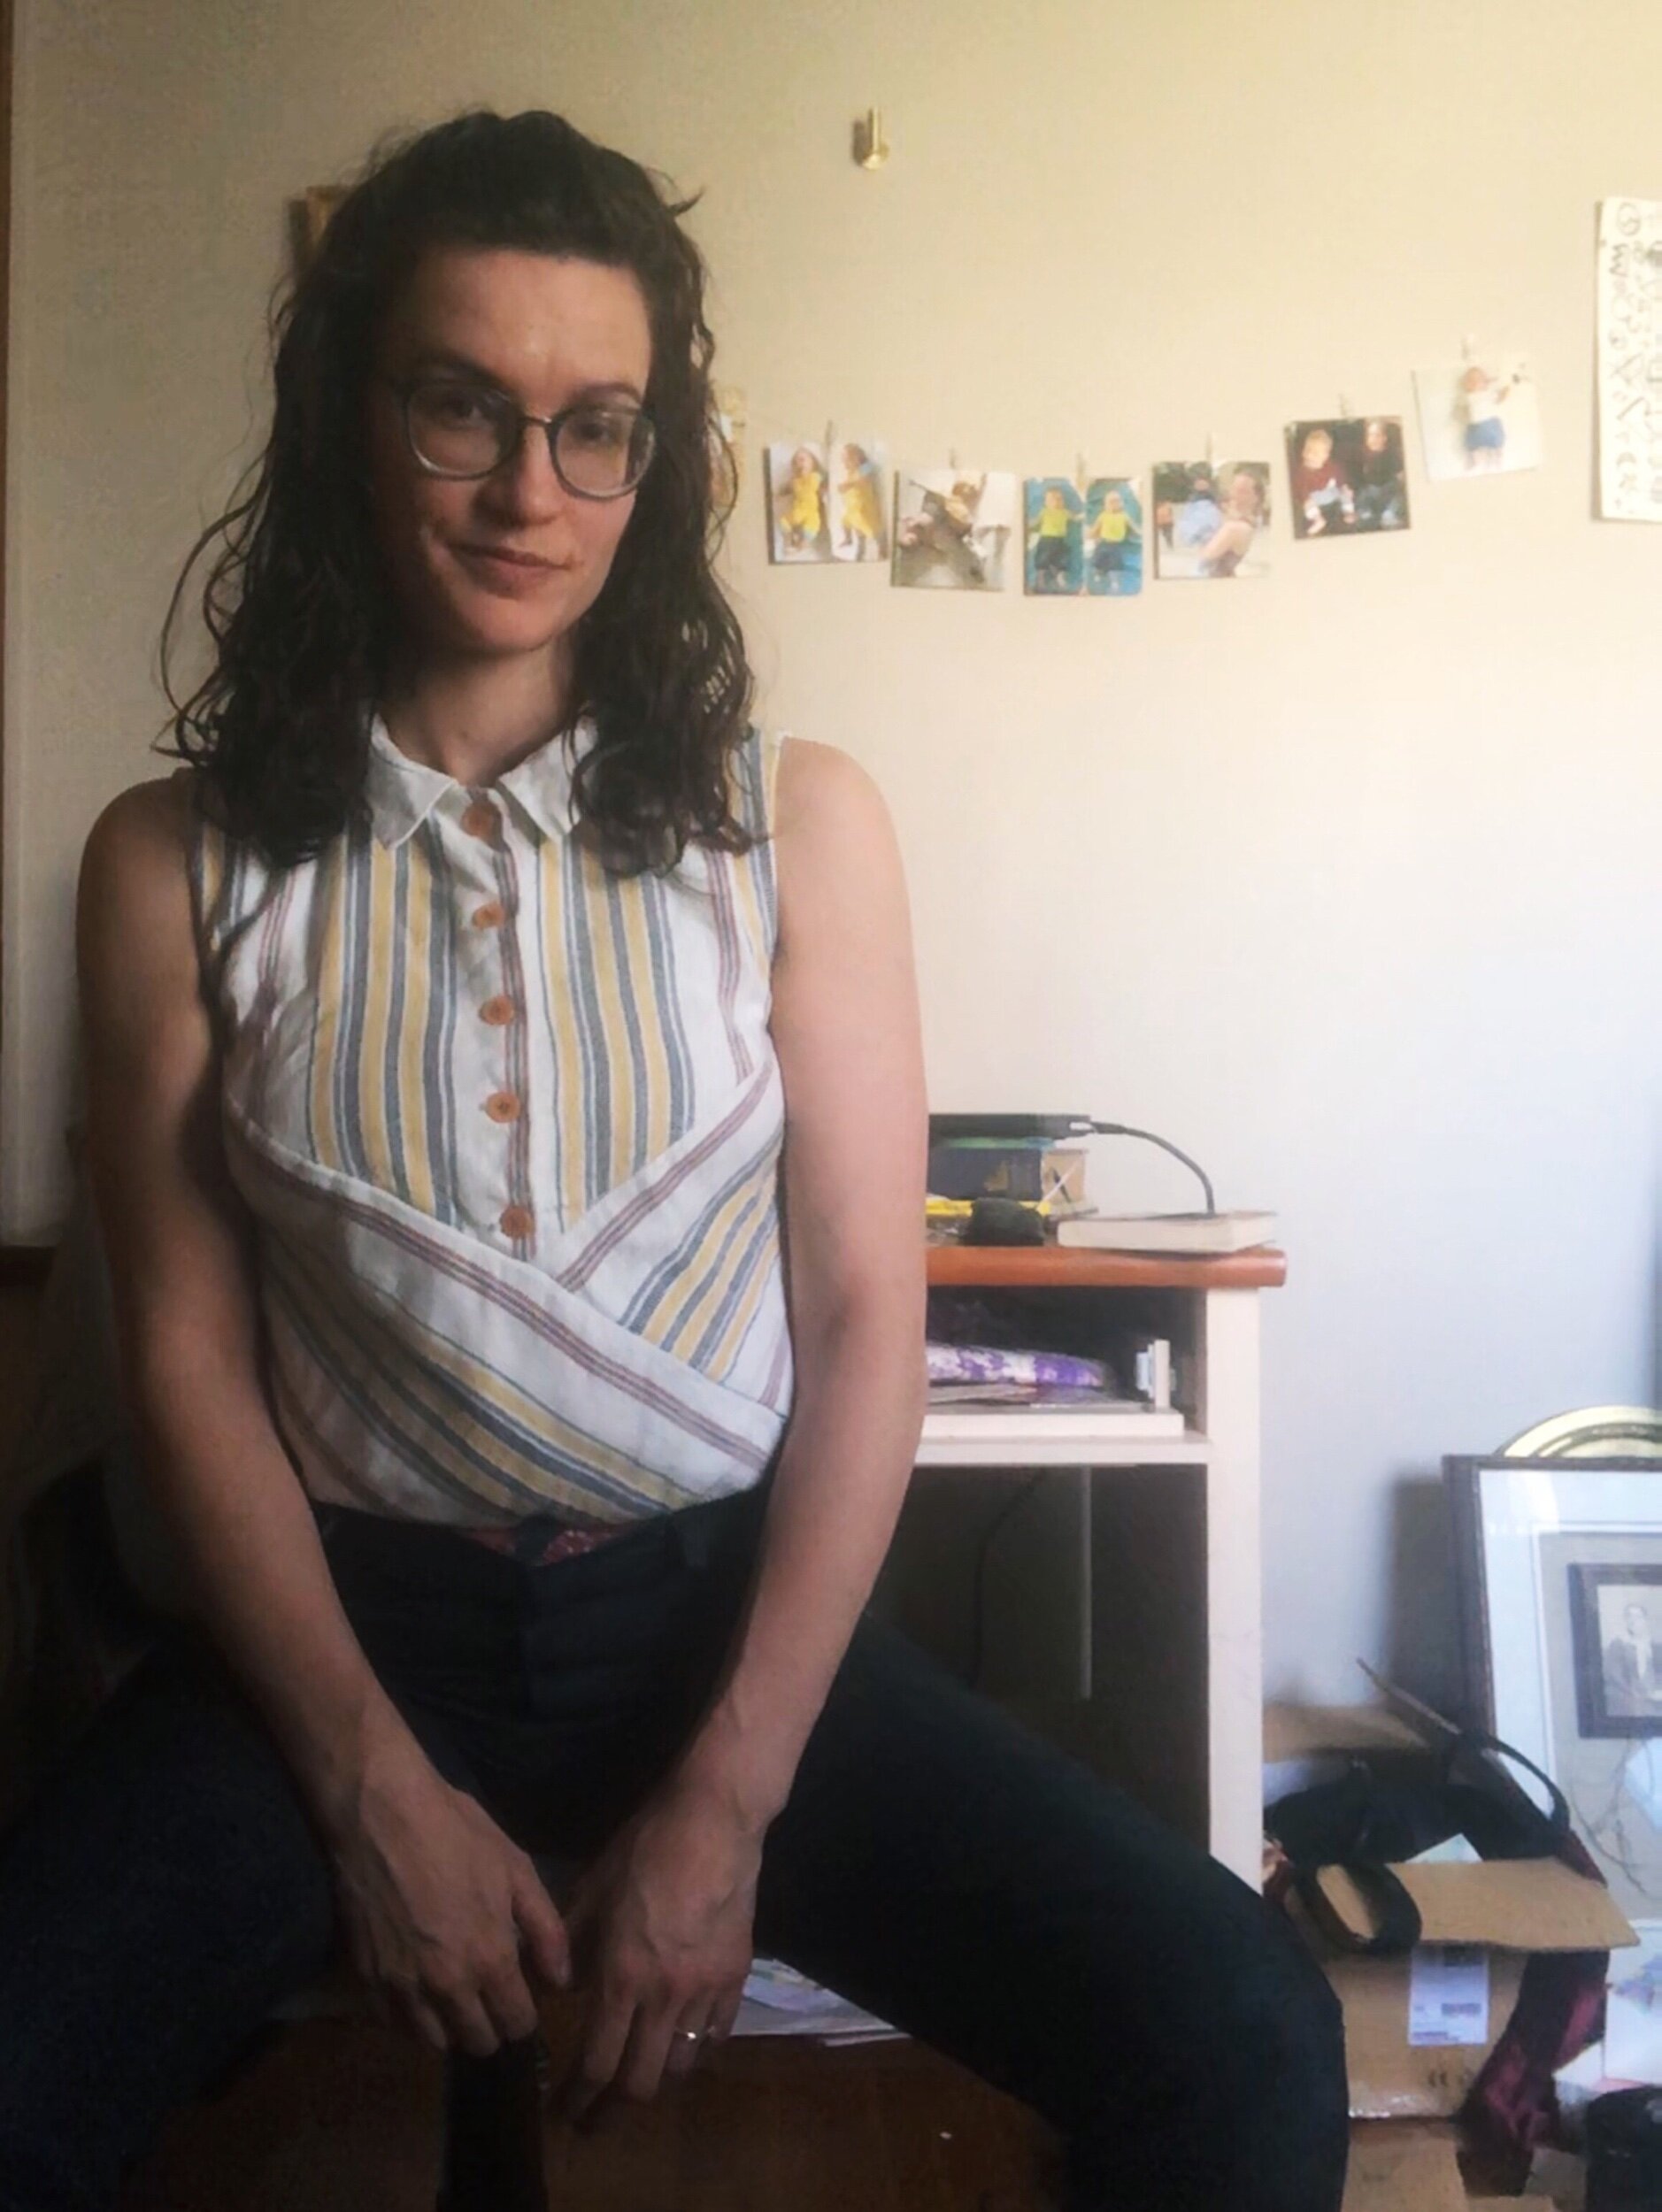
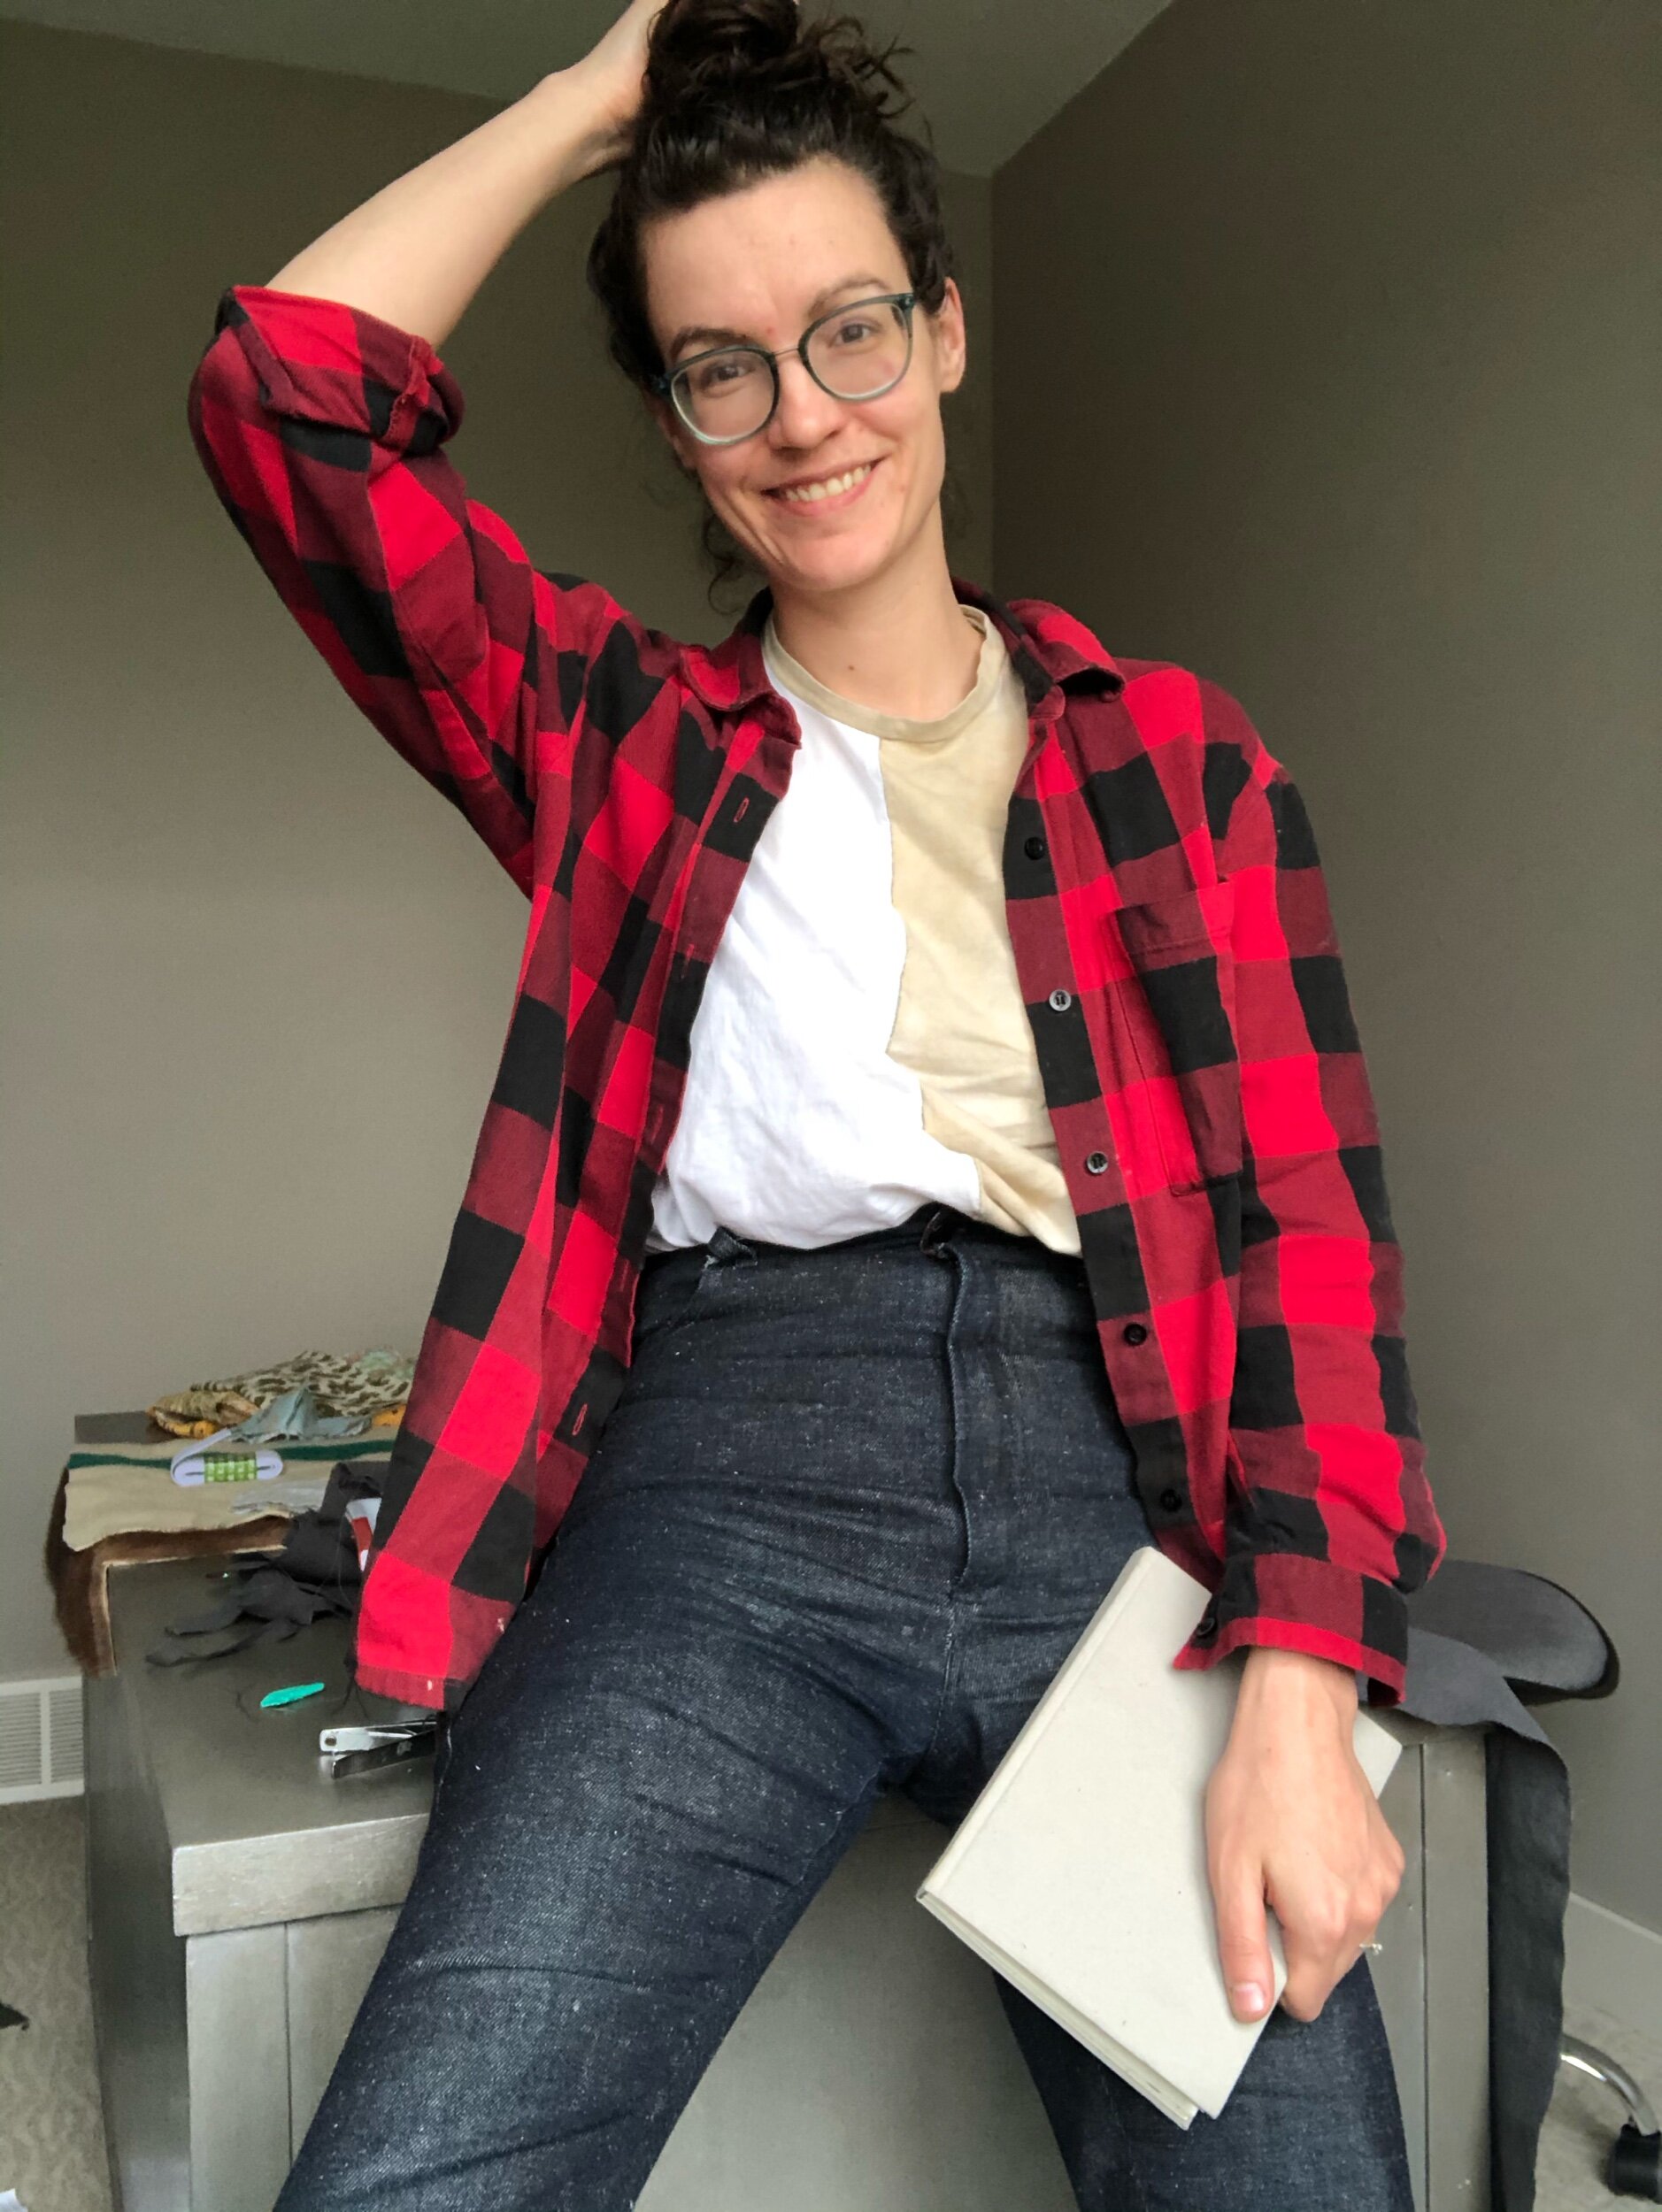
Worn IRL