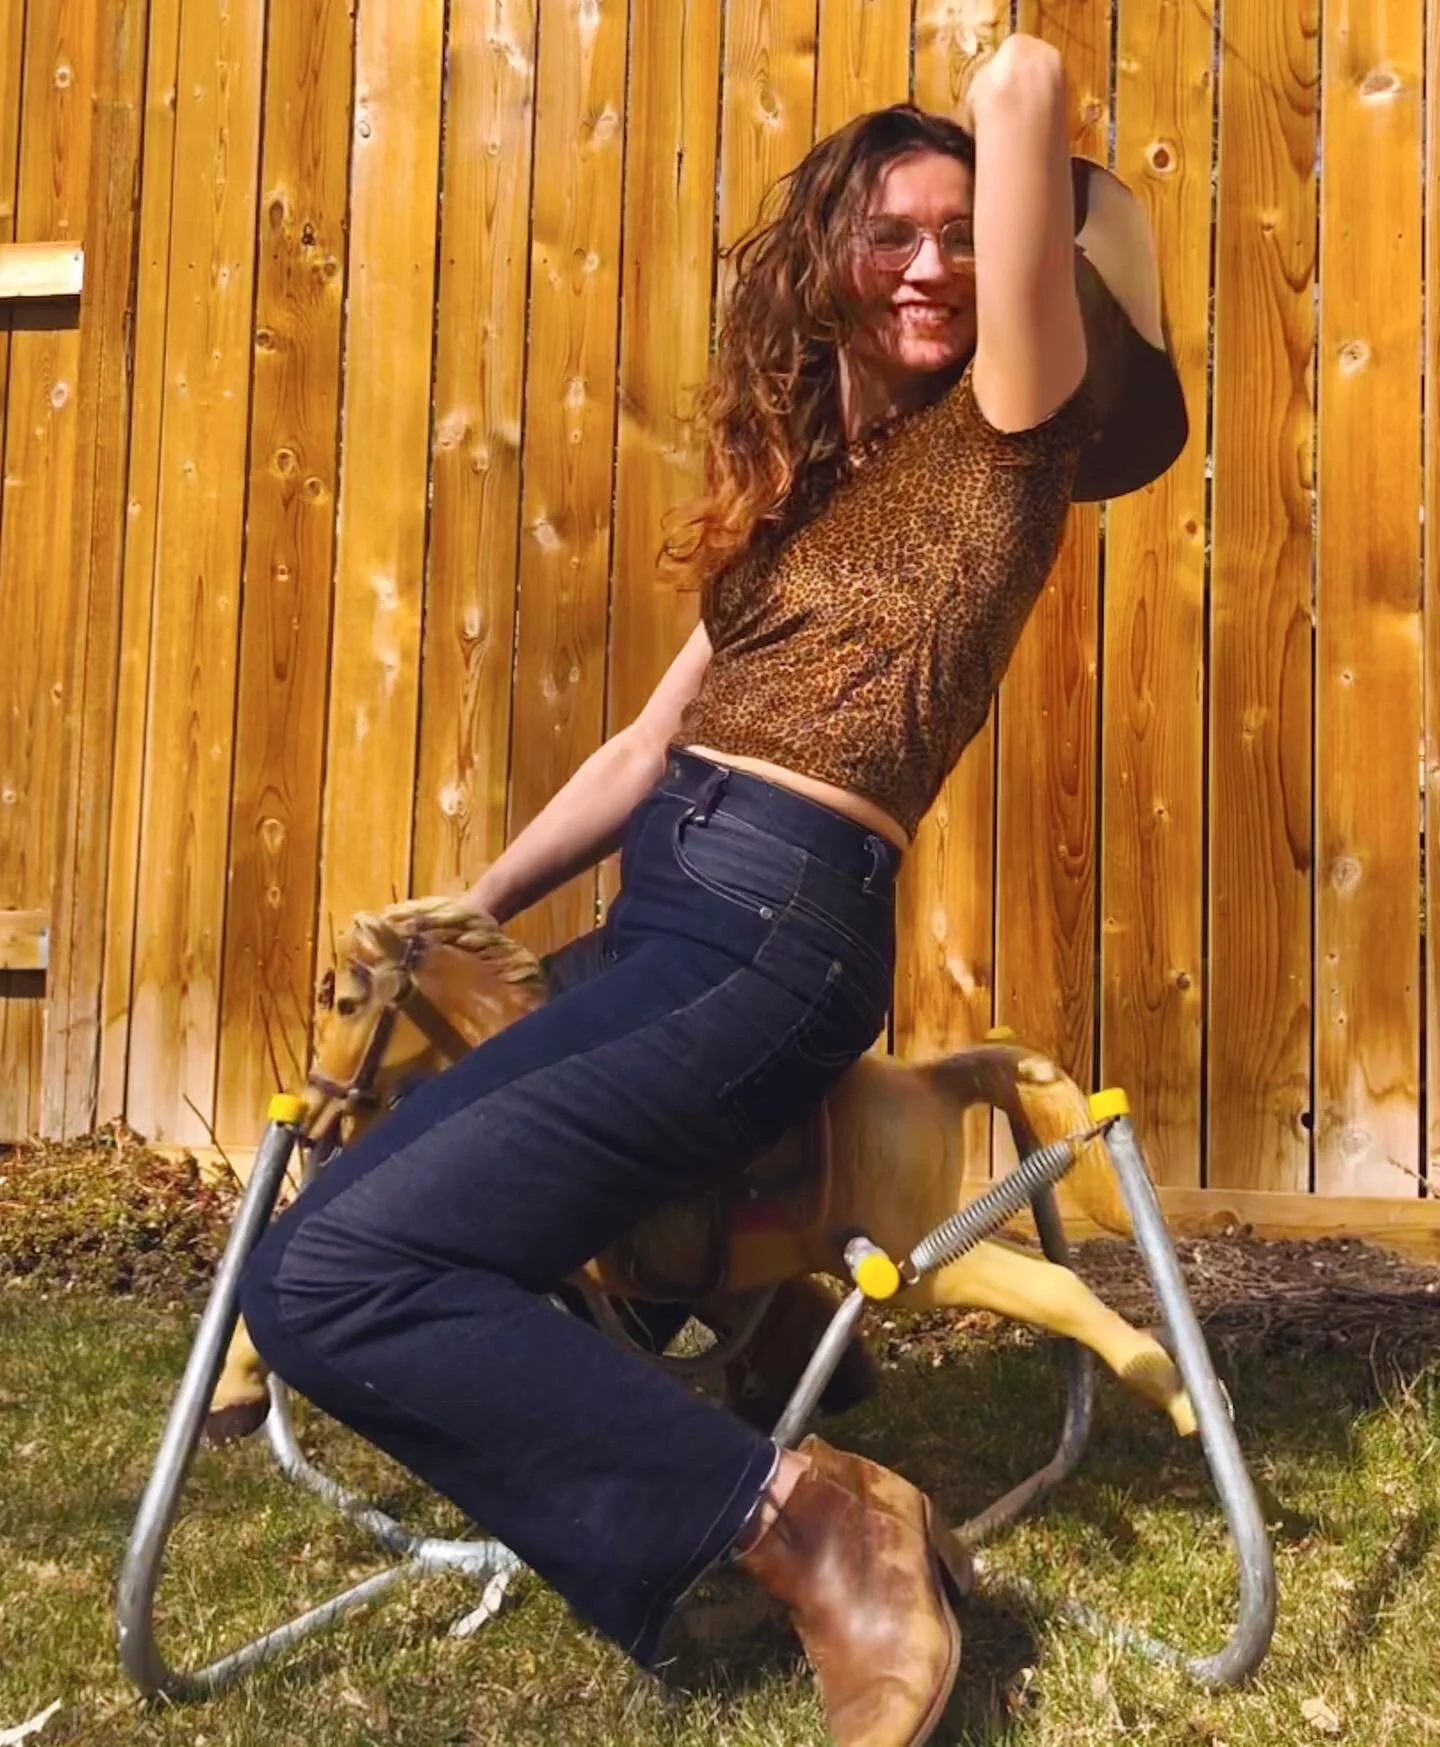
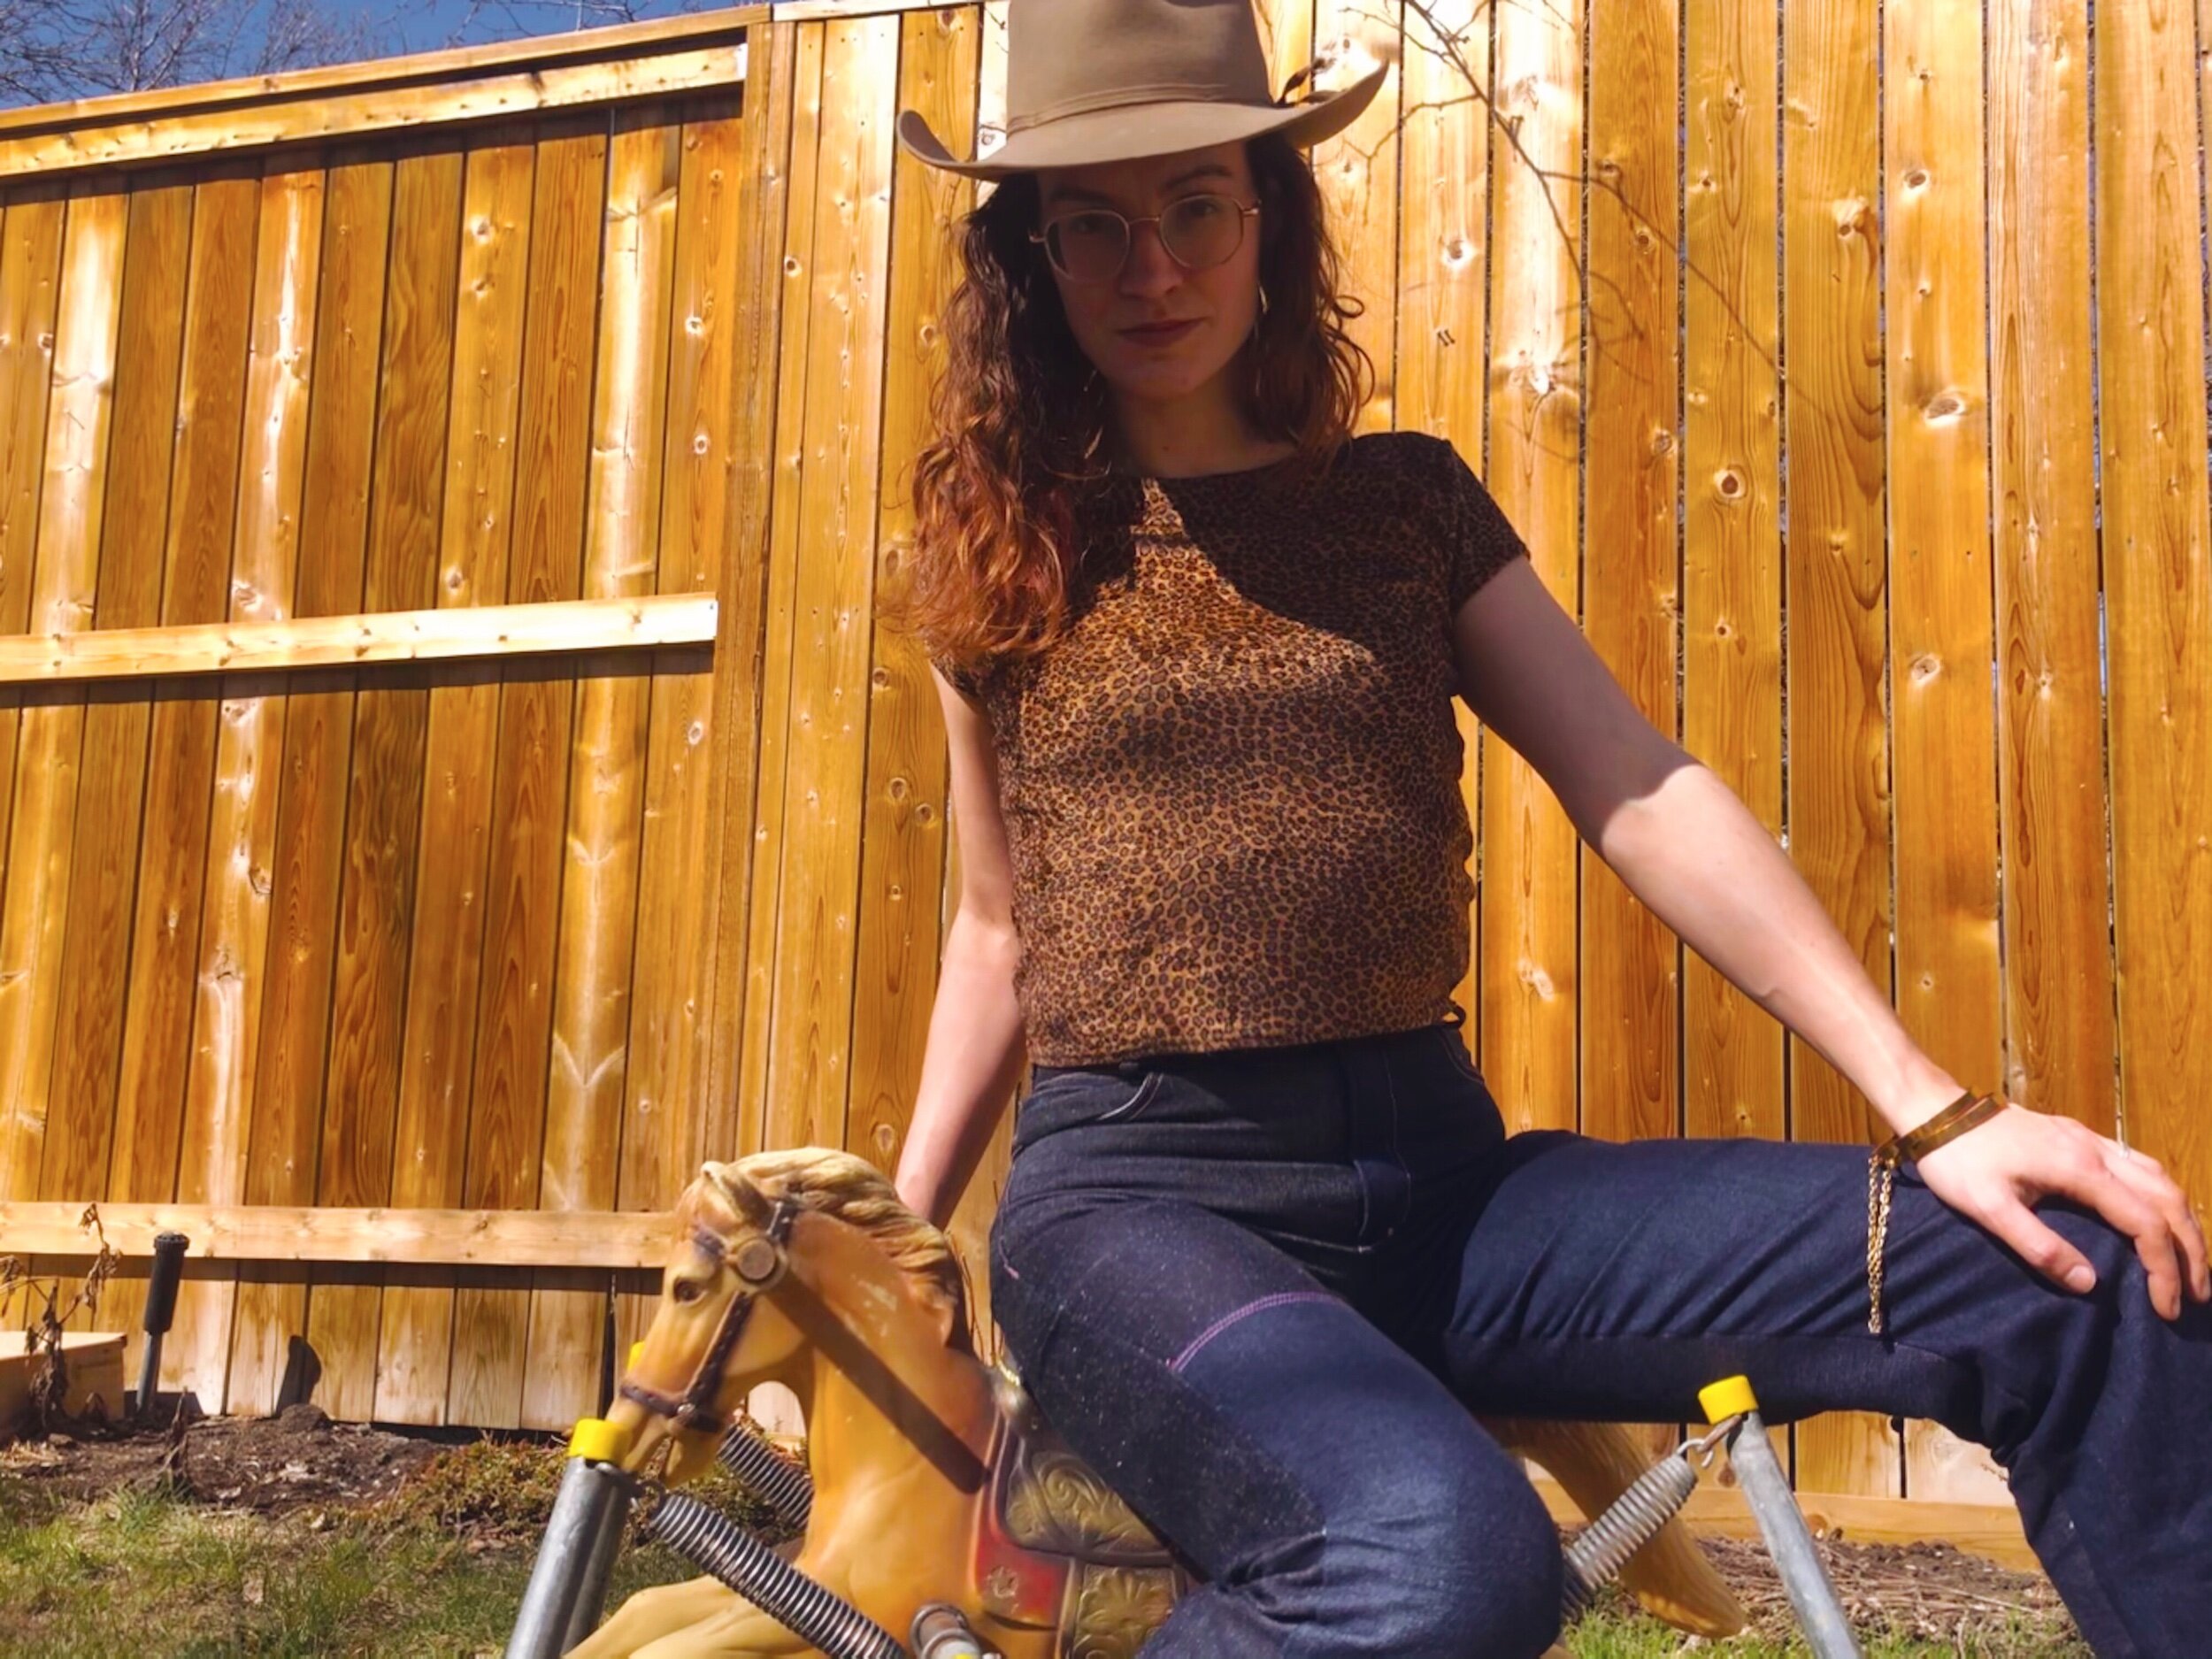
Straight leg jeans - Philippa Pants
At what point can you just say you drafted something yourself? I’m starting to think of Philippa as my perfect block for making any jean fit type of pant (ie, with a close to the figure crotch).
Anyway, these are my true, yoked, 4-pocket (i have never in my life made use of a coin pocket in either front or back so can’t bring myself to add them in, straight leg Philippa jeans.
Pattern adaptations include creating the yoke, lowering the rise, adding a bit of length in the front crotch, and converting the straight leg to a taper. Plus adding jeans pockets to the front, tho I’ve done that to every pair of these and it’s just part of my basic block now.
Straight leg was up first, and easy rotation of the pattern to create more width, roughly 2” out (I say roughly bc I eyeballed on the fronts and then used that to add the same to the backs).
Then I mucked with the crotch a lil teensy bit - I ended up just adding a wedge of length (1/2 or quarter inch?) at the center front seamline, then trued it all up. Oh and then I realized that my last pair of philippas pulls backwards at the top of the side seam, so I moved the seamline forwards an inch and a half to correct this.
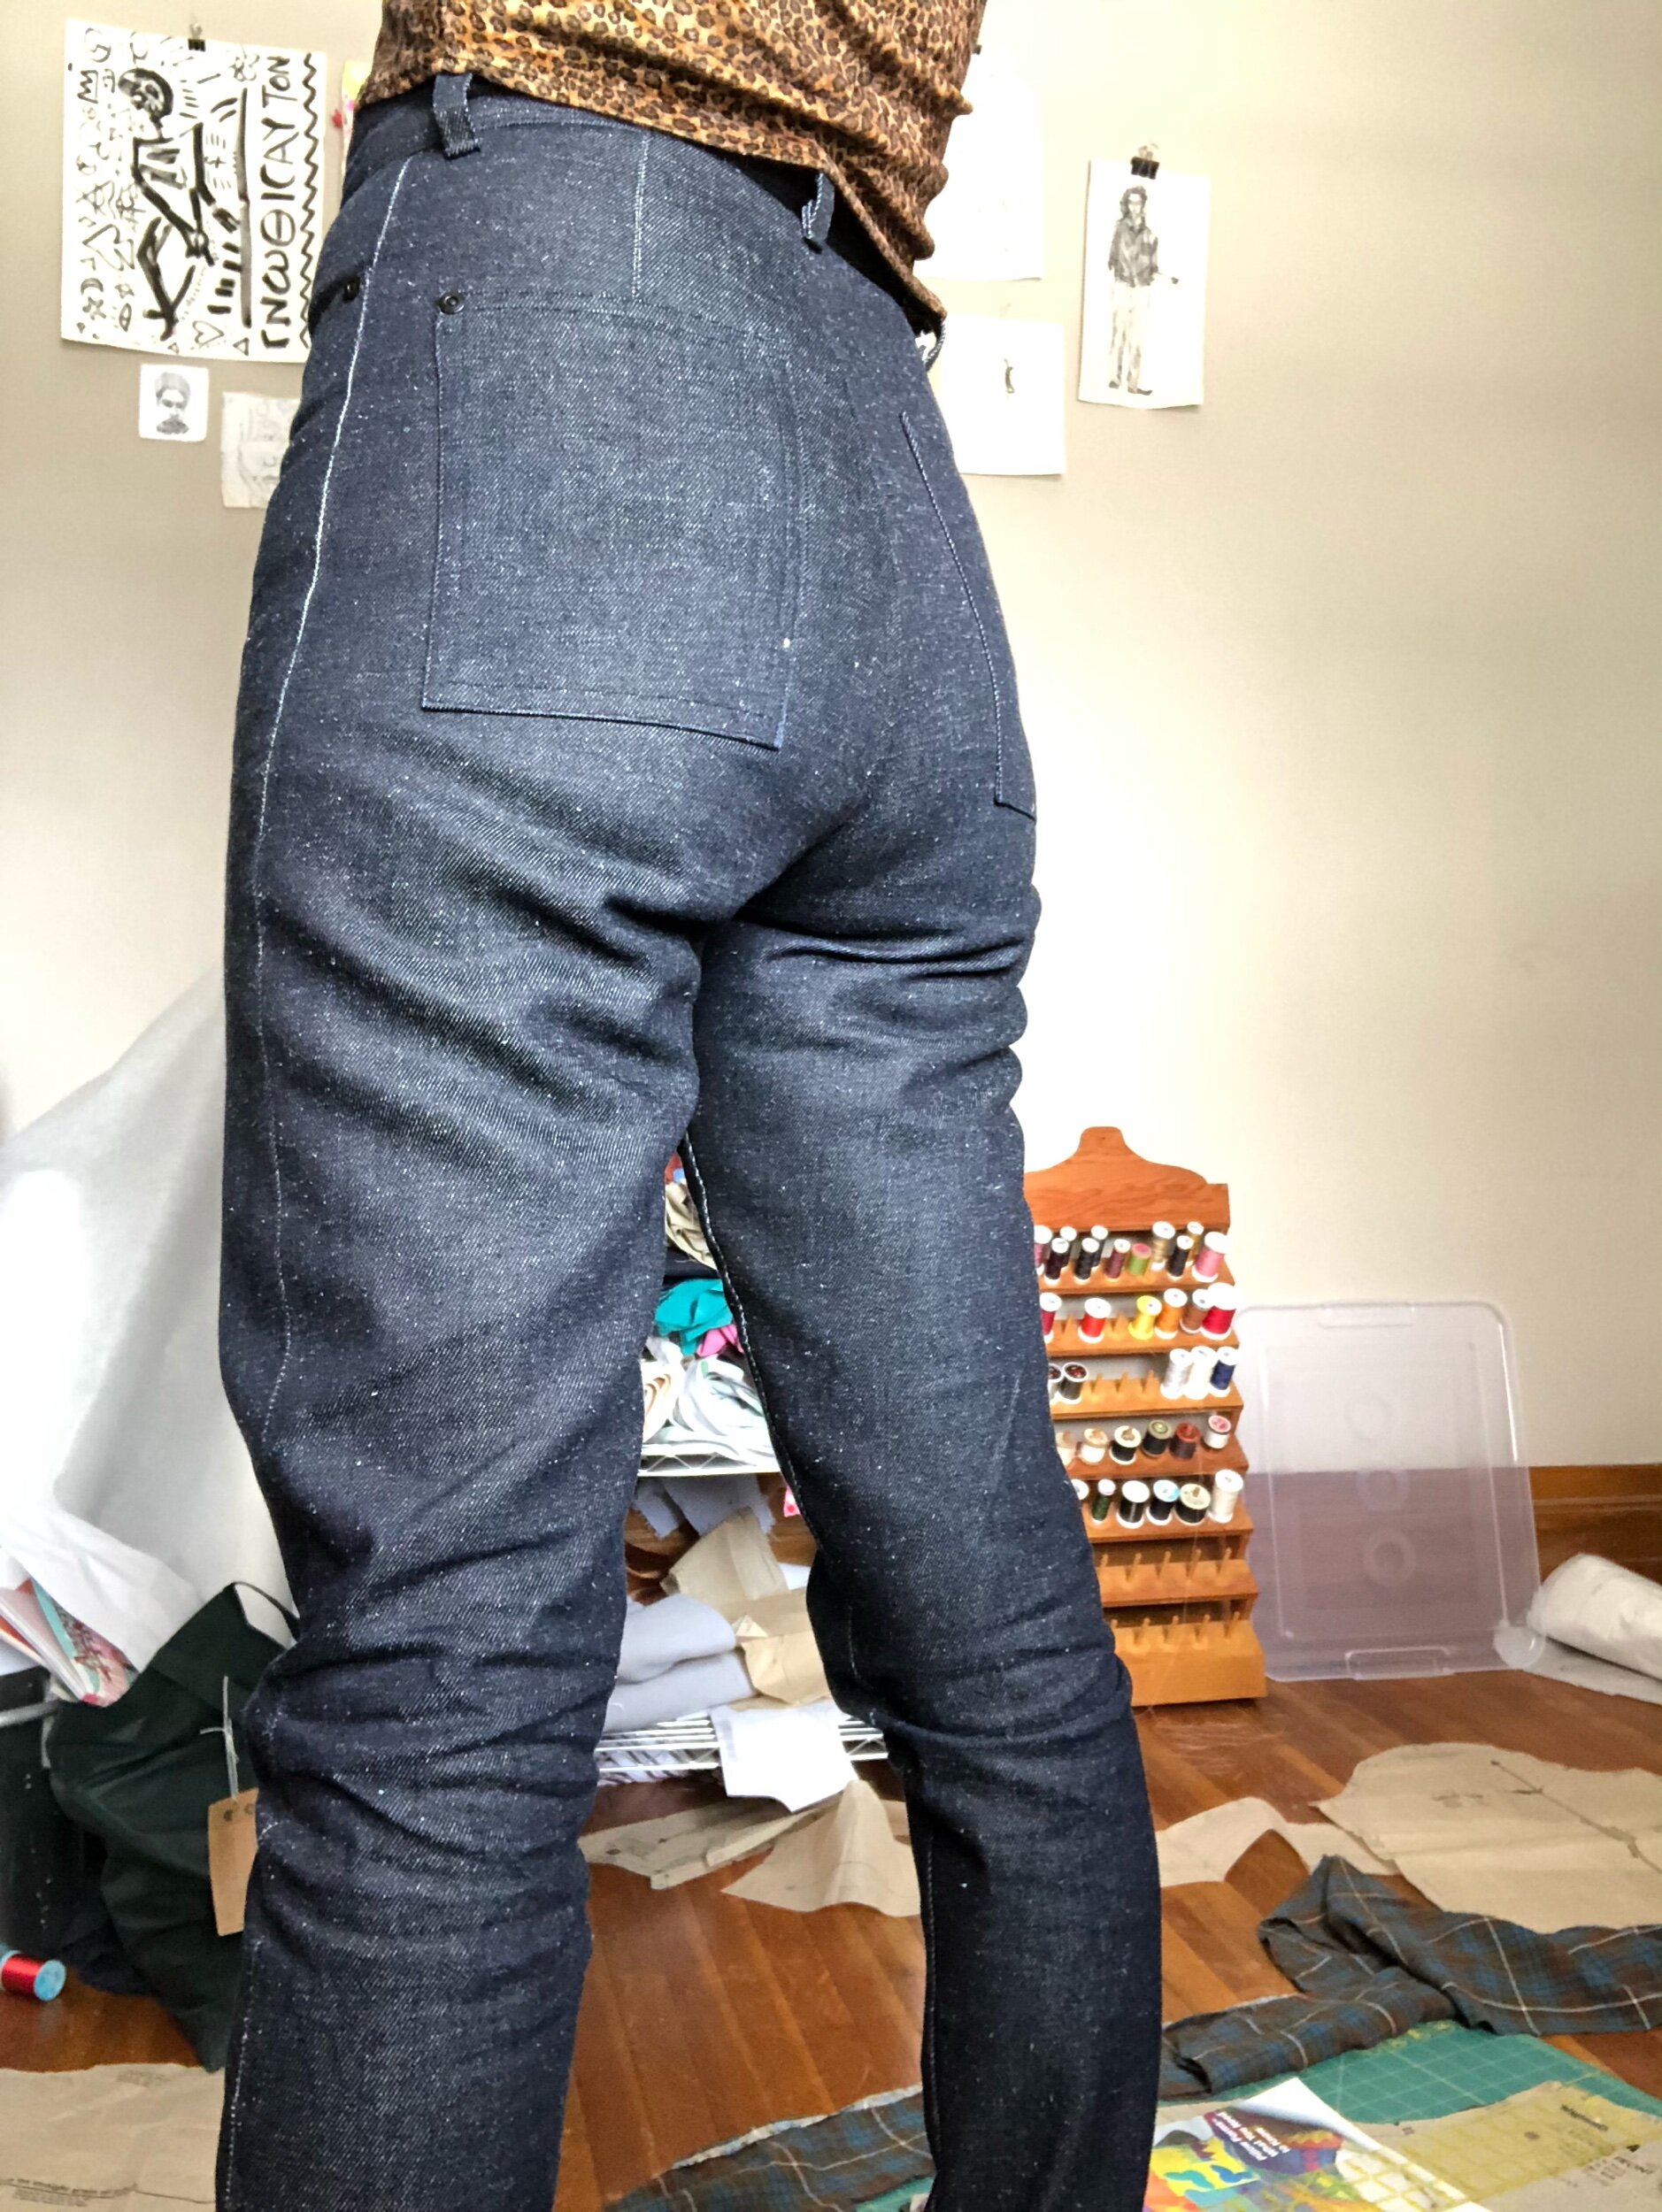
Then I drew in the yoke, which I kept doing backwards for some reason, and I really dislike the look of yokes that get wider at the sides. The biggest challenge here for me was understanding how to work with the length of the dart and still rotate it sideways. I ended up lopping off a little at the bottom which I converted to ease, then closed up the dart, drew in a yoke that looked right, and rotated the dart to the side. I need to raise this for aesthetic reasons next time I try this edited pattern out.

Then came testing, for which I used a couple of shorter lengths of denim I have from a Fabcycle mystery pack. One of them is the beloved popcorn denim, but the piece is flawed. So I Frankensteined my pieces together and you get a pieced yoke and pieced front left leg, the second of which I emphasized w topstitching.
Maybe it’s the wedge I added at CF, but I found the rise too high for my tastes this time, a bit oddly because I do wear many a bottom garment up past my belly button. I hacked off a full inch and a half, moving down the front pockets as i re-cut., This left a bit of an issue at the back yoke seamline, but this being a test garment with little fabric to work with, we made it work. ie. used small seam allowances at the top and fudged it all.
At this point I moved to sewing the garment up, and other than an issue where I just kept doing one of the front pockets wrong, was pleasant smooth sailing, as it is when you’re used to making a garment type.
My topstitching was quite trash for contrast stitching, so I redid the yoke three dang times.

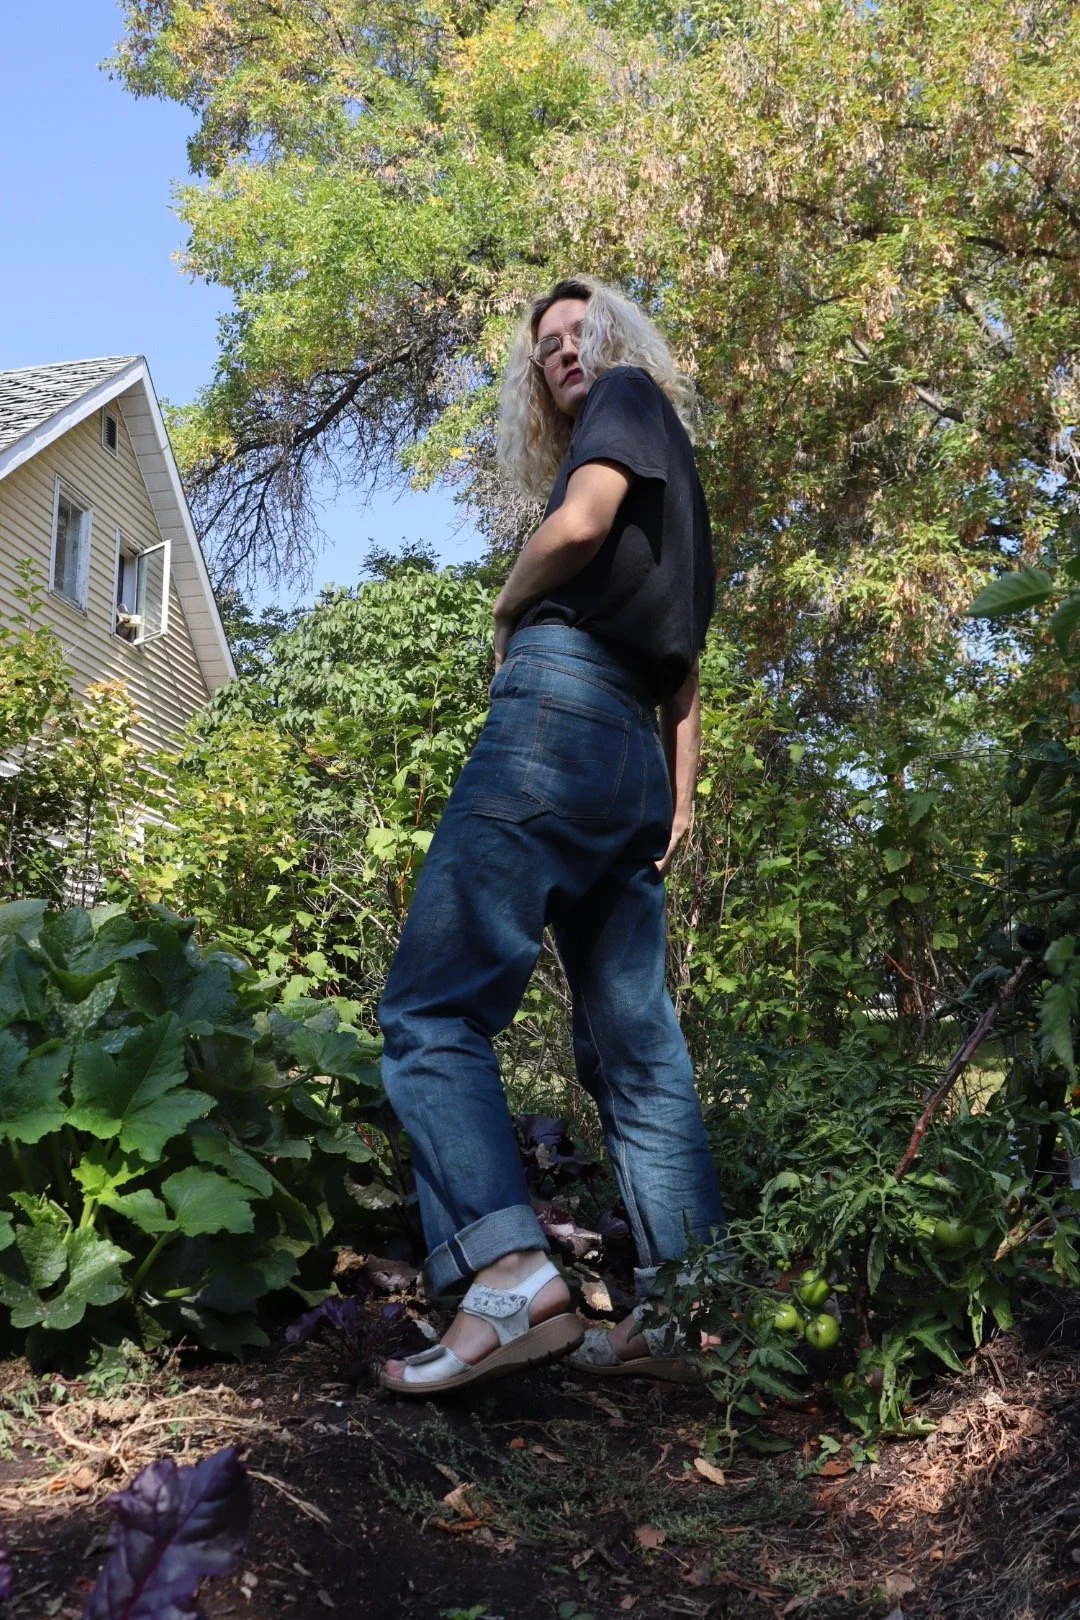
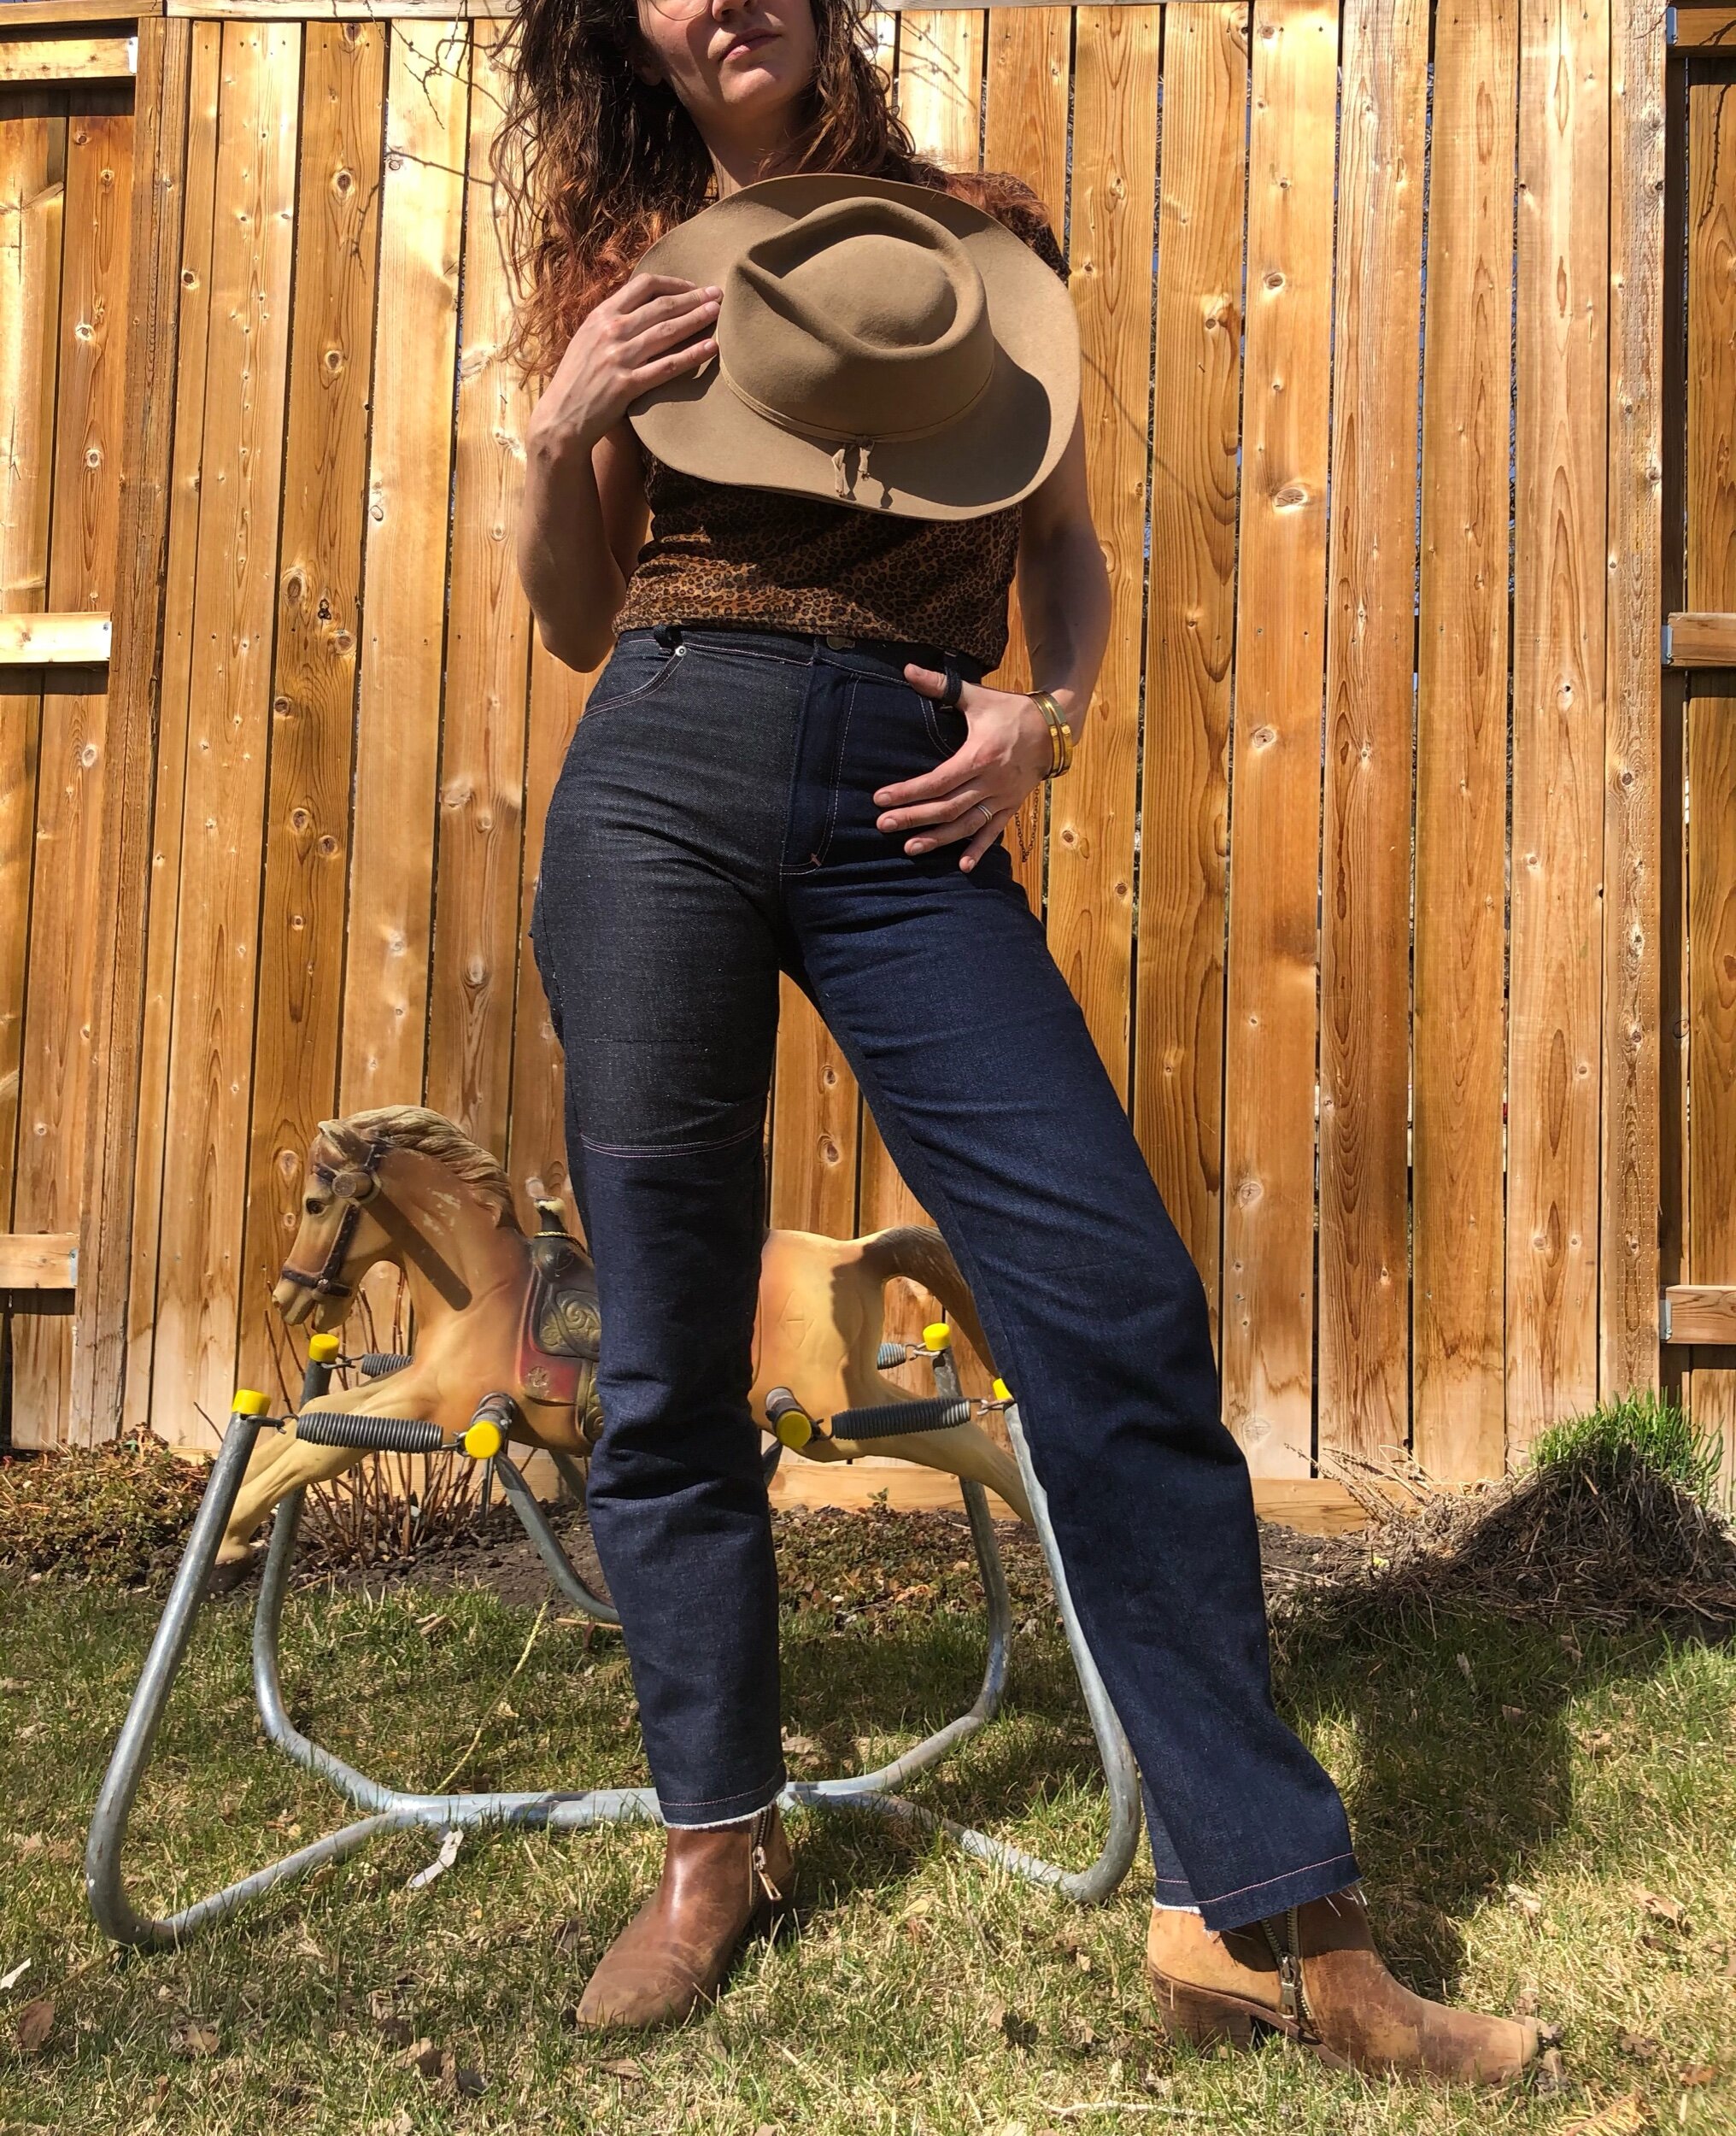
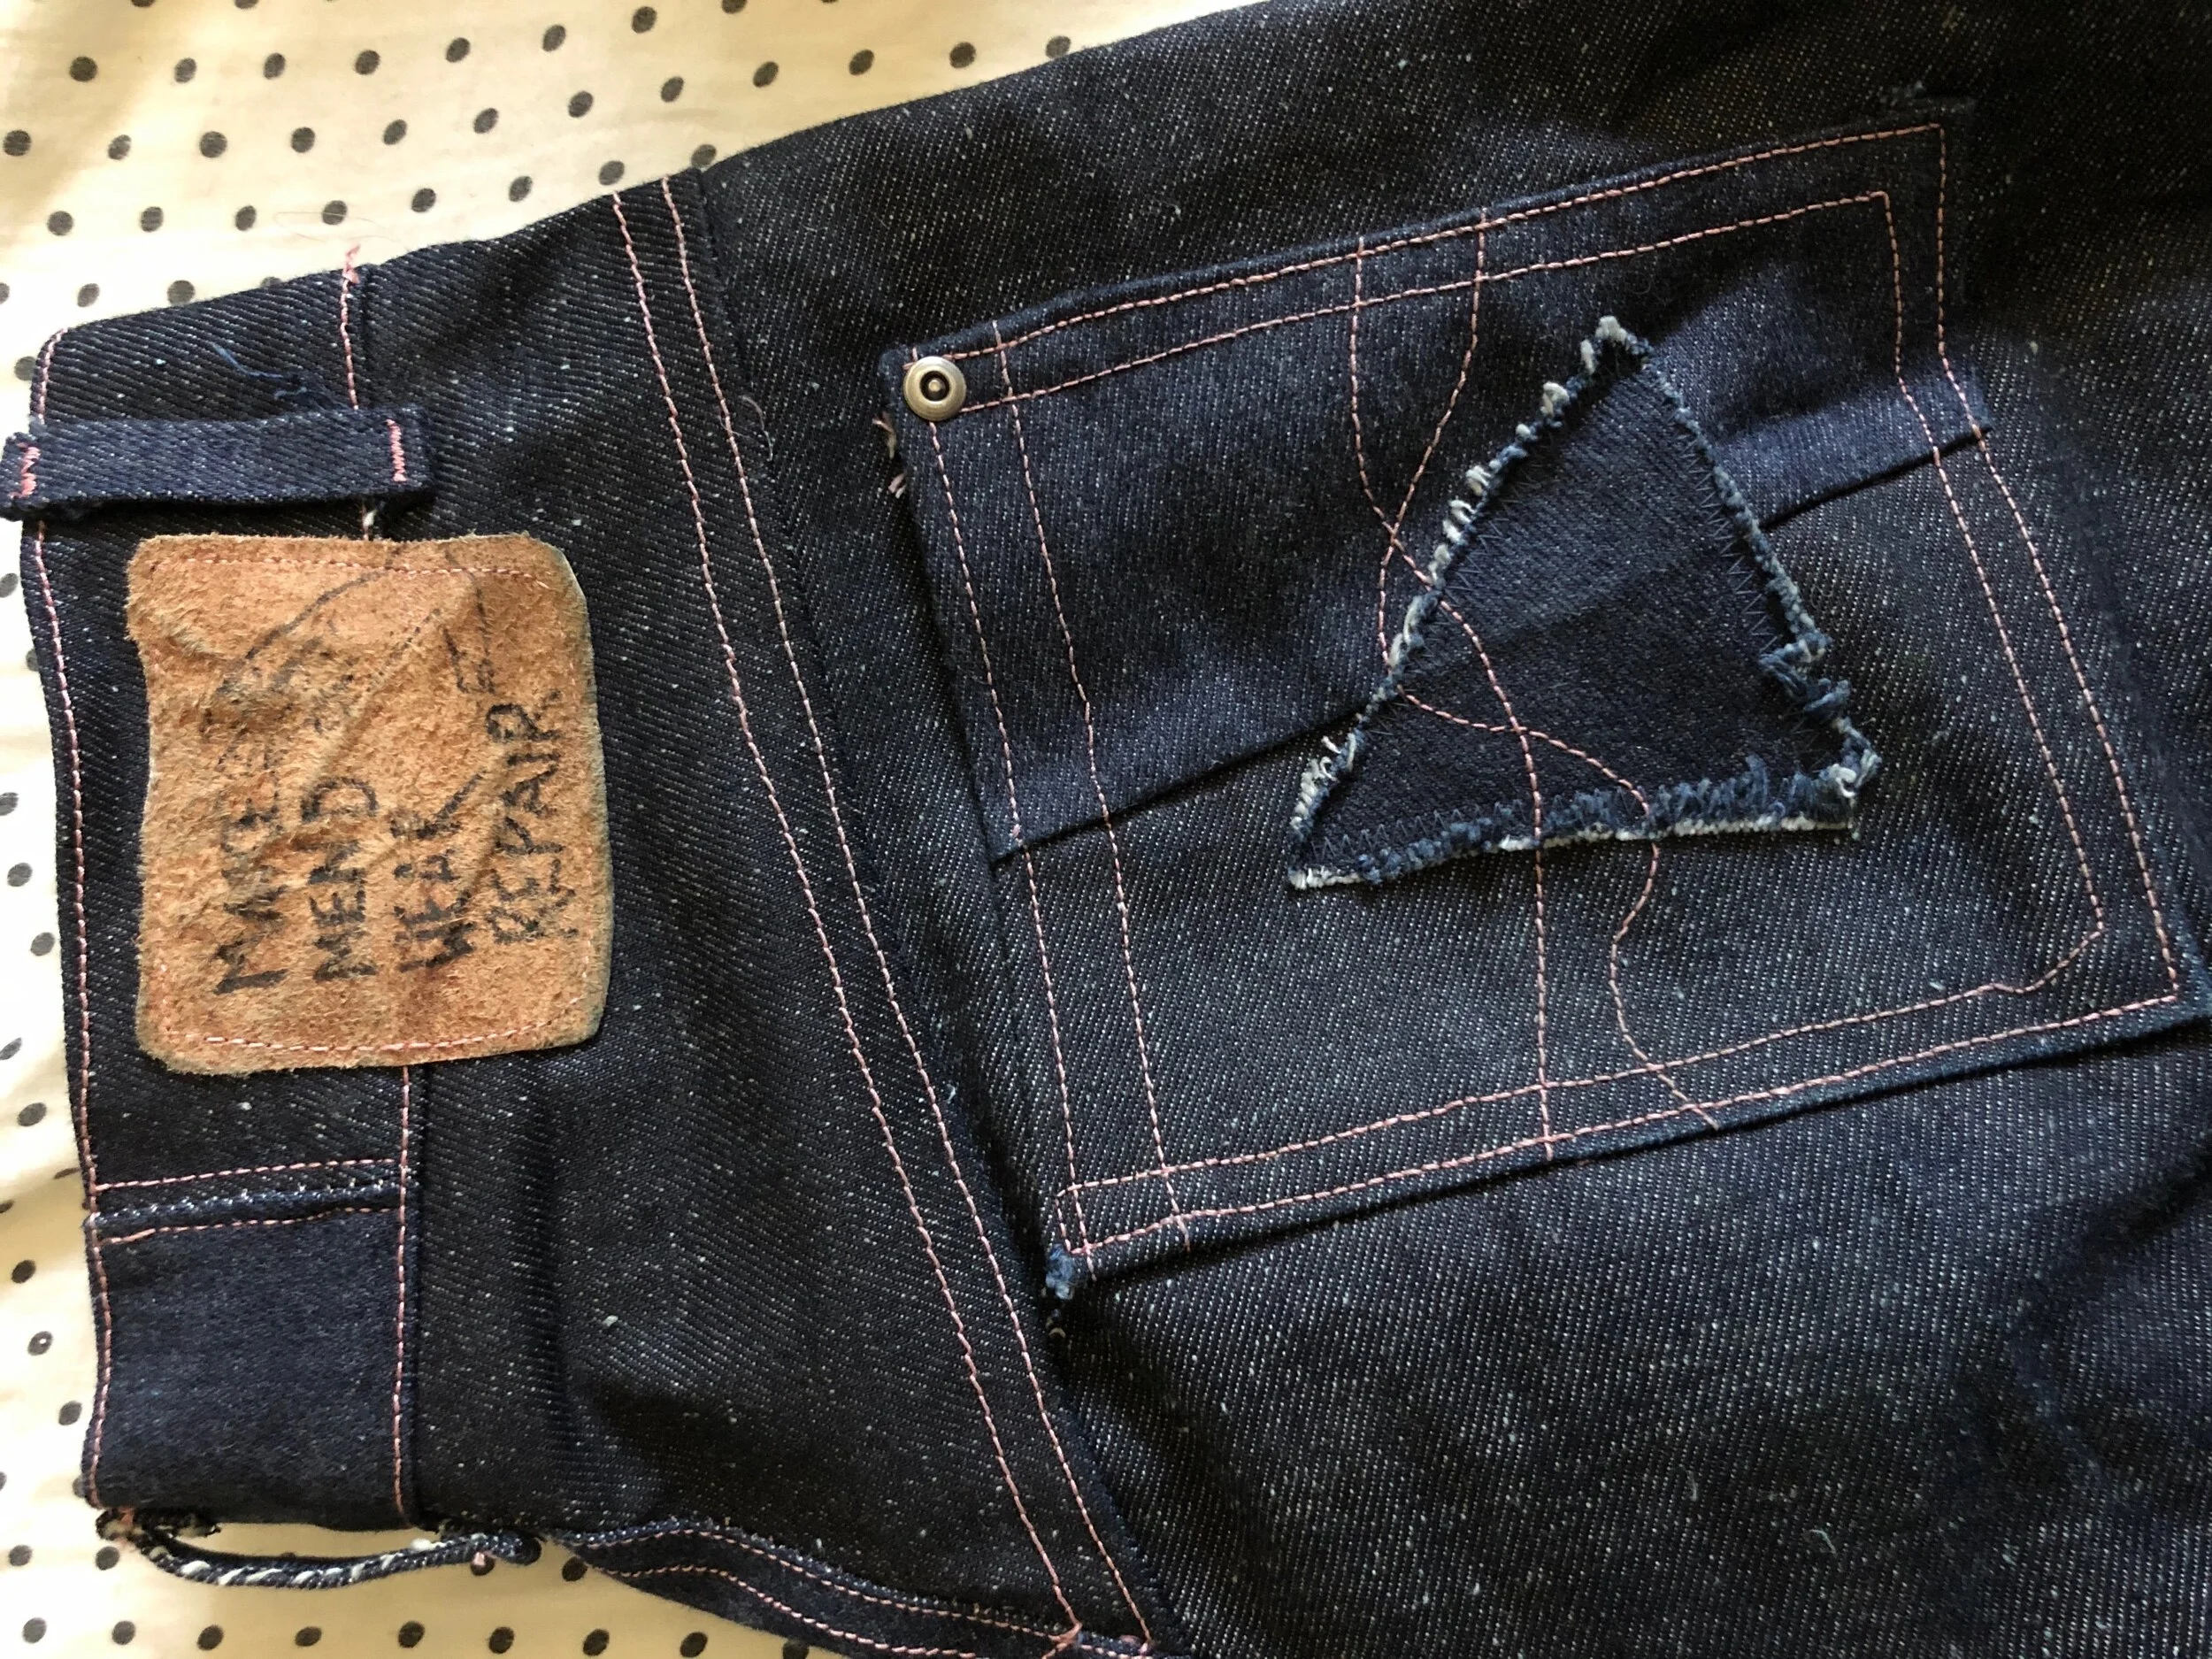
The length of the jeans was set in stone by my fabric available, the front left is cut on selvedge and I wasn’t getting more length, so everything is unhemmed but with contrast topstitching and some zigzagging to prevent too much ravelling, tho obviously i wanted a bit to go with the selvedge.
The back pockets turned out well I think, tho they sit too low thanks to the overlow yoke. One is pieced and I used a scrap for another layer, quite pleased with the look really.
Ive used banrol again in the waistband and it has the desired effect of an on crumbly waist two weeks later. To allow the waistband to grow properly tho I cut the ban rol up in kind of random spots who know how that will work but it’s stable enough so no complaints.
my one actual complaint is that despite my best efforts to give the front crotch more space, I've somehow ended up with my tightest crotch yet. I'm thinking I might just cut the whole next crotch a 1/4” out in a large seam allowance and see if that helps because honestly I'm at a loss. Plus my next pair won't be raw denim so can afford to be not so tight.
Insides are quilting cotton and thrifted bias tape. Made the zipper shield a bit short but otherwise quite perfect.

And finally, I had a bit of my leather insole crumpling on me horribly, so I took it out and made a back patch. Cuteness. Real jean-ness.
Next time: This was all sort of in preparation to make a floral pair of true jeans, tho now i’m hesitating bc the yoke isn’t all rightly placed and what if i mess it up in adjusting that and I don’t really want to sew a whole other muslin jean! I also need to figure out the crotch depth, but am thinking of sewing it a 1/4” further out.
Pattern: Philippa Pants heavily changed
Size: uhh
Fabric and notions: denim from Fabcycle, zipper and hardware from Blackbird, quilting cotton from Periwinkle, thrifted bias tape, upcycled leather patch