Picnic blanket coat

unfinished coat back on a warm February day
This started as a picnic blanket and became a coat! And pretty quickly! Or rather quickly until it went extremely slowly, but slow was my fault entirely.
This particular picnic blanket was always slated for a zero waste project of some kind, but the start-up energy just didn’t happen until Fabcycle in Vancouver started doing little mini sewing challenges to win their mystery packs! Super into the idea of them, and the third prompt was upcycling, so here we are. I did all the major construction in a couple of evenings for this challenge, but hadn’t actually hemmed the sleeves or done the front button plackets. And that took me… literally until last week.
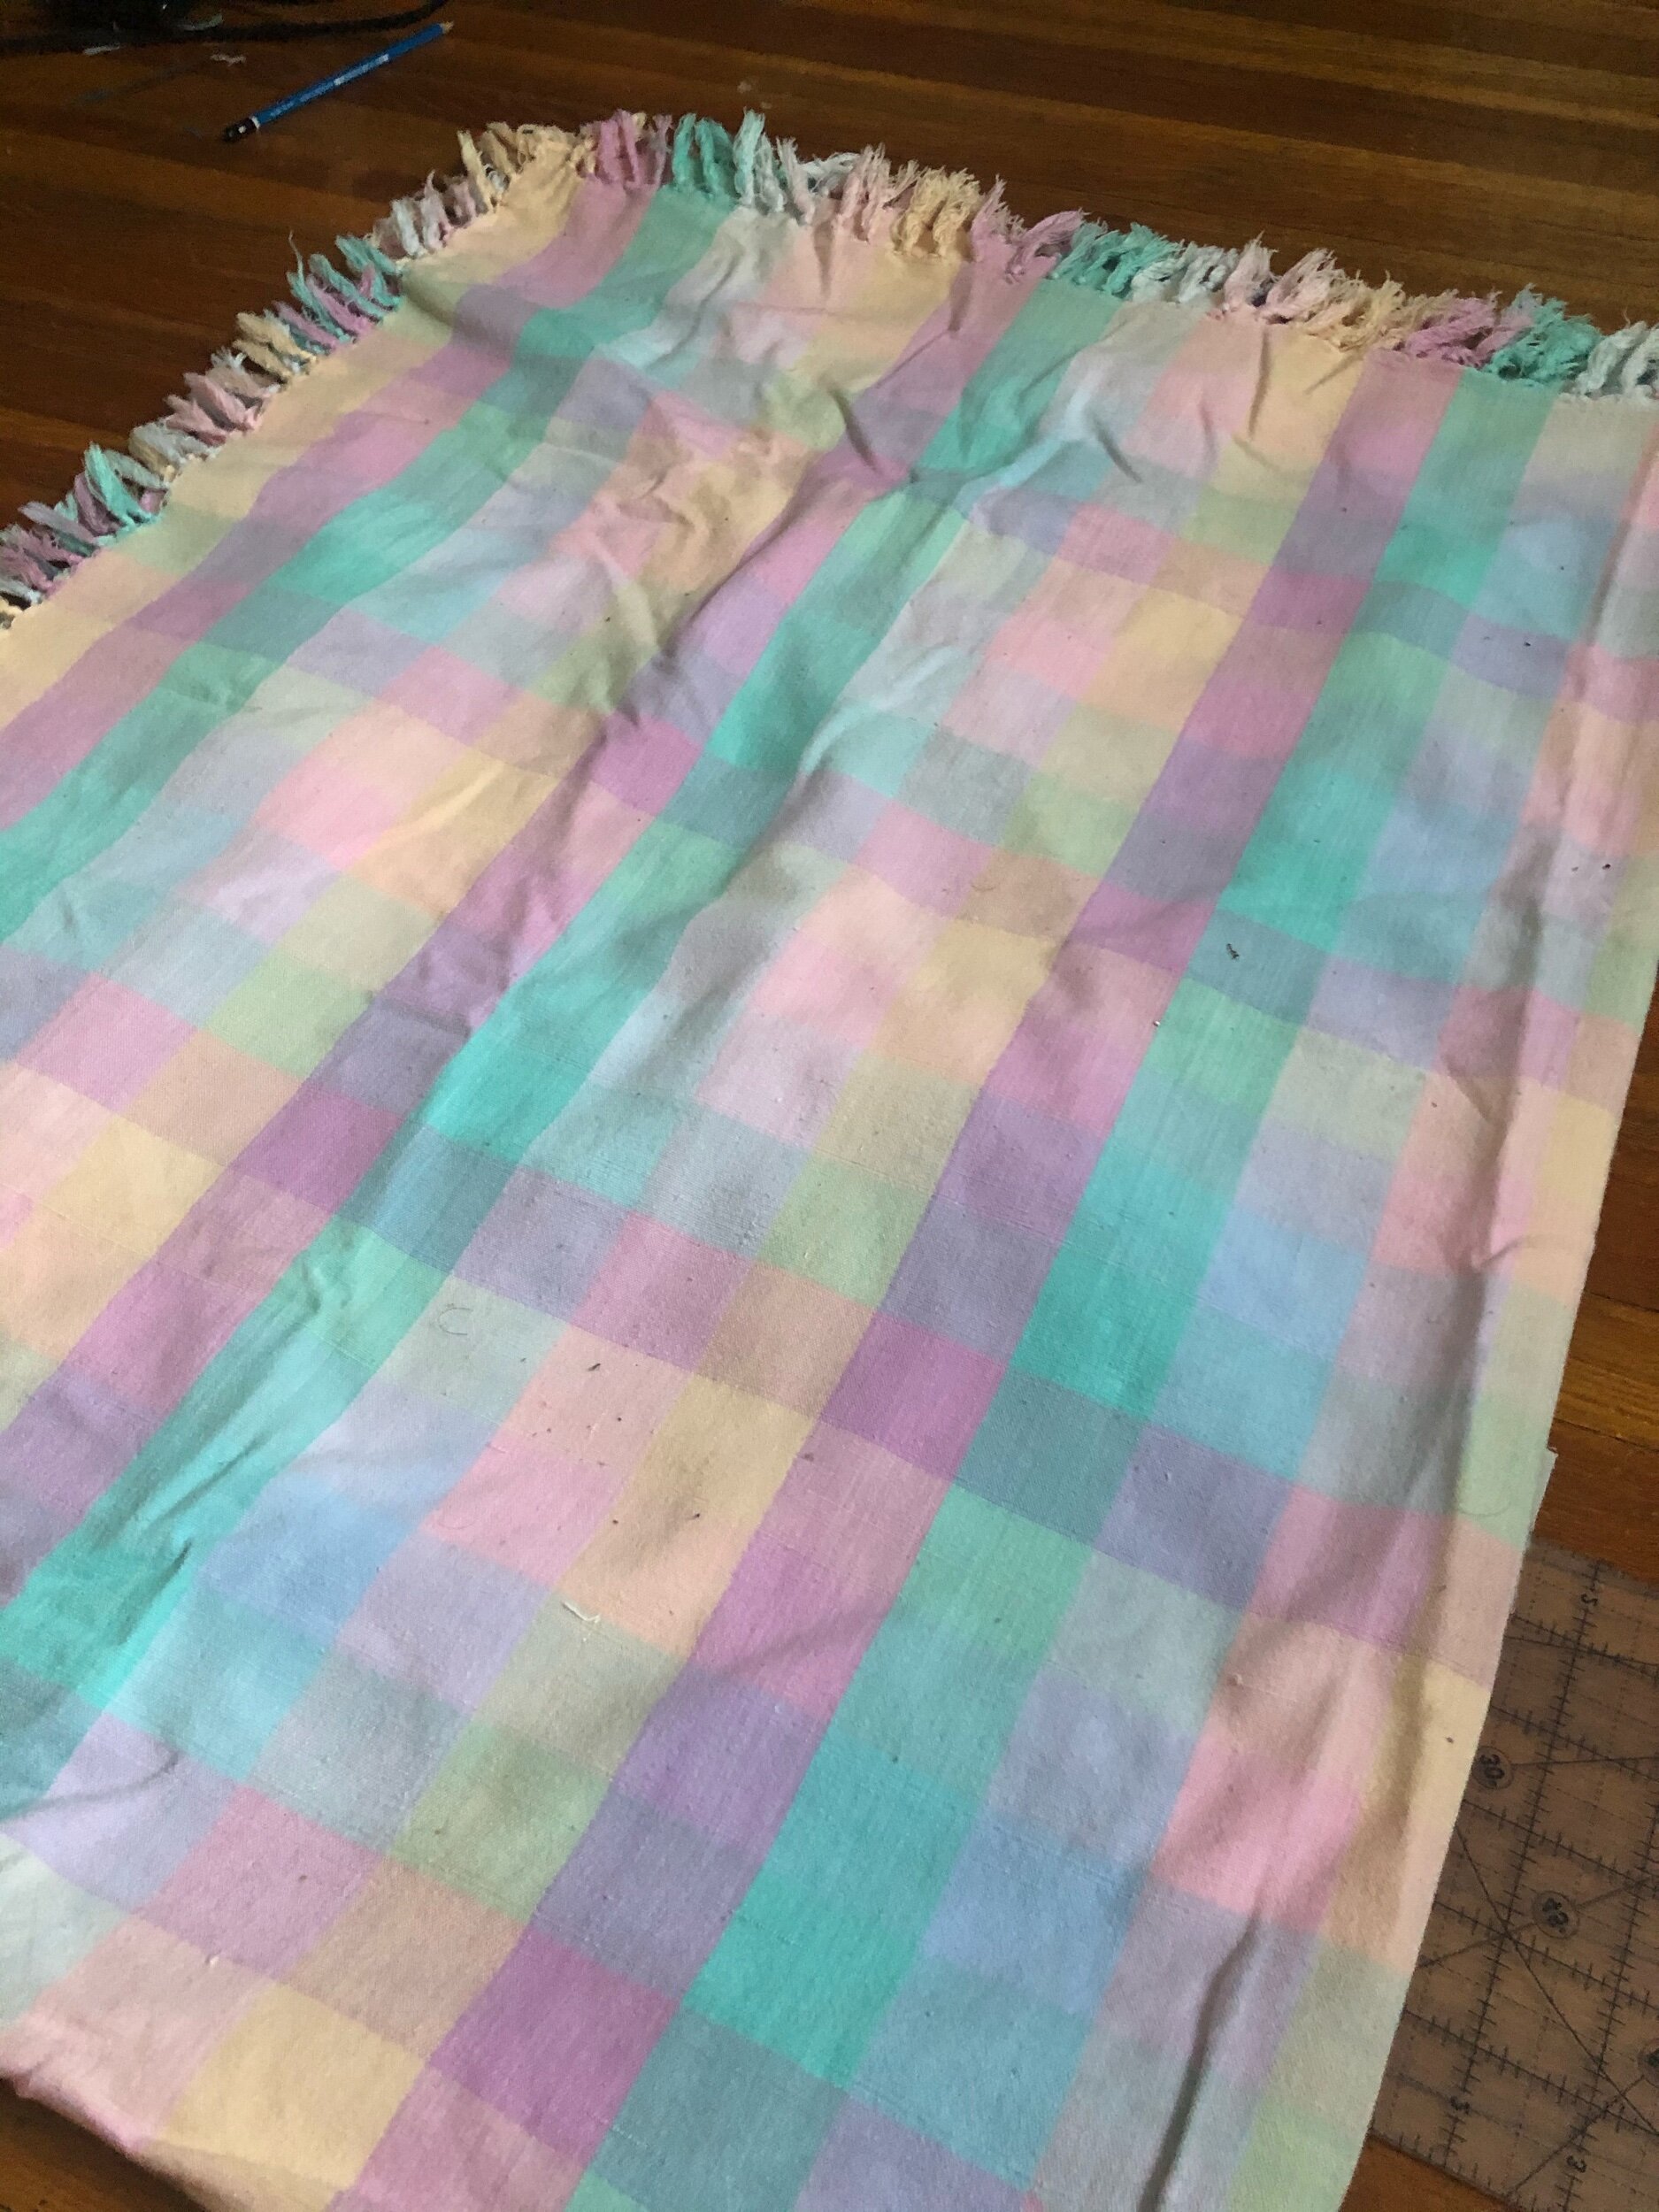
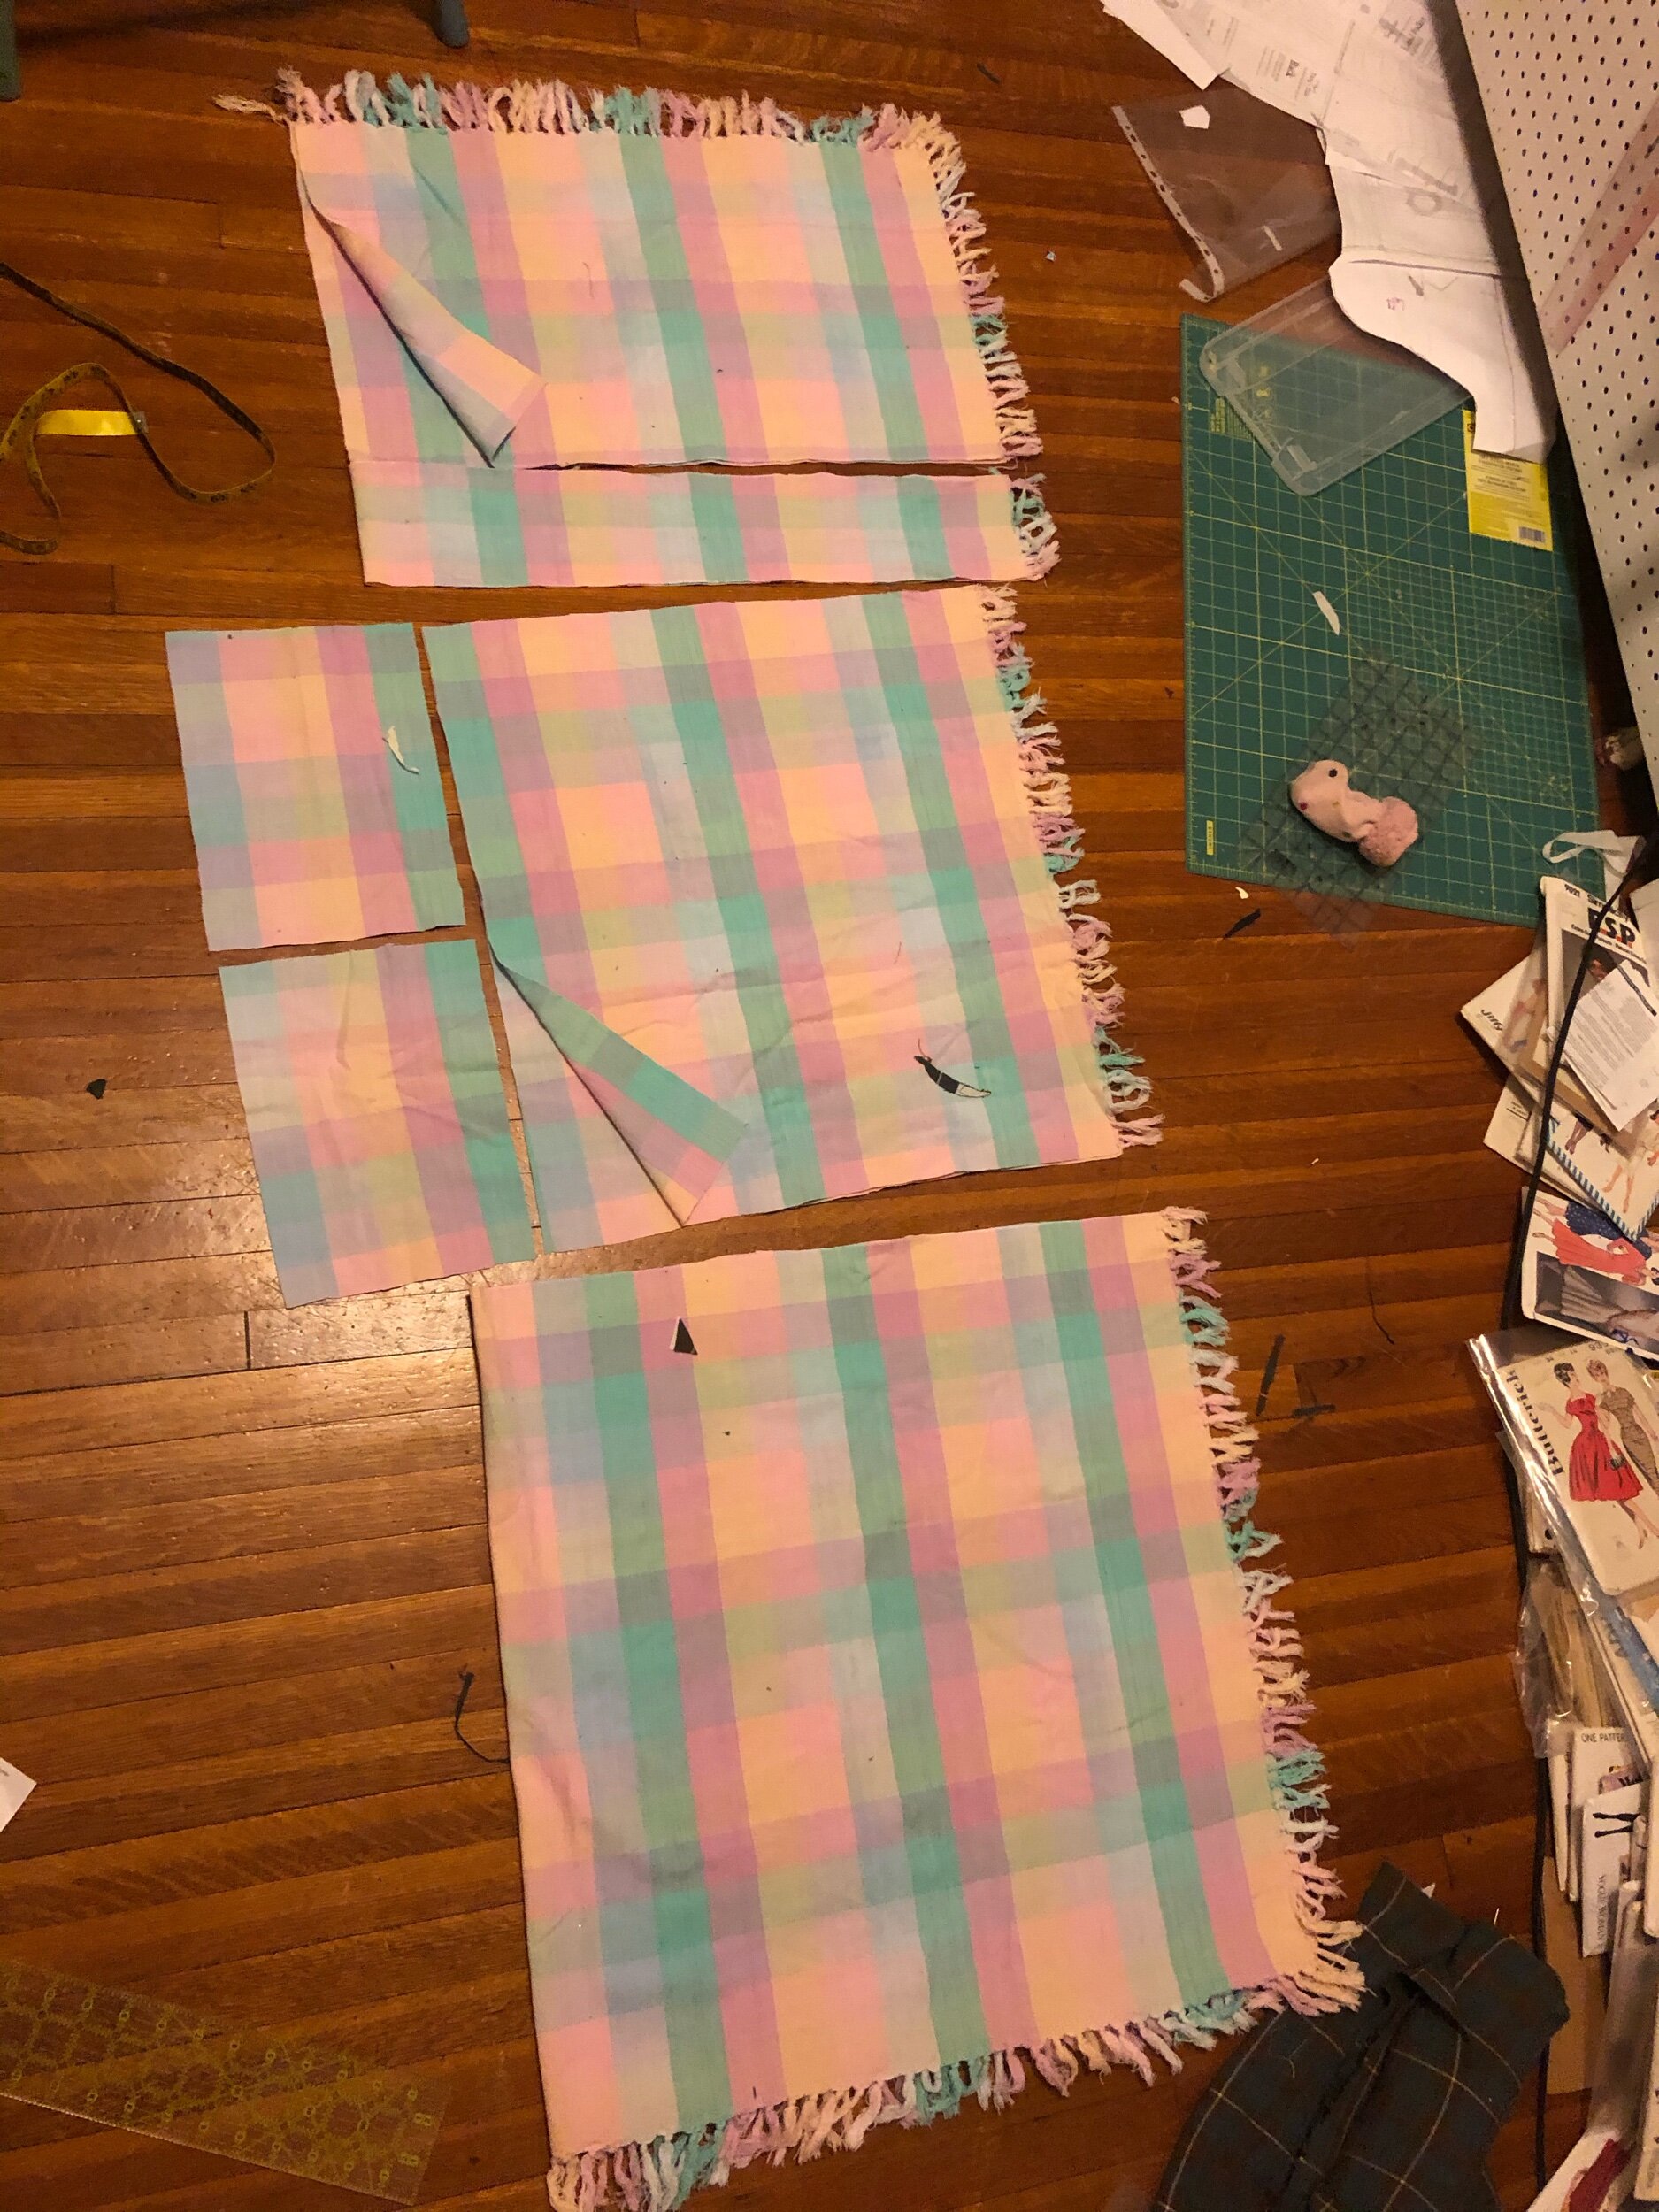
So! The picnic blanket was found at a thrift store last year, and as I said, I knew it could work for a zero-waste project, especially with the fringe edges. I used Maja Stabel’s video tutorial and cutting layout (mine varies slightly in that I introduced two long rectangles which I used as interfacing on one placket and to make a belt, which I’ve now lost given that I didn’t secure it anywhere) from her now-defunct Patreon to figure this out, but she now offers an online course in Norwegian, which I would imagine would be a great help. It isn’t a super-complicated concept, but figuring out how the arms should work actually ended up being an issue for me, and they aren’t attached at the under arm. The course, I imagine, would help you visualize the finer points of how the coat comes together.
My other issue was that the video tutorial uses draping on a form to achieve the look, and my form is decorative in nature, not my size, and not properly secured to the base so it flops all over everywhere, which was really the biggest impediment as this wasn’t a particularly fitted sort of exercise. However, the flopping meant I could never quite see how it was going to wear, and I really fudged it.


That said, it really was a quick two-night project. I opted to use a decorative sort of blanket stitch topstitch on most of the joins to more or less finish the edges and connect pieces at once.
Then I took a photo of the coat, wore it open for several months, and slowly, slowly worked away at actually finishing it in rare bits and bobs. Really it took so long because I’d decided it should have handsewn invisible hems and placket, though really with all the top stitching and patterning I don’t think it matters. And indeed when I decided enough is enough I just used a not-at-all-invisible machine invisible hemstitch to secure one of the plackets.
Buttons were all random-ish selections from stash, and I lost one between making buttonholes and attaching so for now or for forever more likely, there are only three.

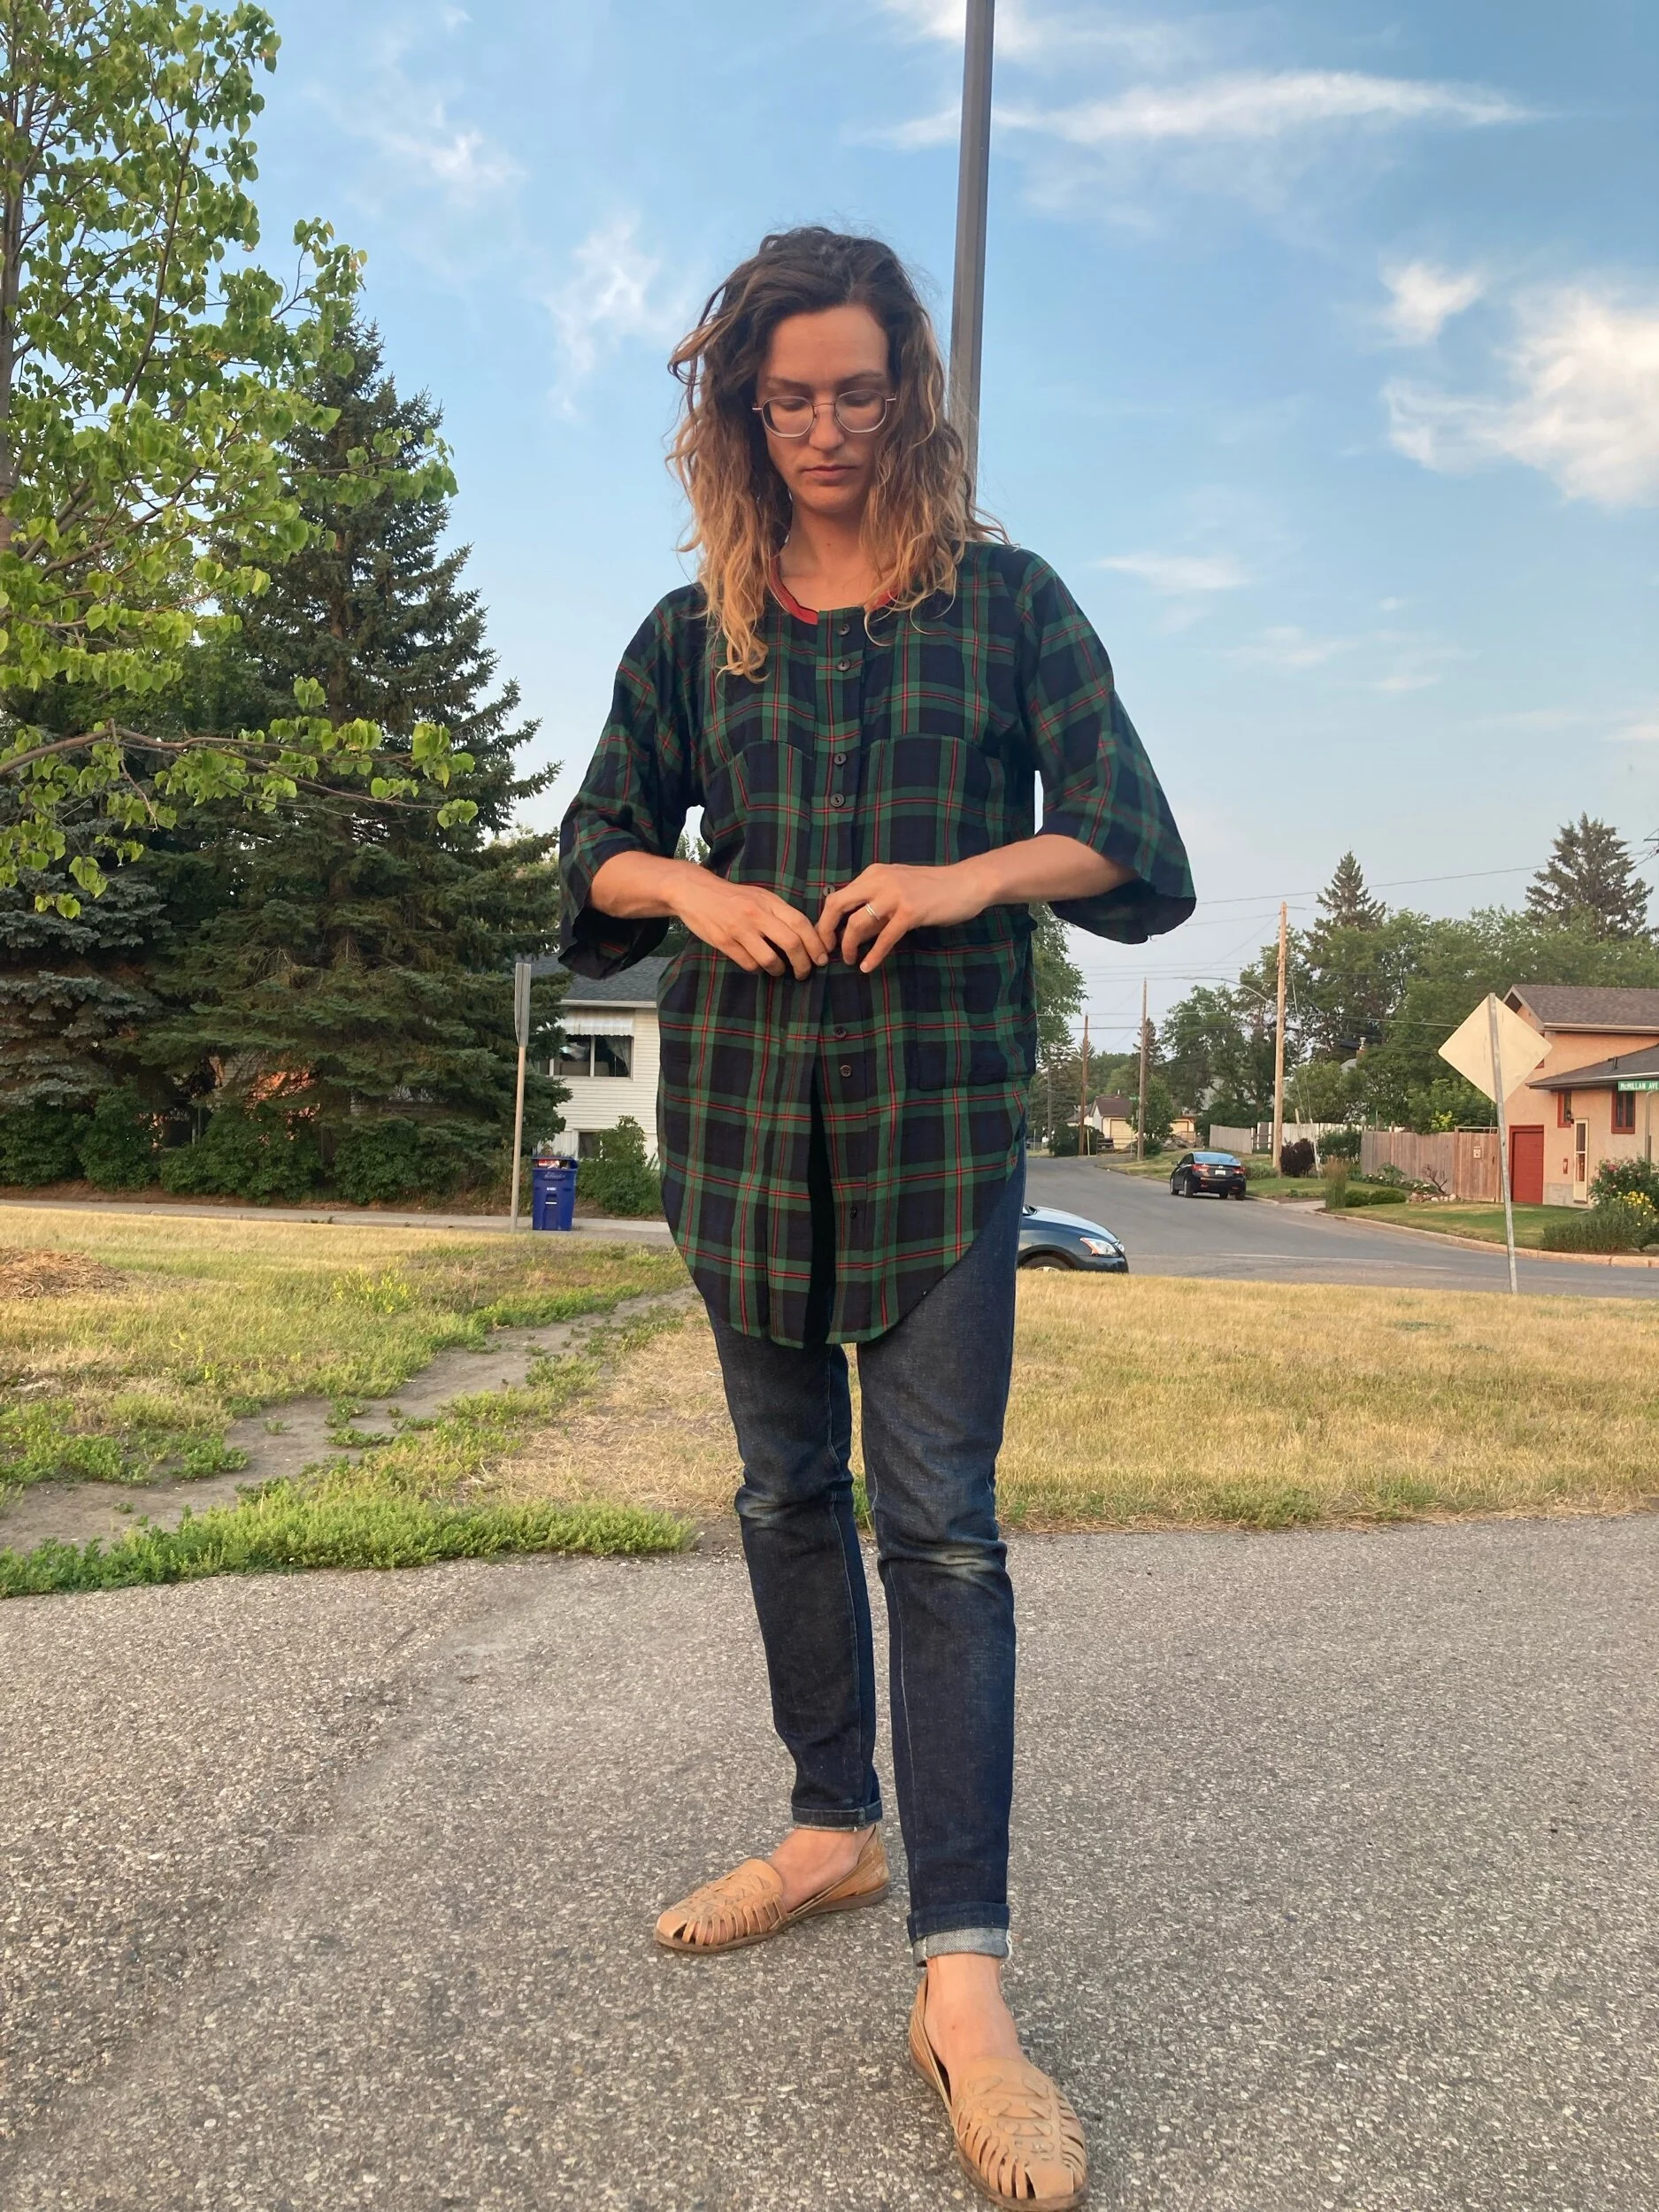
big fun loose drape

love the architectural feel of big zero waste sleeves
The one place where I’m actually a little frustrated with how the coat came out is the front closure. I didn’t really want a large horizontal gap between the lapels, but it wouldn’t close around me otherwise. So I fudged it and made the plackets overlap as much as I could, meaning that it really couldn’t button up much lower even if I had more buttons as it needs to pull open over my hips. Not a complete deal breaker because I quite like the look open, but certainly less cute closed.

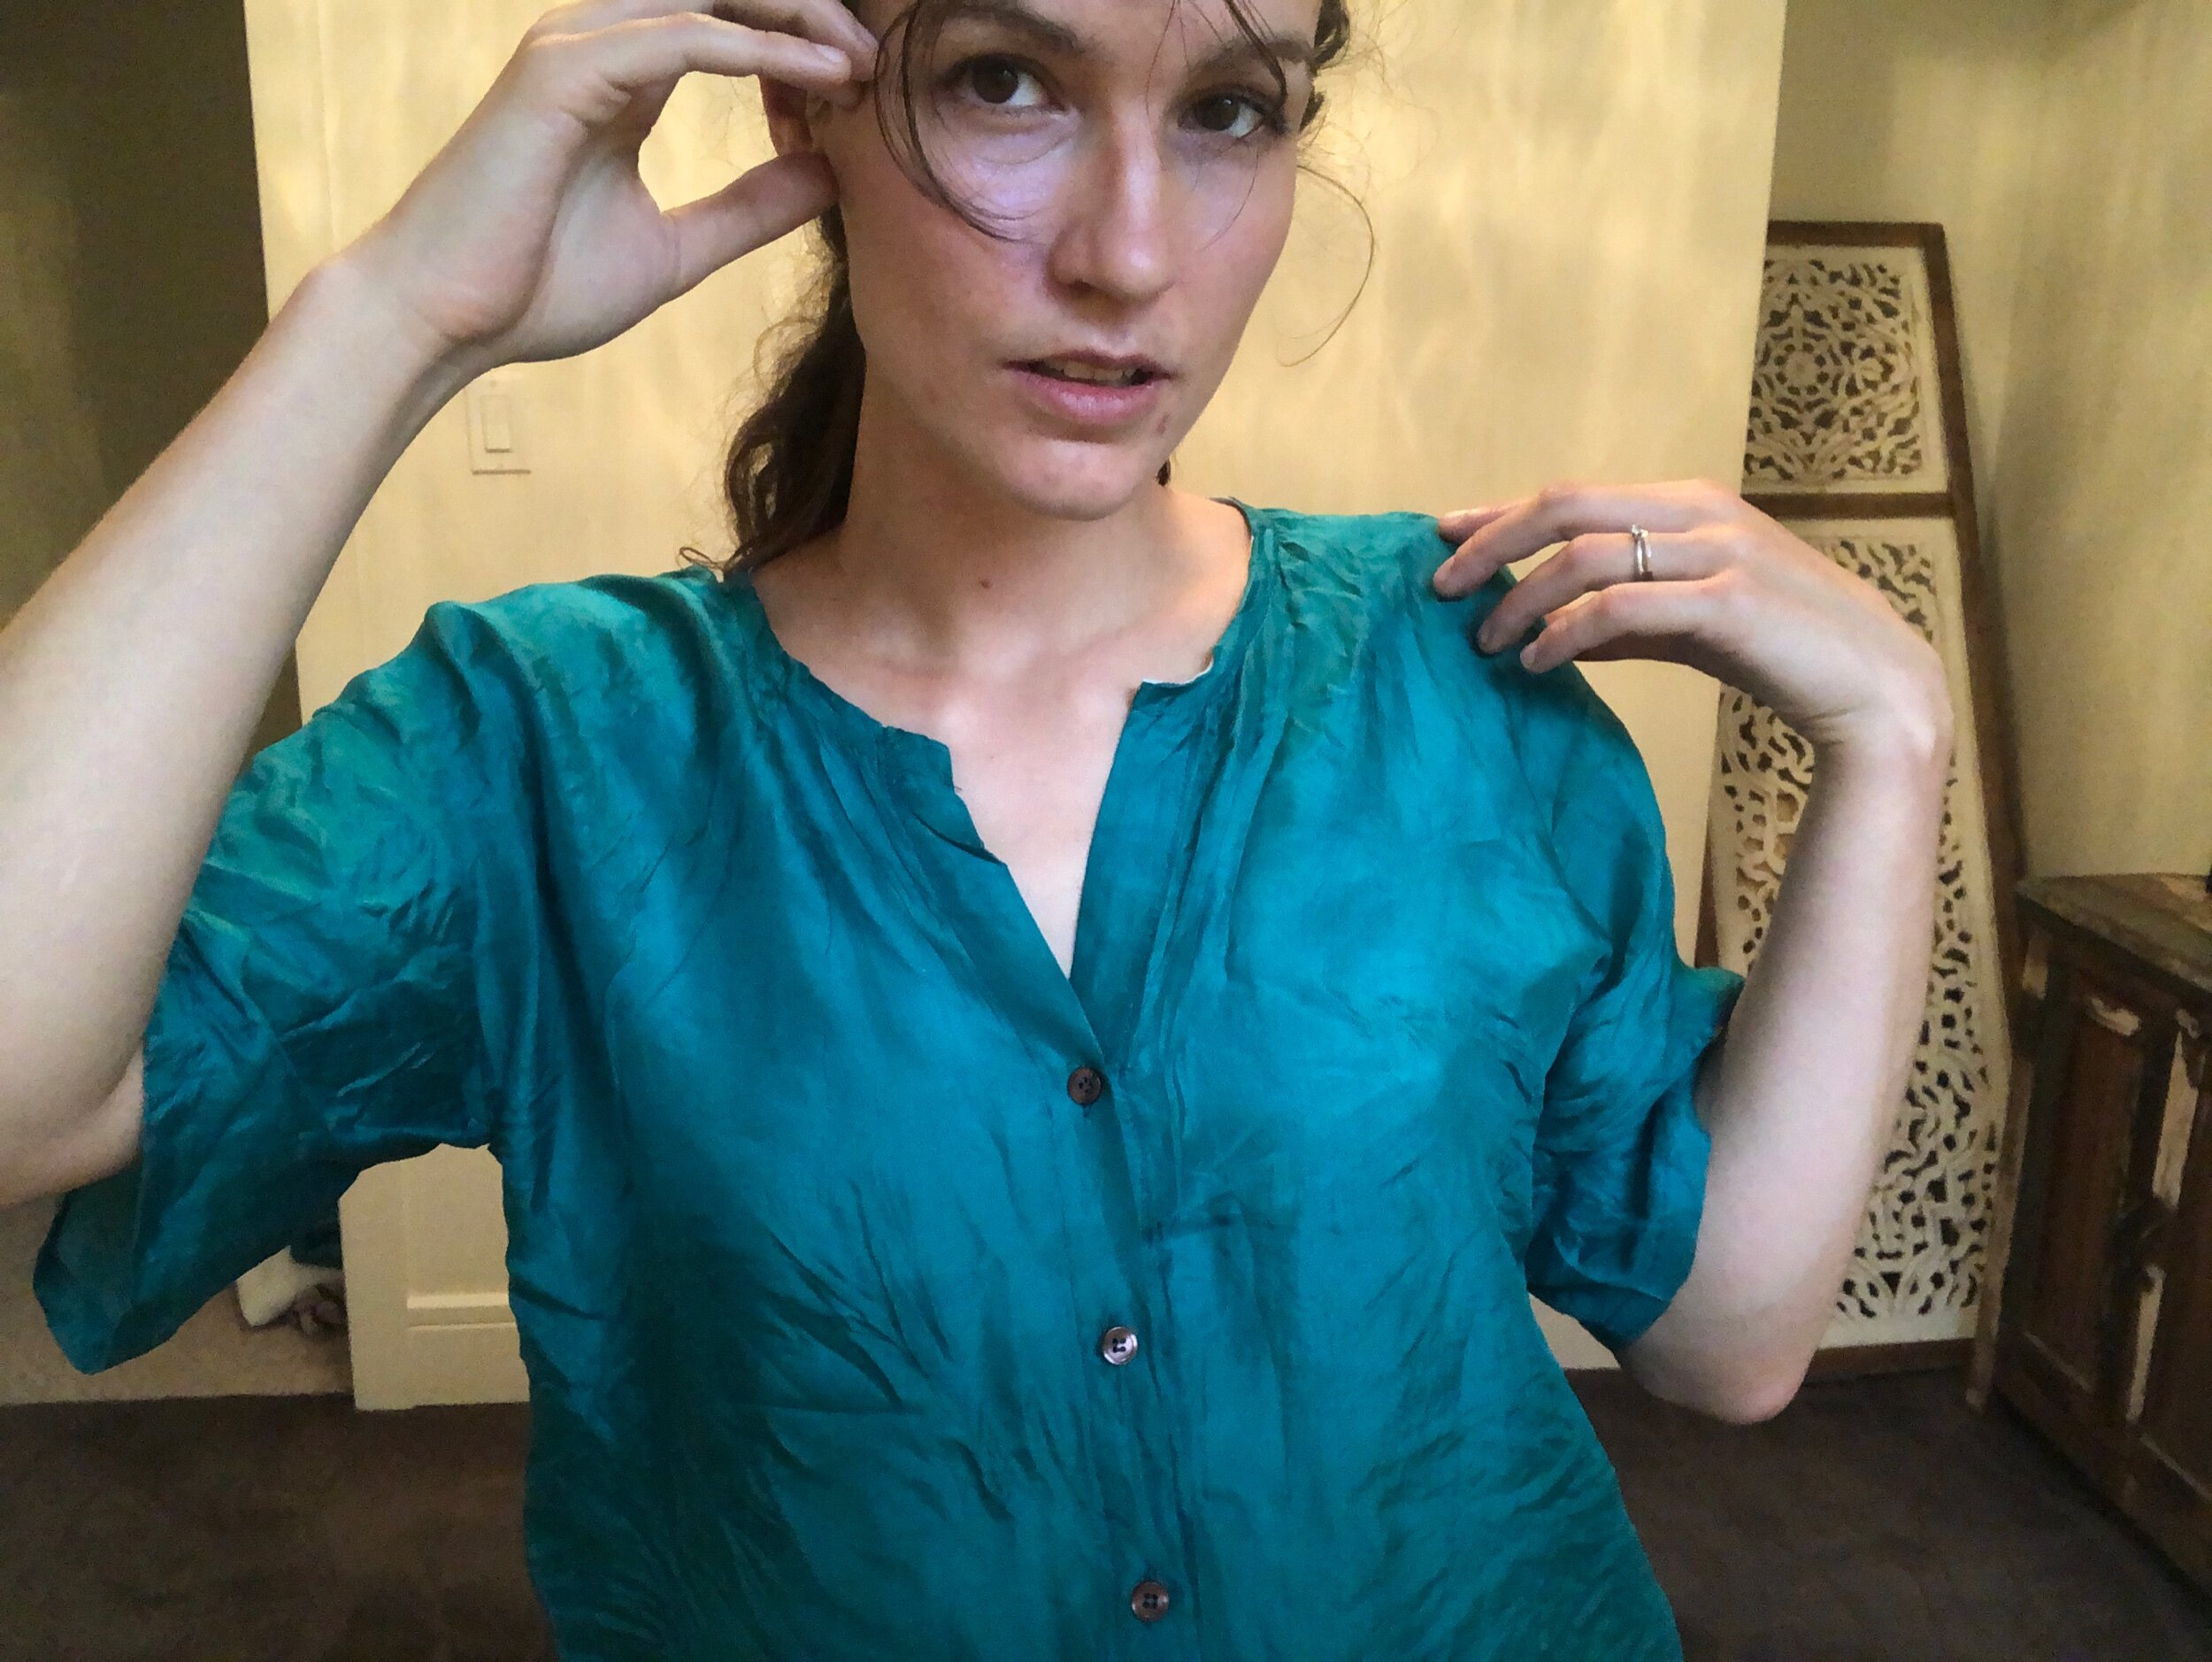
Details: you can def see the difference between machine placket and hand done placket, but done is better than perfect. Really pleased to have a home for that top button.
In any case, I continue to be v. interested in zero waste design, and this coat is certainly more wearable than my last zero waste coat. More experiments to come, certainly.
Pattern: Maja Stabel zero waste blanket coat
Fabric + notions: thrift store picnic blanket, stash buttons, polyester thread
Worn with: Philippa pants + vintage knit tank top that was my mom’s circa 80s
Next time: knowing how it all goes together would help guide how I did this if I were to do it again, so no real notes just practice makes perfect!