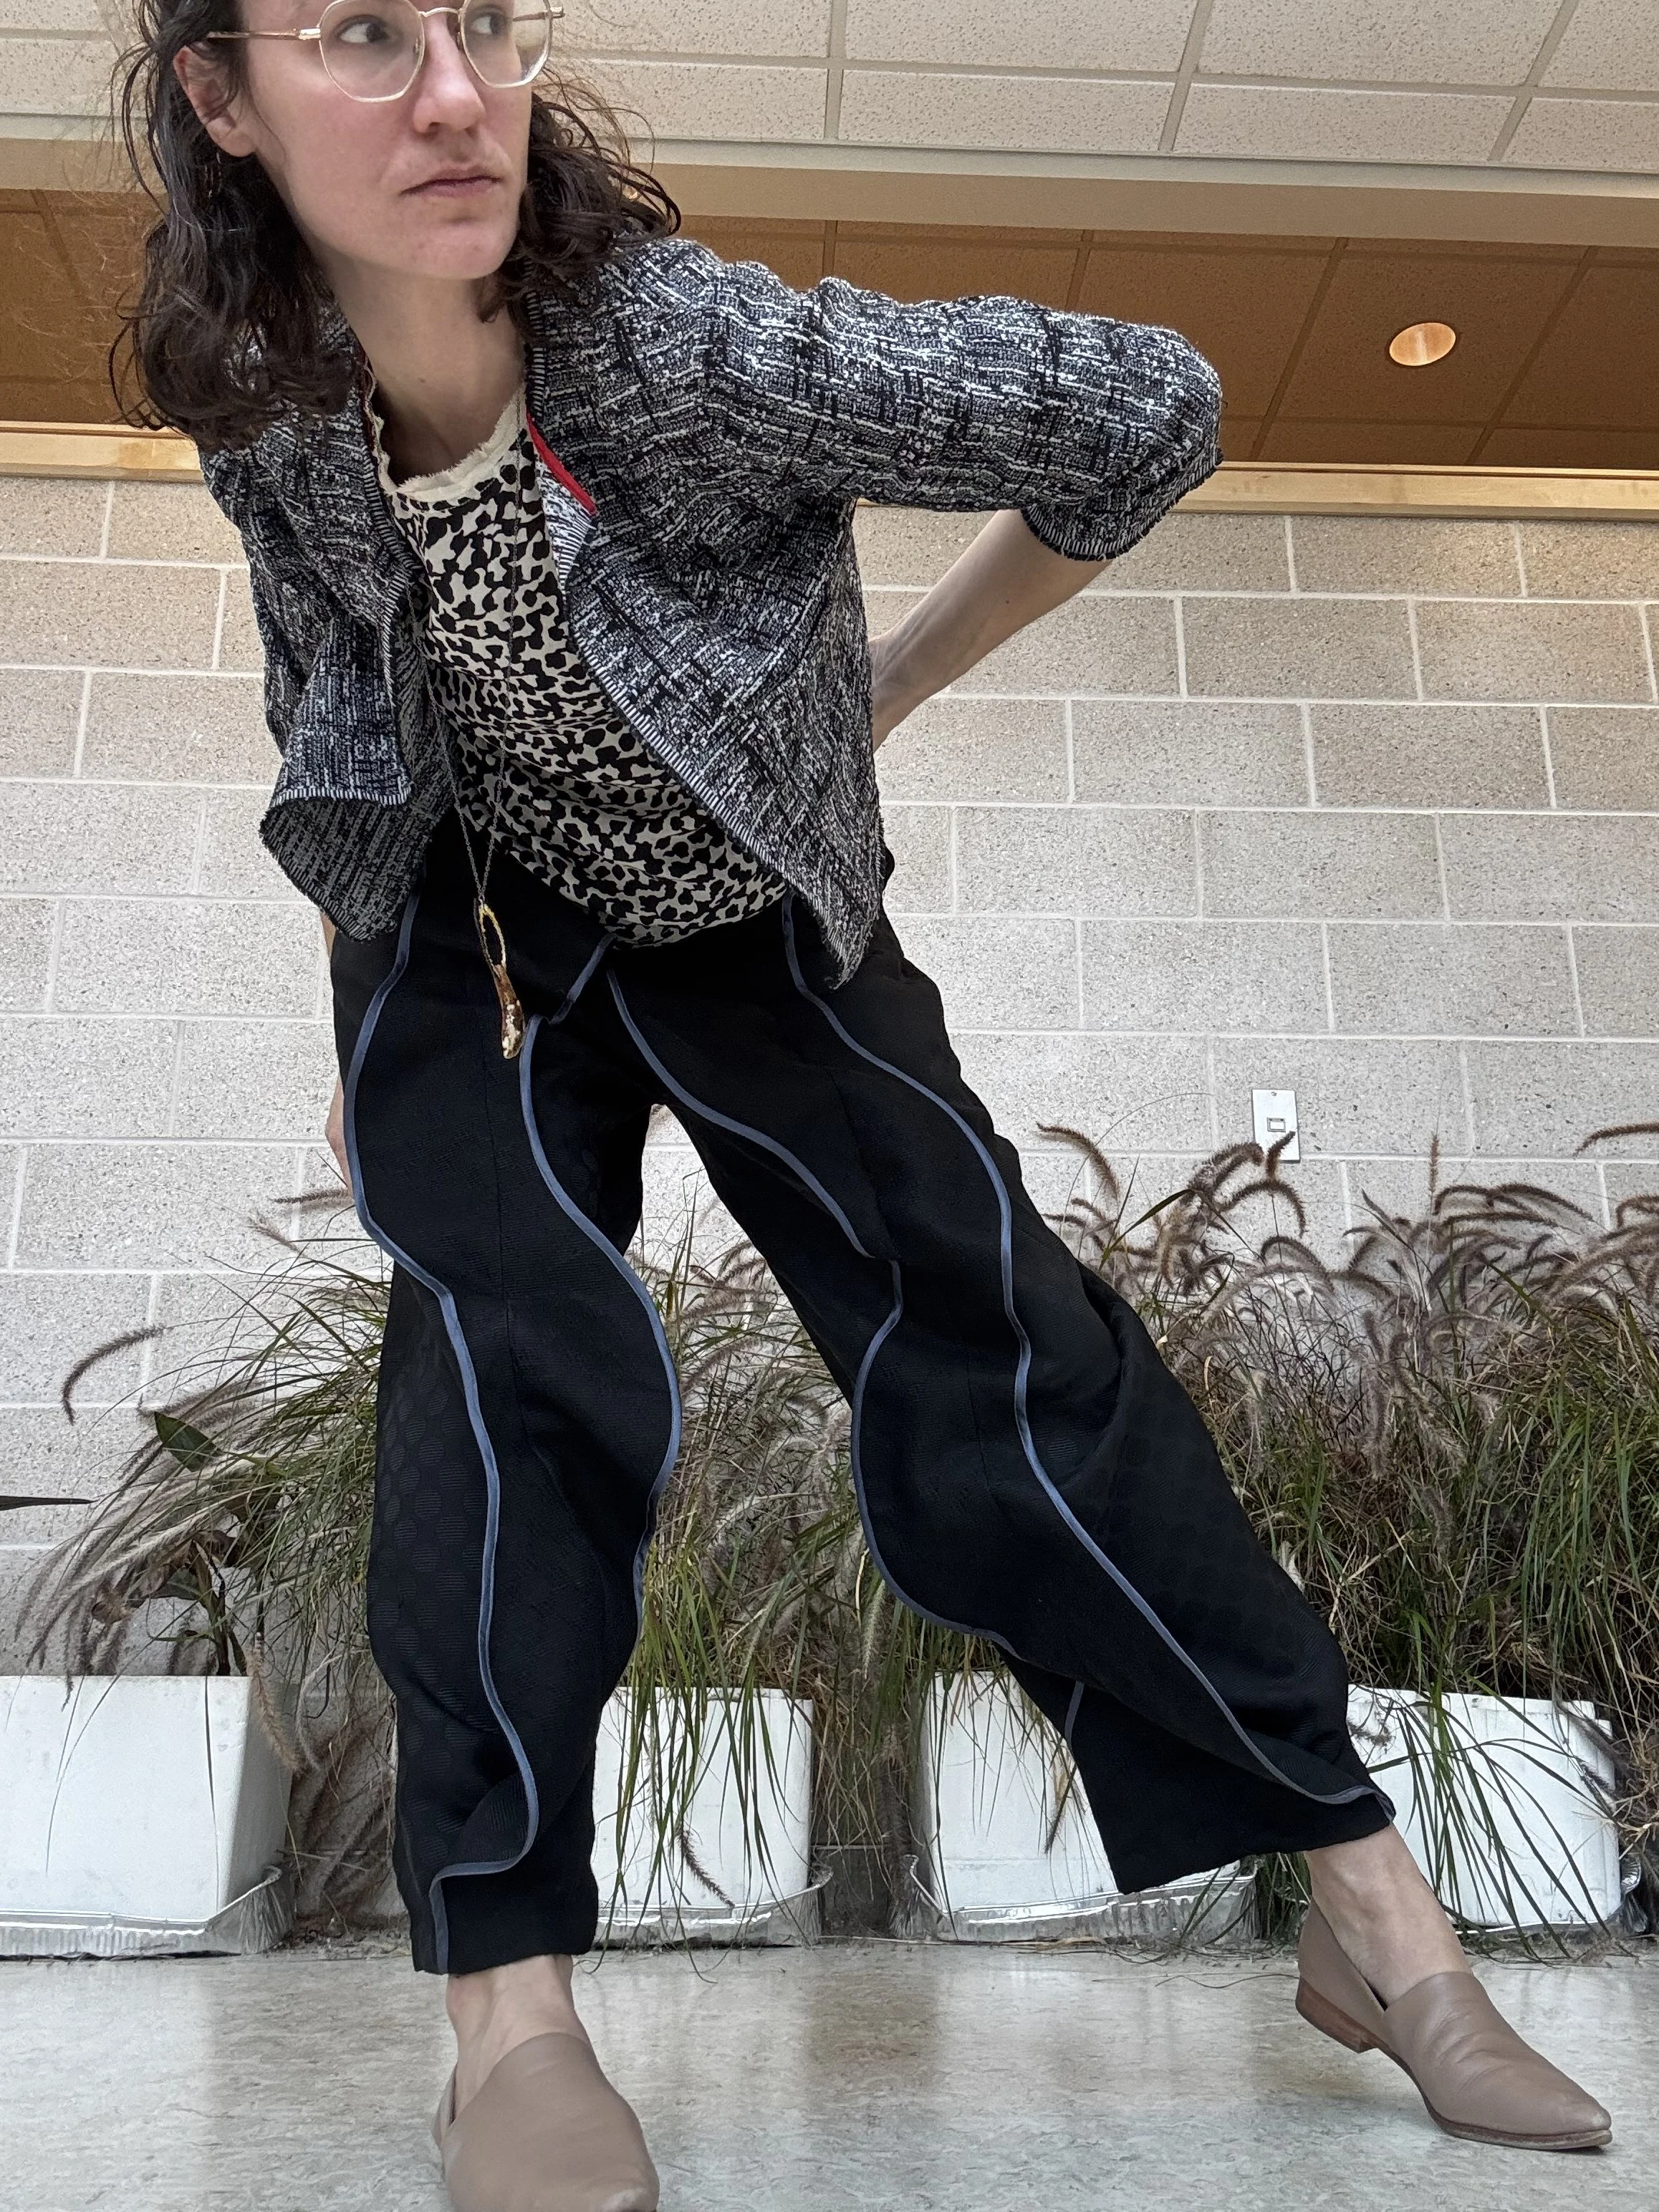
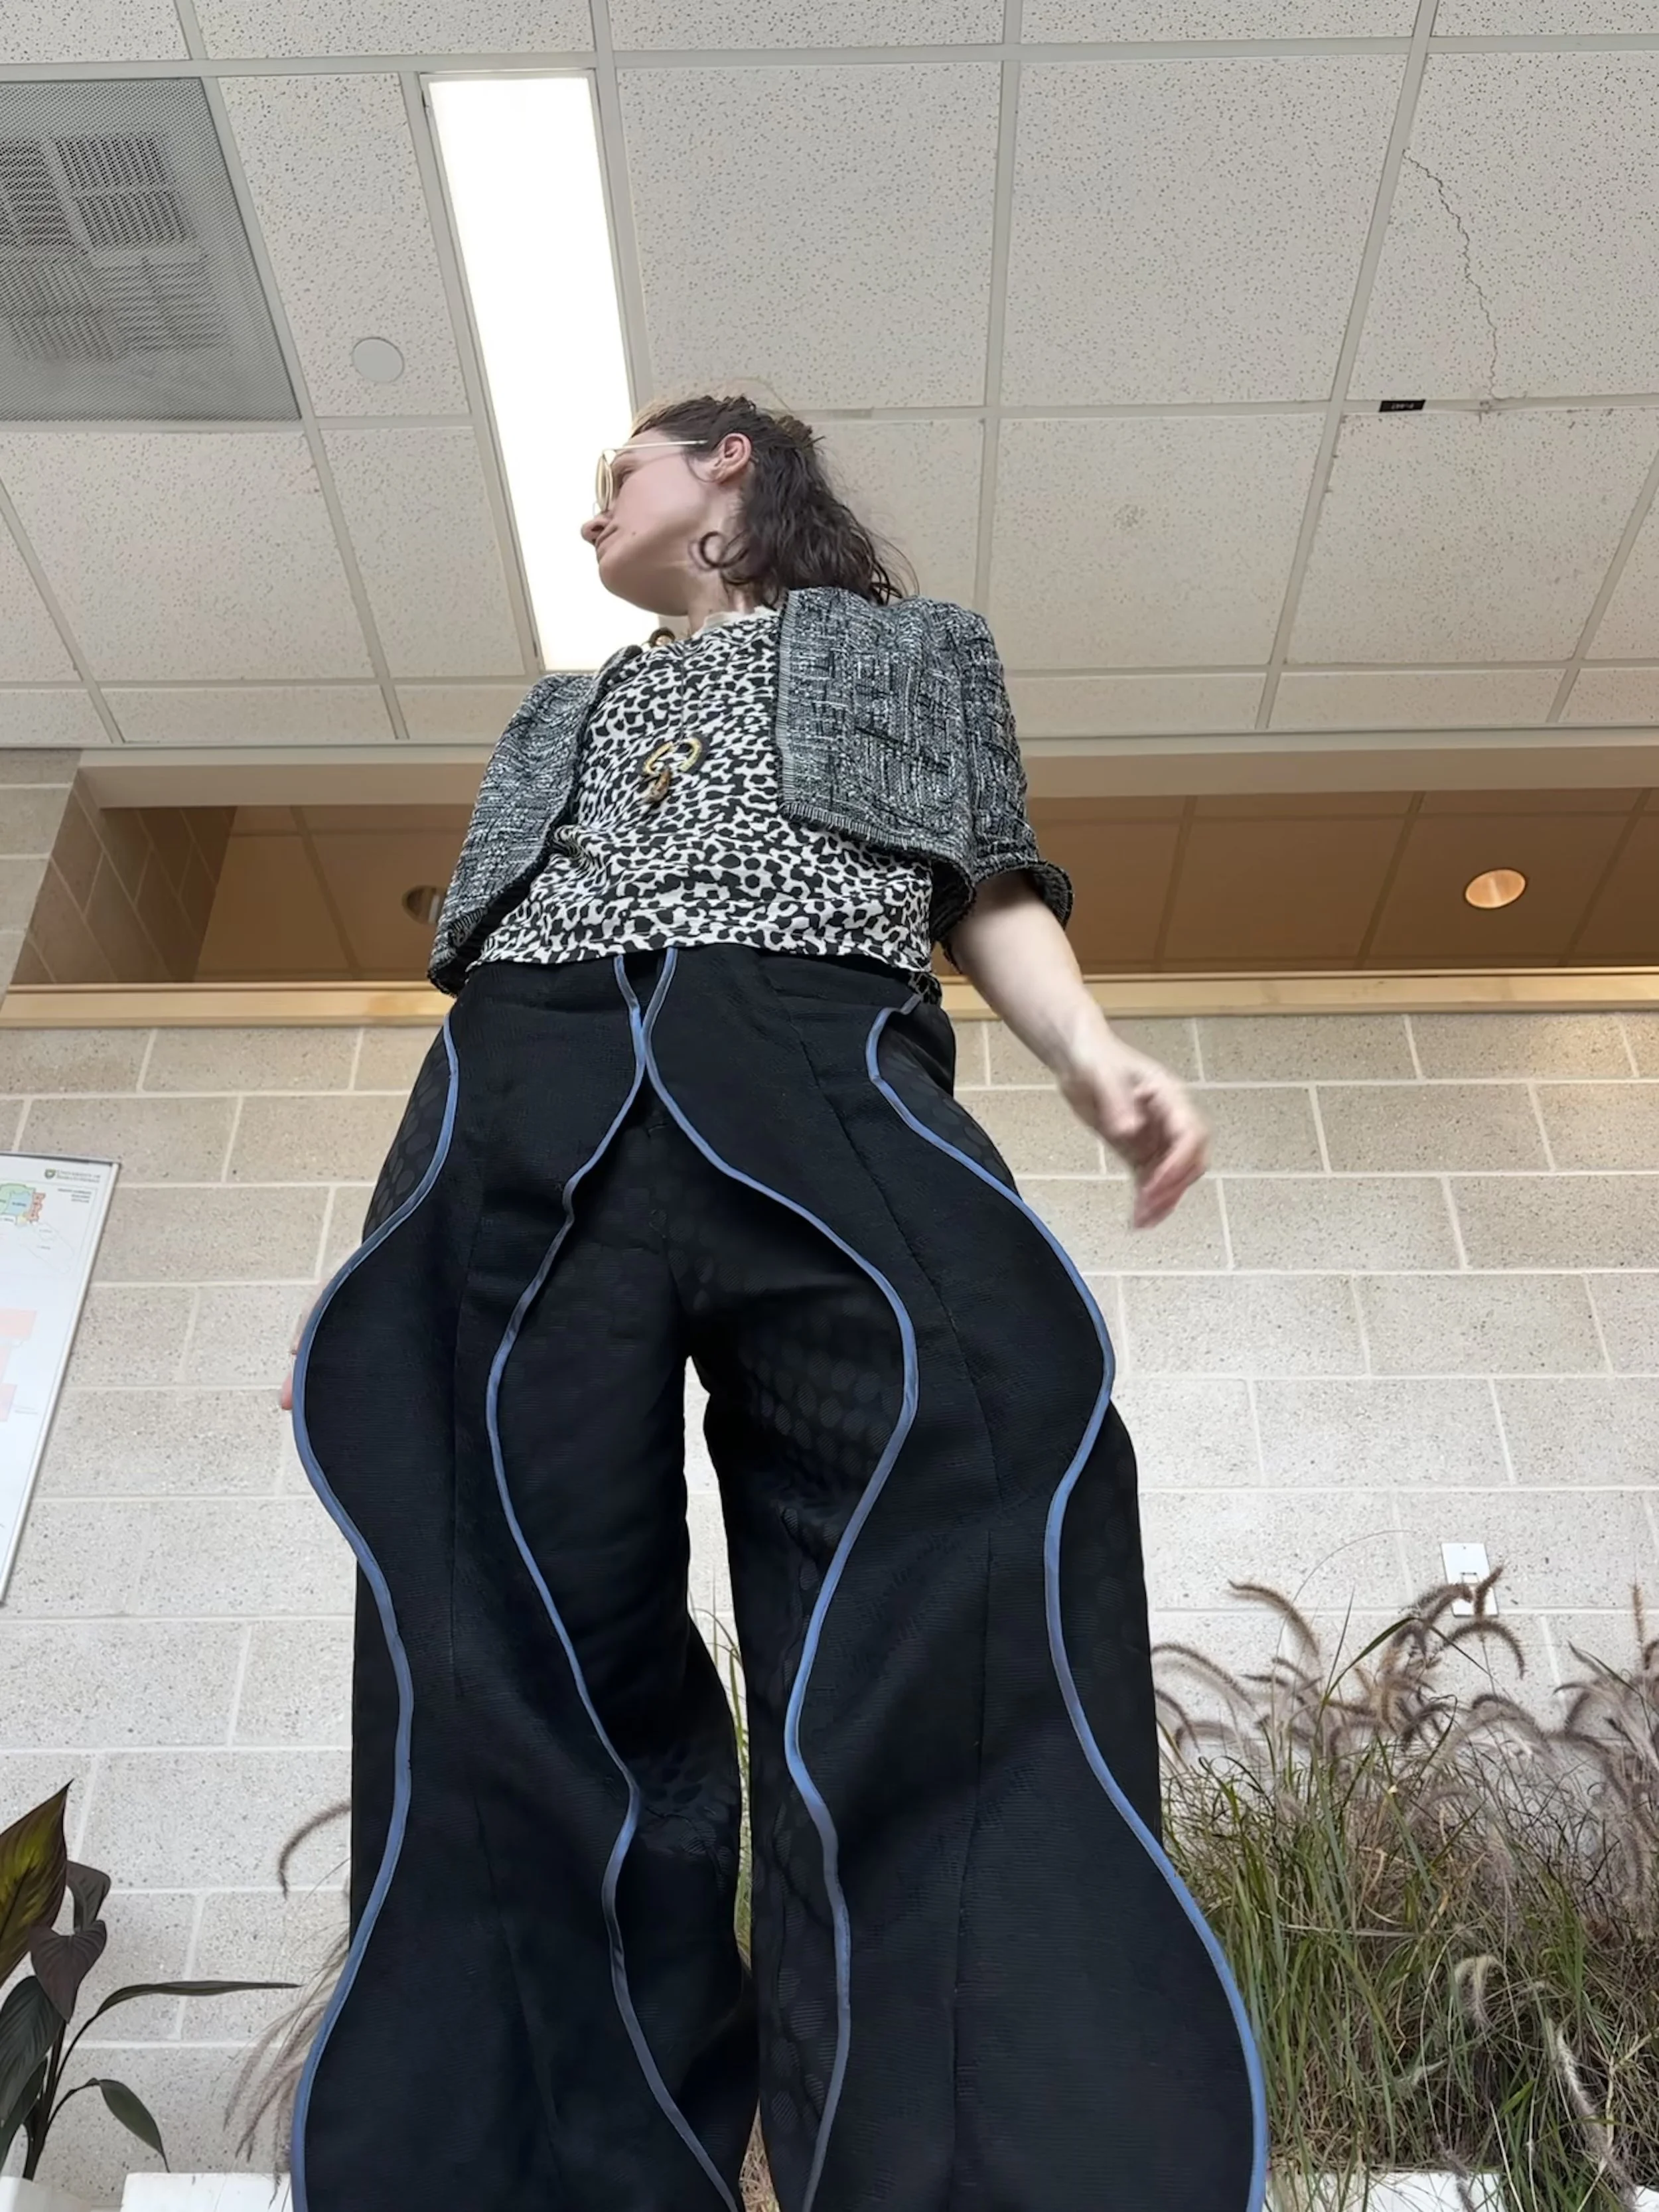
DECODE Squiggle trousers
These are my Euler’s equation pants. Math is hard to write on Squarespace and I’m not motivated to address that so, wikipedia to the rescue: https://en.wikipedia.org/wiki/Euler%27s_formula
So how are the pants Euler pants? And why? Well, attending LUGO, the annual art museum fundraiser, is a tradition for my friend Julie and I. Every year there’s a loose theme - this year’s was Frequencies. And LUGO so happened to fall on March 14, pi day. Now when I think of pi and frequencies I think of the relationship between a unit circle and waves, as encapulated by Euler’s equation.
A nice simple moving picture of this mapping here: https://www.geogebra.org/m/XH3jVuVt
Isn’t it pretty?! And cool that that relationship exists? OMG.
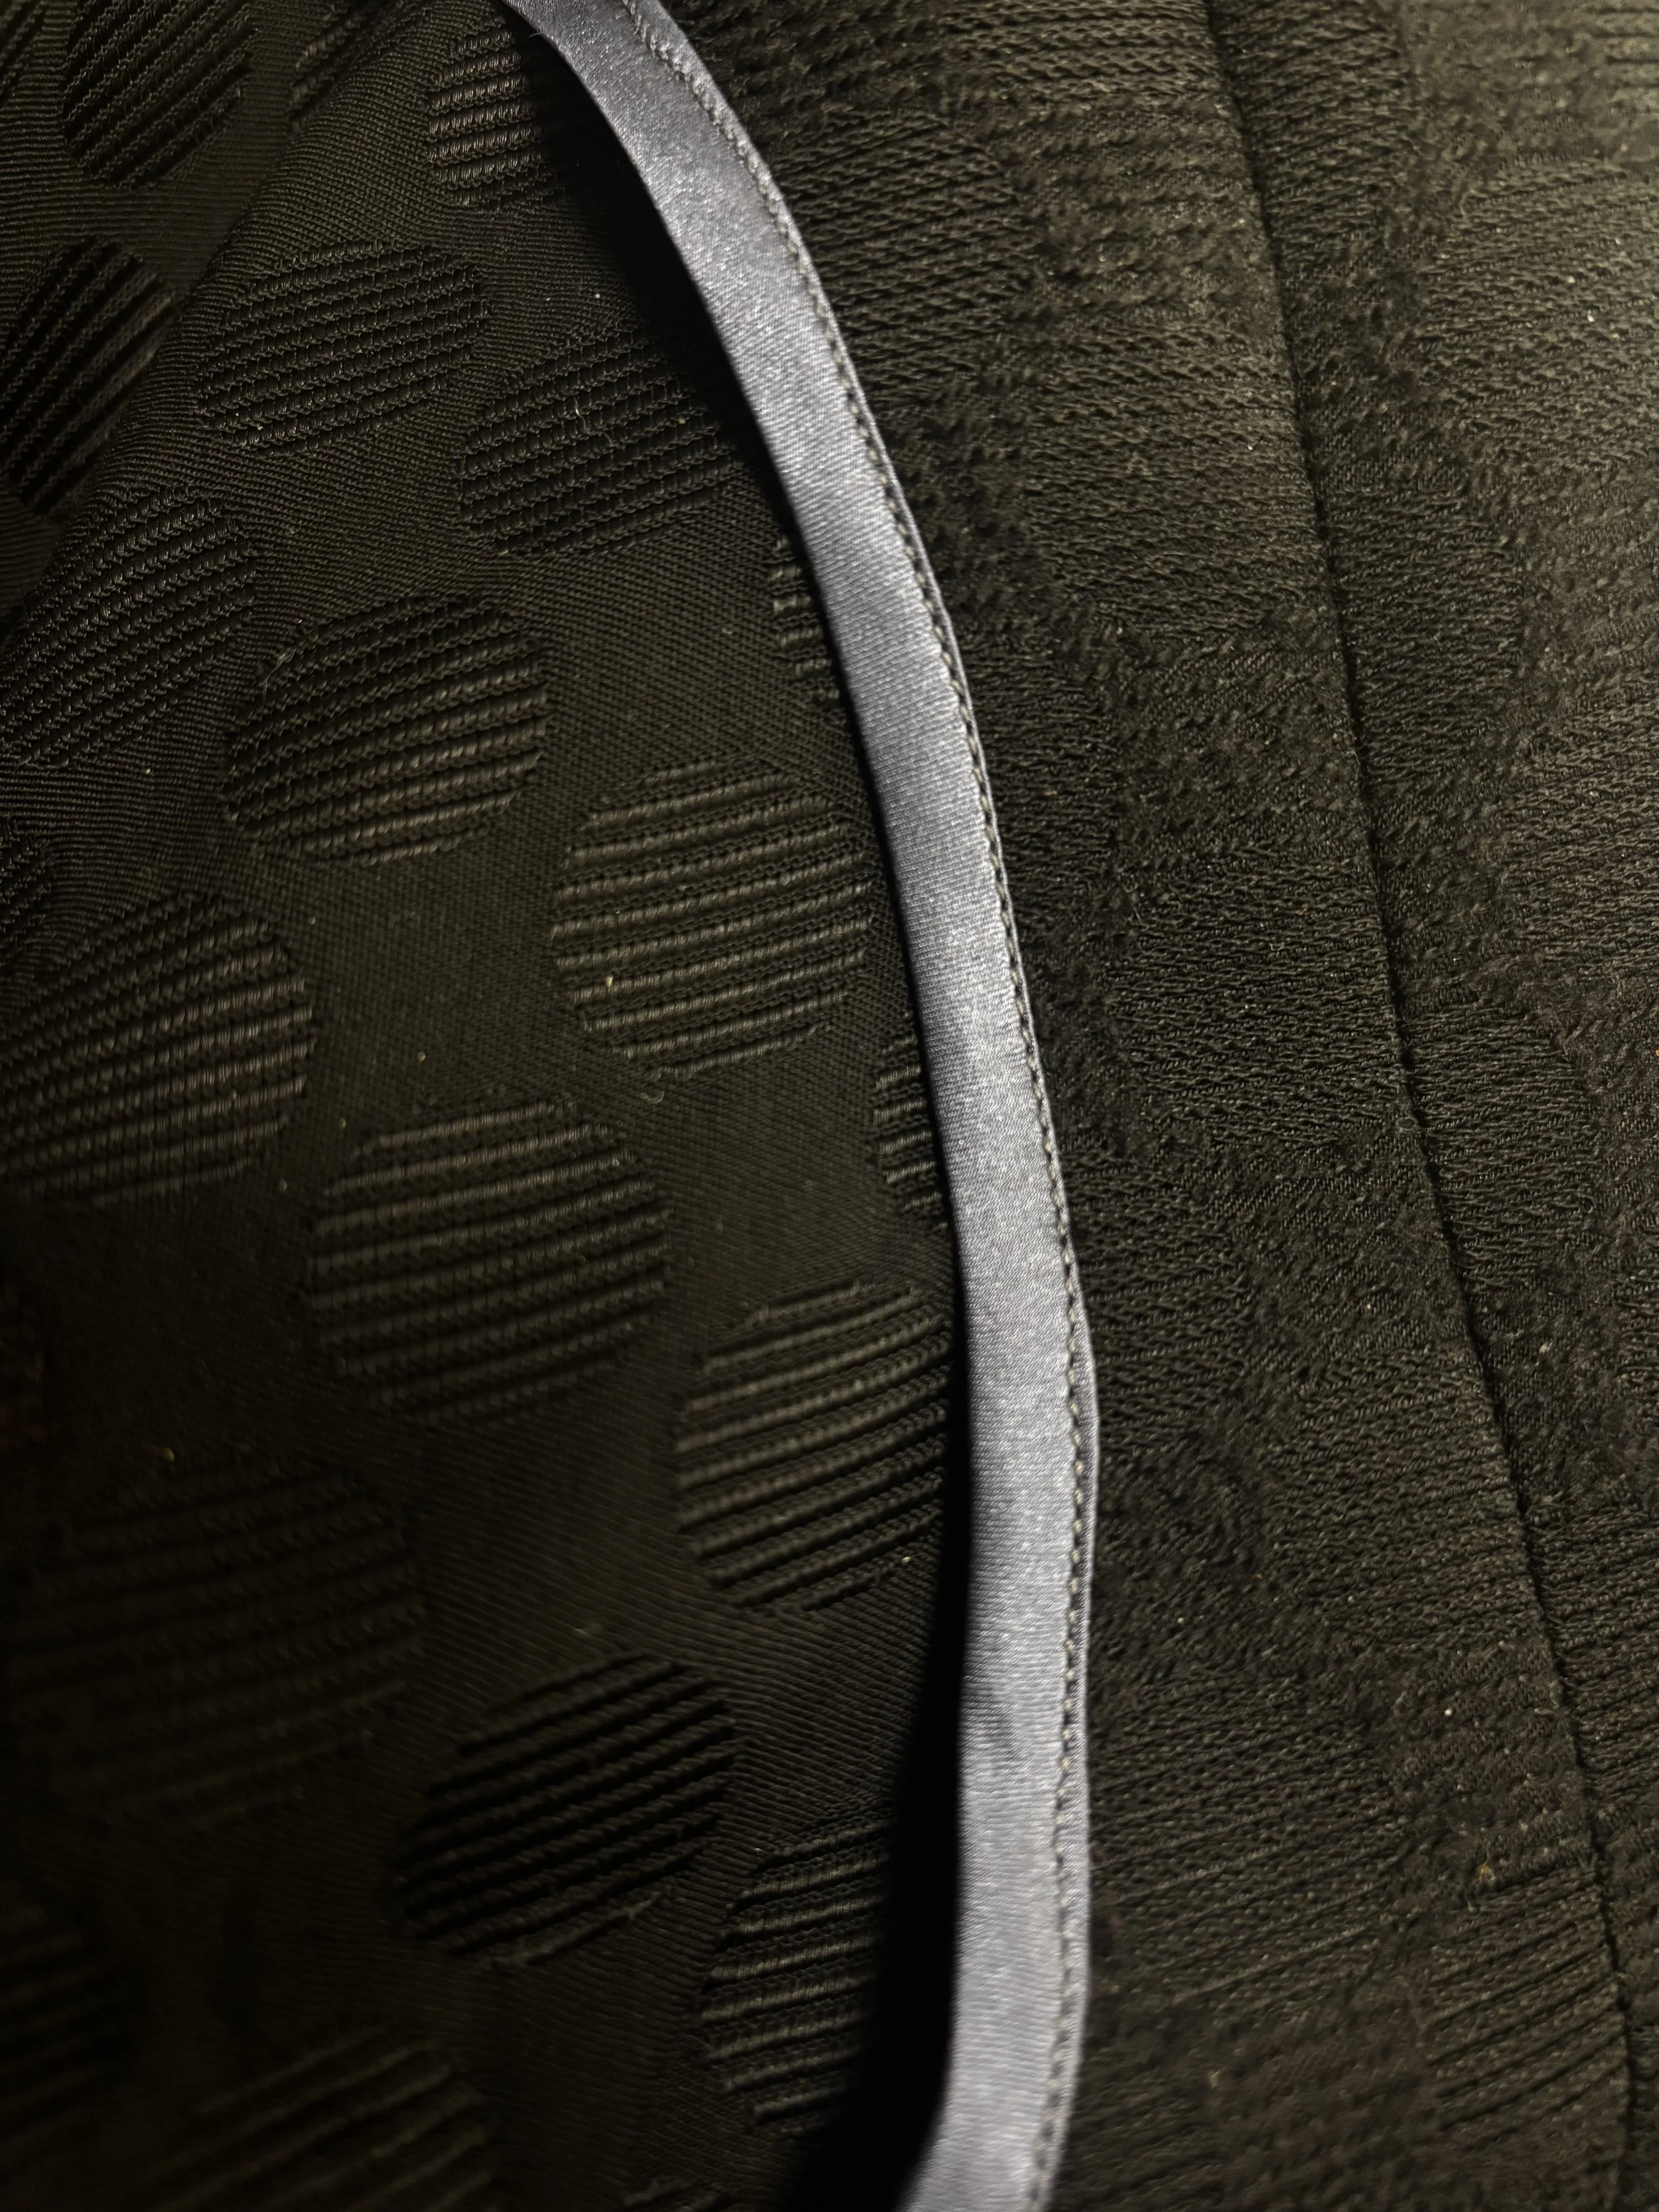
close up of the fabric weave design
So I was casting about on how I could pay tribute to this fun bit of math in clothing form and remembered the DECODE Squiggle Trousers. And digging through my stash, I found an ideal wool blend trouser weight fabric with a woven circle design. Circles and waves in one weird pair of pants, perfect.
I am very happy with how the pants turned out. The process to get there was. a bit mind-bending, which wasn’t totally unexpected. I’ve not sewn up a DECODE pattern before but I’ve been following long enough and have picked up a gorgeous lithograph shirt pattern booklet - data points that let me know that these patterns would be high on design and fun visuals, and on likely low on hand holding. I mean, look at this website!
Given that my expectations were not super on the detailed instructions side, I was fine with the instructions overall. However, there were some things that bugged me. References to notches that weren’t on the pattern, led to me messing up the pocket opening on the left. It’s still useable, but doesn’t comfortably fit my hand. Notches would have helpted! The instructions had some looseness around the fly/fly shield etc language, so I focused on pictures and my Reader’s Digest for how to get that together. There were also referenced but nonexistent notches for that unit. Size was also a little weird out the gate. I cut/sewed what I thought was my size per the instructions but wound up doubling the width of the darts at the back and sewing a deeper center back seam to take in enough to fit. Because of the design-iness of the instructions, I am not sure if I just missed something or if the sizing is a little off kilter.
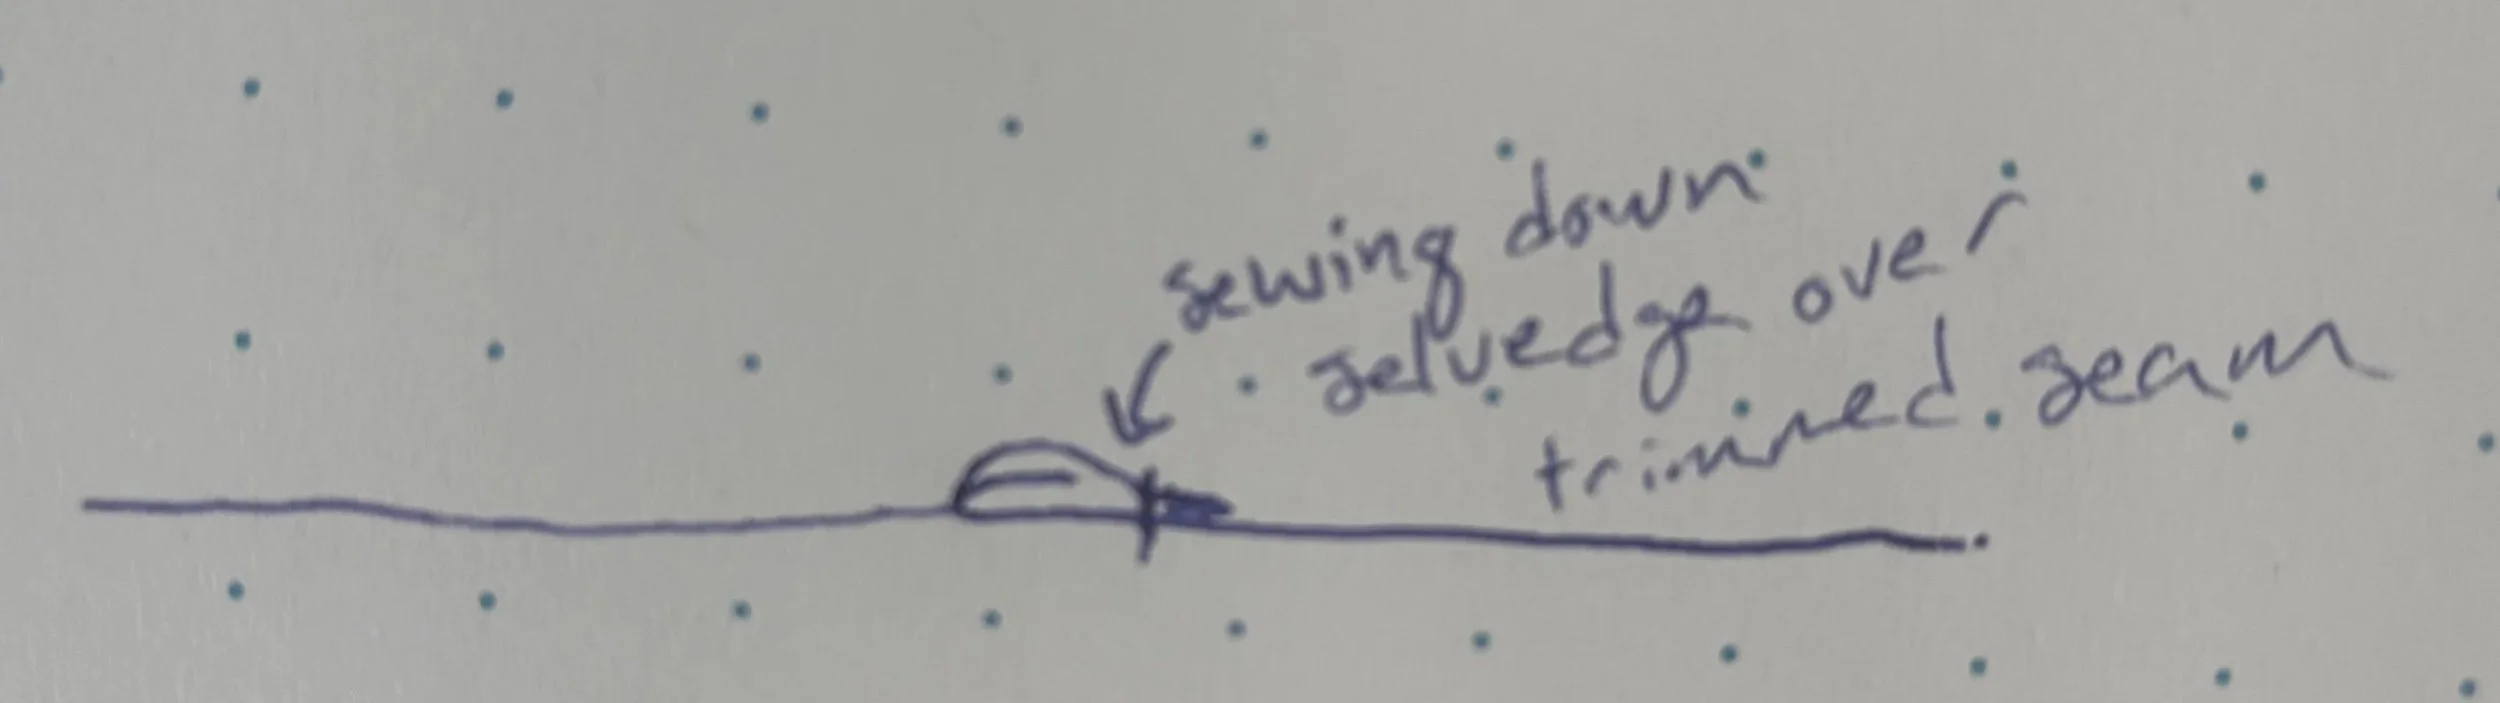
My very rough diagram of how I finished most of the seams
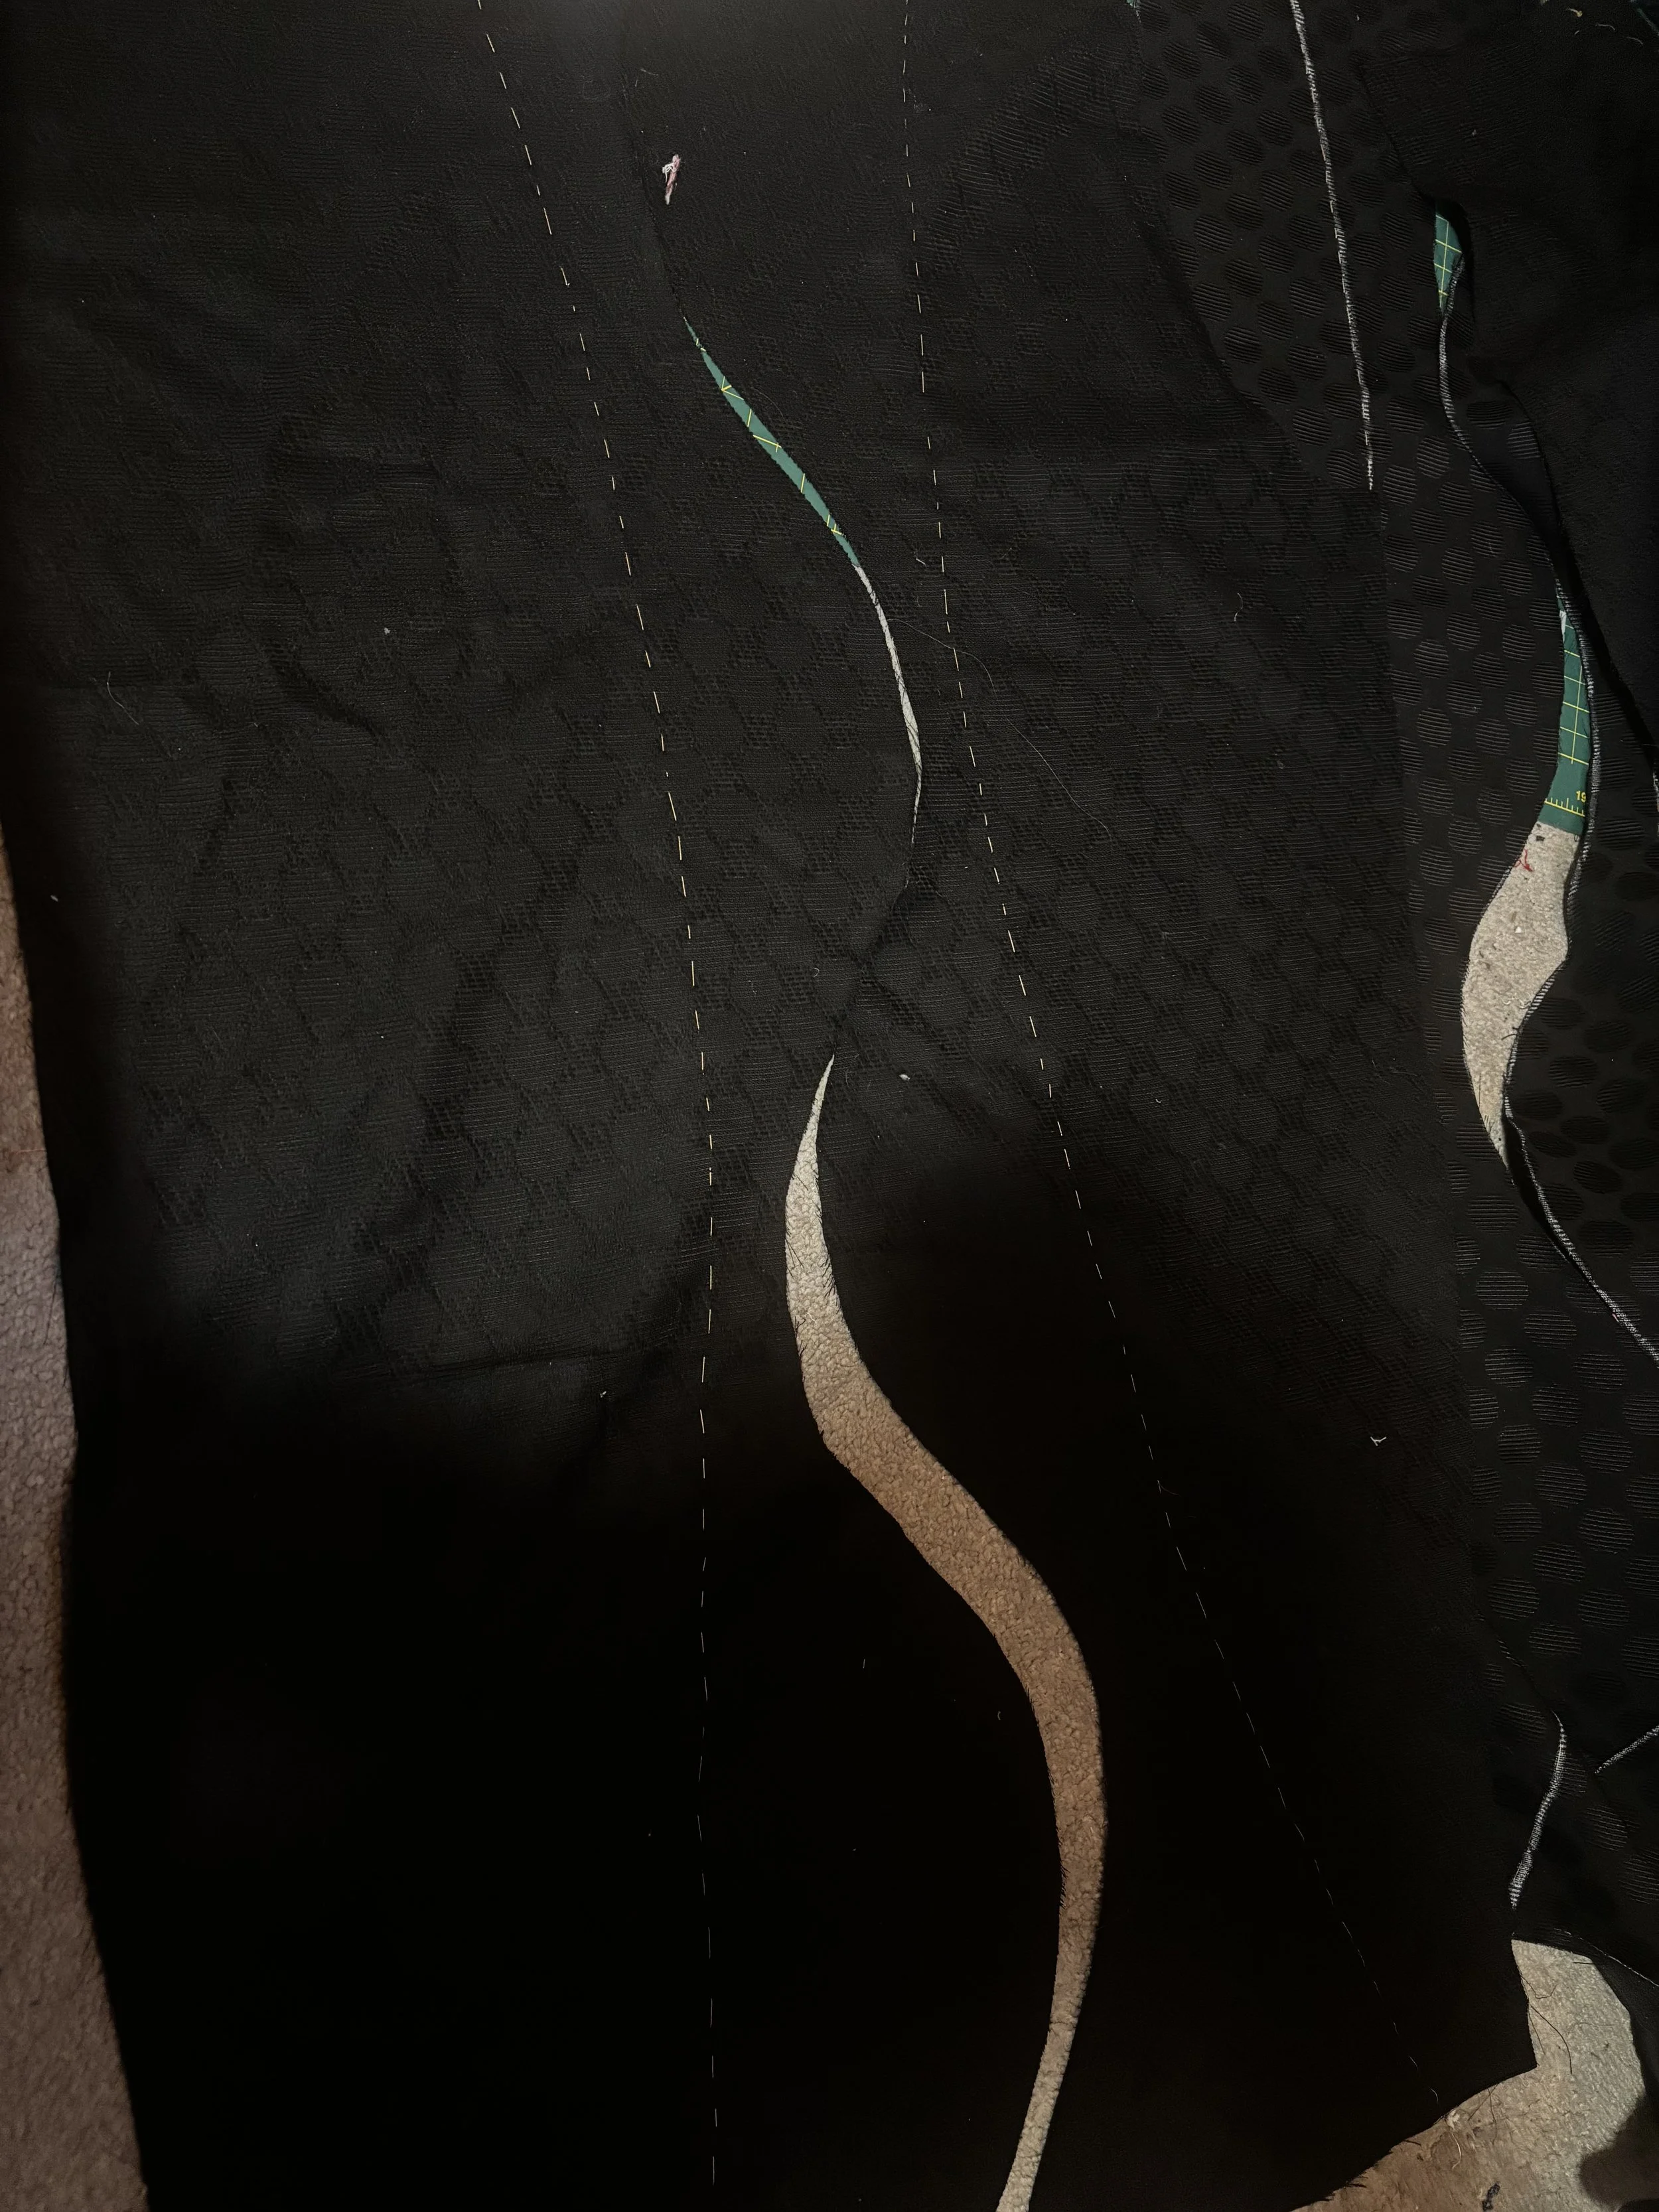
Had I known, I might have sewn the main pants with 5/8” seam allowances instead of the 3/8” called for. This also would have made seam finishing a bit easier as I like a self-enclosed seam. As it happens, because of the zero waste design, in many key spots I had nice selvedge edges to help me fell the seams but without folding over. That is, I trimmed one seam allowance and pressed both seam allowances to one side with the selvedge edge on top. This I stitched down so the unfinished edge was enclosed. I drew a messy picture of this if it helps at all. Enjoy my printing.
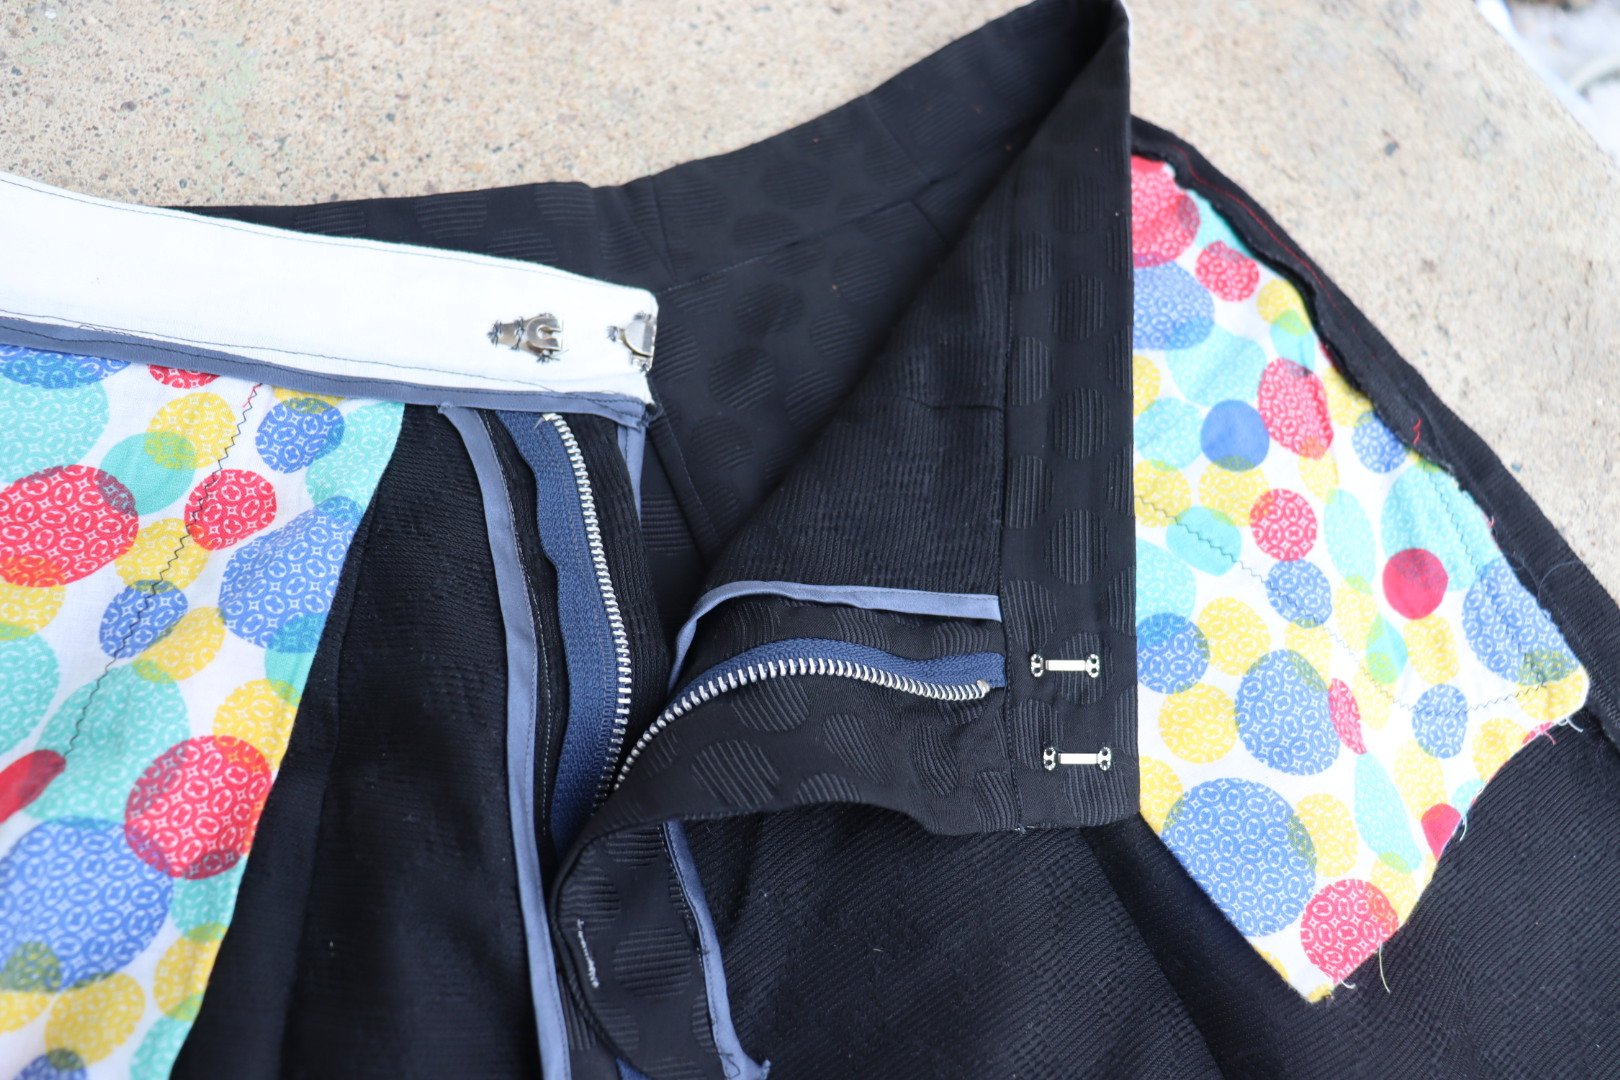
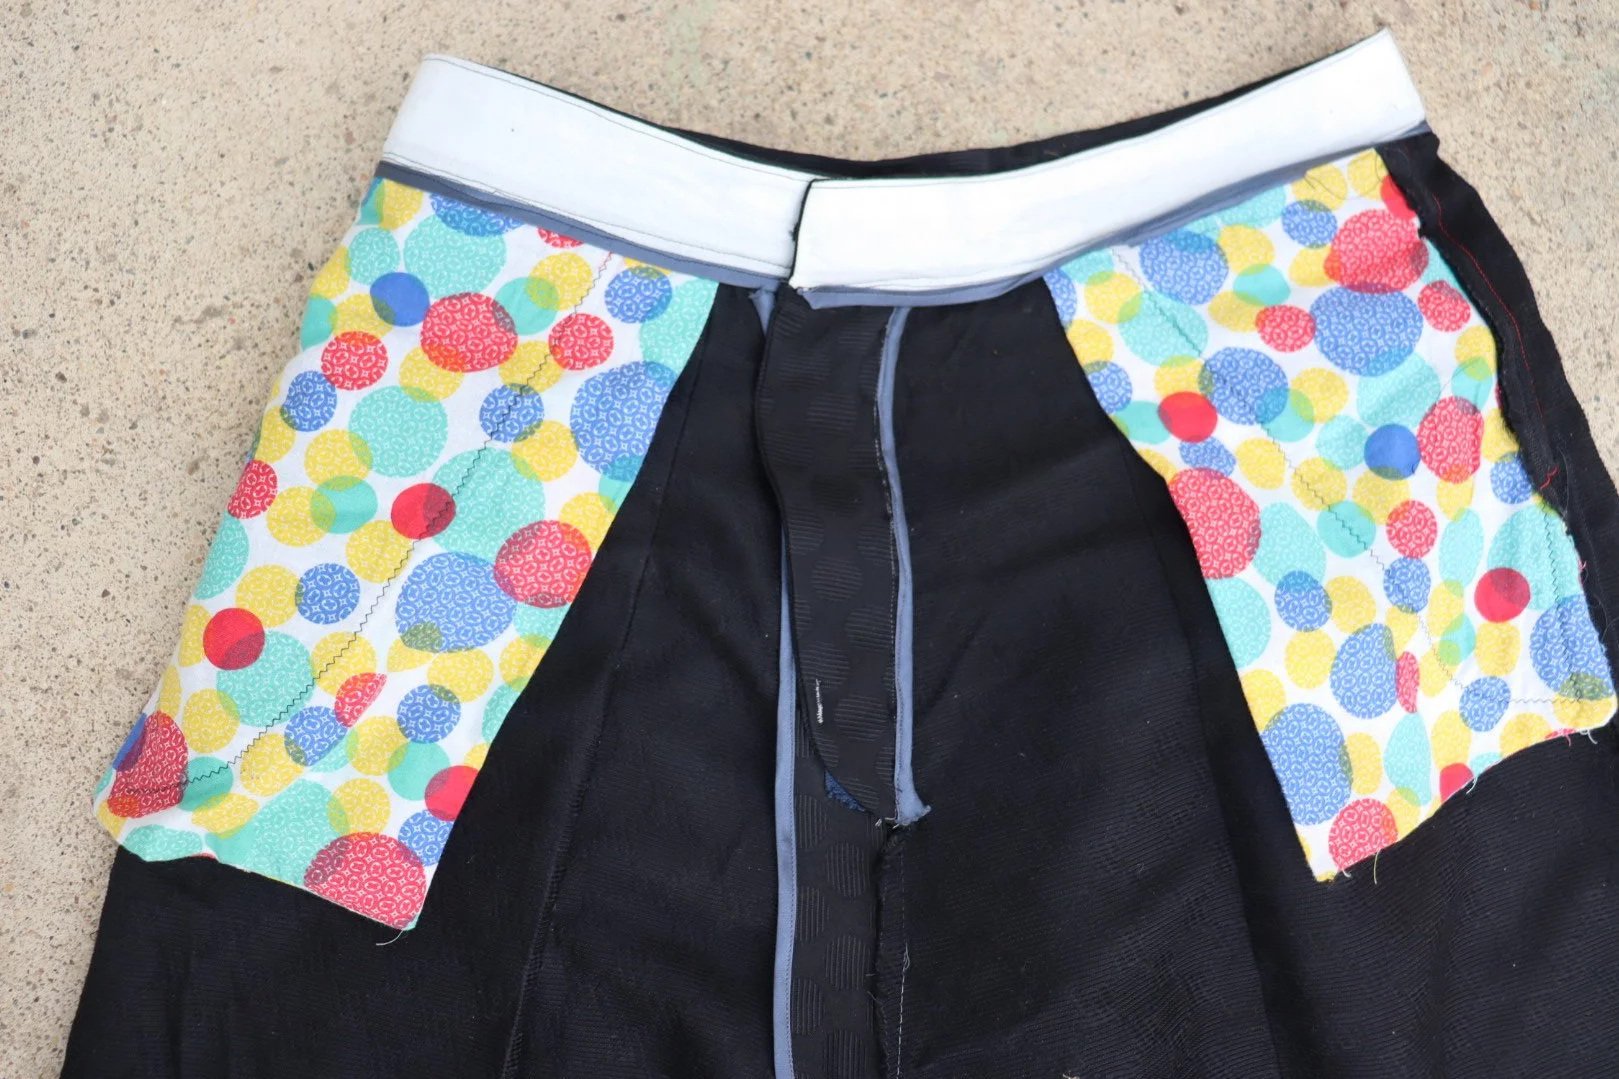
Inside front of pants.
I did not include the gusset as instructed, but instead sewed those pieces to form a rectangle. I used this to slightly extend the waistband as it was a little close for comfort, and used the rest for belt loops. You can see at center back where the waistband was pieced in some of the close up innards pictures, tho the belt loops hadn’t been added when I took those.
My fabric waste for this project consists of fabric trimmed from enclosed seams and one 10 cm x 6 cm piece leftover from the waistband/belt loops. So that’s cool.
I’m pretty pleased with the insides overall - it’s not perfectly neat and tidy but I think I used the bias binding effectively to cleanly finish the fly, seams are well-enclosed in general, and I quite like the double slide closure (as dictated by Reader’s Digest, natch!)
The wave edges and some interior elements are finished in silk bias tape. I wanted a bit of shine to pop under evening/party lighting, but to also keep the contrast to a level I felt could be worn to the office later. I also wanted it to feel high quality and not plasticky (also, I just don’t want plastic stuff in my life mostly?). I found Sartorial Bias on Etsy, and they were kind enough to photograph the bias tapes I was interested in to colour match. I purchased seven yards for this project, which was enough to finish the waves, the waistband bottom, and some inner bits, with a little bit leftover to wear in my hair. I spent more on the bias tape than the fabric, and it was well worth it to get such a well-made tape!
Puzzle piece pant pieces and hand based sewing lines for the front seam.
This whole story feels out of order, but I think it’s also worth noting that I found cutting out this particular zero waste pattern very smooth. The puzzle pieces felt intuitive, and the design purposefully covers a standard fabric width, so it was quite straightforward to lay out one piece, trace relevant edges, then pull in pieces of the puzzle as required. I only wish I hadn’t followed the cut lines for the belt loops off the hop - with experience, it feels clear that those are planned to be cut last once required waistband fit is determined.
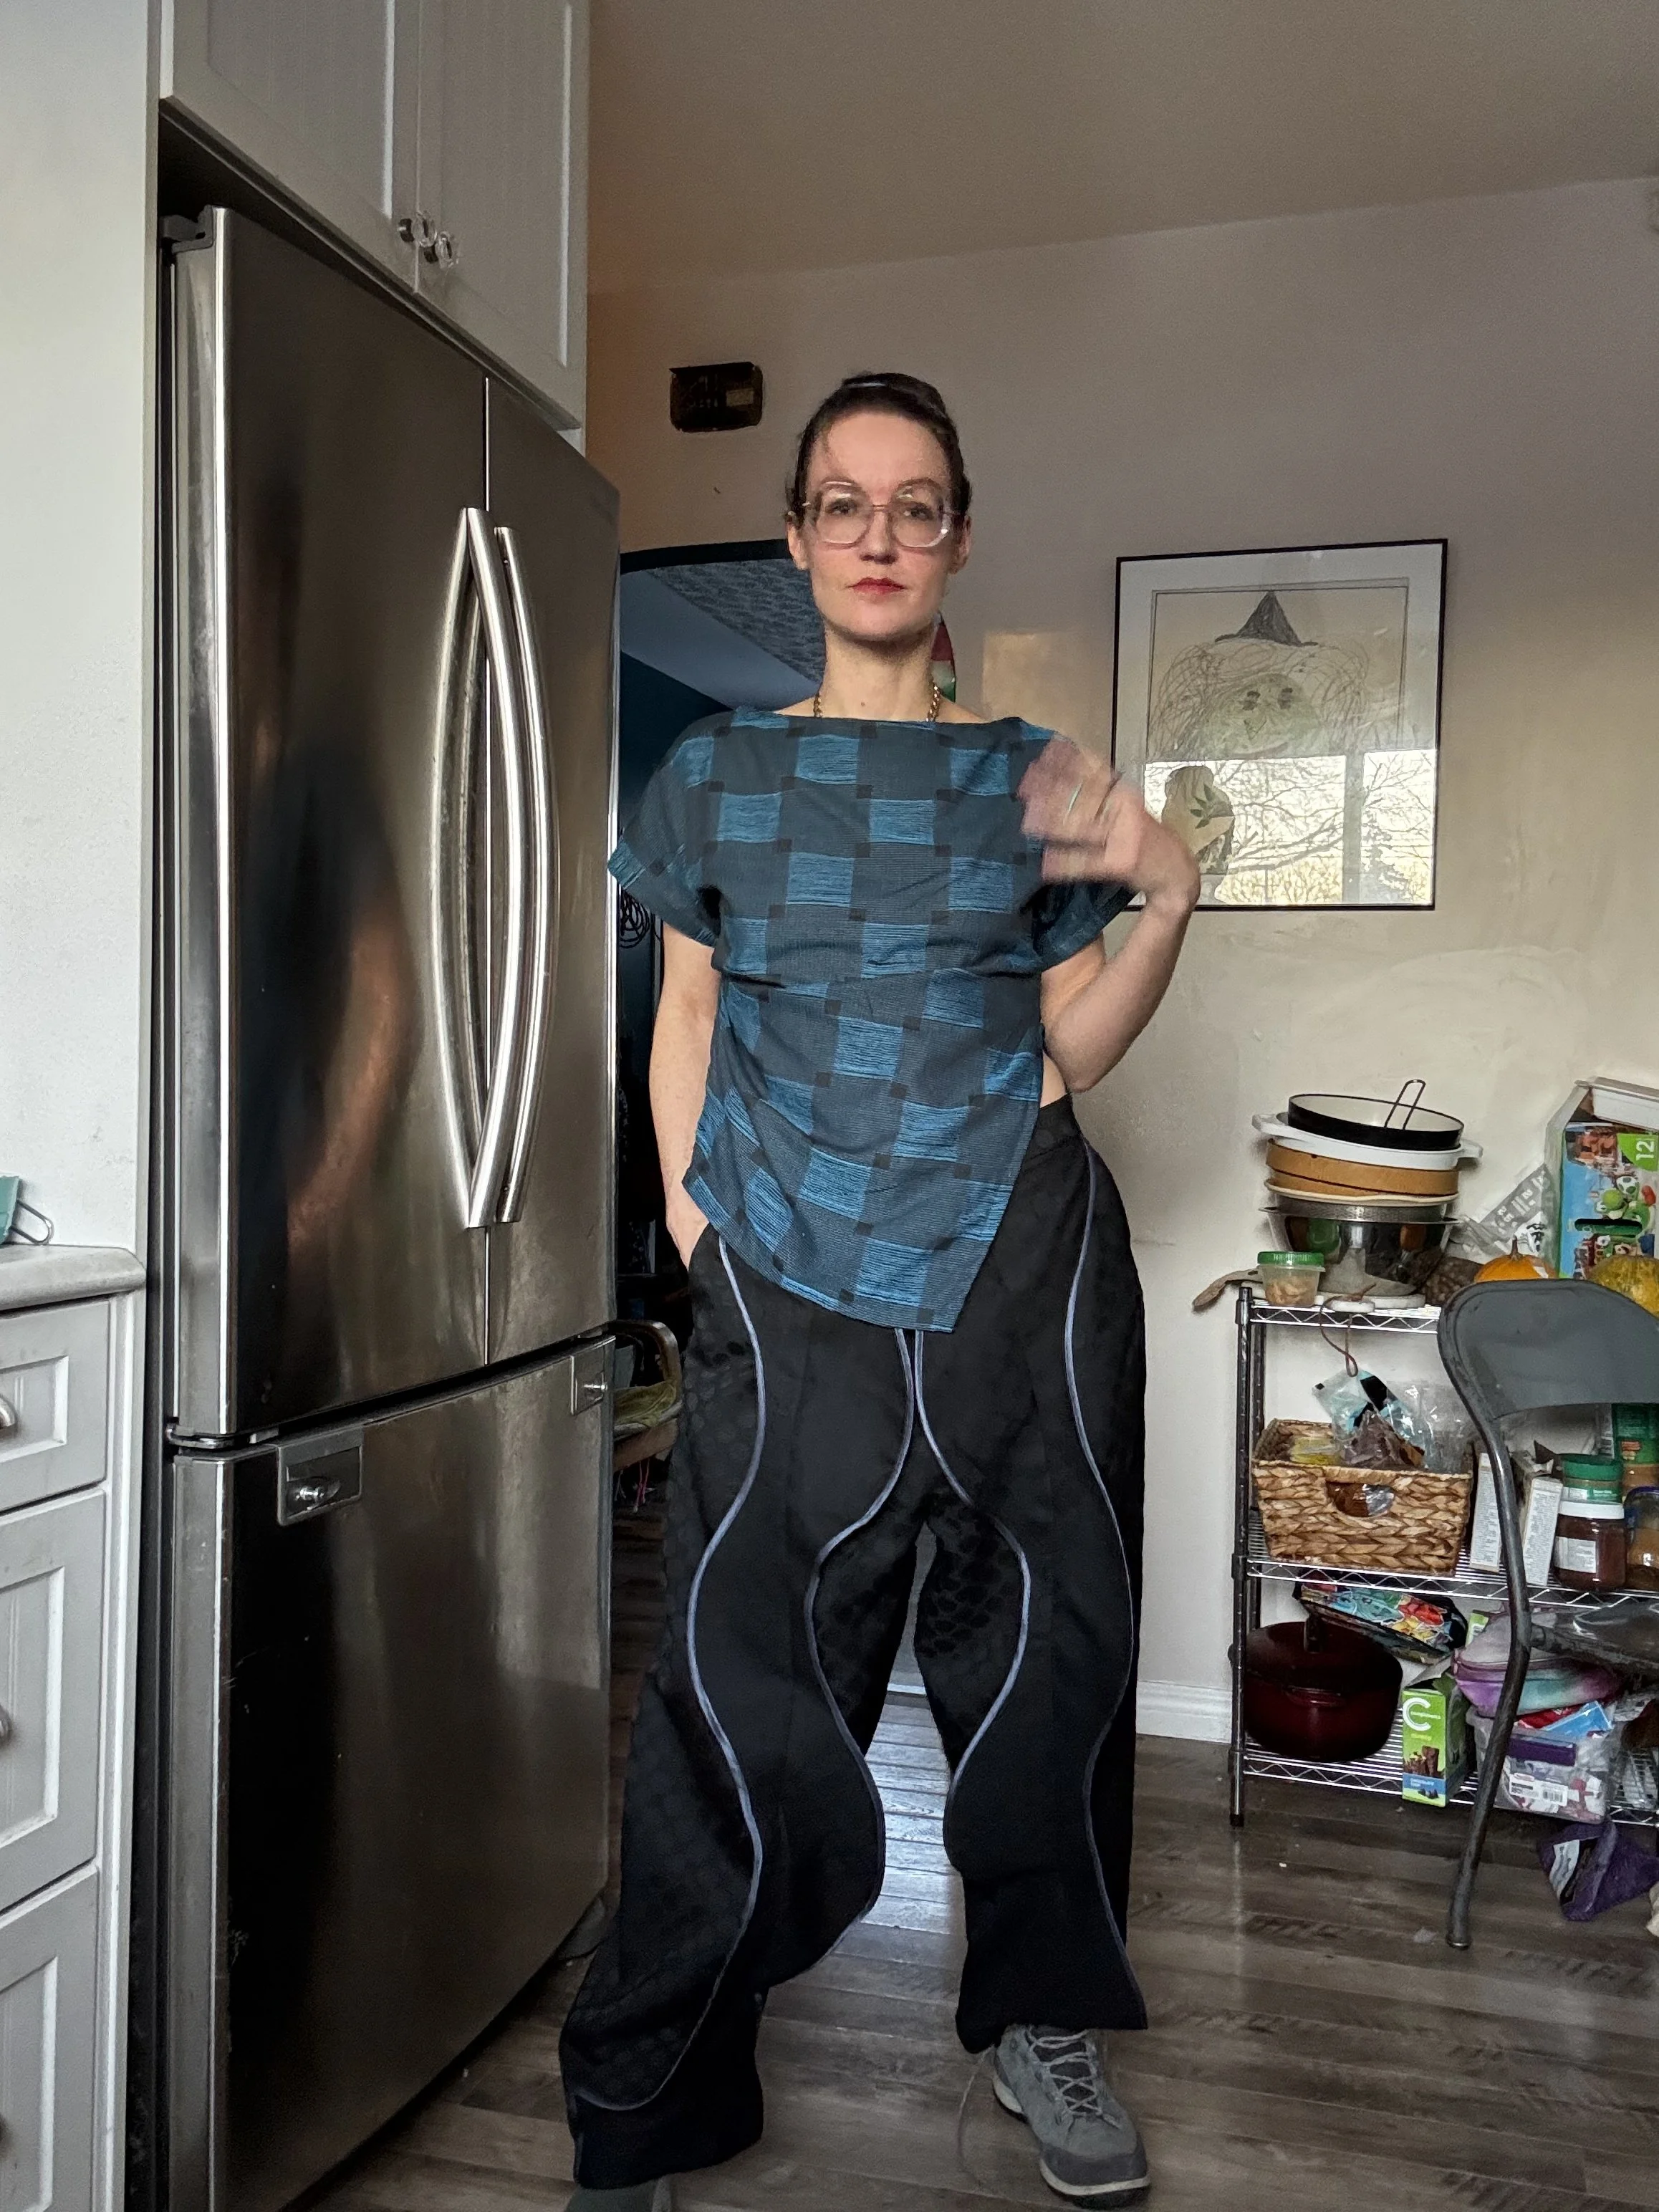
On a styling level, these really hit right where I wanted to them. Styled as in the cover image, it’s easy to make this design read streetwear, which is just what I wanted for my event. But the wool’s texture and the silk make it possible to dress up for workwear (if a little zany-architect-y) just as I need trousers to be.
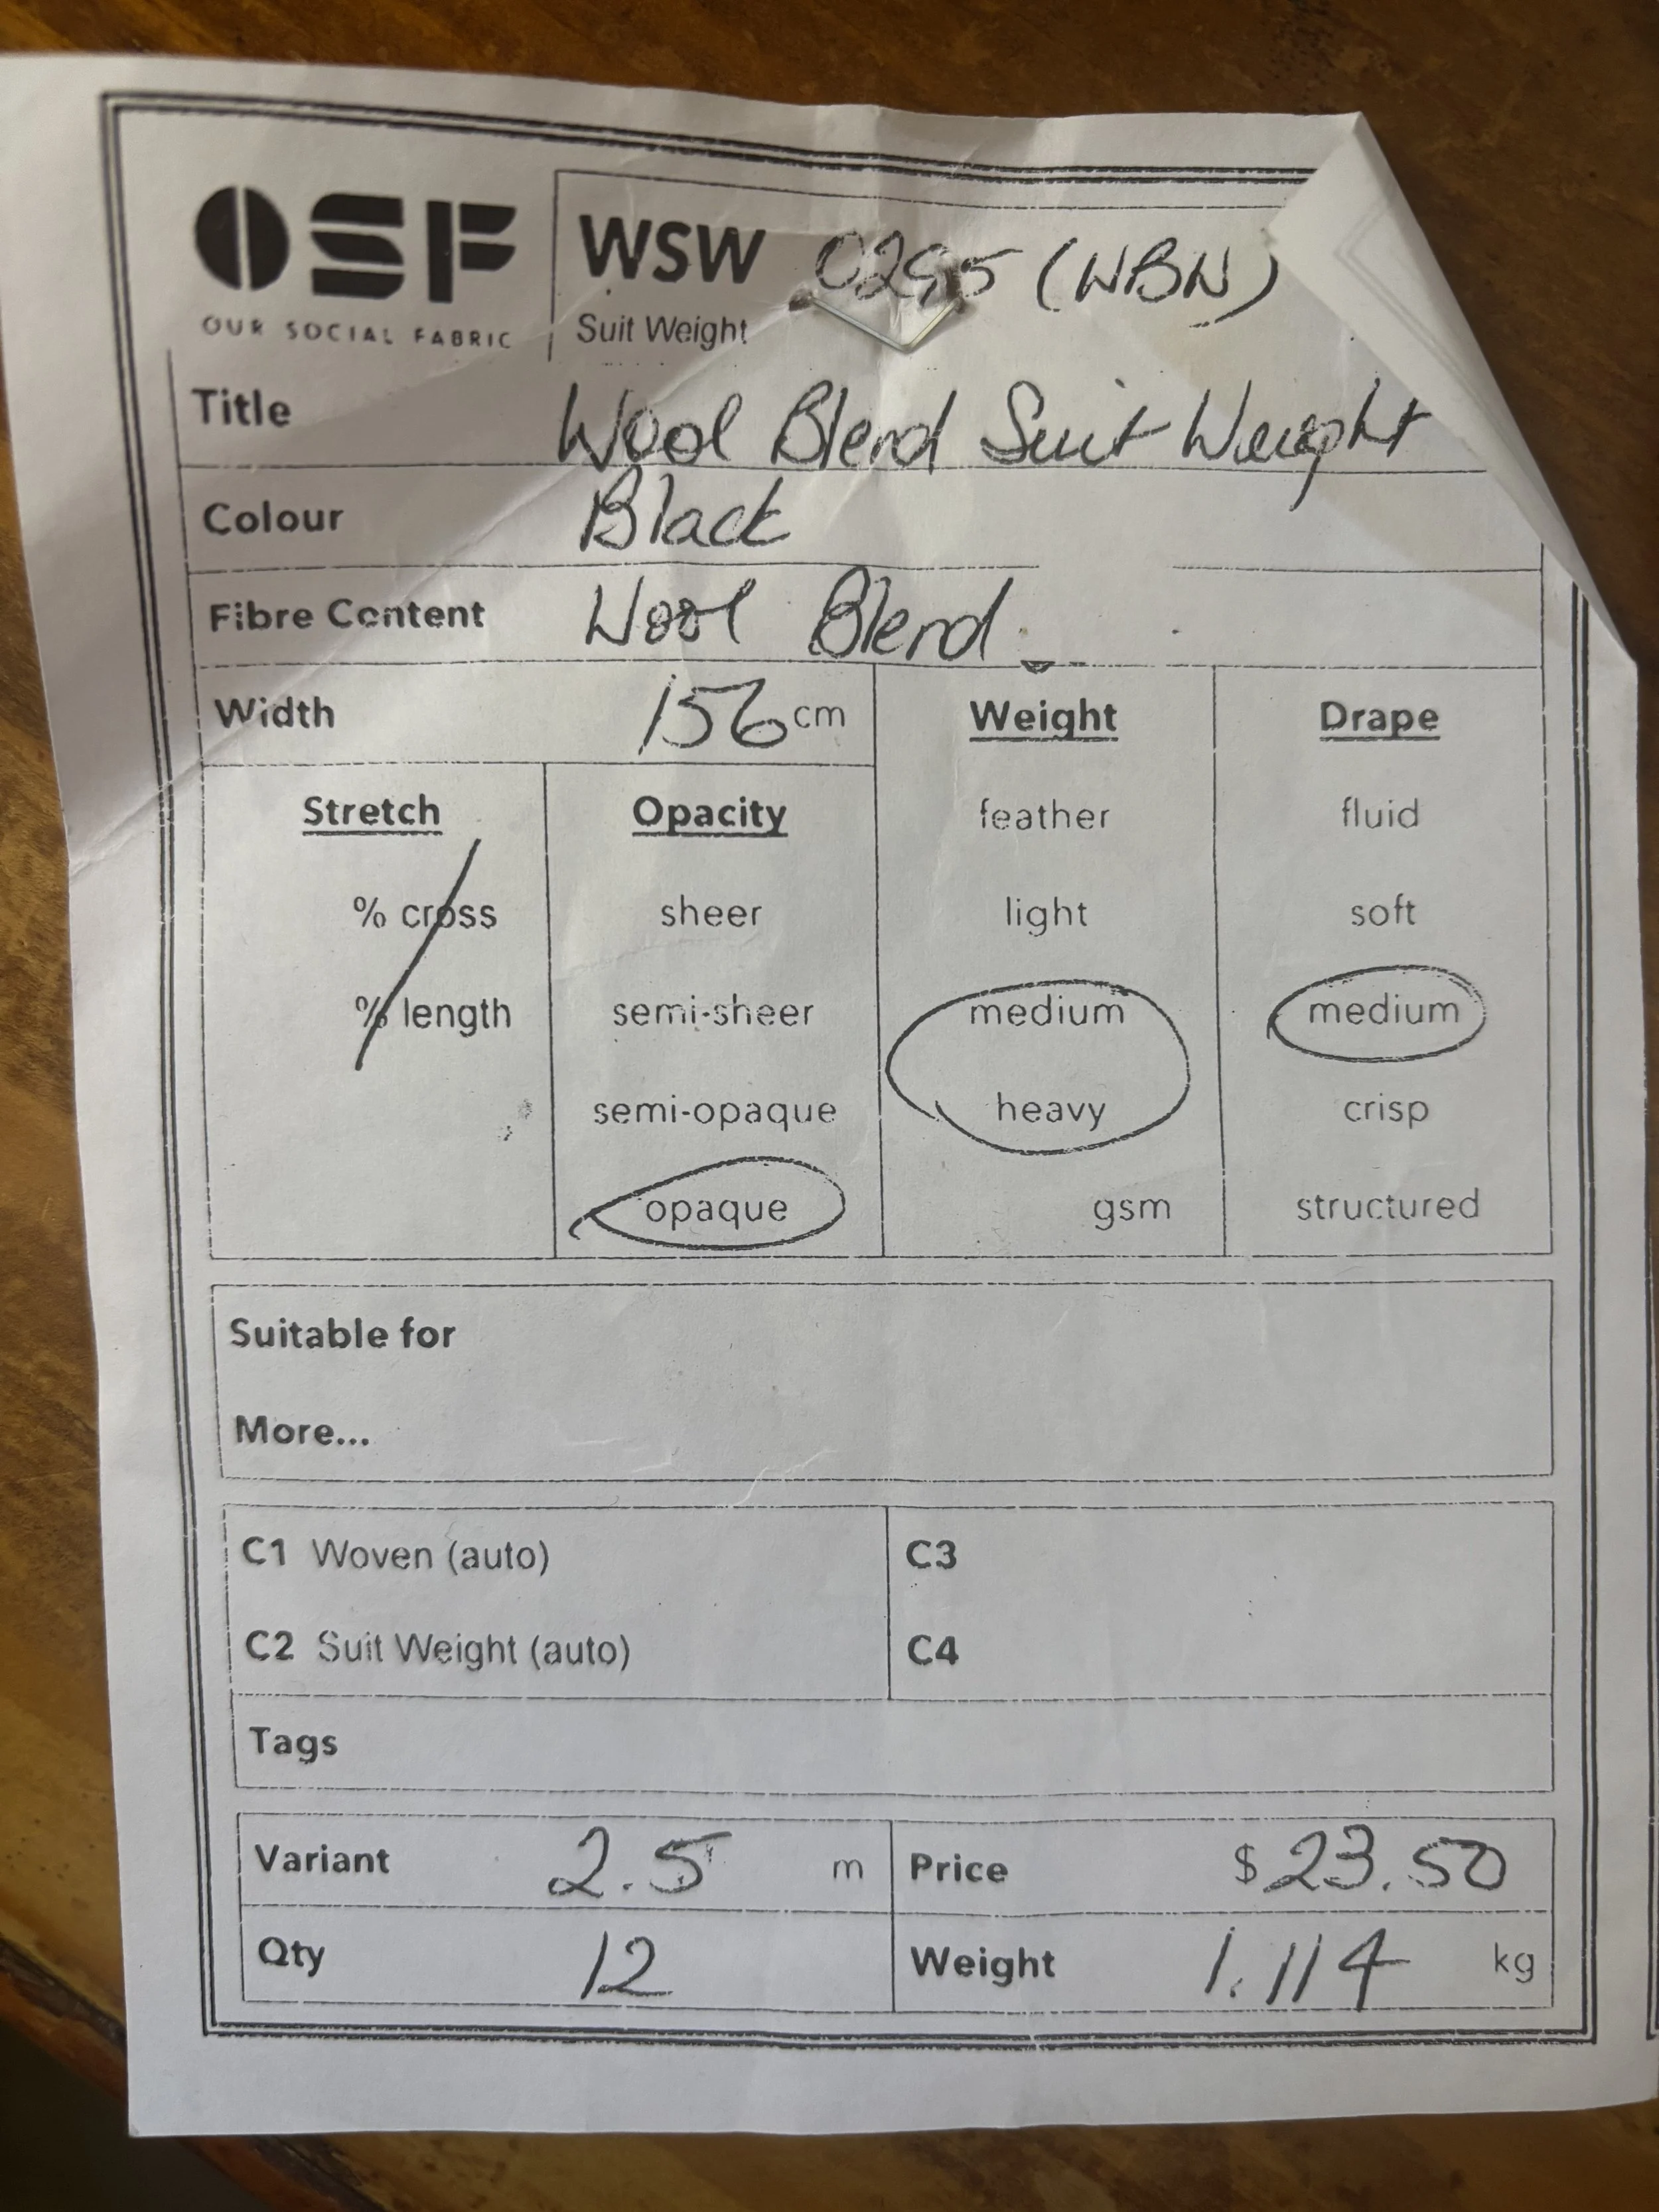
Fabric: Wool blend suit weight from Our Social Fabric, white cotton inner waistband, circle cotton pocketing
Notions: Silk Charmeuse bias tape, Sartorial Bias on Etsy, waistband interfacing from Fabricland, poly and cotton threads
Pattern: DECODE Squiggle Pants
Size made: blue lines/ size 8
Measurements: 32 waist/ 39 hip
Next time: To be honest I’d be surprised if I found myself making these again given their distinct look for a wardrobe, but I’d lengthen them, not pre-cut any belt loops, and probably take a bit more time with applying bias tape to curves.