Daughter Judy Teague Dress (thrift fabric)
The Teague Dress. This was one of those patterns I immediately wanted to make the moment I saw it. I held off on buying it until I was actually somewhat sure I would have time and a fabric to do it with - I have a stash knit that fit the bill, but it’s wintry and is still something I don’t want to “risk” so I preferred to find a summery-er fabric for summer to try the pattern out with.
Our local MCC thrift, Village Green, has somewhat recently moved locations and now has a rather robust selection of fabrics cycling through it, which is where I found this purple knit (and the pink gingham used for the ZW singlet, among other things). $11 and I still have plenty leftover. So I was off to the races.

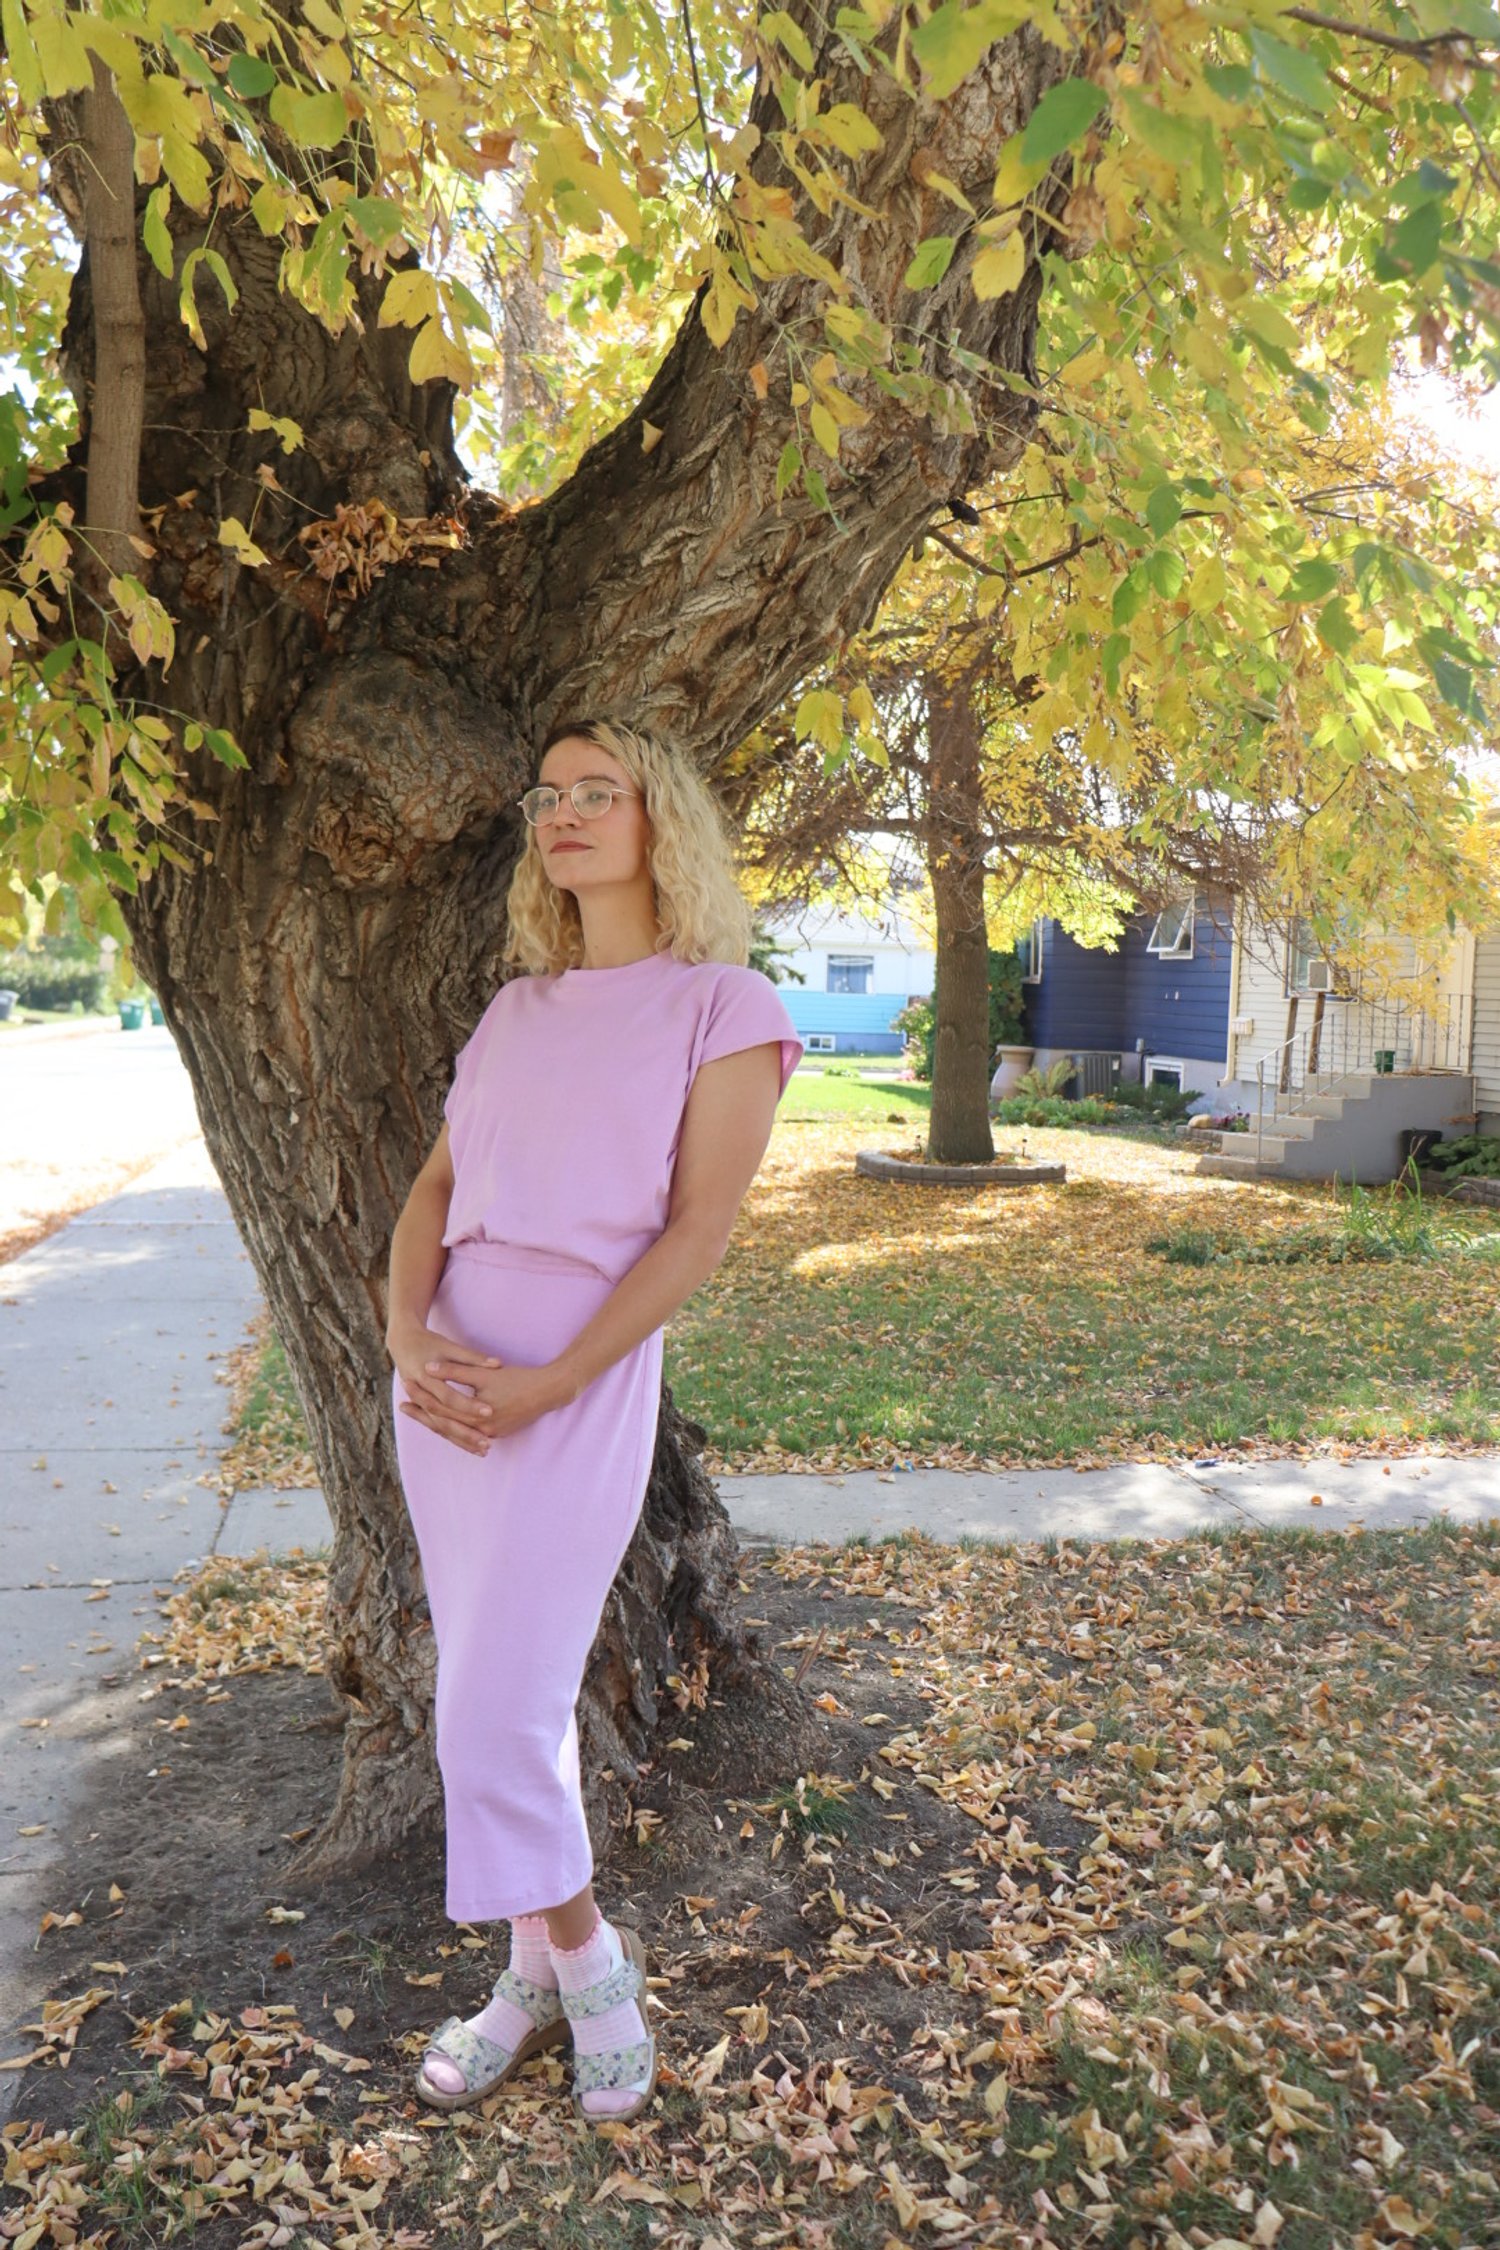
back view of the dress showing the cool single piece bodice design coming together at the back.
Unfortunately, I was a little let down by this pattern in the making of the dress.
A minor complaint came first, as I cutting this out, mostly because notches and darts look the same across sizes. When these are super close together, it became necessary to count (and double-count) legs and dart positions to figure out which one was relevant to my size (the copyshop printer I use sometimes can’t print a single layer, so this was a non-negotiable issue). For darts particularly, it was difficult to understand why these weren’t more clearly differentiated.
Then once I got to putting the pattern together, I immediately ran into more confusion. I really wish the notches on this pattern were numbered, old-school pattern style, since the instructions keep it quite light and un-detailed. With the unusual shape of this design, it just made it a touch more frustrating than it needed to be to figure out what needed to connect where (pieces 1A and 1B should be joined, preferably, but are given separately to accommodate fabric) and that I had gotten the extra top bit aligned correctly.
Numbered notches, or inclusion of another type of guiding pattern mark, would also have improved the clarity of the instructions for finishing armholes and the side gaps. After being asked to finish these sections following notches (assumed this meant finishing between the notches), the next instruction states “Press edges of armholes and cut outs in along fold lines and hem.” Fold lines are not marked on this pattern, so again this was a bit of a guess, particularly for the armhole. Where does the armhole end? (I believe it ends where the join of 1A and 1B occurs, but that is not obvious). Should I have put a notch there? How will these align when finished? Which is even the armhole and which is the side, anyway?
The fold line issue is actually the thing about this pattern that made me actively dislike the process. For the above armhole and cut outs, I definitely made the wrong guess about how it should work out on the cutout. The unpicking involved in getting it right with the waistband stuff, it sucked. Instructions can be breezy and brief, but when they refer to the non-existent, it’s a pain. A fold line was also mentioned for the waist tunnel - I opted to fold along the seam line, but I’m not sure that’s really right. With all the seam allowance bulk and turn of cloth, it was quite tight for the elastic to get through the tunnel.

a dumb error; i trimmed the neckline seam and caught the dress fabric. immediately patched it and it looks fine!
One fold line that was mentioned and included was the hem, which is definitely the one I least need (there were also notches for it, which basically covers it!). I wasn’t mad to have it included, but if I had to pick just one to have provided… it wouldn’t be the hem!!

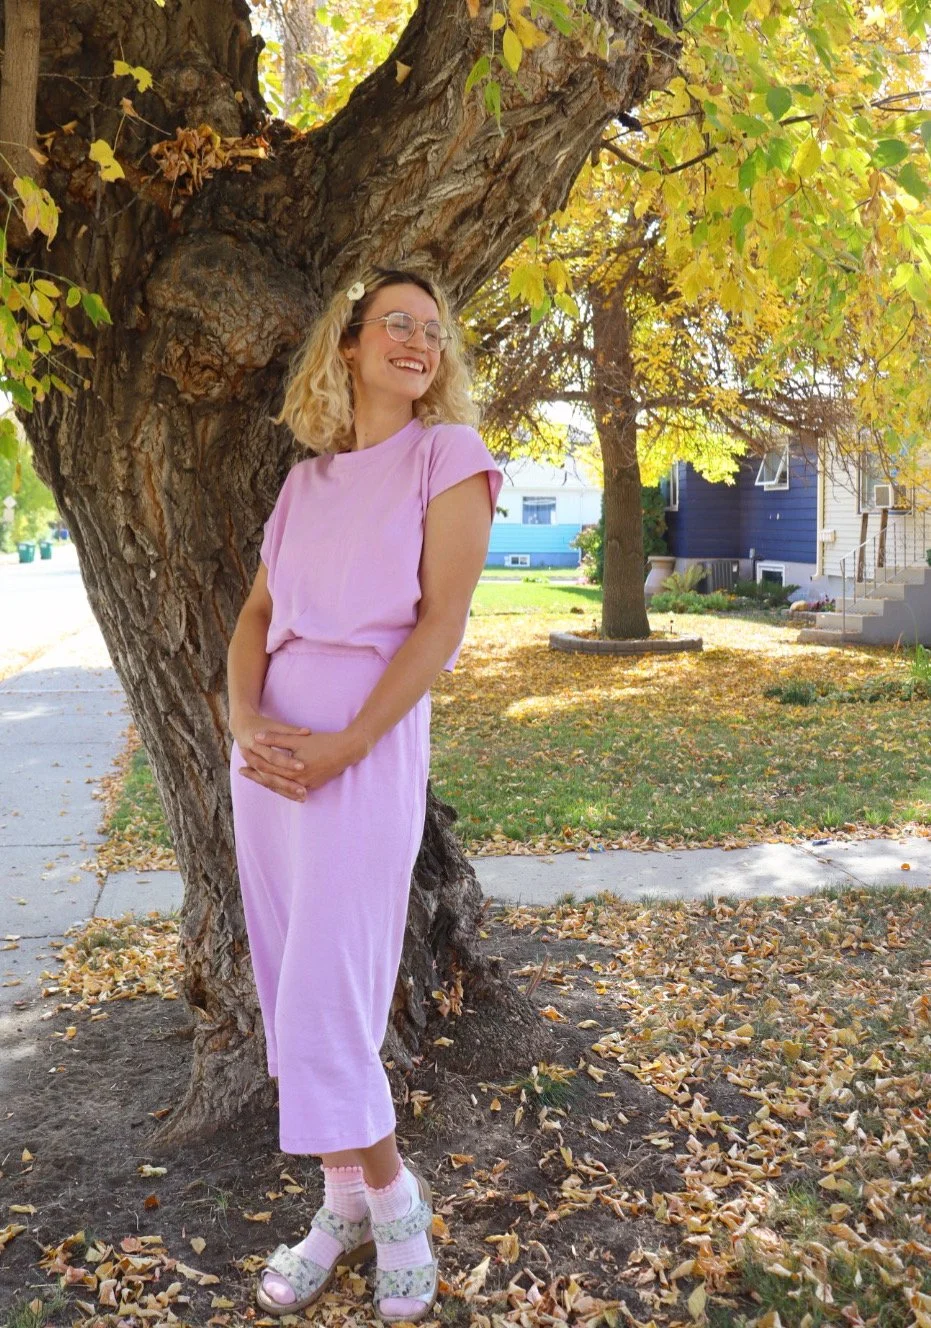
front facing dress photo, lumpy waistline and all
The results? I think the top looks rather nice and smooth. I used the faux coverstitch stitch on my machine to great effect for the folded edges, and the neckband application instructions were just lovely. Incidentally, I loved that there weren’t a million notches on the neckband, and instead the instructions laid out how to to mark quarters and the non-stretched out back portion. Gorgeous.
The waistband looks absolutely bush-league though. I unpicked too many times to face it any more and called “kinda bad” good enough. The inner tunnel is marginally smaller than the skirt’s outer, which meant it needed to be stretched evenly to be applied. That didn’t go great for me, and there’s a spot along the top left on the outer waistband where some undesired gathers happened on the skirt itself to mark my failure. The top needs to be gathered so the notches match, and I’d made the wrong call about what the cut out fold lines should be, so getting that done was a pain. And then there’s all the seam allowance bulk from the gathers and the three layers of fabric sandwiched and… it looks so bad!! All of this is made worse by the fact that I ran out of my perfect-match thread so I used a light sorta-match pink for the topstitching at the waistband and hem, which emphasizes the lumps. I just couldn’t bring myself to go out and get new thread for fear of giving up the project entirely.
Despite all my frustrations with the pattern itself, I’ve mostly added the marks I need to be successful assembling this pattern next time, and I would make it again, because the style itself works for me. Except that waistband. I absolutely do not want to make another garment with a lumpy elastic waistband, and I don’t really know what I could do differently to mitigate it. Clearly, the user-error of the wrinkling on the skirt could be avoided, but beyond that. I’m not convinced that better grading would really do it. Maybe a really stiff elastic carefully placed outside the seam allowances? Maybe top-stitching along the top edge? i suspect the “dirty finish” of not folding up the inner tunnel would help a smidge, but I’m not convinced of any of it.
So… weird mix on this one! Like the style but a definite let-down on the details.
Pattern: Daughter Judy Teague Dress
Fabric and notions: $11 mystery fabric from Village Green. I haven’t done a burn test, but it pressed nicely and didn’t melt under reasonably high heat, so I suspect a cotton. Elastic from stash, polyester thread, lightweight knit interfacing. “Insert Head” tag from Inside Voices <3
My measurements: Bust/high bust 34, waist 30, hips 39
Size made: Small top graded to medium at waist, medium skirt
Next time: If I make this again, i would probably size down to a straight small. Obviously need to think about how to make the waistband work.
“Fun” little note, the pattern designer was quite unhappy that I and other home sewers posted our experiences with her patterns, including the problems, without first reaching out to her directly. This rubbed me the wrong way; the designer chose not to test this design and I did not pay $24 for the privilege of essentially testing for her by formally emailing my issues. I paid for the product for the design and the promise of professional drafting. I have a small, personal sewing instagram, I mostly post issues so other home sewers know they're there, and her stories about this seemed ill thought through and petty.